Nissan Qashqai Auxiliary Belt Replacement
The Nissan Qashqai with the HR16DE engine features a single auxiliary unit belt. It drives the alternator, water pump, and air conditioning compressor via the crankshaft pulley.
For reliable operation, it is necessary to regularly check the condition of the belt and its tension. This photo guide will help you replace the belt on a vehicle equipped with a mechanical tensioner (bolt adjustment).
Which drive belt to choose
The poly-V belt for the Qashqai is marked 7PK1153 (7 — number of ribs, 1153 — belt length in mm). The original Nissan part number is 11720JD00C.
Replacement alternatives:
- Stellox 0711153SX;
- Gates 7PK1153;
- Contitech 7PK1153;
- Dayco 7PK1153.
Instructions for replacing the belt on the Nissan Qashqai
Tools required for the job:
- 13mm spanner or socket;
- flat-blade screwdriver;
- new belt.
Procedure:
- Position the car over an inspection pit or on a lift, and remove the right-hand front wheel.
- Unscrew and remove the side splash guard (wheel arch liner) from the engine side.
- Assess the condition of the belt. If cracks or damage are visible, replace it.
- Using a 13mm spanner, loosen the locking nut on the tensioner pulley.
- Turn the adjusting bolt (located under the alternator) anti-clockwise to release the belt tension.
- Remove the old auxiliary drive belt.
- If the belt is being removed but not replaced, mark its direction of rotation with a marker to reinstall it the same way.
- Install the new belt, routing it over the pulleys according to the diagram.
- Turn the adjusting bolt clockwise to tension the belt.
- Tighten the tensioner pulley locking nut.
- Turn the crankshaft a couple of rotations to ensure the belt is seated correctly in the pulley grooves.
Below is a step-by-step photo guide to replacing the belt on a Nissan Qashqai.
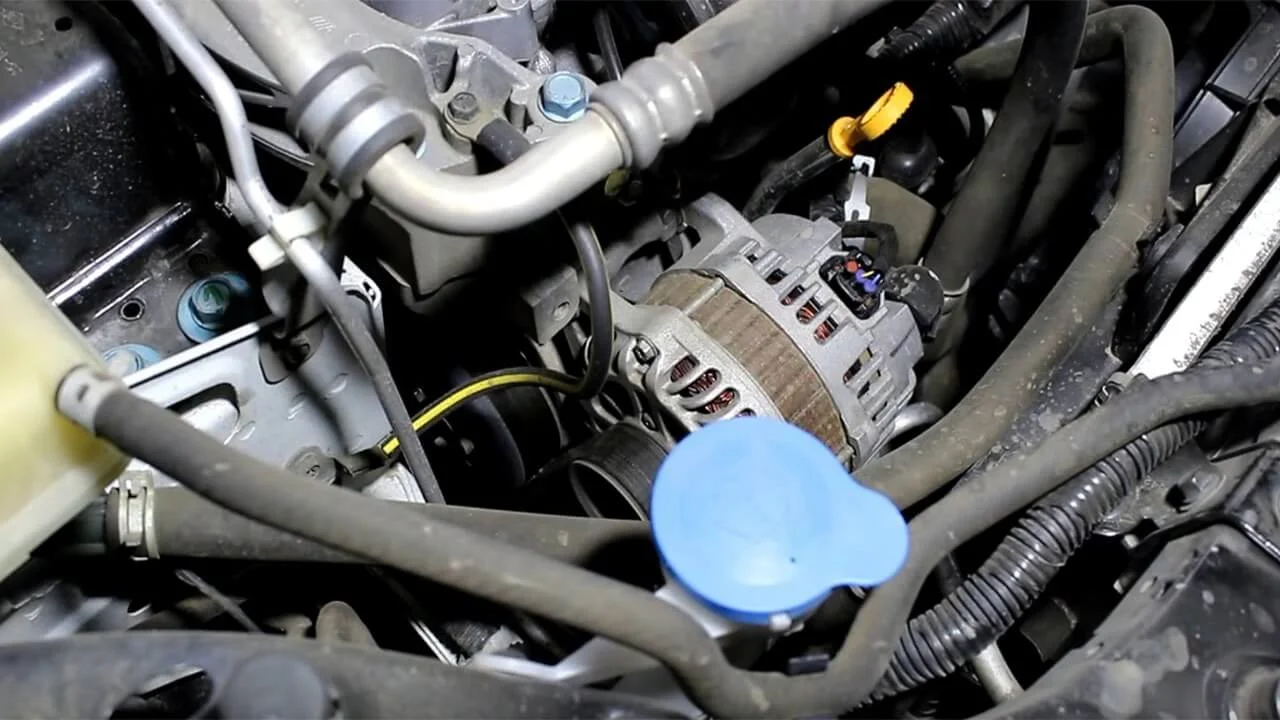
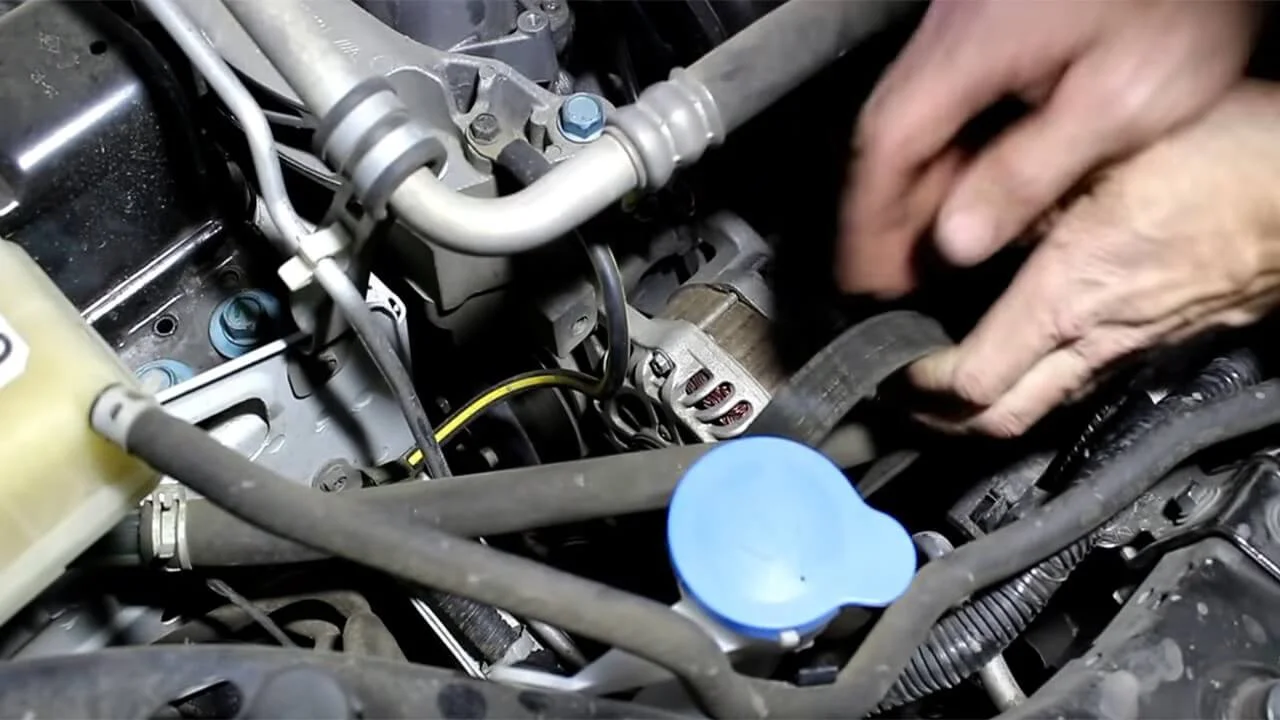
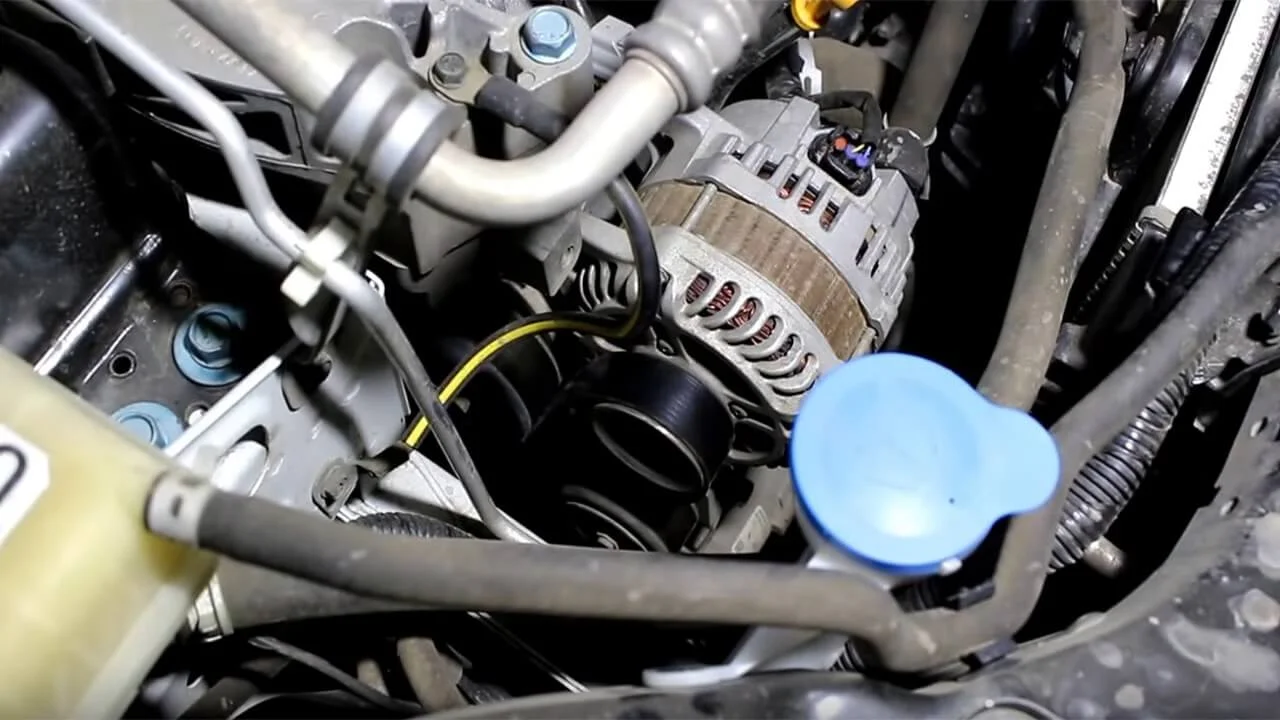
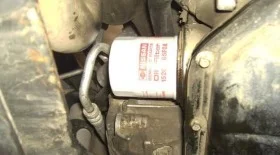
To replace the Nissan Qashqai auxiliary belt, the tension must be released. This model uses a mechanical tensioner. Locate the long adjusting bolt under the alternator.
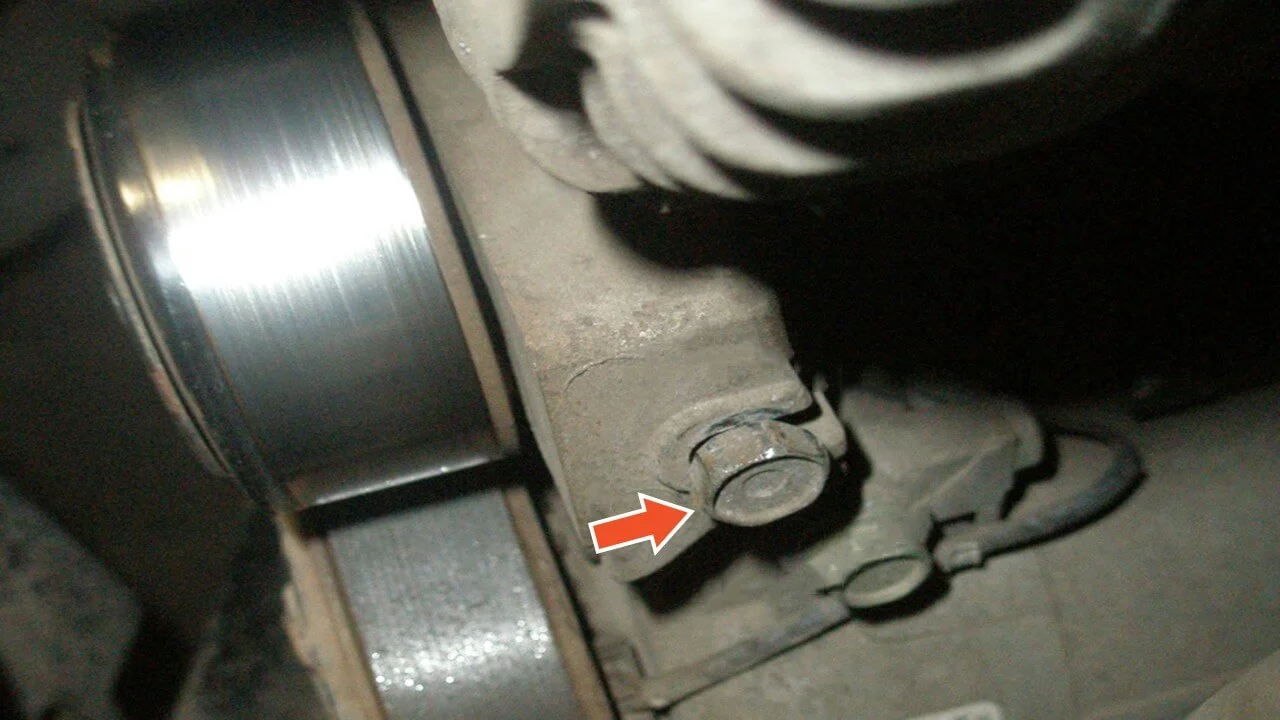
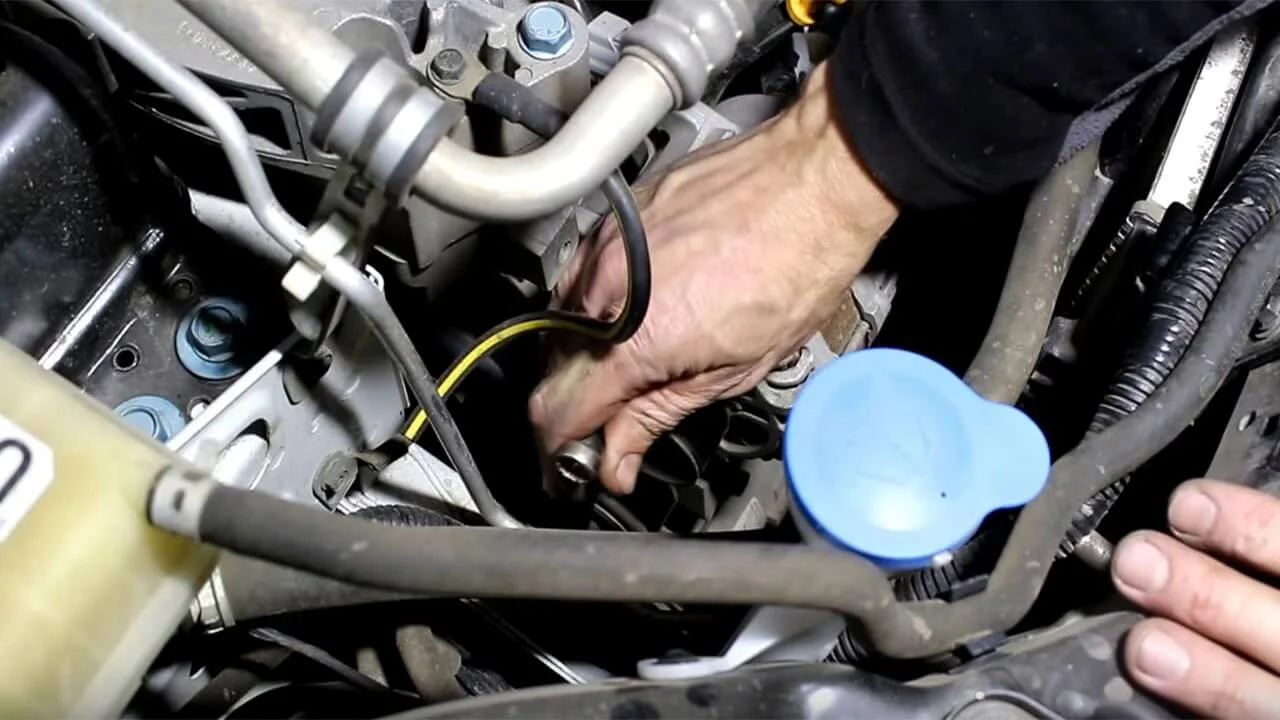
Use a 13mm socket to turn the bolt. Anti-clockwise to loosen, clockwise to tighten. However, you must first loosen the fixation of the pulley itself.
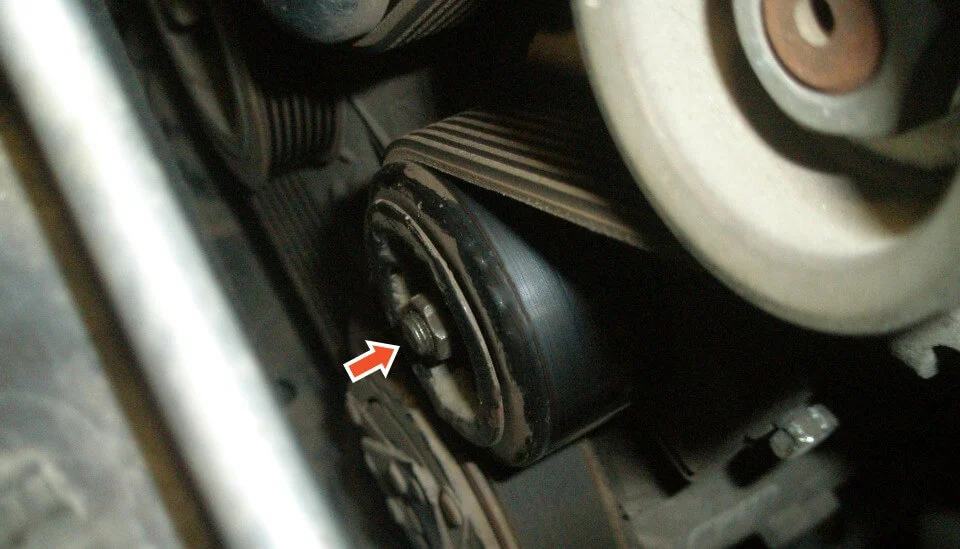
Loosen the locking nut (13mm) on the tensioner pulley. The pulley is subject to wear, so it is recommended to check it for play and noise. Replace if necessary (part number ST-11927-ED000).
Turn the adjusting bolt until the belt becomes slack.
Remove the belt from the pulleys.
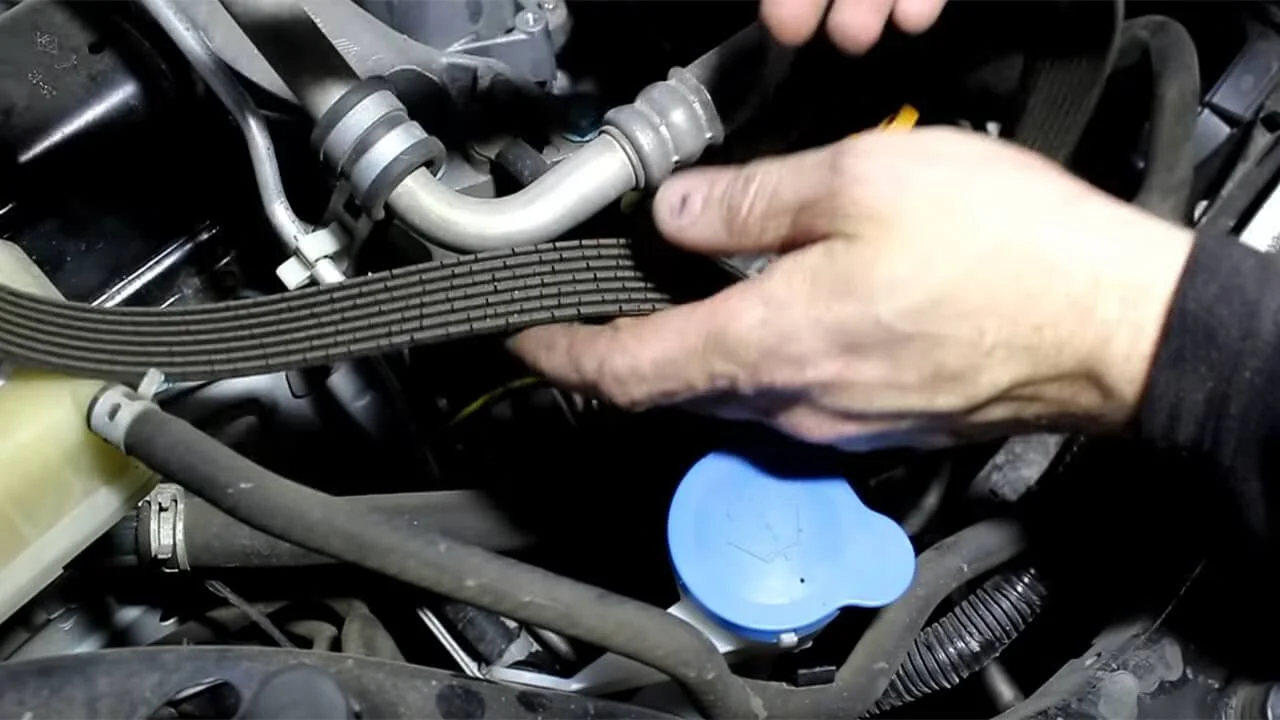
Inspect the condition of the old belt (check for cracks or crumbling ribs).
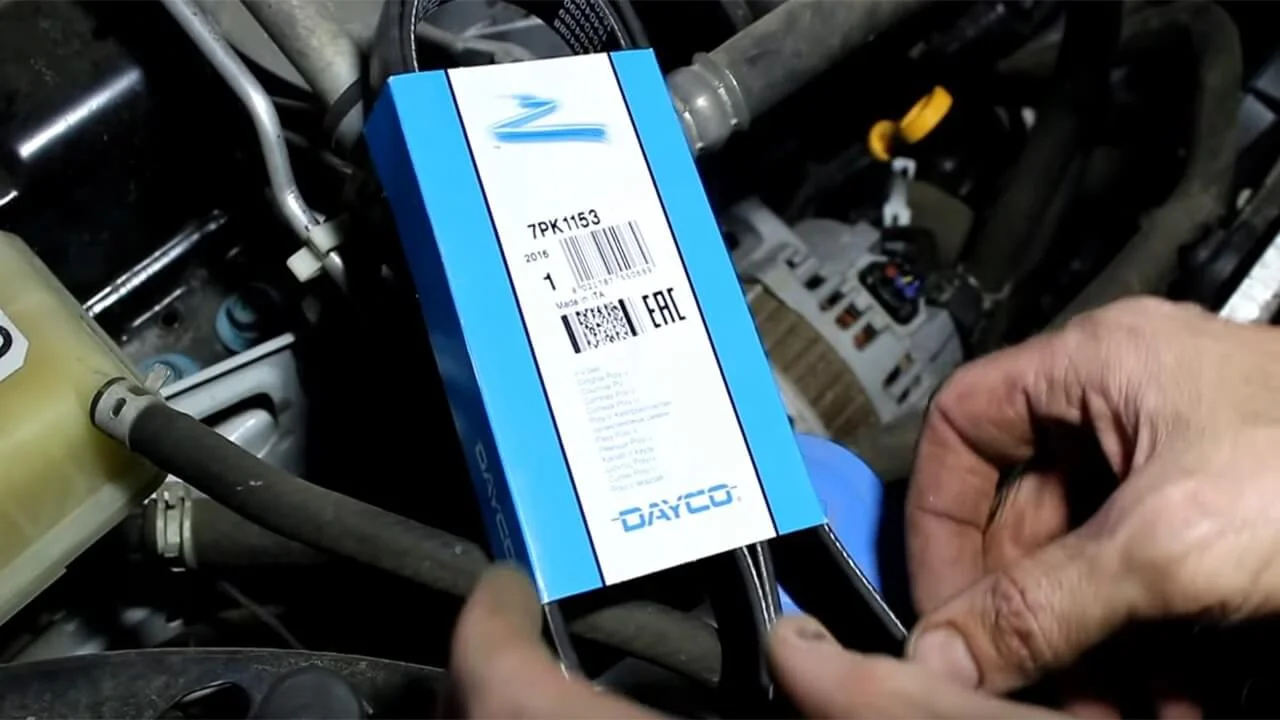
Take the new belt.
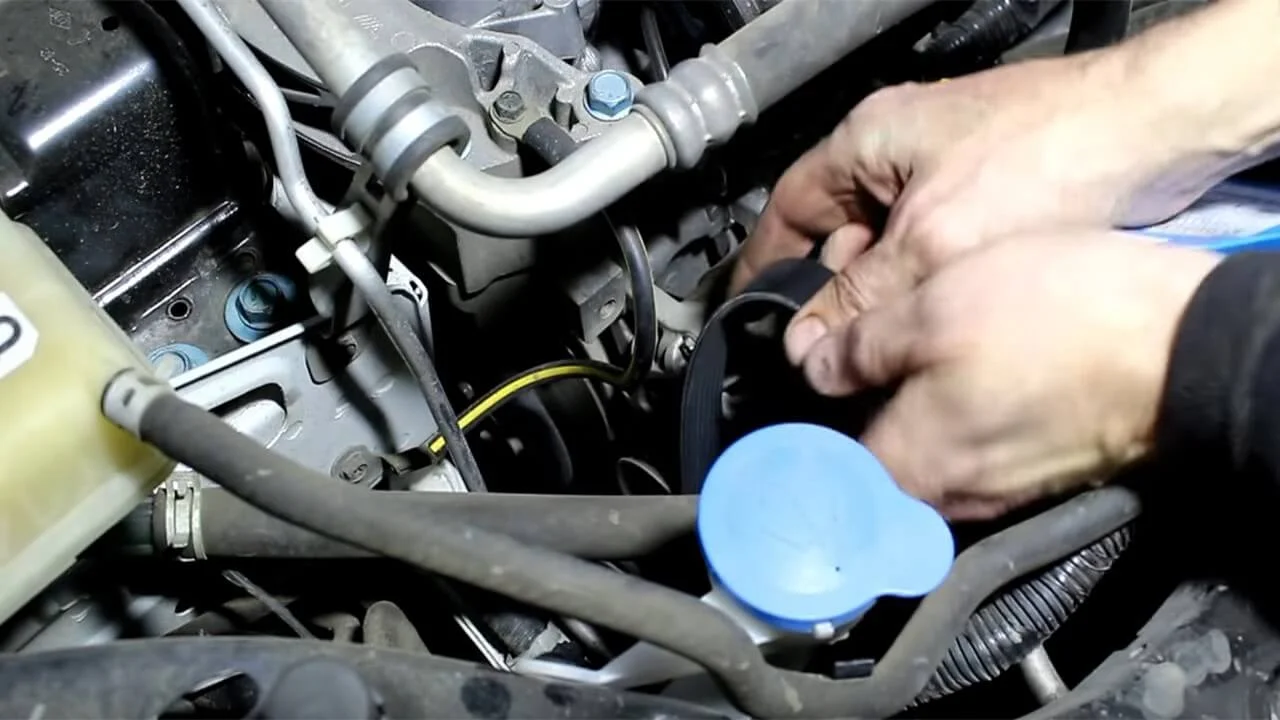
Begin installing the new belt.
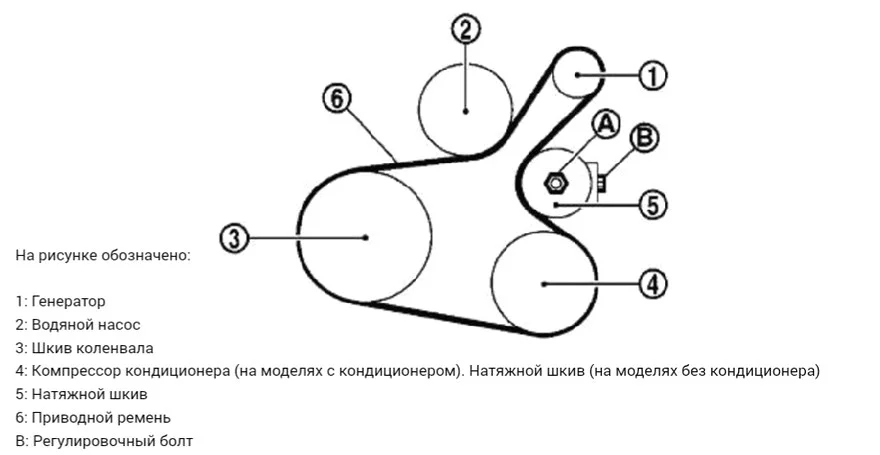
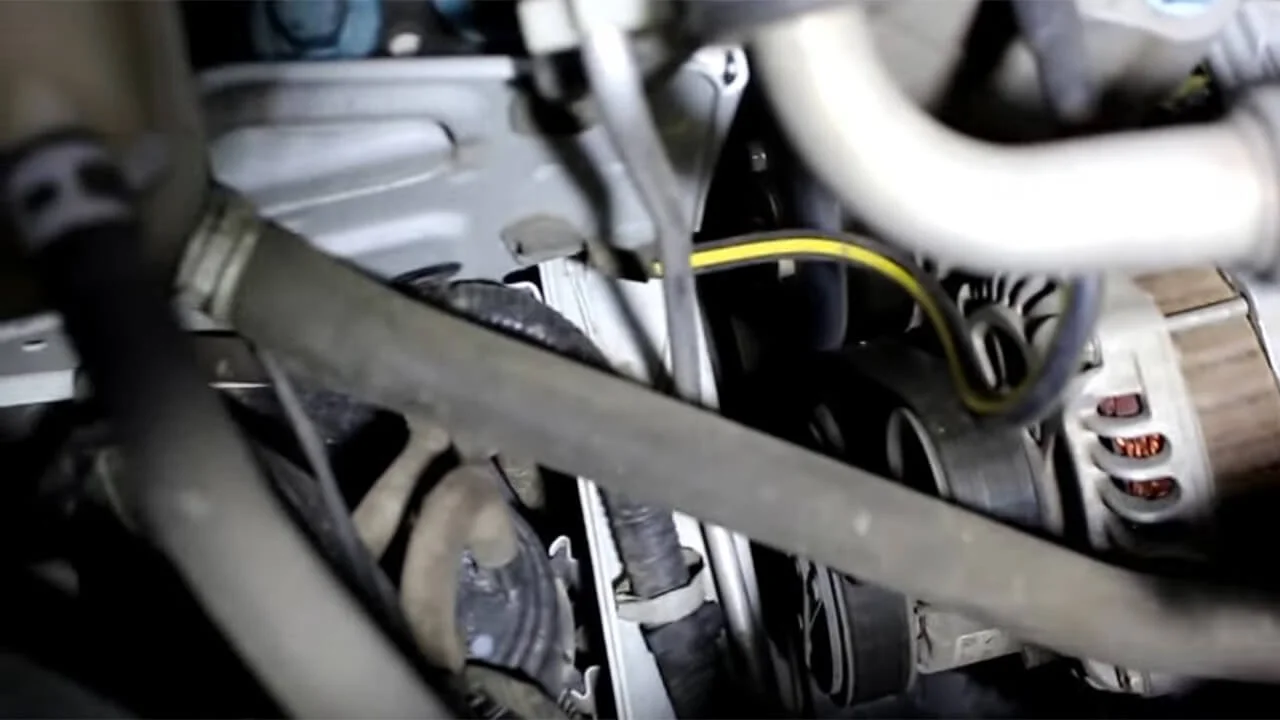
Route it over the crankshaft pulley, A/C compressor, tensioner pulley, and alternator. Ensure the belt sits evenly in the grooves.
Turn the adjusting bolt clockwise to achieve the necessary belt tension.
Tighten the locking nut on the tensioner pulley.
Was this guide useful?
Your feedback helps us improve our content.
Related Materials


Discussion (0)
No comments yet!