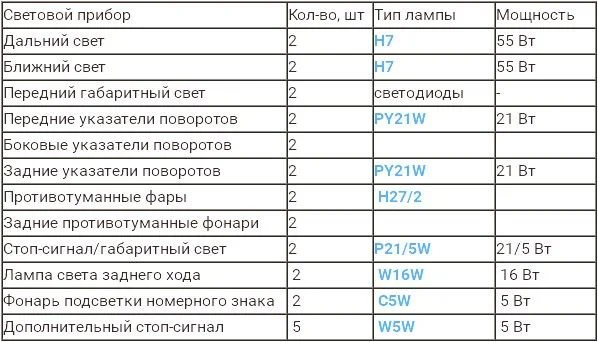
Kia Sportage 3 Bulb Replacement
Replacing bulbs on a Kia Sportage 3 is not difficult at all; the task can be quickly handled as a DIY job. No tools are required for changing the front bulbs on either headlight. You will only need the new bulbs; here are the types used on the 2014 Sportage:
dipped beam — H11B bulb (or H7);
main beam — H7 bulb;
indicator — PY21W bulb (or 2357A);
sidelight — W5W bulb (or 2825 and compatible LEDs);
fog lights — standard H8 35W bulb, though often replaced with H27 (for higher output).
Replacing Front Headlight Bulbs on Sportage 3
First, open the bonnet and locate the headlight unit with the blown bulb. The replacement process is as follows.
Replacing the Dipped Beam Bulb on Sportage 3
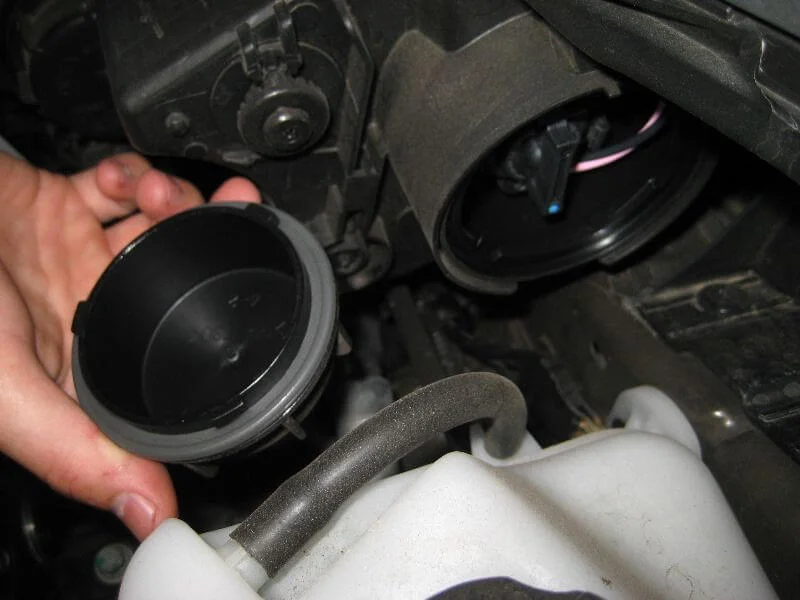
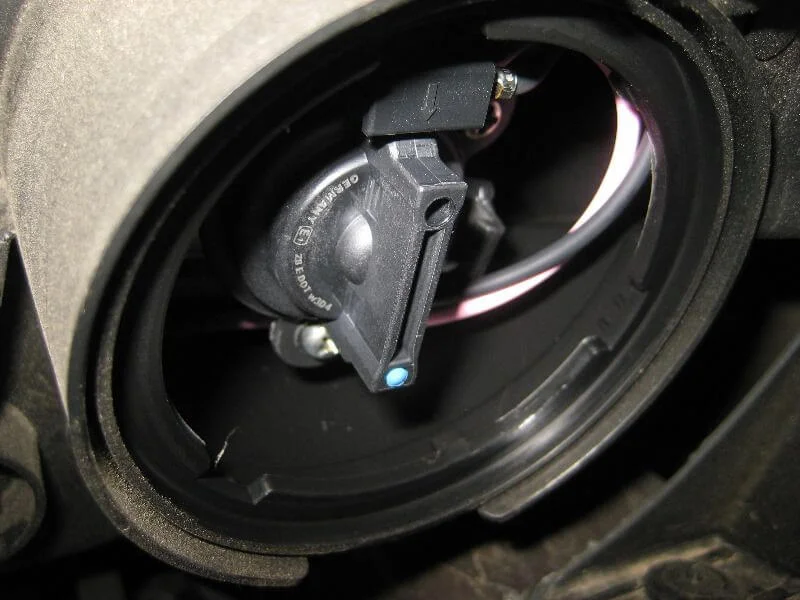
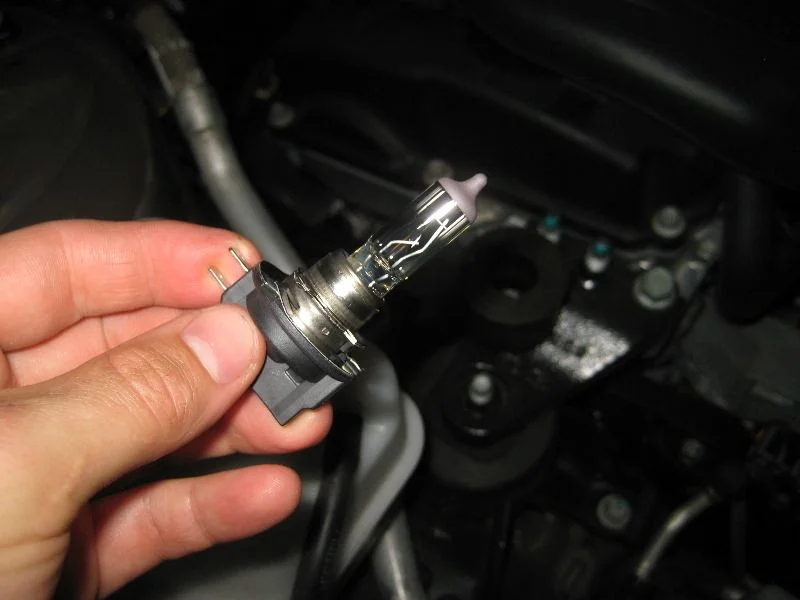
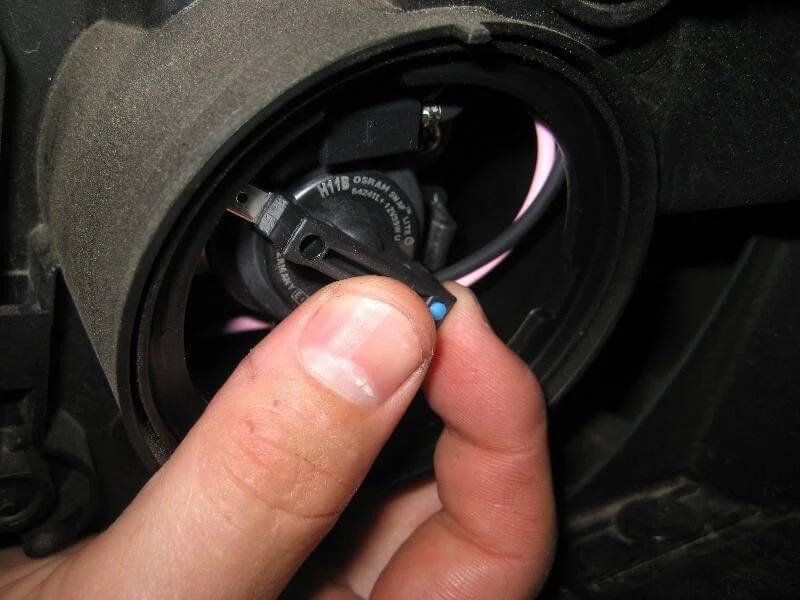
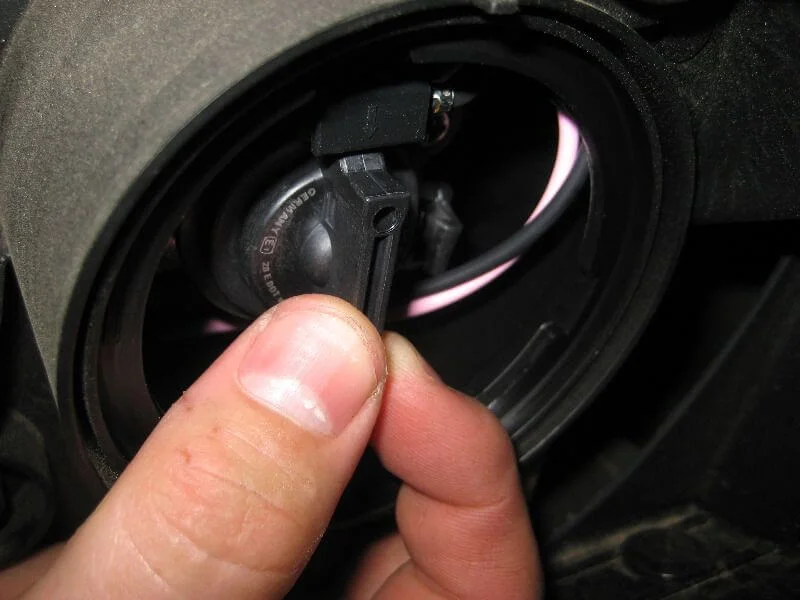
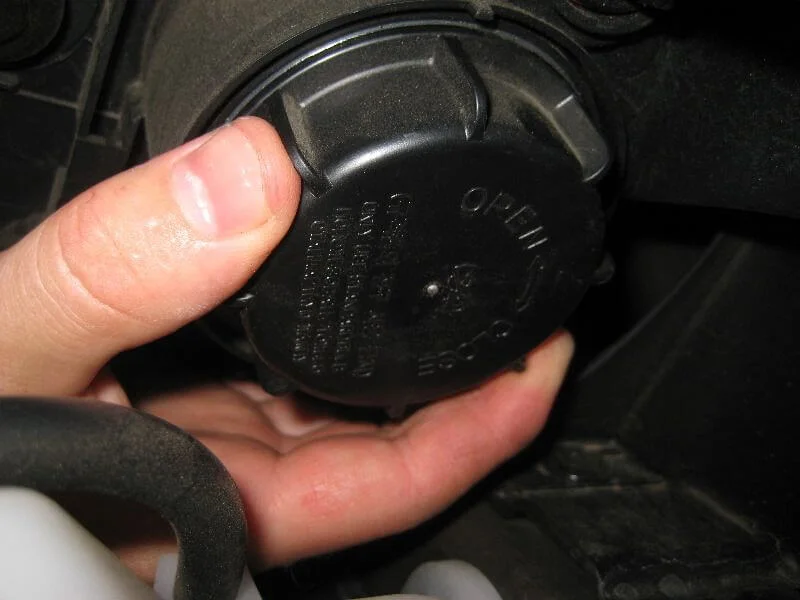
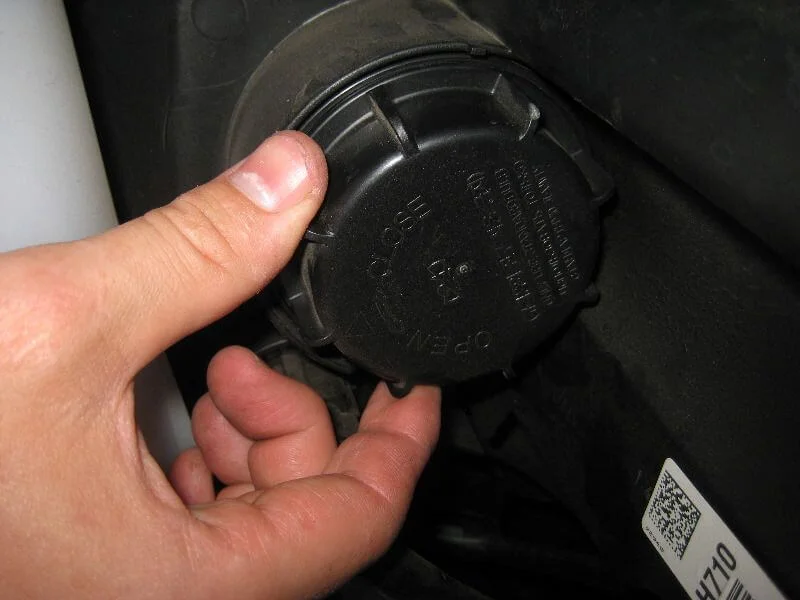
The dipped beam bulb is located in the centre of the headlight unit. First, remove the dust cover protecting the bulb by simply turning it anti-clockwise. Then, turn the black base of the bulb anti-clockwise a quarter turn and pull the bulb out of the headlight.
Insert the new bulb into the socket and turn it a quarter turn clockwise. Then, refit the protective cover.
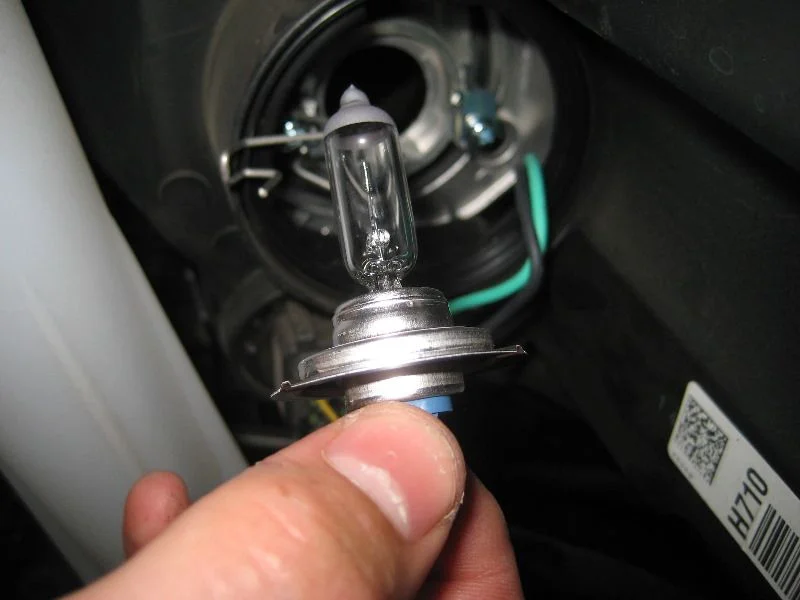
Replacing the Main Beam Bulb on Sportage 3
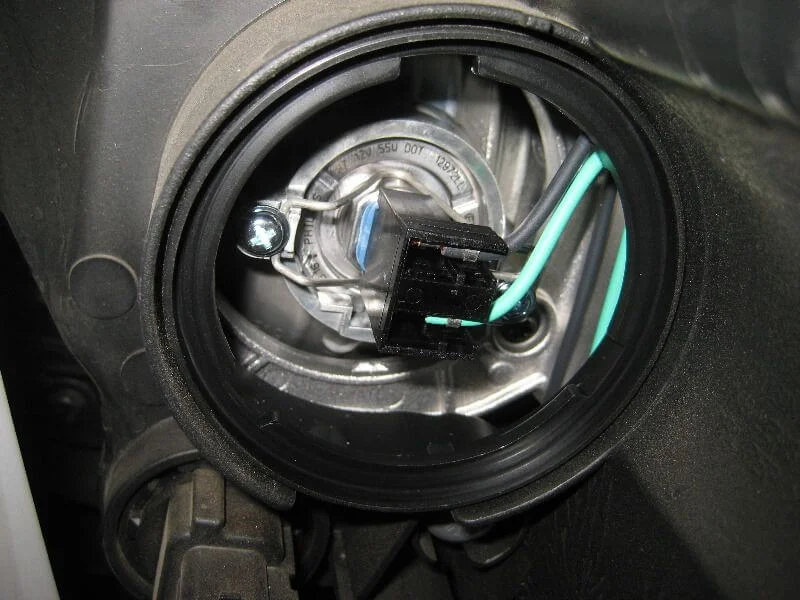
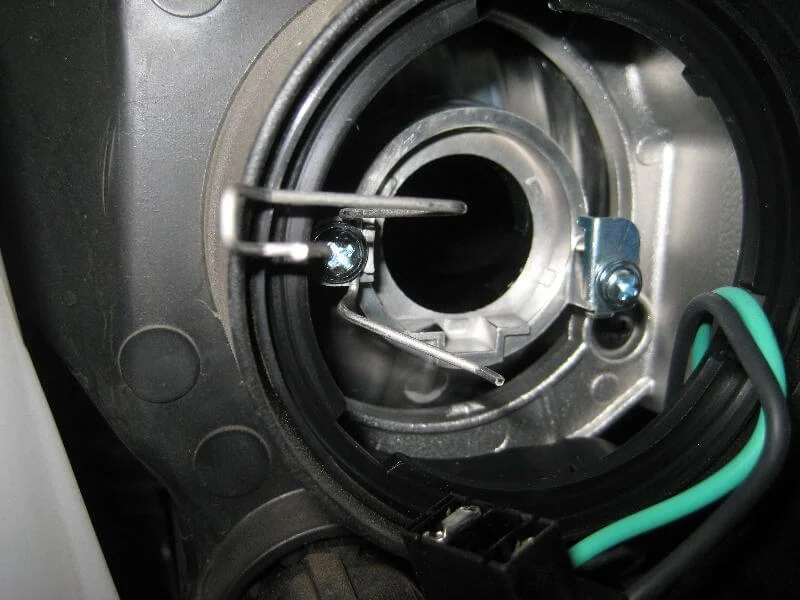
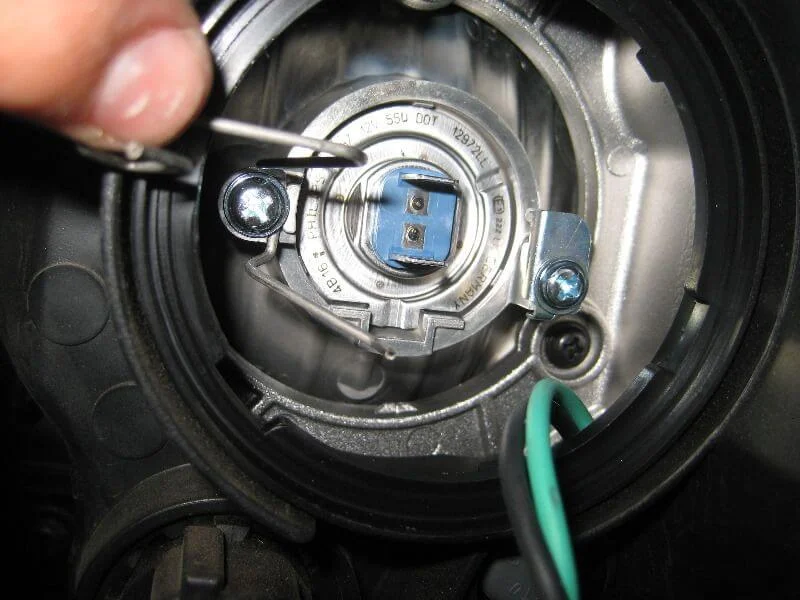
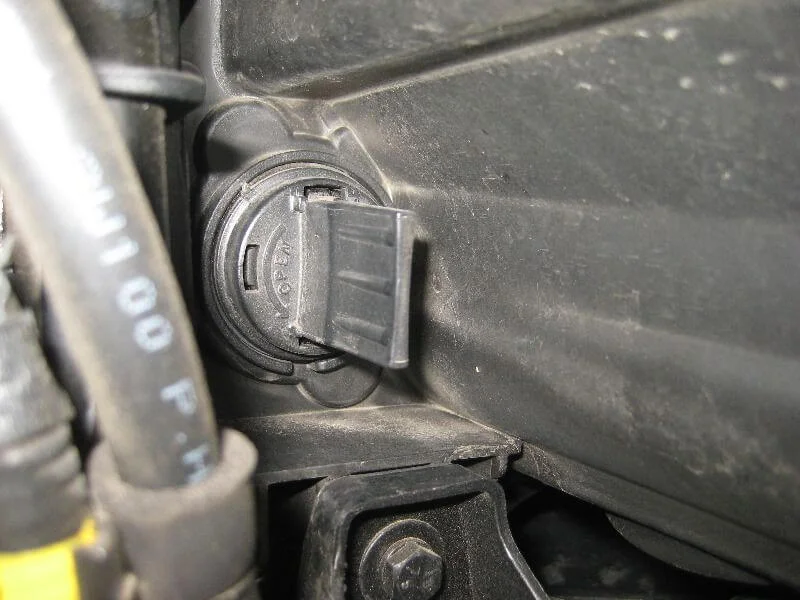
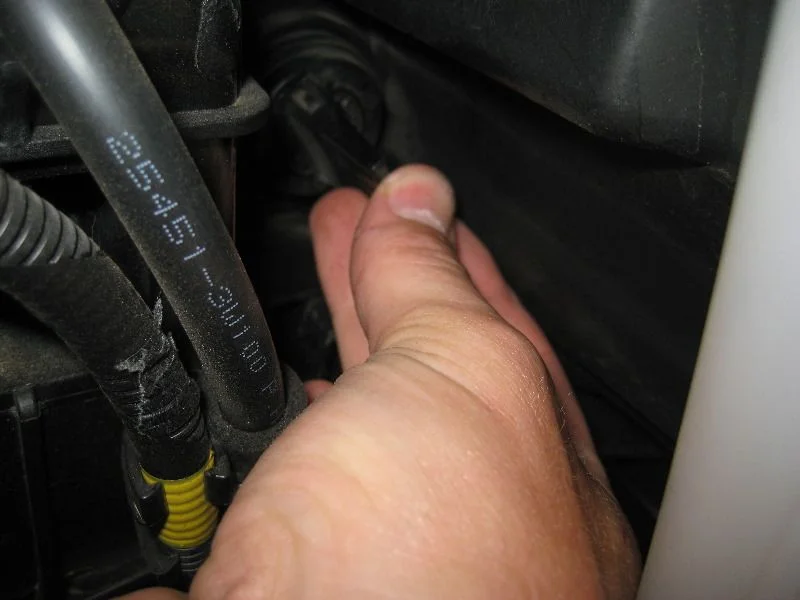
The main beam bulb is located near the centre of the headlight unit. It is also protected by a cap at the rear, which needs to be removed. Then, disconnect the power connector and release the retaining spring clip. The bulb can now be removed from the headlight.
Place the new bulb into the socket and secure it with the clip. Due to the shape of the clip, it can only be fitted in one correct position. Reconnect the power connector and refit the cover.
Replacing the Indicator Bulb on Sportage 3
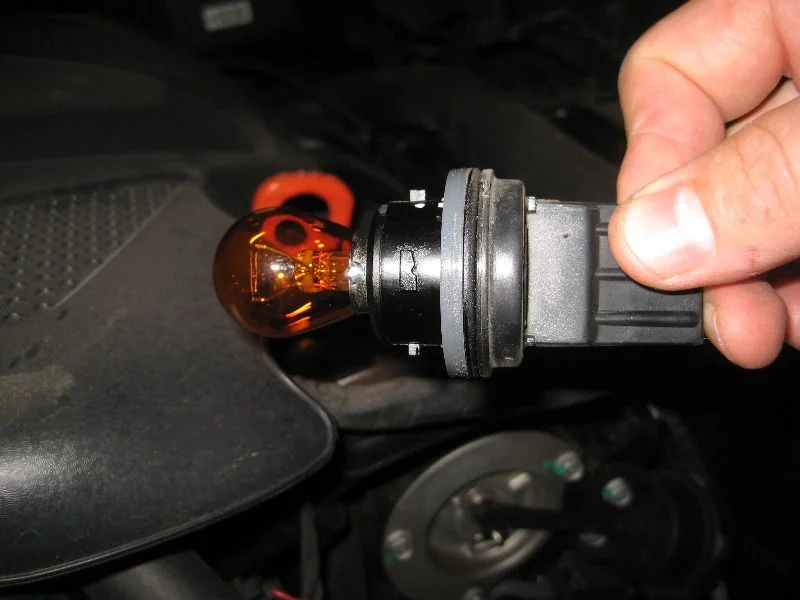
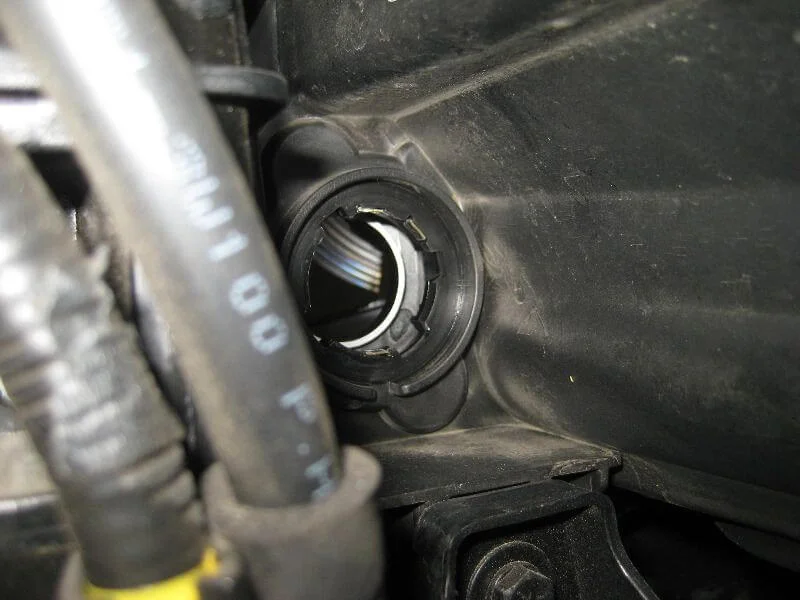
The indicator bulb is located at the inner corner of the headlight unit. Turn the large black tab of the bulb holder anti-clockwise and pull the holder out of the housing. Then, push the bulb in slightly and turn it a quarter turn anti-clockwise to remove it from the holder. Installation is the reverse of removal.
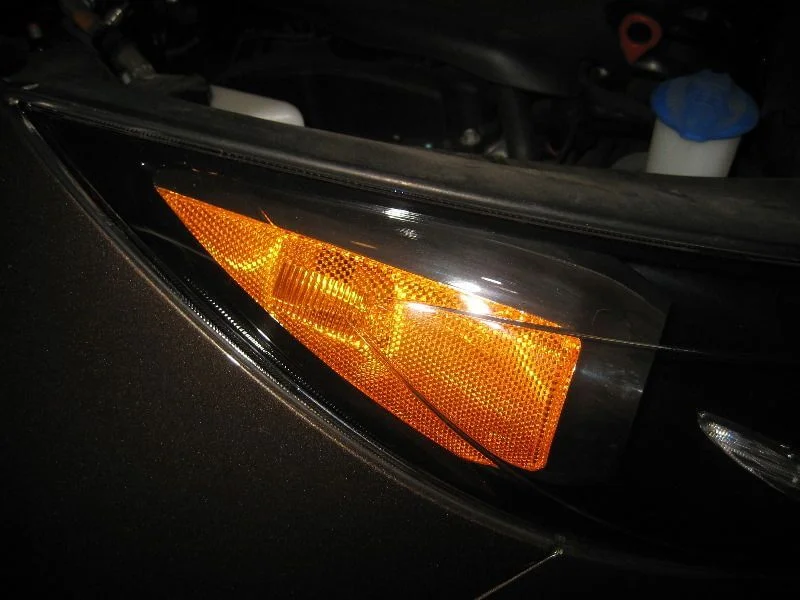
Replacing the Sidelight Bulb on Sportage 3
The sidelight bulb is located on the outer side of the headlight unit. Turn the small black bulb holder anti-clockwise and pull it out of the housing. Simply pull the old bulb out and insert a new one into the holder. Then insert the holder back into the headlight and turn it clockwise.
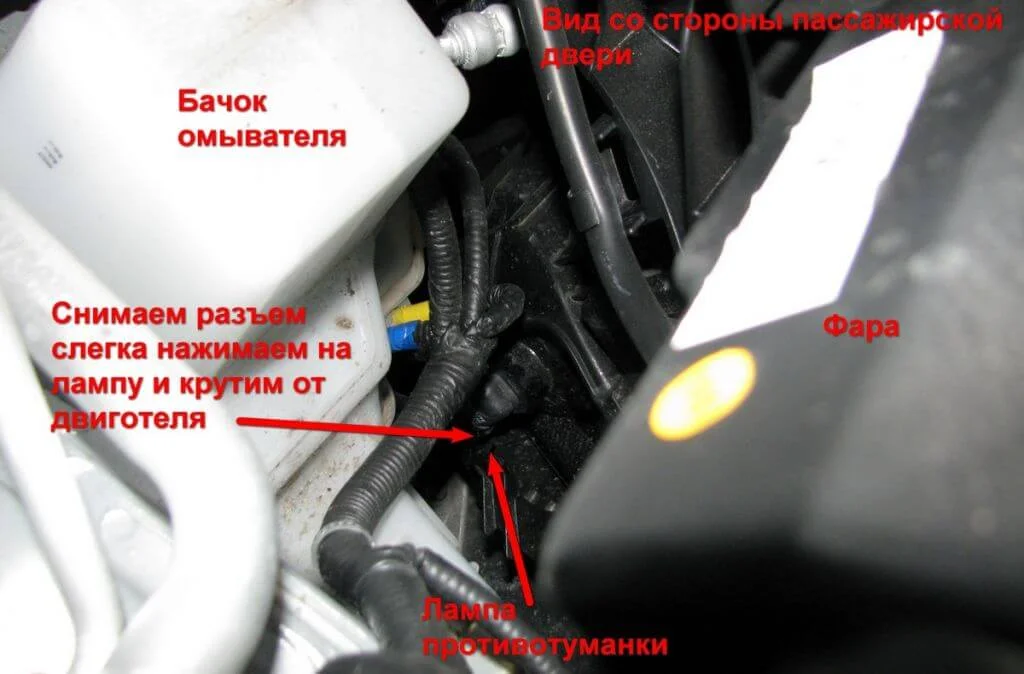
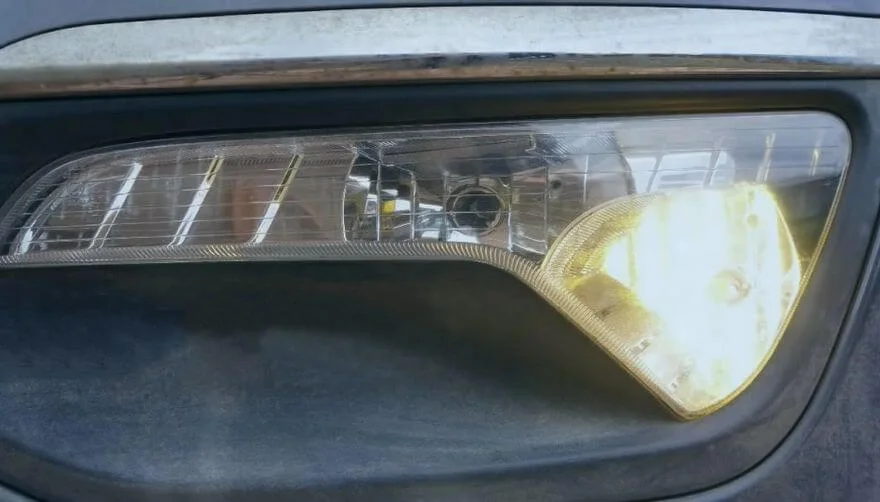
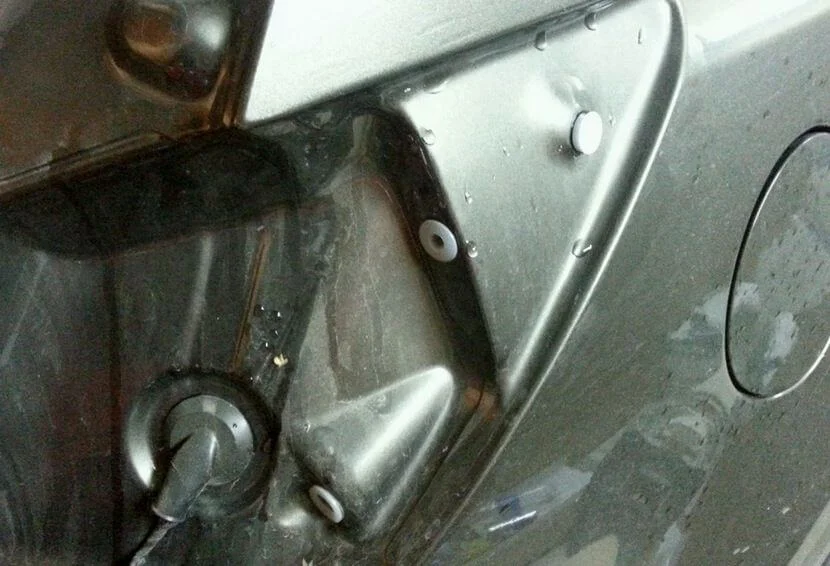
Replacing Fog Light Bulbs on Sportage 3
The Kia Sportage III fog light unit actually contains two bulbs — the main fog light (shown in the photos) and a second one, the so-called cornering light (which burns out rarely as it is used infrequently, only activating when dipped beam is on, the indicator is active, and speed is under 40 km/h). The Sportage fog light bulb is located lower than the others, in a separate unit. It is removed by turning it anti-clockwise.
Replacing the left fog light usually presents no issues, as there is fairly easy access from the engine bay. However, replacing the right fog light can be difficult (the washer fluid reservoir gets in the way). To replace it, you may need to unscrew and pull back the wheel arch liner to unscrew and insert the new bulb from below.
If you use your fog lights as daytime running lights or simply dislike the yellow hue of the standard bulbs, you can install an LED H27 bulb, which will provide a very bright, cool white light.
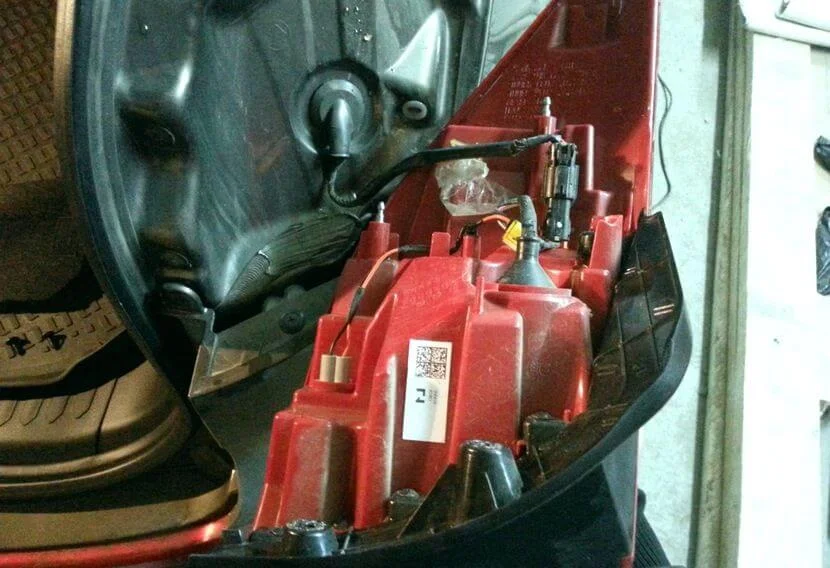
Replacing Rear Light Bulbs on Sportage 3
Changing brake light or indicator bulbs in the rear clusters of the Sportage III is also not difficult, but it requires removing the light unit. The light is secured to the bodywork by two screws and three plastic guide pins. Bulbs are removed by pushing in and turning anti-clockwise. To change the reversing light and indicator bulb in the section located on the tailgate, you simply need to open the access hatch on the inside and pull out the bulb holder.
Common questions regarding Sportage 3 bulbs:
- Kia Sportage 3 daytime running light not working
- What bulb is used in the auxiliary lighting of Kia Sportage 3?

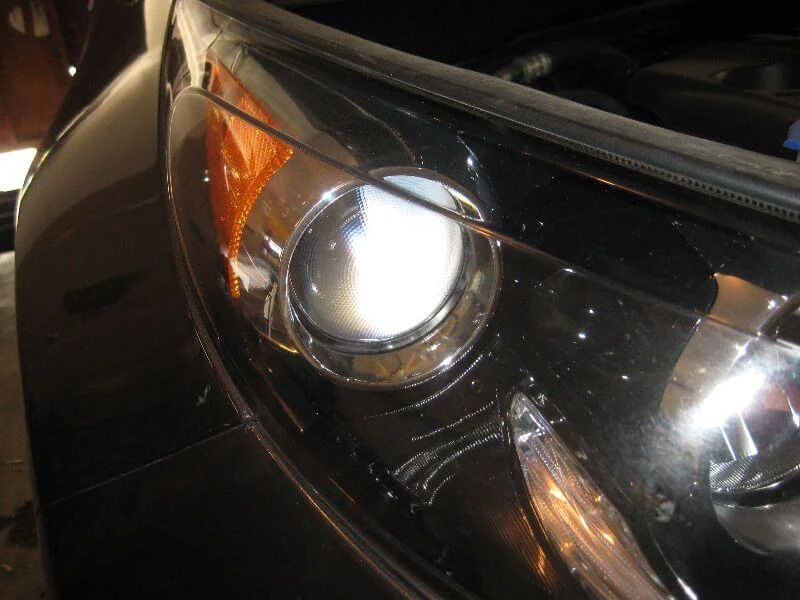
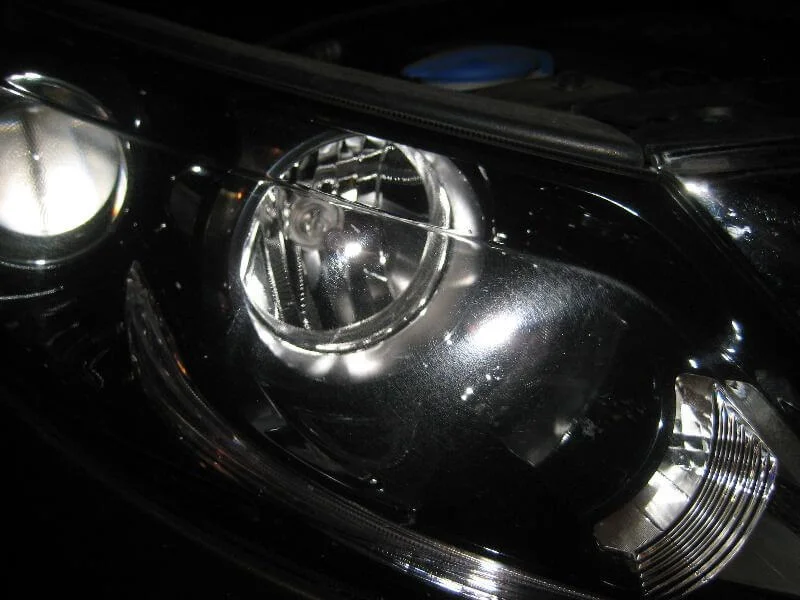
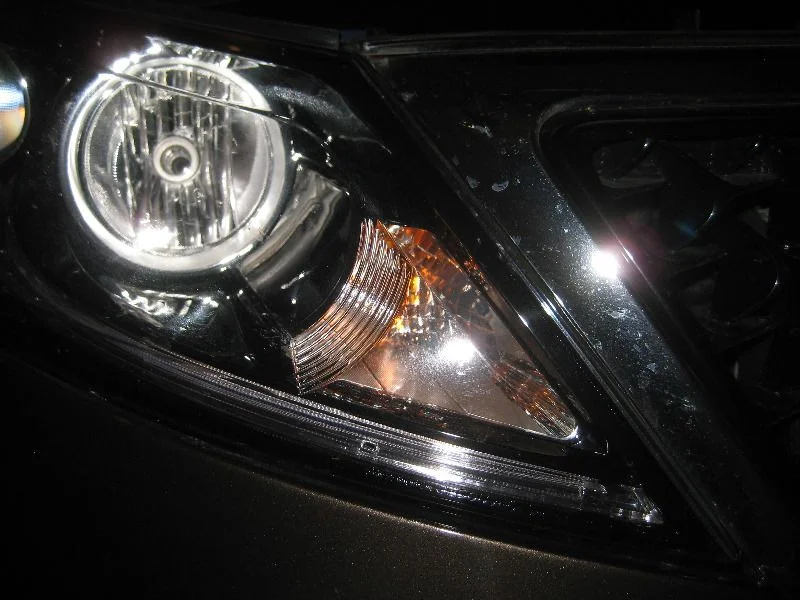
Front headlight of the 2014 Sportage.
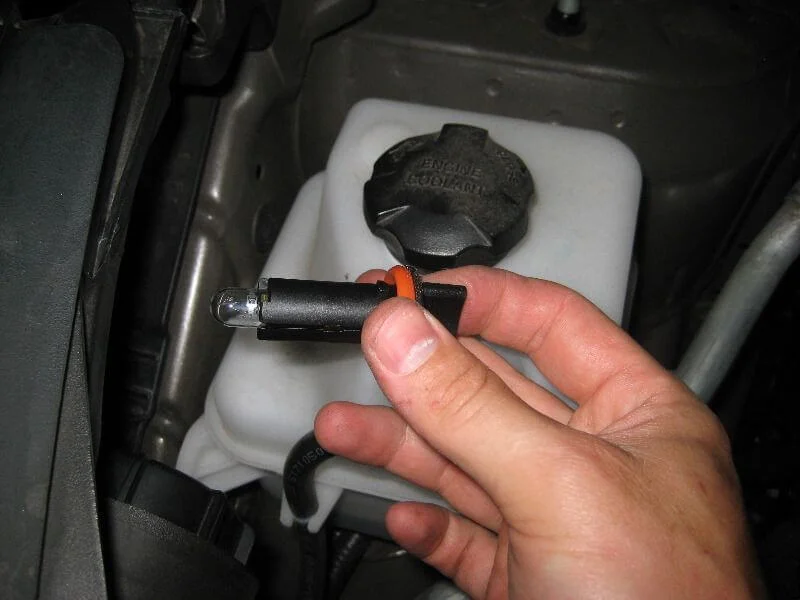
Dipped beam bulb.
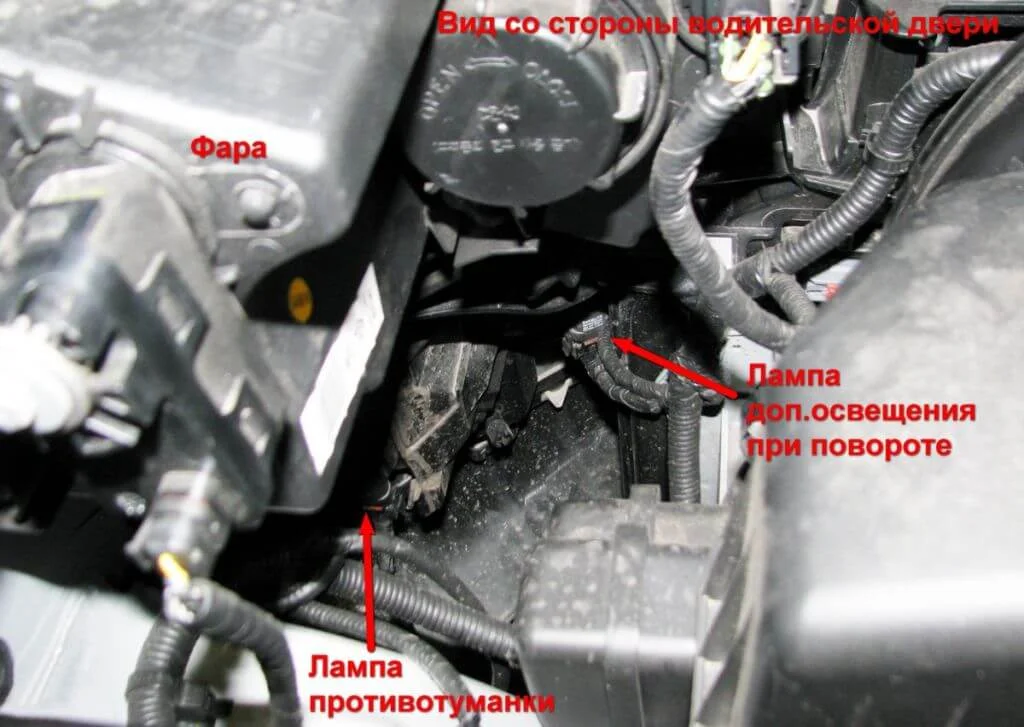
Locations of all bulbs on the Sportage III.
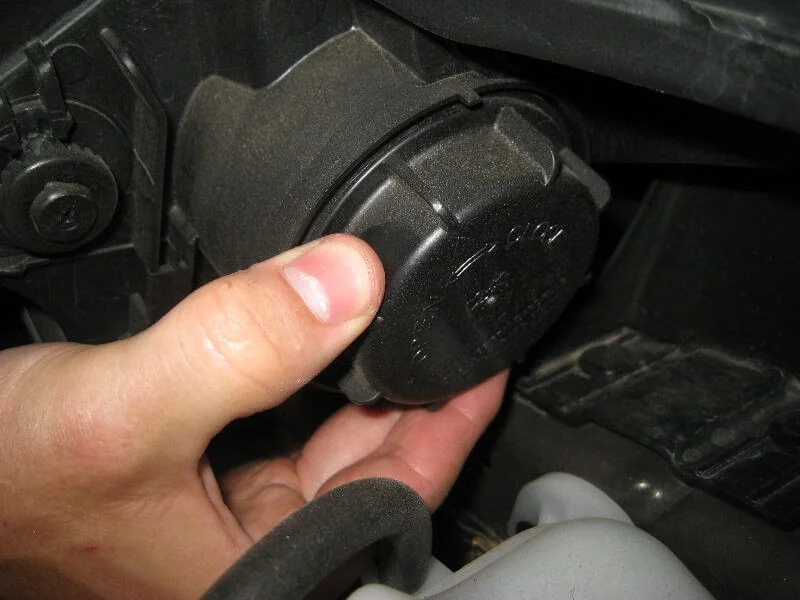
Turn the cover anti-clockwise.
Remove the cover.
Dipped beam bulb view from the rear.
Turn 1/4 turn anti-clockwise to remove the bulb.
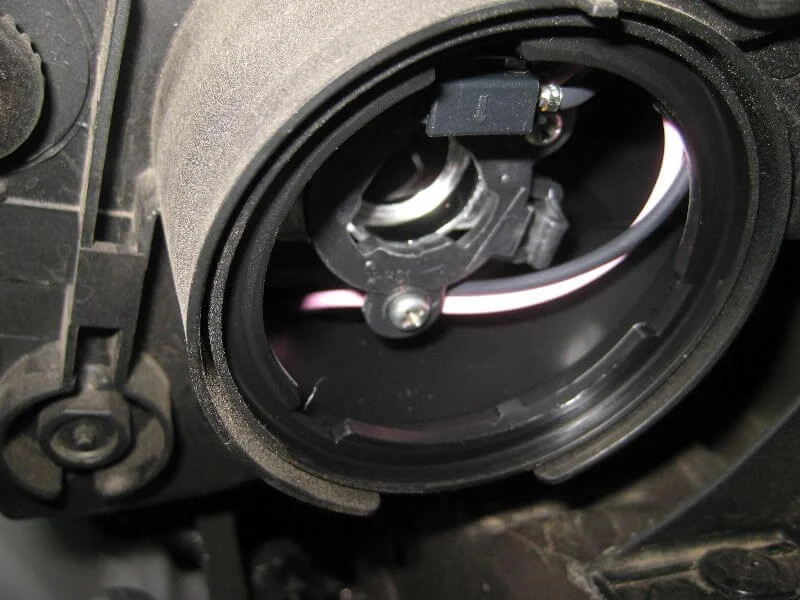
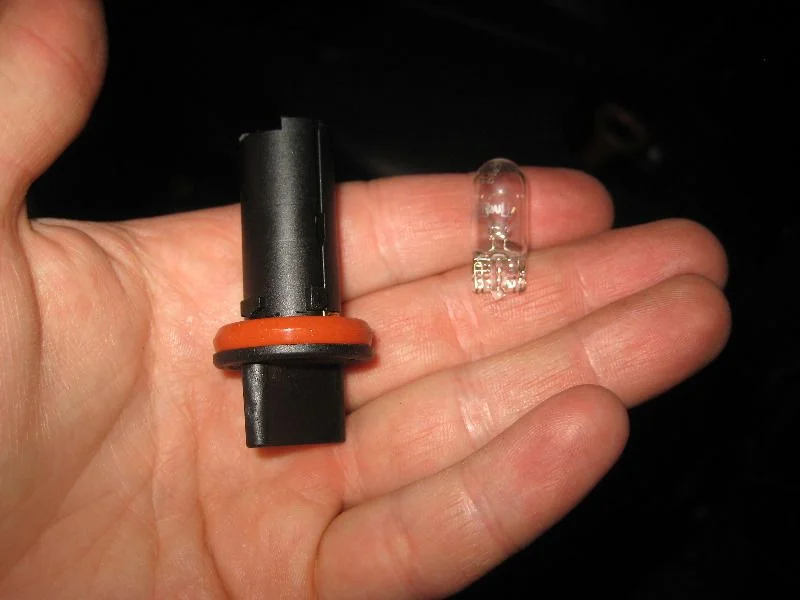
Empty socket.
Insert the new bulb.
Turn 1/4 turn clockwise.
Refit the cover.
Main beam bulb.

It is also protected by a cover.

Remove the cover.
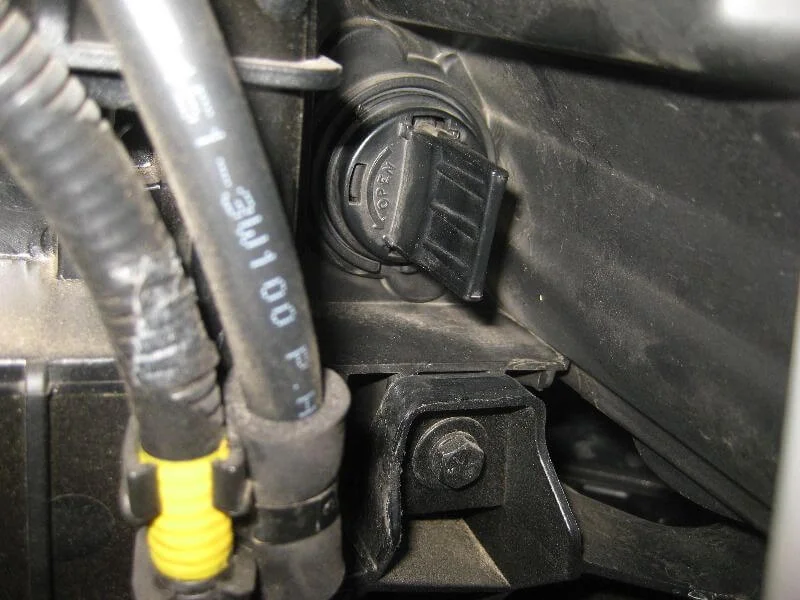
Plastic power connector.
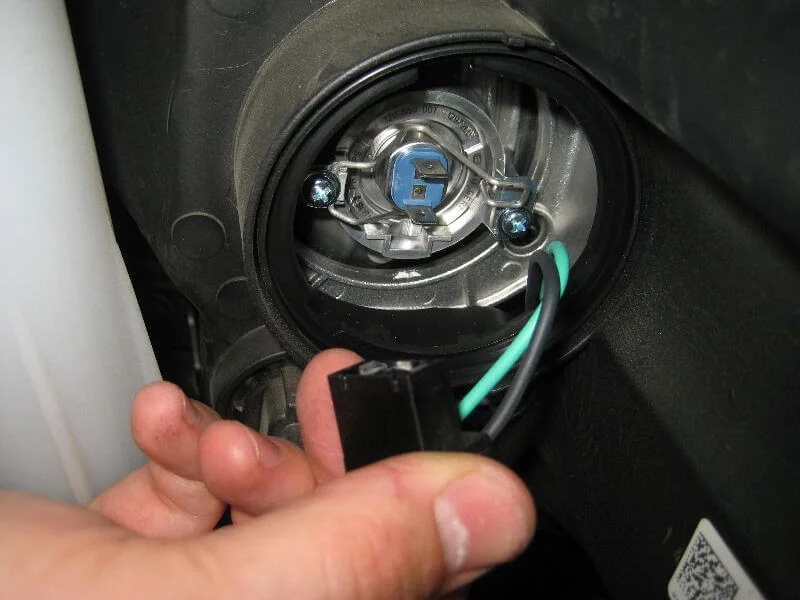
Disconnect the connector.
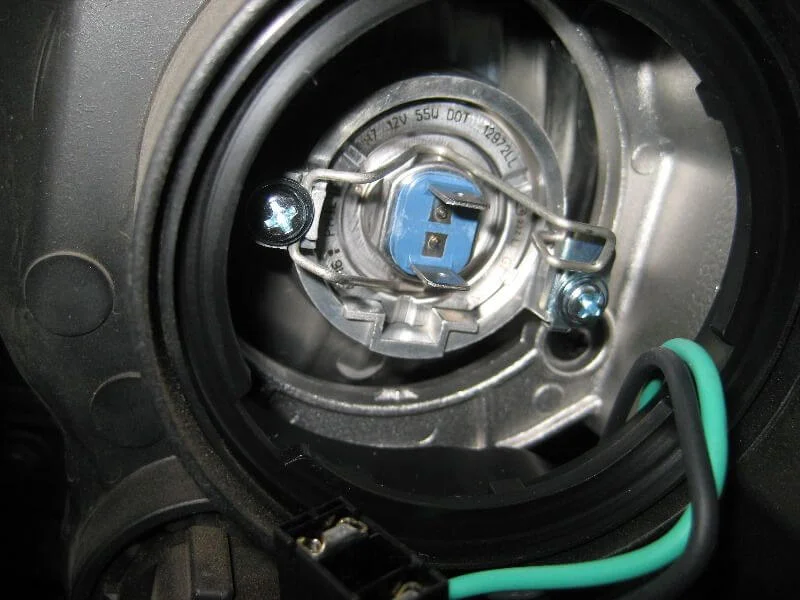
Bulb retaining clip.
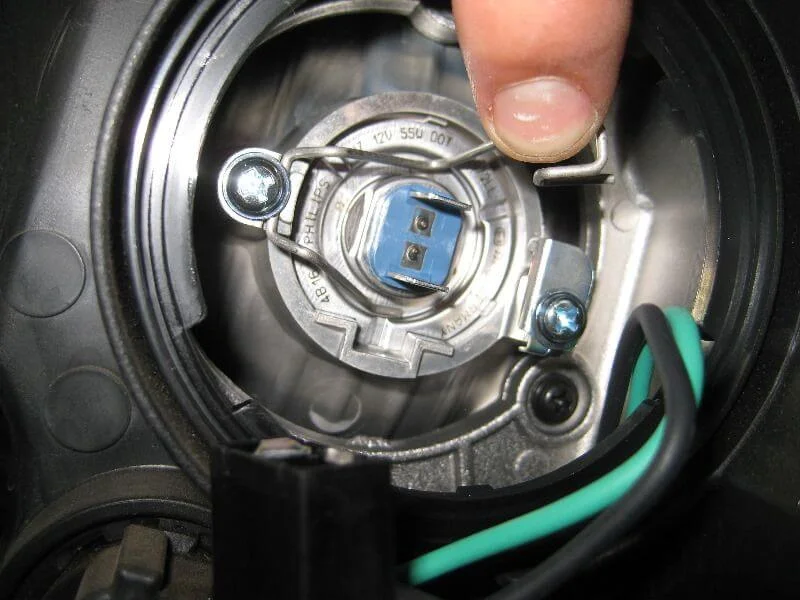
Lift the clip.
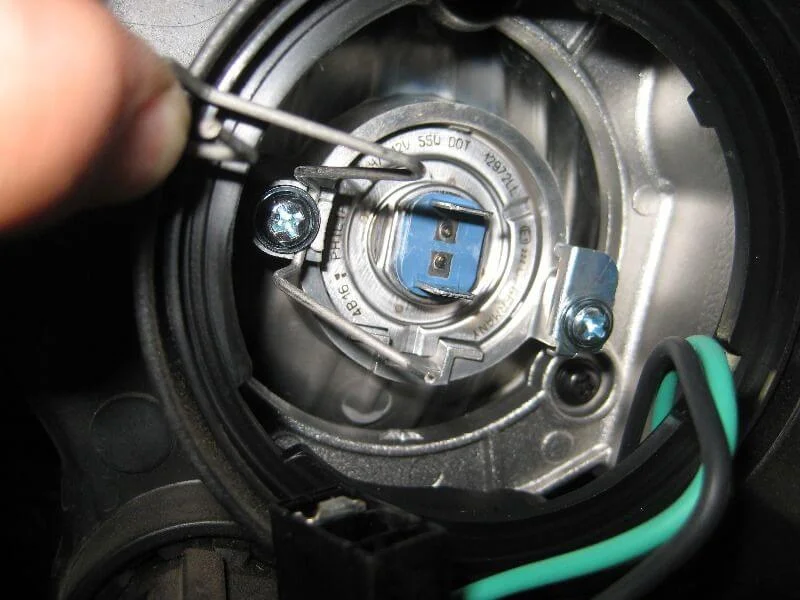
Move the clip aside.
Remove the bulb from the headlight.
Empty socket.
Install the new bulb.

Secure the bulb with the clip.
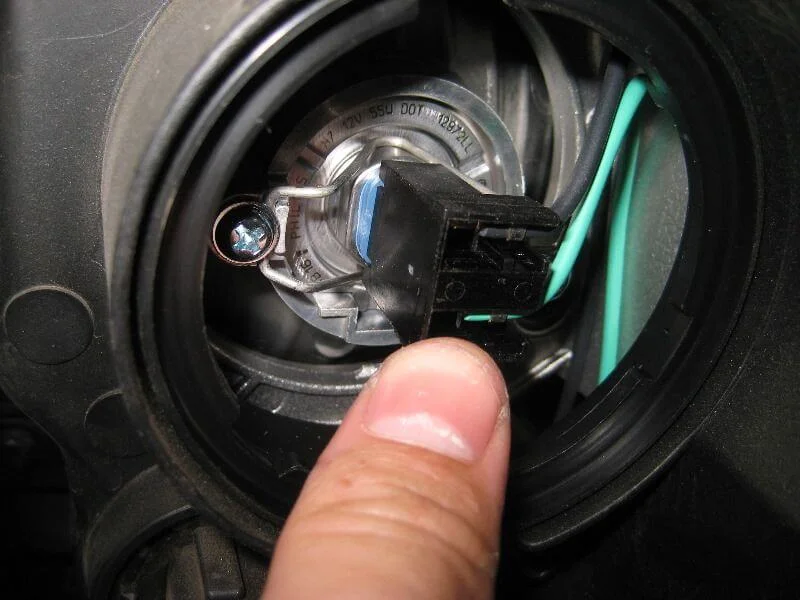
Connect the connector.
Refit the protective cover.
Indicator bulb.
View from the rear.
Turn 1/4 turn anti-clockwise.
Remove the bulb holder.
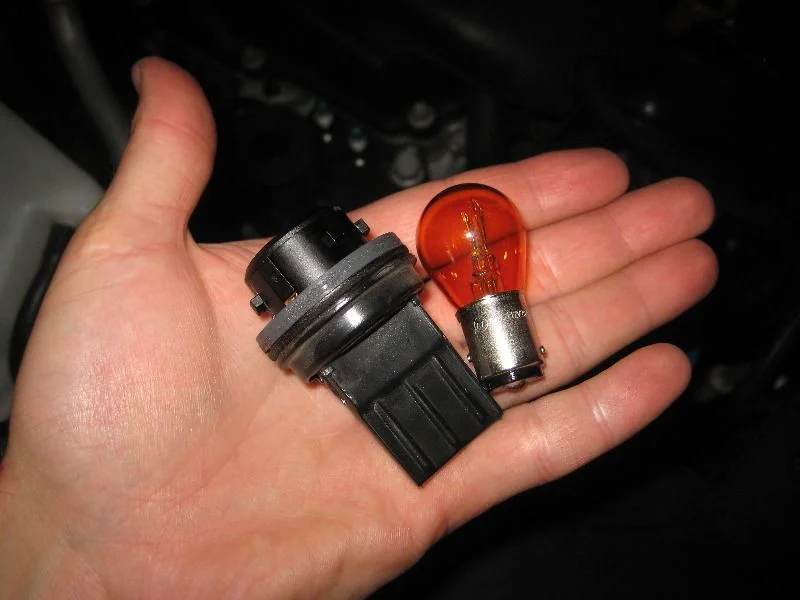
Push in and twist the bulb to remove it from the holder.
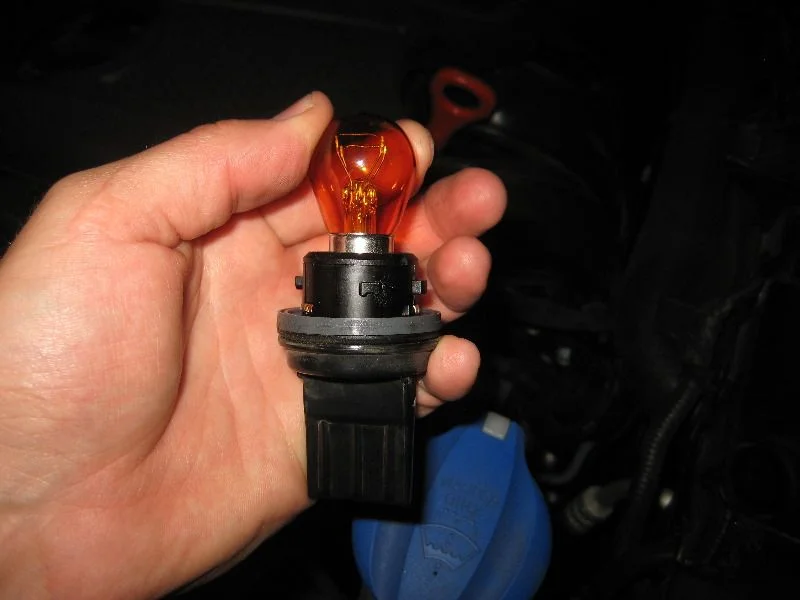
Install the new bulb into the holder.
Empty socket.
Insert the new bulb and turn the holder clockwise.
Sidelight bulb.
View from the rear.
Turn anti-clockwise 1/4 turn.
Remove the holder.
Pull out the old bulb and install the new one.
Reassemble in reverse order.
Check the lights.
Next, replacing fog light bulbs on Sportage 3.

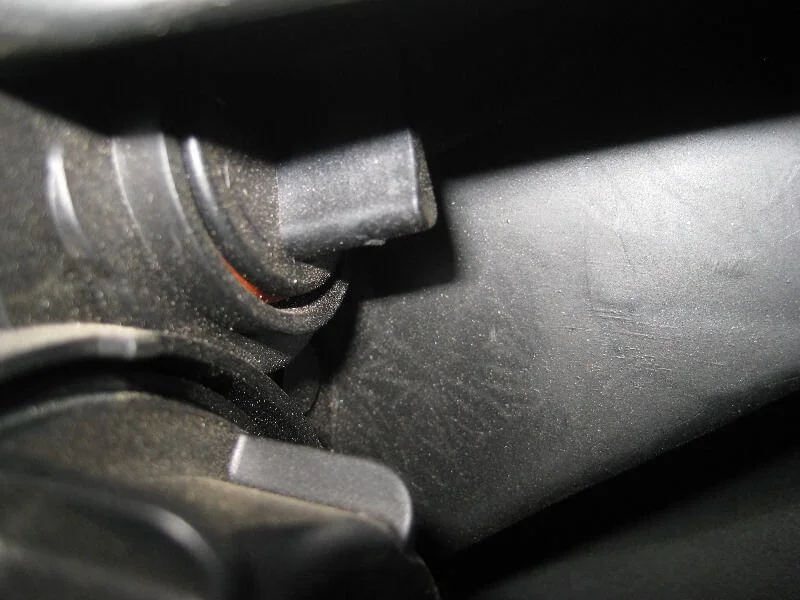
Since the left fog light is easier to remove, it is better to start there. It is easy to reach in to unclip the connector and, twisting 45 degrees anti-clockwise, remove it from the fog light unit.
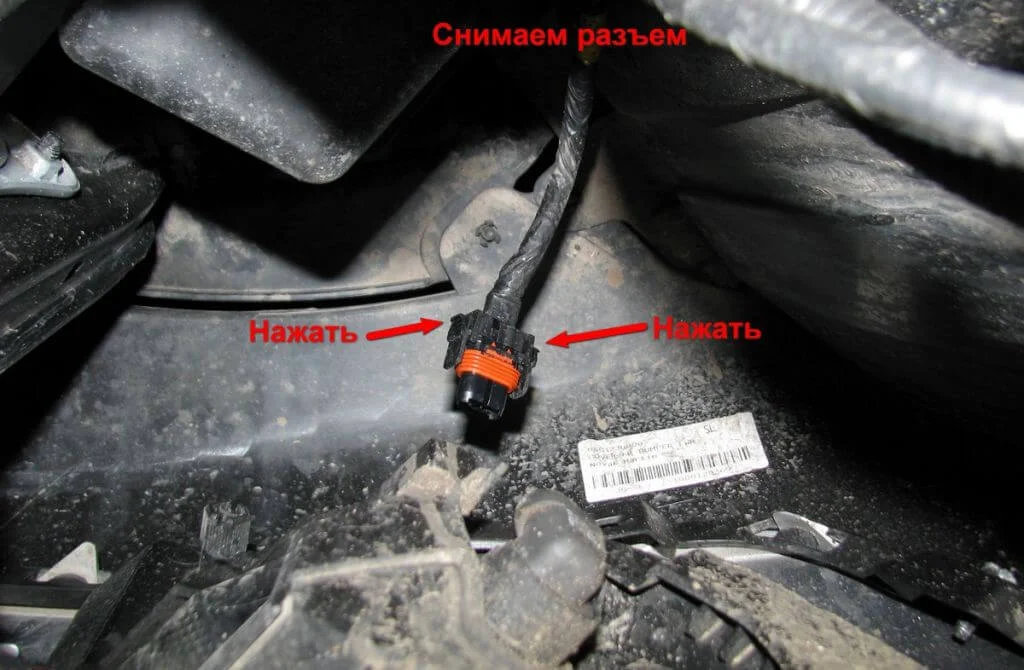
Remove the fog light power connector by pressing the tabs on the sides.
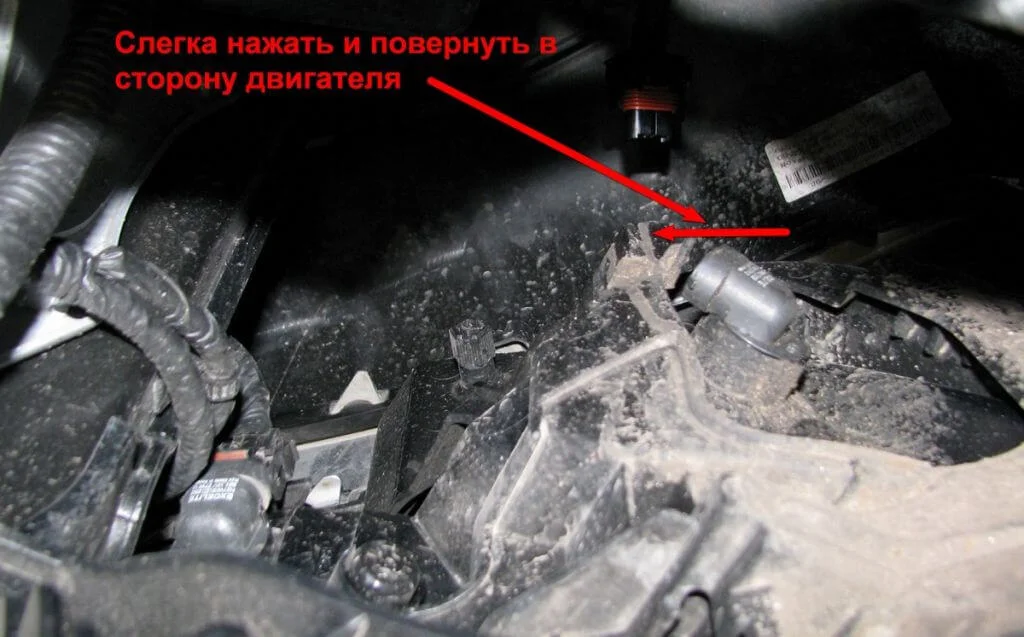
Twist and remove.
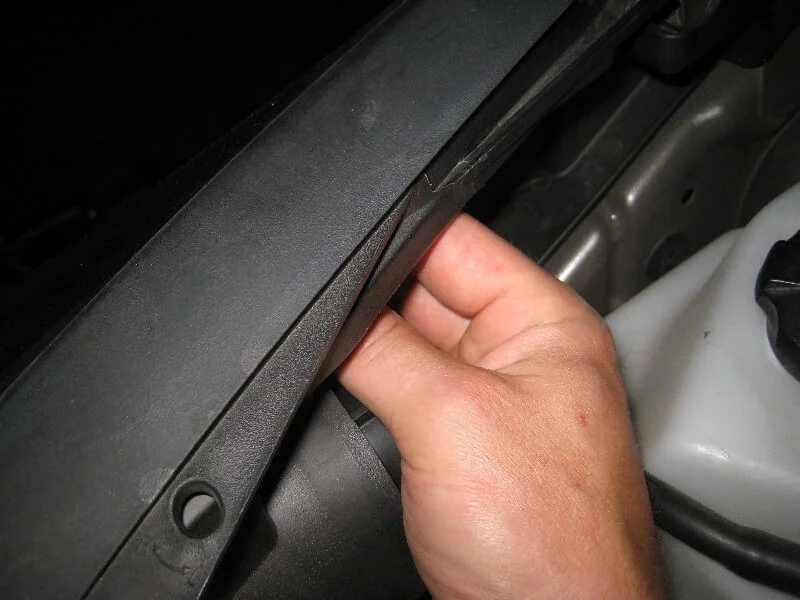
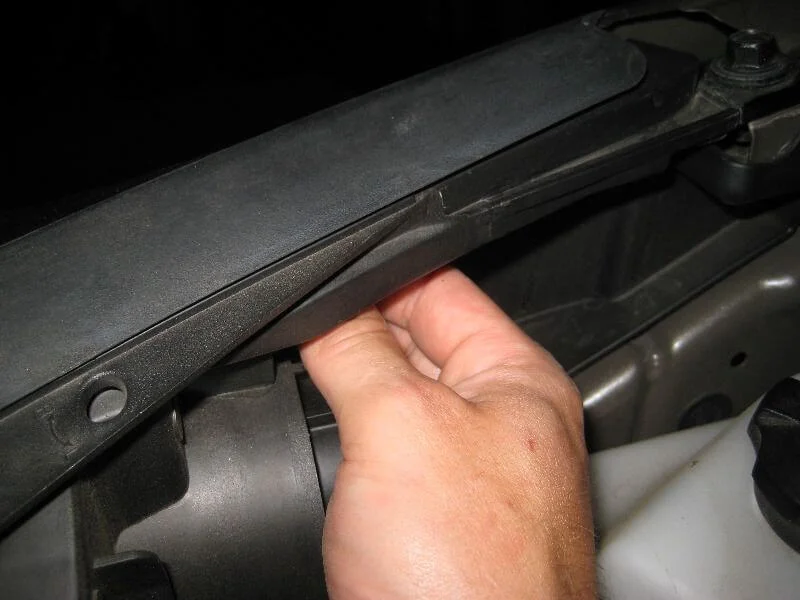
From under the bonnet, access to the right fog light is restricted by the washer fluid reservoir. If you have large hands, it may be difficult to reach. Otherwise, you either need to remove the reservoir or access it from below via the wheel arch by turning the wheel, removing 4 clips, and pulling back the liner.
Remove it just like the previous one. Insert the new bulb and twist clockwise.
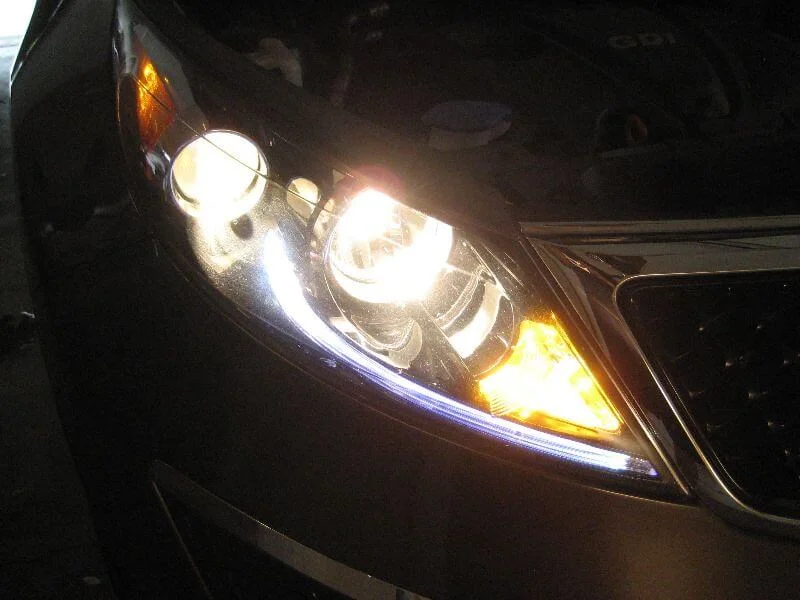
After replacing the fog light bulbs on the Kia Sportage 3, switch them on to check your work and admire the result.
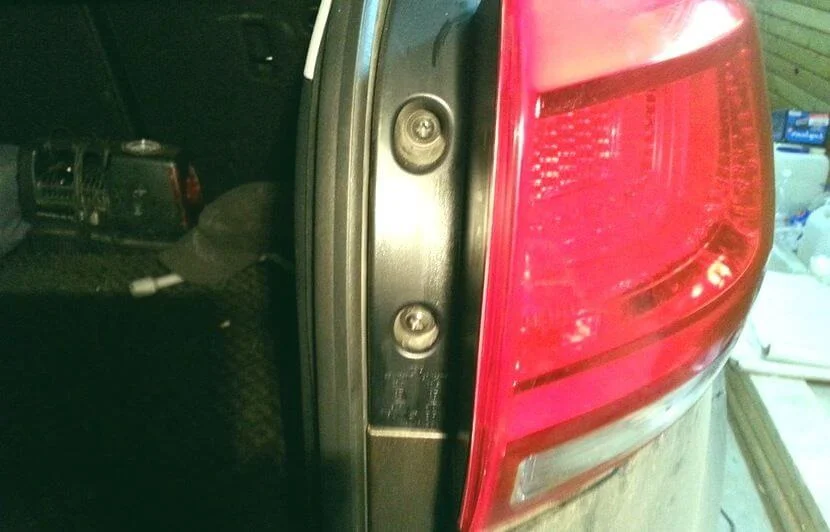
To reach the brake and position light bulbs, you will need to remove the rear light cluster. To do this, unscrew these two screws.
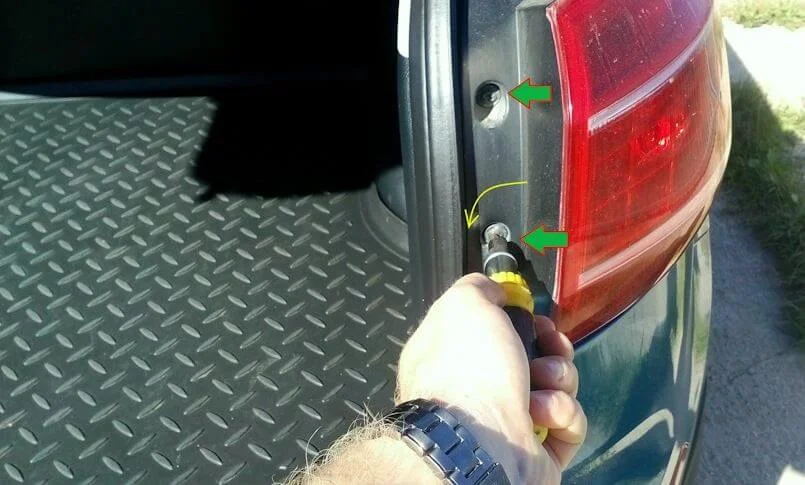
Turn anti-clockwise with a screwdriver.
Then pull the light unit backwards towards you. The light is secured to the body at these two points and by a guide on the side.
Now simply remove the holder with the blown bulb and swap it for a new one. They all unscrew anti-clockwise, though some may require a gentle push inwards.
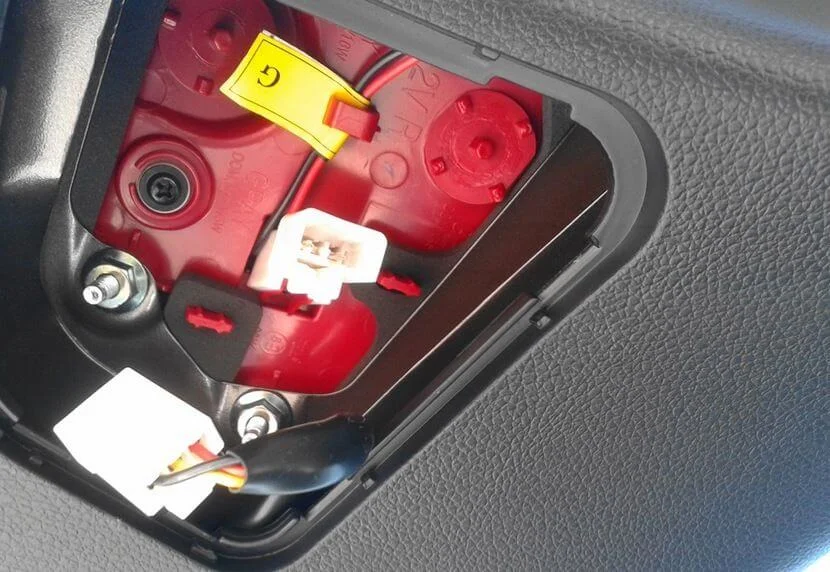
To access bulbs in the light unit on the tailgate, simply remove the access cover, disconnect the plug, and remove the bulb holder. In some cases, for convenience, you can also completely remove the unit (secured by 4 nuts).
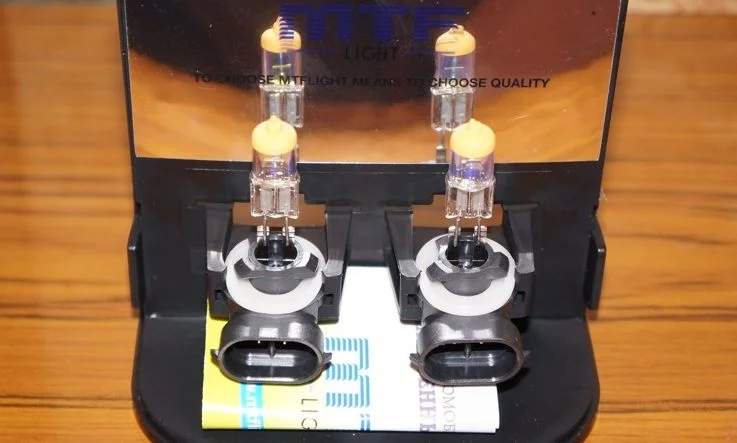
All bulbs used in the Kia Sportage 3 lights.
Was this guide useful?
Your feedback helps us improve our content.


Discussion (0)
No comments yet!