Kia Rio 3 Automatic Transmission Fluid Change
The third-generation Kia Rio with 1.4 and 1.6-litre engines was fitted with the A4CF1 4-speed automatic transmission.
Check out this photo report to see how to carry out an ATF fluid change as part of your scheduled maintenance. This guide describes the partial replacement process involving pan removal and filter change, which is the most reliable maintenance method for higher mileage vehicles.
Replacement Intervals and Filling Capacity
How often should the automatic transmission fluid be changed in the Rio 3? According to the manufacturer's recommendations, the lubricant should be replaced every 90,000 km or every 6 years of operation. However, experienced mechanics recommend reducing this interval to 50,000–60,000 km, especially when driving in urban conditions.
The oil level should be checked every 15,000 km or once a year.
Recommended Fluid and Part Numbers
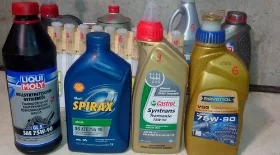
The fluid must meet the DIAMOND ATF SP-III specification. The factory fill is Hyundai ATF SP-III.
- Original Hyundai/Kia 'ATF SP-III' (4 L) — part number 0450000400.
- ZIC 'ATF SP 3' alternative (4 L) — part number 167123.
- Mitsubishi 'DiaQueen ATF SP-III' alternative (4 L) — part number 4024610В.
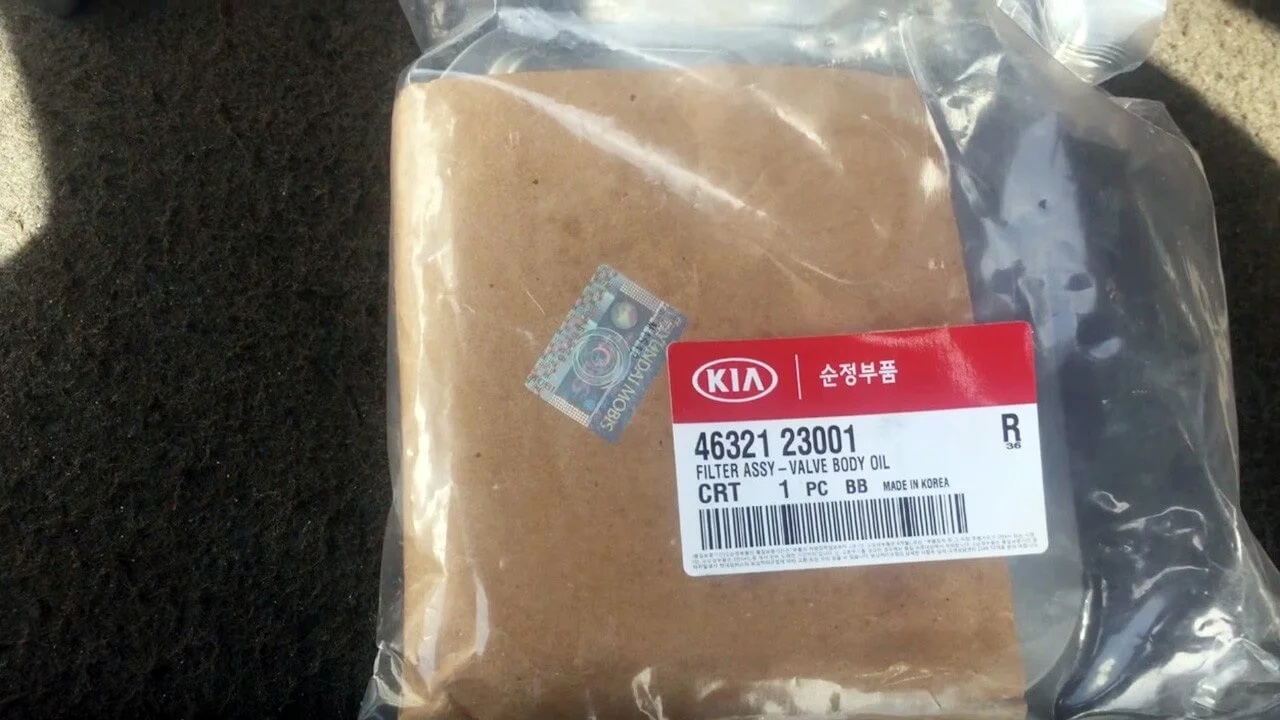
Automatic Transmission Filter: original Hyundai/Kia — 4632123001.
Alternatives: Sat ST4632123001; Hans Pries 820416755; Zekkert OF4432G.
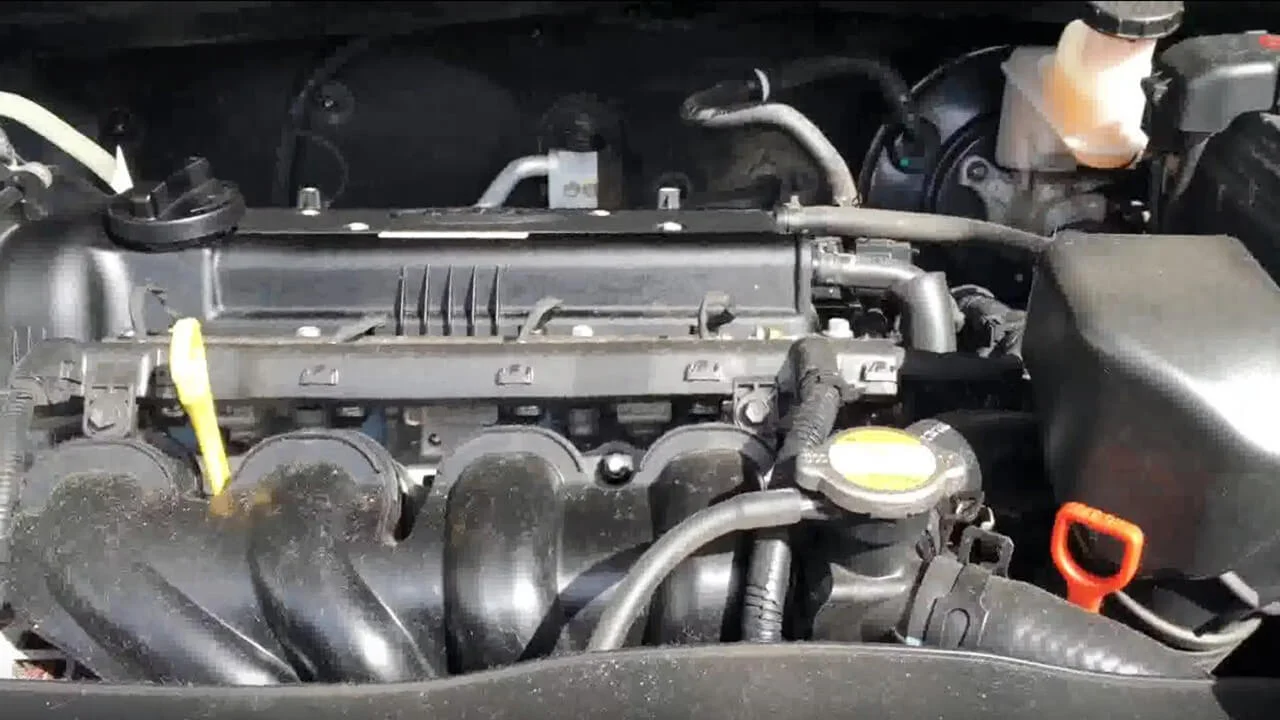
Warm up the engine to operating temperature. This is necessary to lift suspended wear particles from the bottom of the sump and to make the fluid flow more freely for draining.
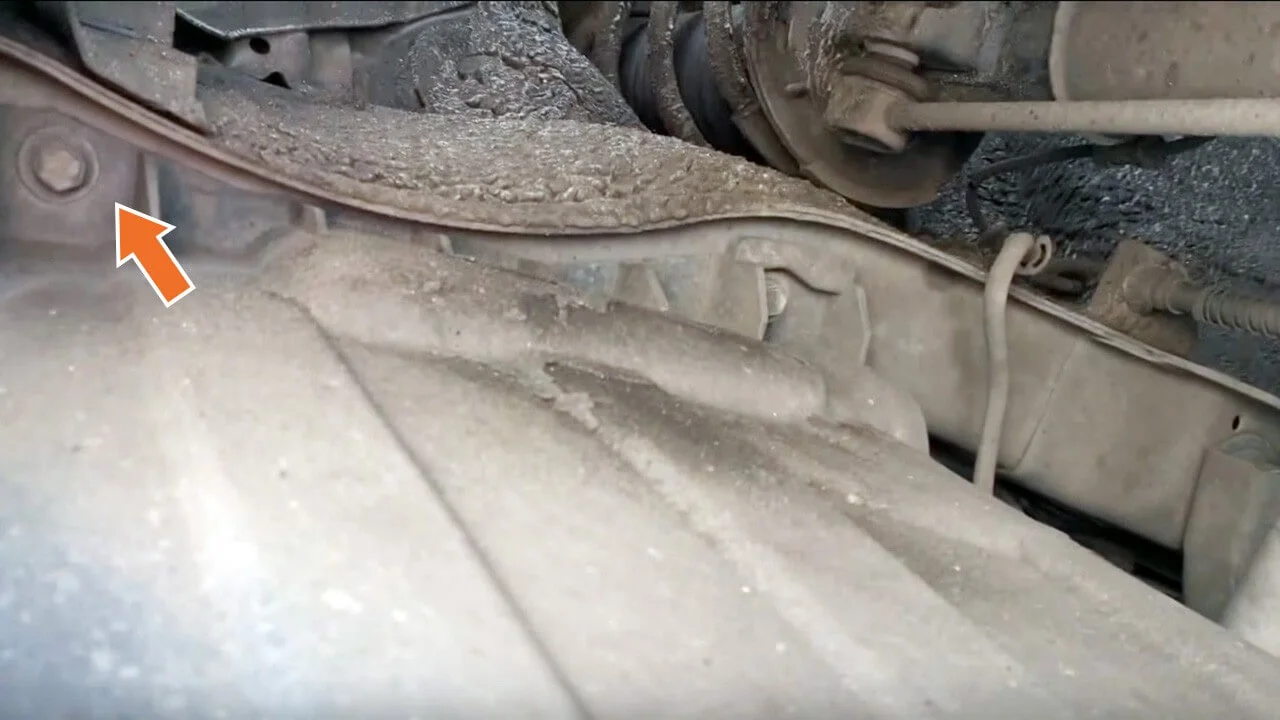
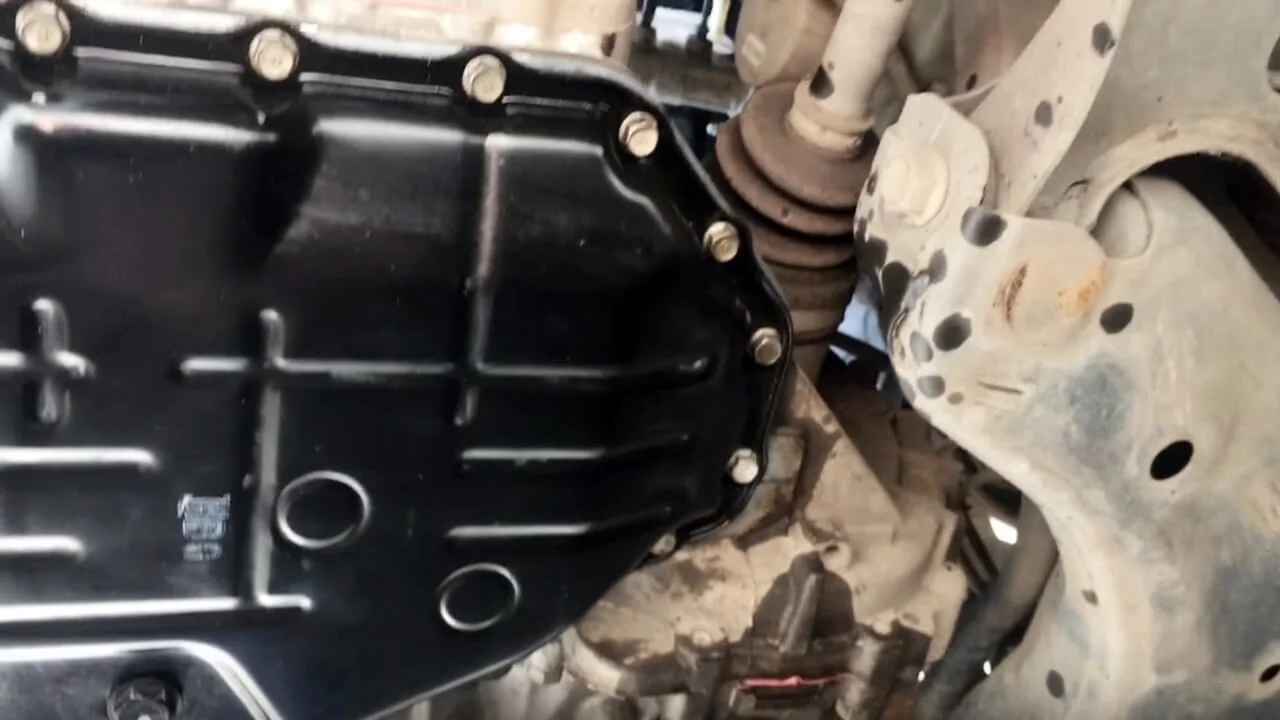
Drive the vehicle onto an inspection pit or ramp. Remove the engine undertray (crankcase guard).
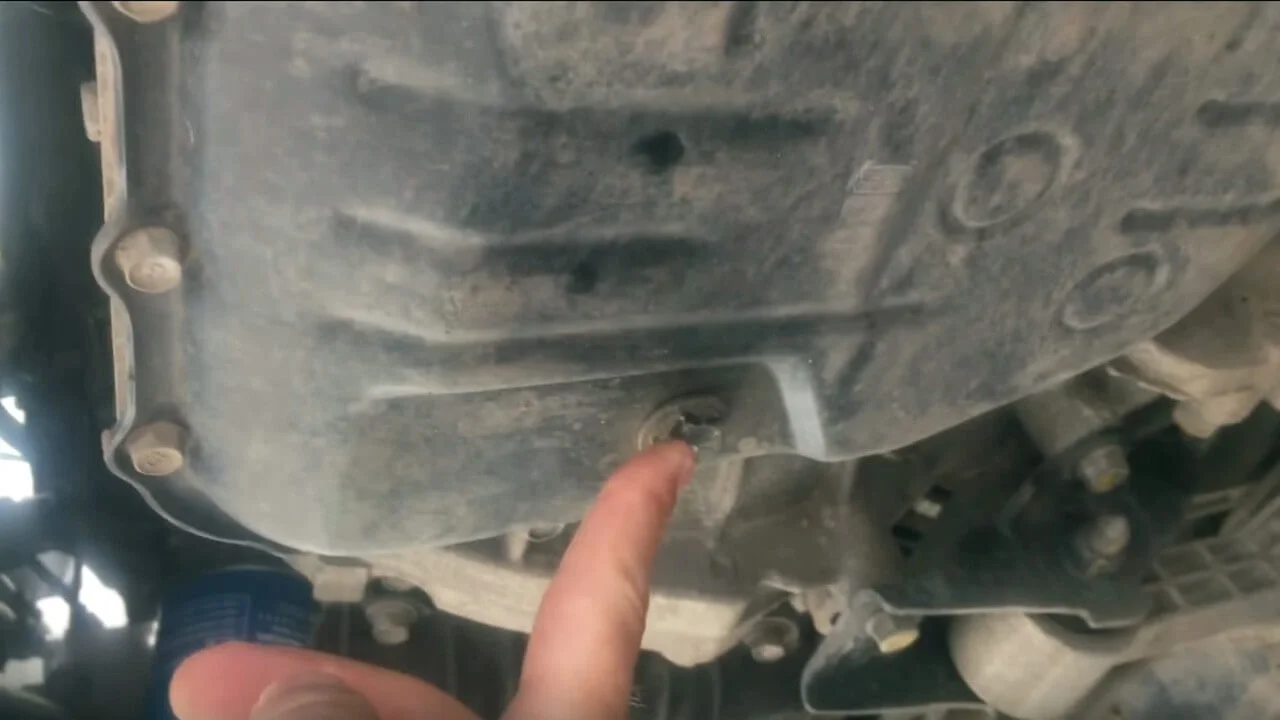
Using a 17 mm socket, unscrew the automatic transmission drain plug. Place a container underneath to catch the waste oil.

Drain the working fluid. Once the oil stops flowing, screw the plug back in (tightening torque 35–45 Nm), having first replaced the sealing ring (part no. 21513-23001).
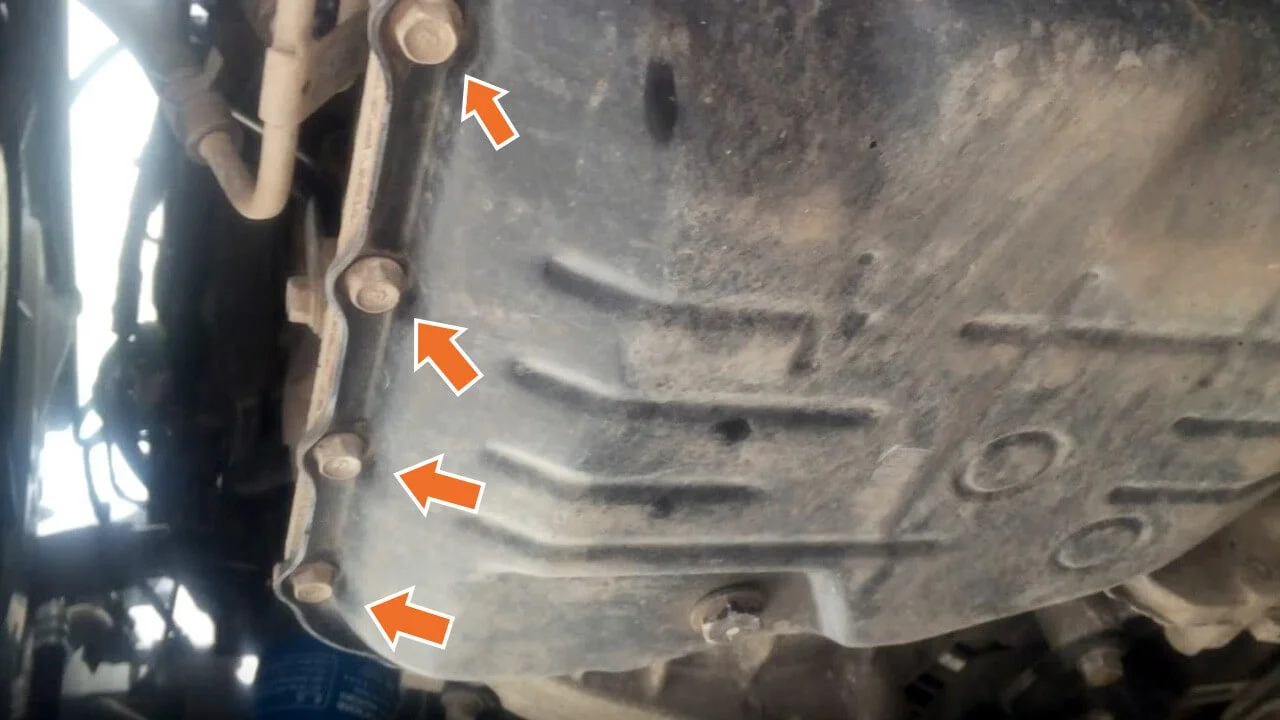
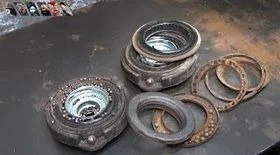
Using a 10 mm socket, unscrew the bolts around the perimeter of the pan. Be careful: hot oil still remains inside the pan.
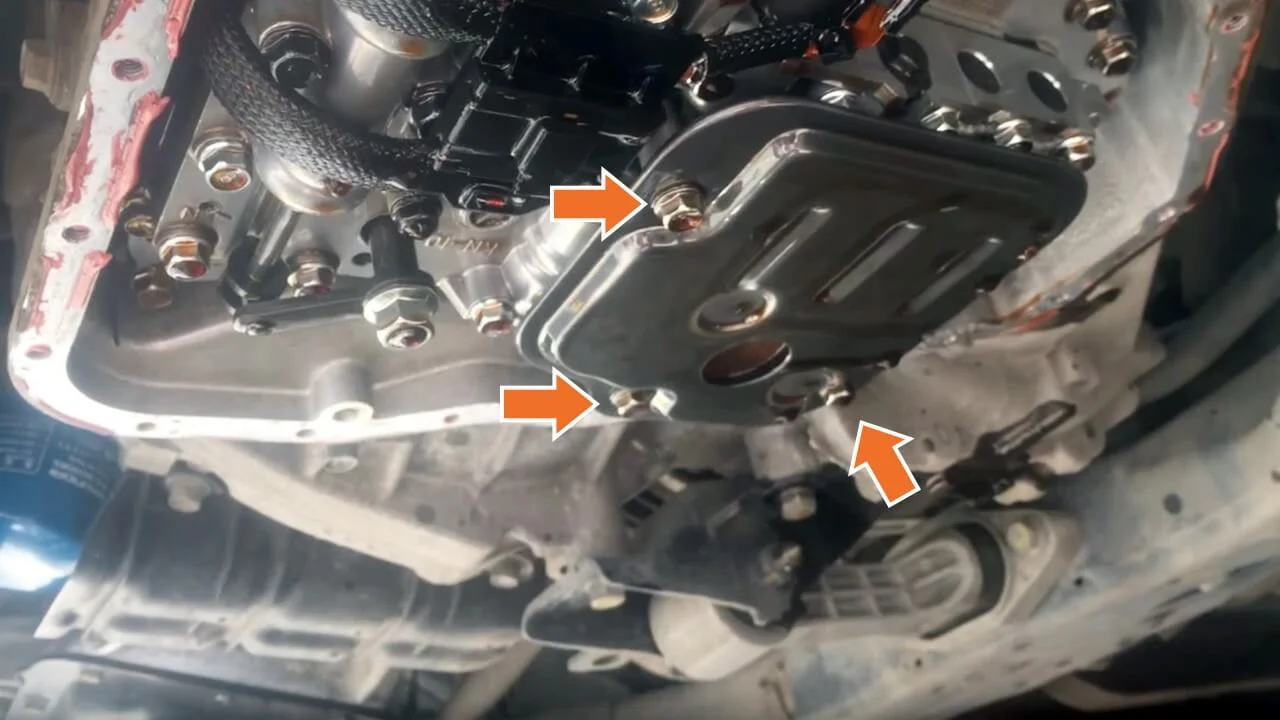
Remove the oil filter (held in place by three bolts, a 10 mm spanner is required). Be sure to check for magnets on the old filter — they must be transferred to the new one if they are not included in the kit.
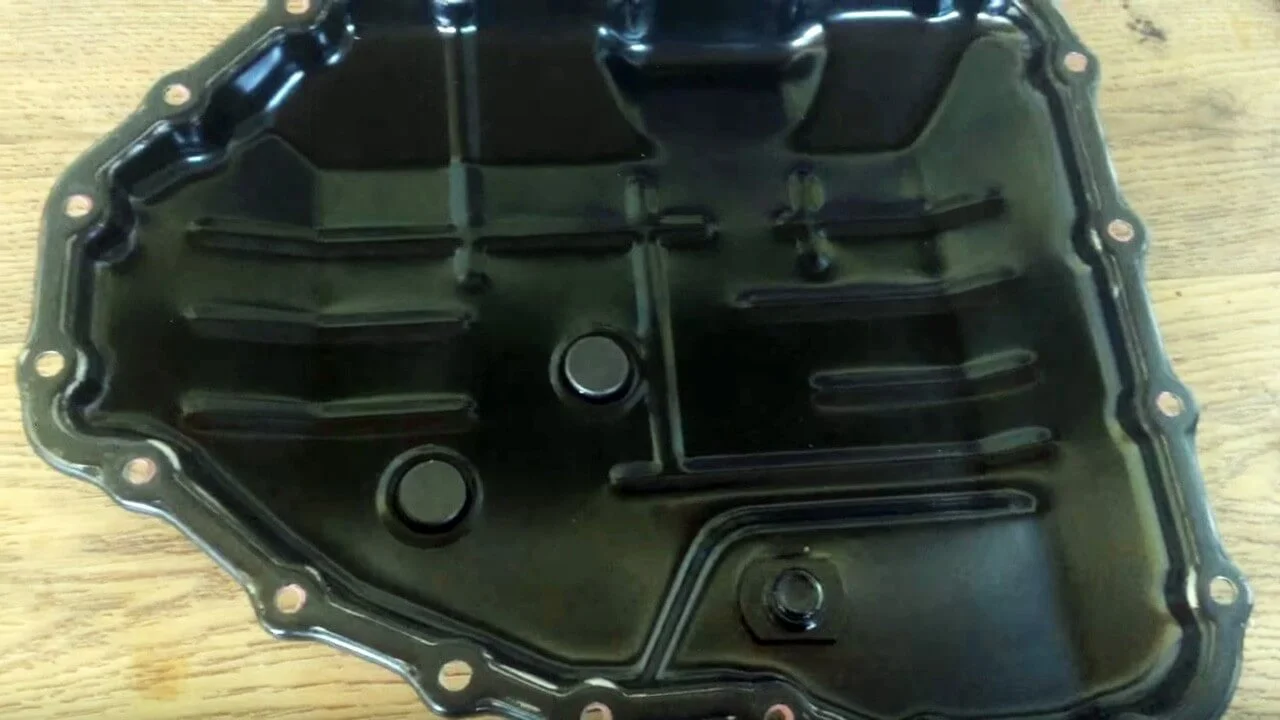
Thoroughly clean the pan and the mating surface of the gearbox to remove old sealant and dirt. Degrease the surfaces. Apply a new layer of sealant evenly to the pan.
Install the new oil filter. The tightening torque for the filter bolts is 10–12 Nm.
Install the pan.
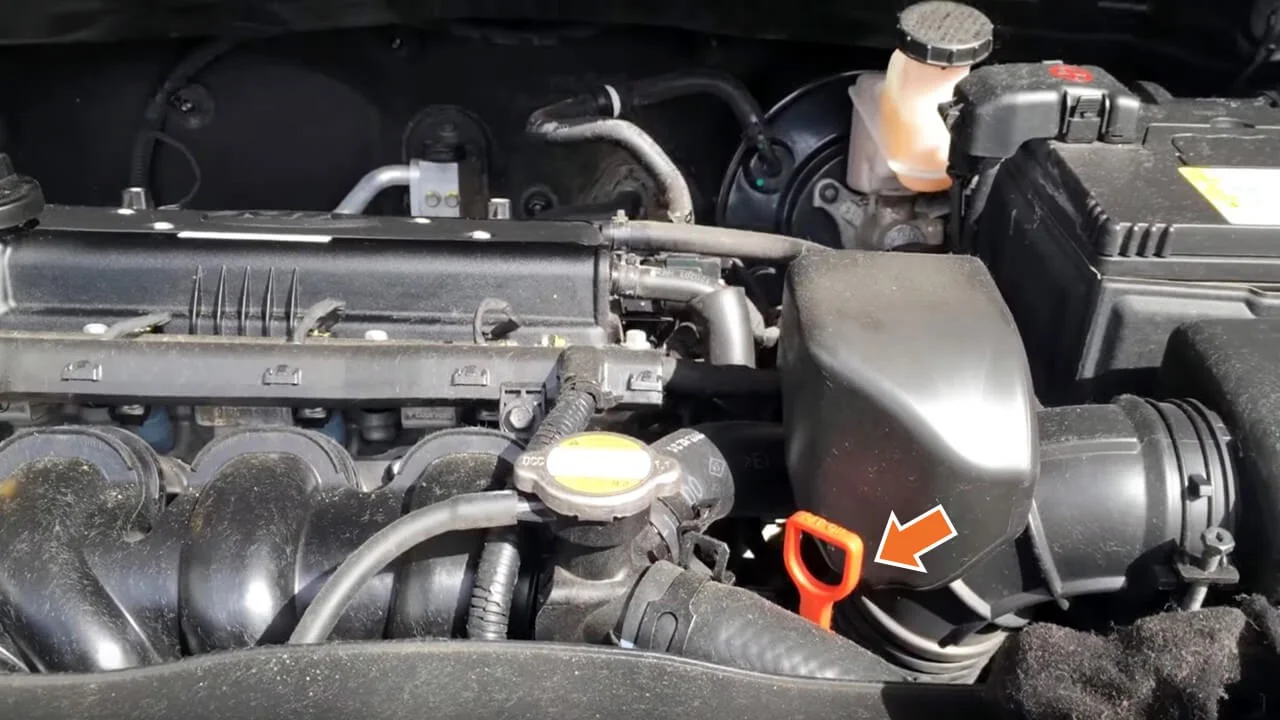
Wait for the sealant to cure (according to the instructions on the packaging, usually about an hour). Remove the automatic transmission dipstick located under the bonnet.
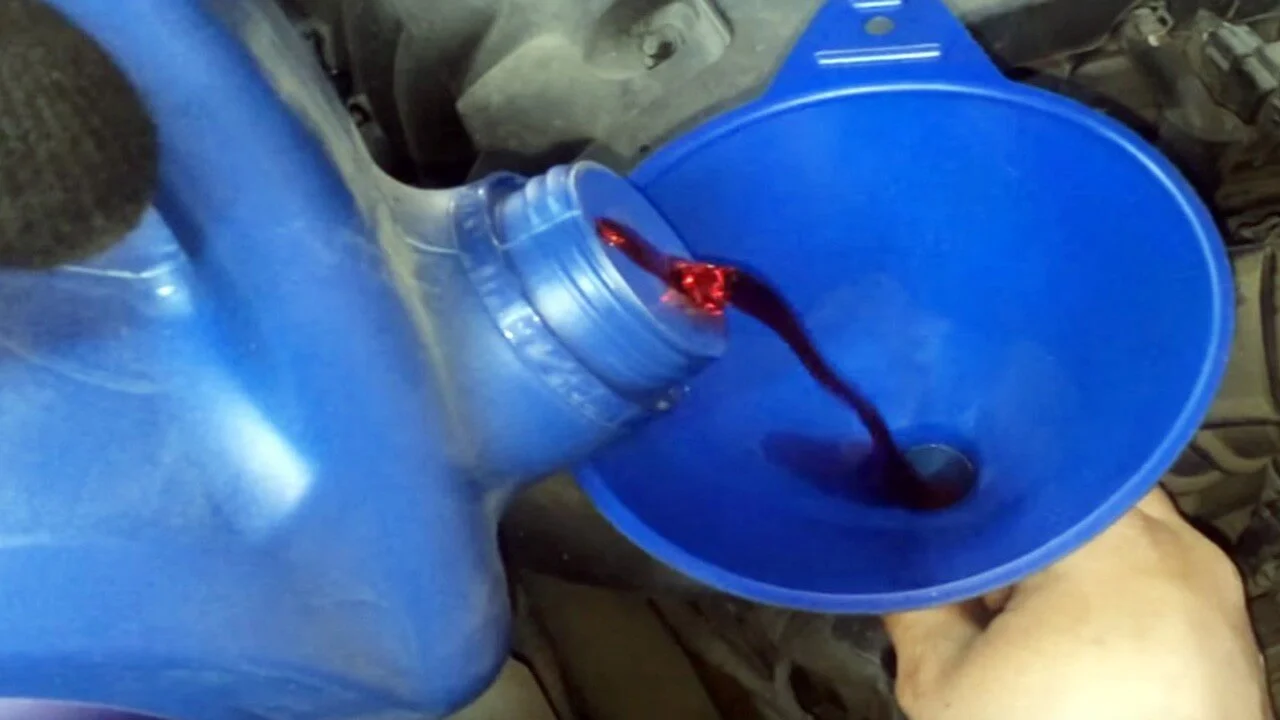
Pour in the new oil using a funnel (about 4–5 litres). Start the engine and move the gear selector through all modes (P-R-N-D), pausing in each for 5–10 seconds.

Place the lever in position 'N' or 'P'. With the engine running, check the oil level with the dipstick. It should be in the HOT zone (with the gearbox warmed up). Top up to the correct level if necessary.
Was this guide useful?
Your feedback helps us improve our content.
Related Materials


Discussion (0)
No comments yet!