Toyota Camry Bulb Replacement
This photo report demonstrates how the Toyota Camry V40 bulb replacement is carried out. Specifically, how to change the front bulbs on a 6th generation Camry yourself. The following sections demonstrate how to replace the dipped beam bulb, main beam bulb, sidelight bulb, and indicator bulb.
To replace the number plate light bulb on the Camry, please use this instruction.
Toyota Camry V40 bulb part numbers:
- dipped beam bulb — H11;
- main beam bulb — HB3 (9005);
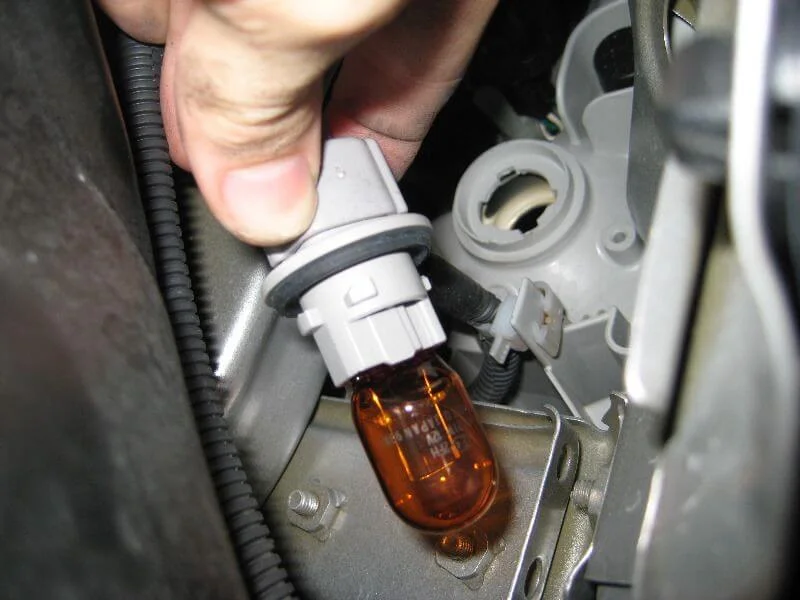
- indicator bulb — 7440A (7444NA or 992);
- sidelight bulb — 2825 (W5W).
How to change front bulbs on a Toyota Camry
No tools are required to change the dipped and main beam bulbs. However, to gain access to the front sidelight and indicator bulbs, a small flat-head screwdriver will be useful.
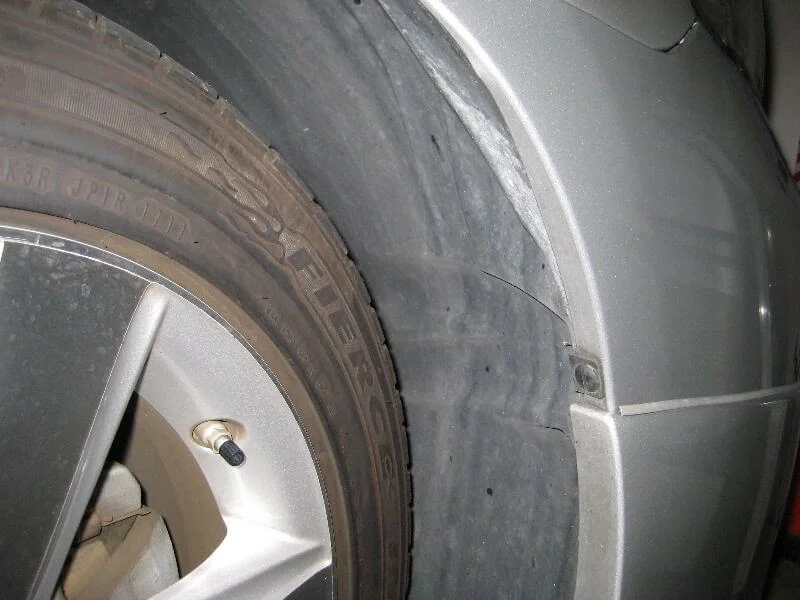
It is much easier to change the indicator and sidelight bulbs from the wheel arch. To do this, turn the steering wheel (and the wheel itself): to the left if replacing on the passenger side, and to the right if changing bulbs on the driver's side.
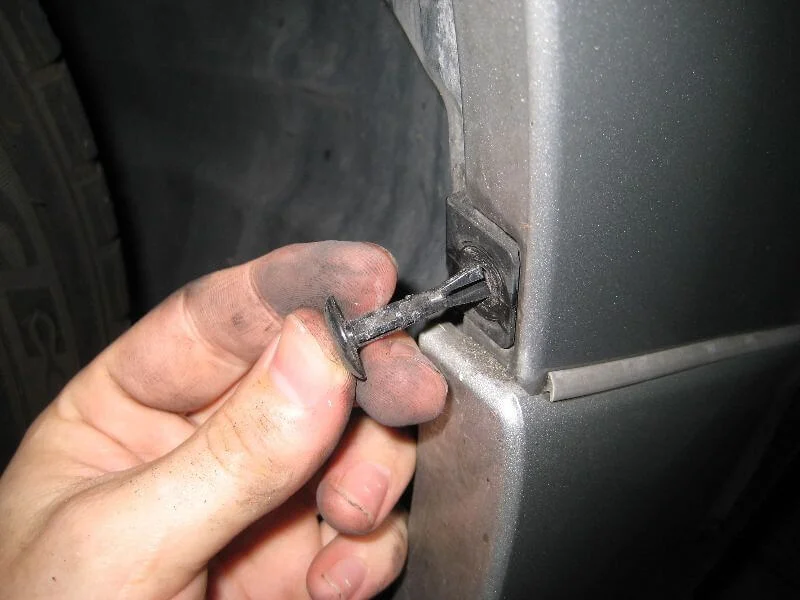
Then remove at least two fasteners from the wheel arch liner and pull the liner back to gain access to the bulbs.
Camry V40 Dipped Beam Bulb Replacement
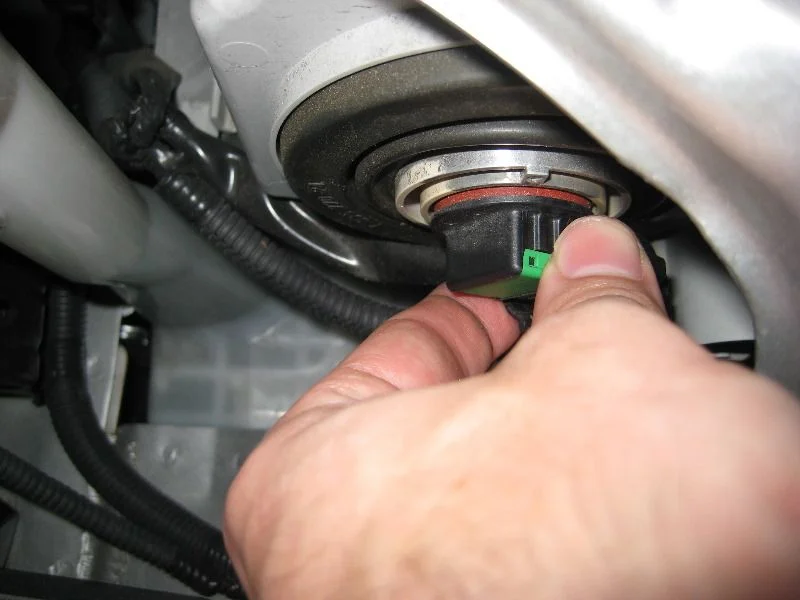
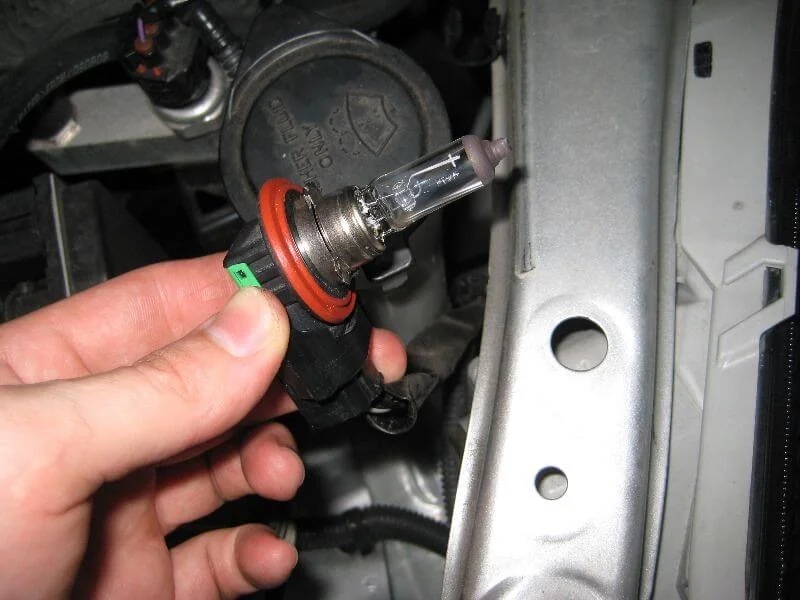
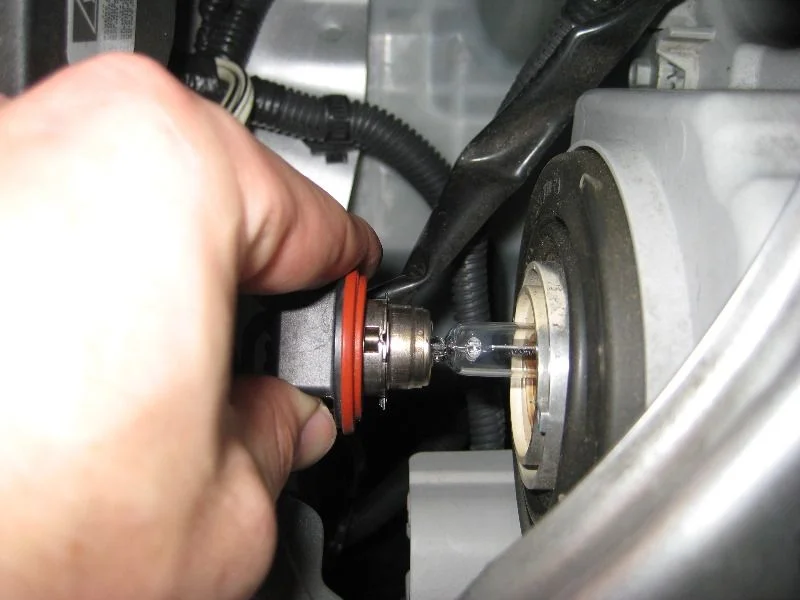
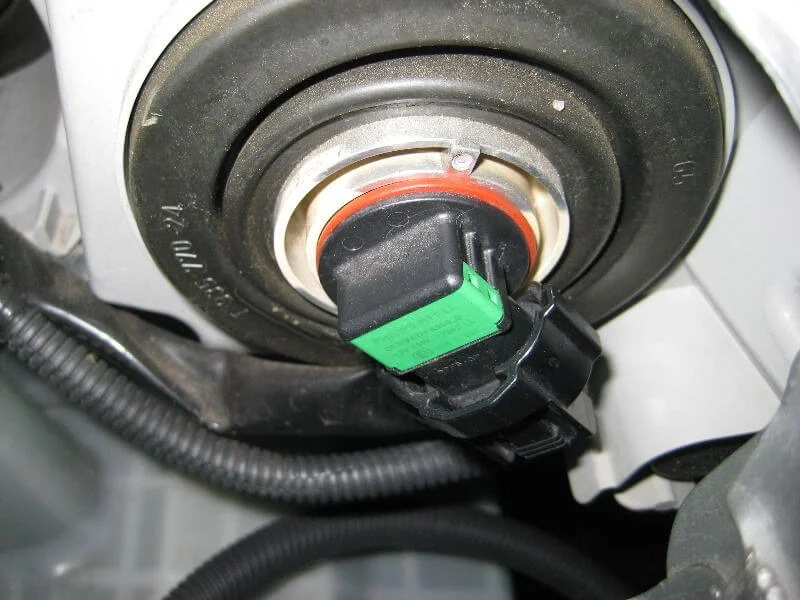
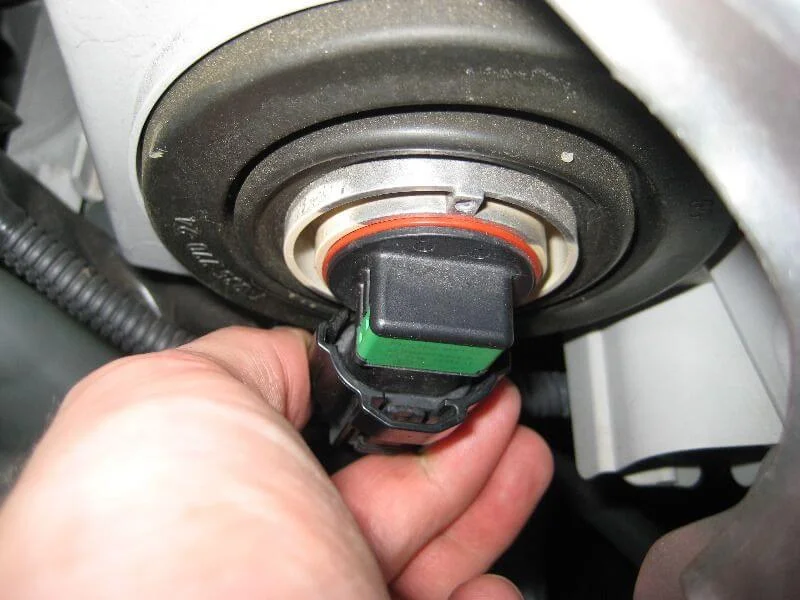
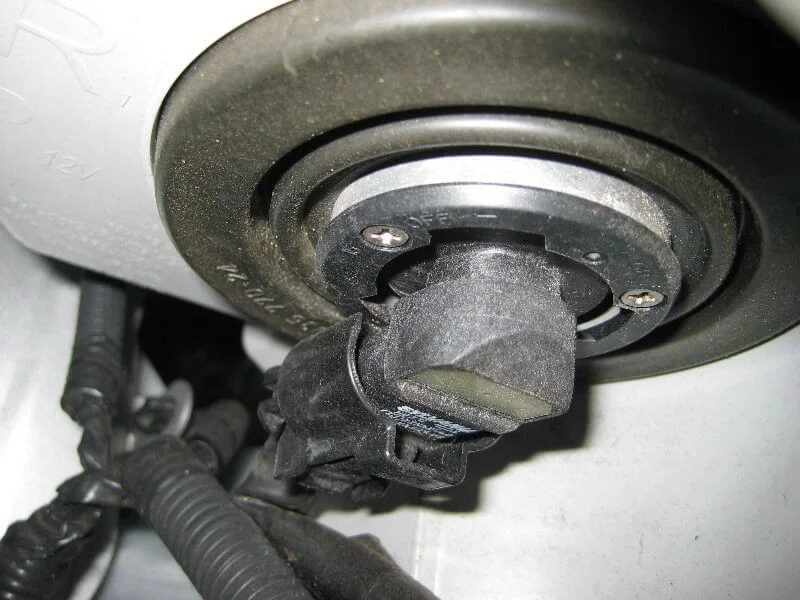
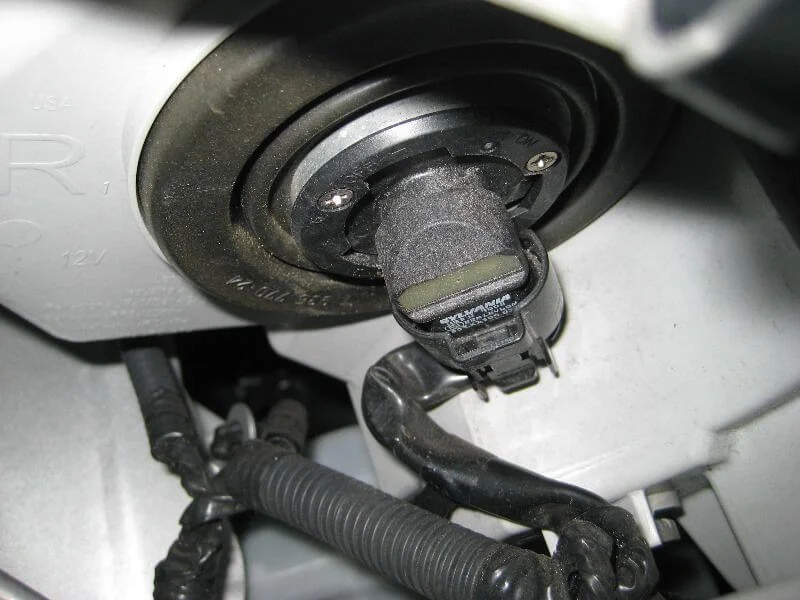
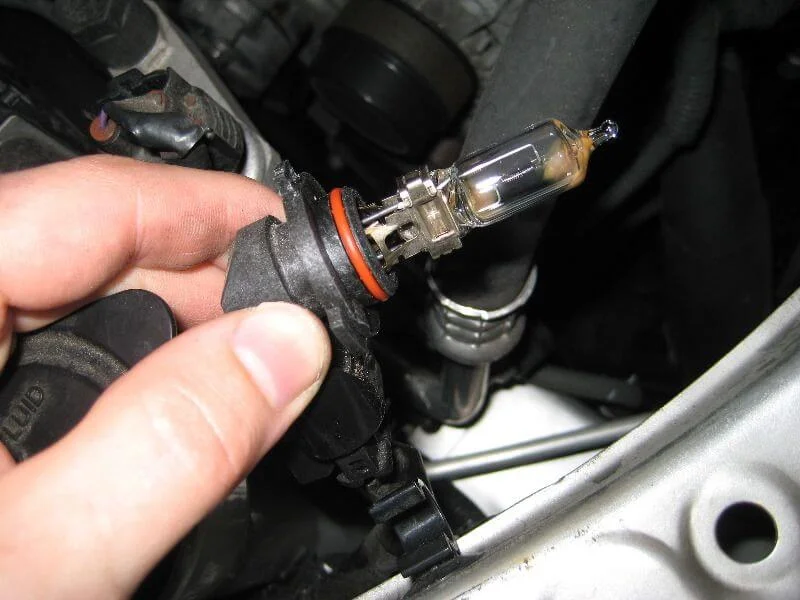
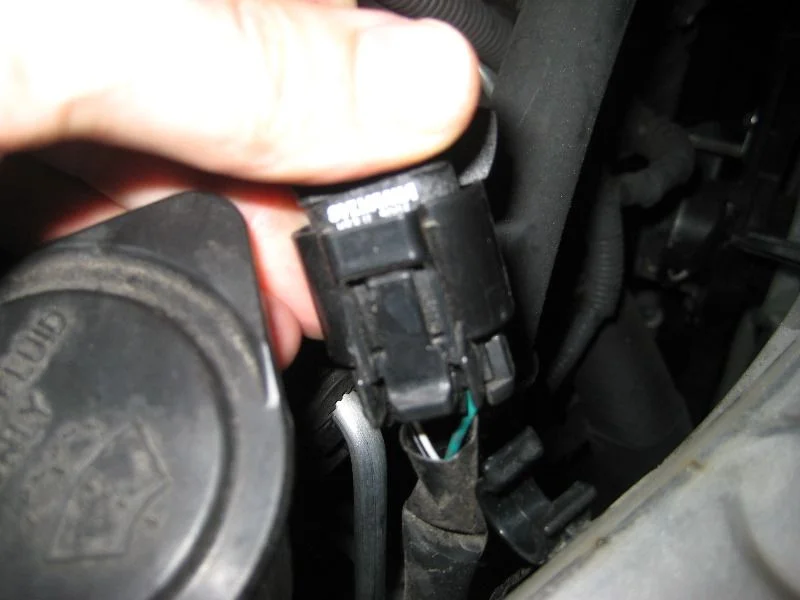
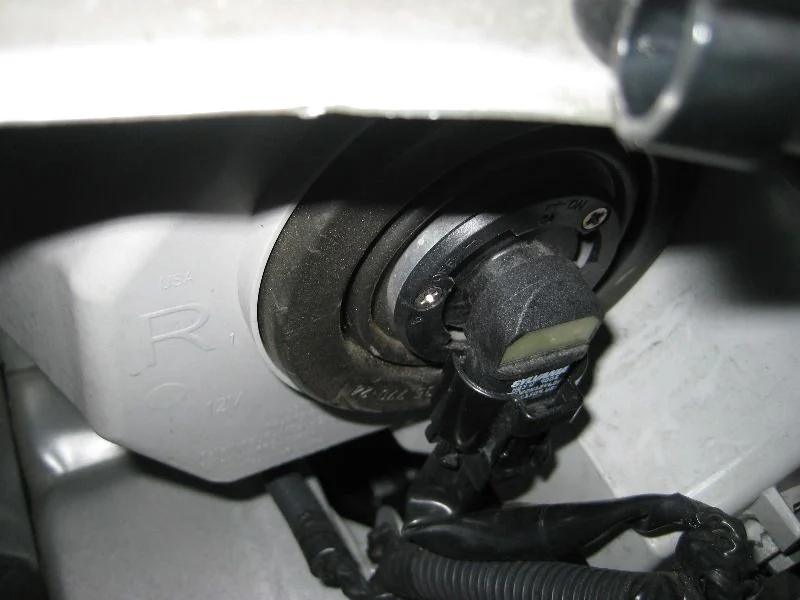
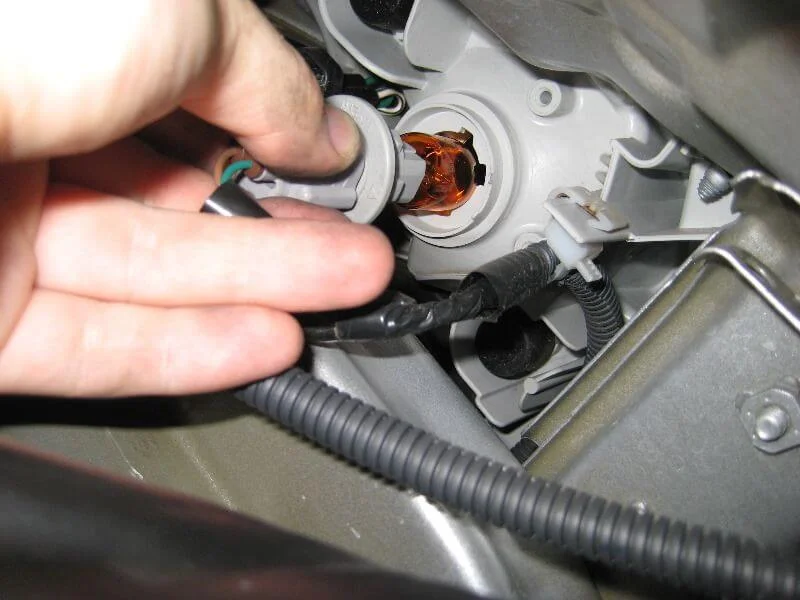
The dipped beam bulb is located in the centre of the headlight assembly. Turn the bulb base a quarter turn anti-clockwise and remove the bulb from the headlight. Then press the release tab and disconnect the power connector.
Connect the new bulb to the connector, insert it into the headlight, and turn it a quarter turn clockwise.
Camry V40 Main Beam Bulb Replacement
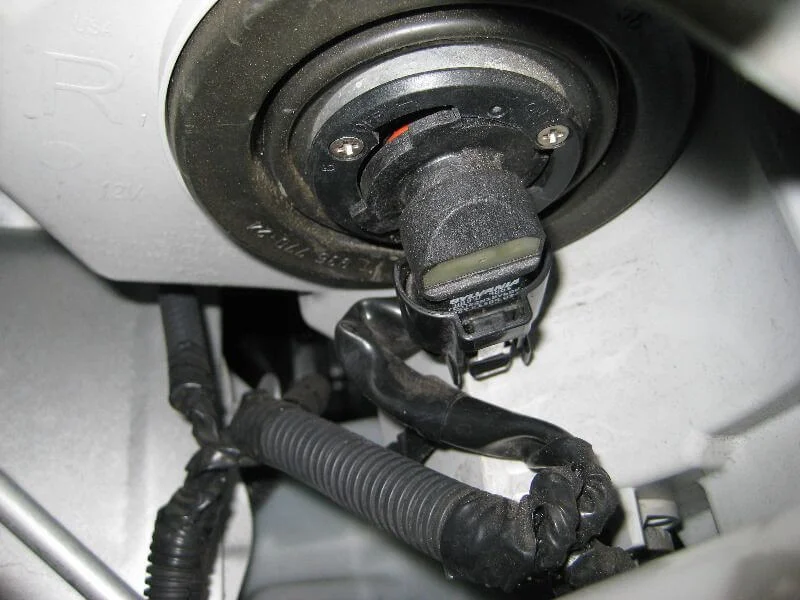
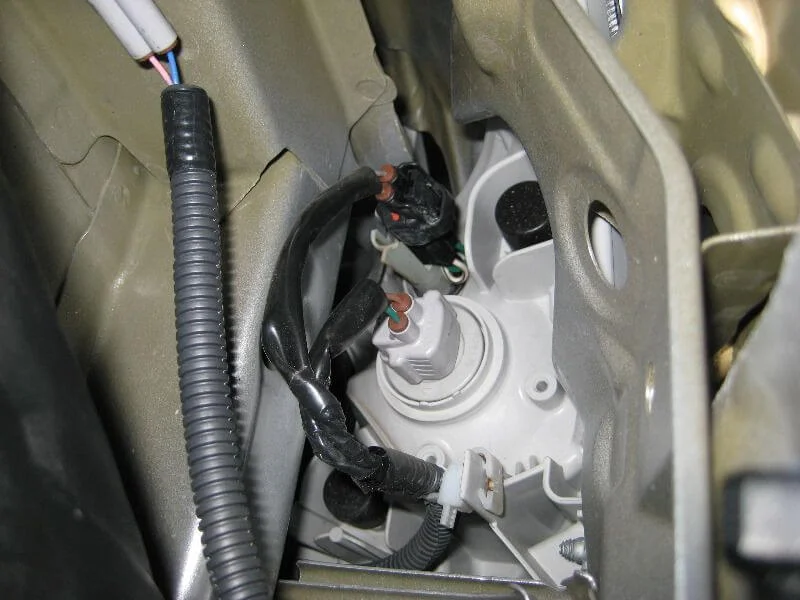
The main beam bulb is located in the inner corner of the headlight assembly. It is replaced in the same way as the dipped beam bulb. Turn the bulb base a quarter turn anti-clockwise, remove the bulb, and disconnect the connector. Installation is in the reverse order.
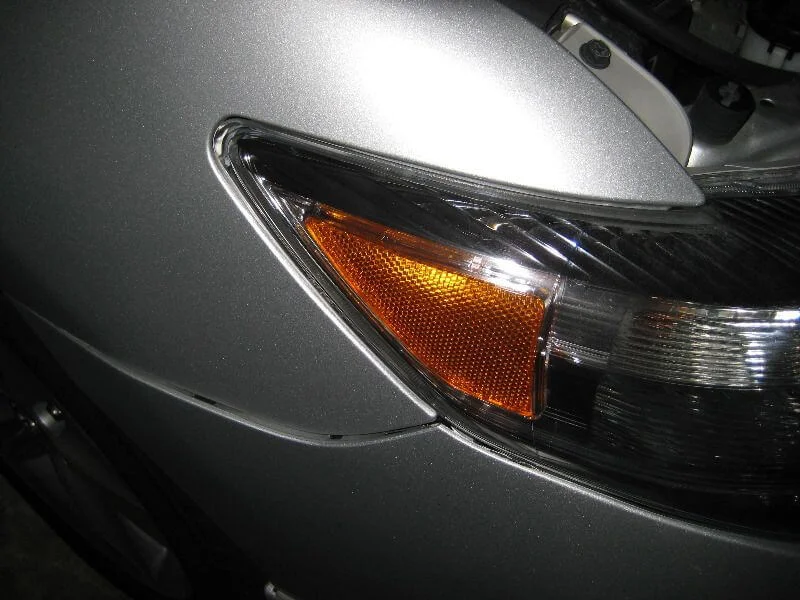
Camry V40 Sidelight Bulb Replacement
The sidelight bulb is located slightly above the light-grey indicator bulb socket and has a black base. Turn the bulb 1/4 turn anti-clockwise, remove the bulb, and pull it out of the socket. Then insert the new bulb into the socket, install it into the headlight, and turn it 1/4 turn clockwise to secure it.
Camry V40 Indicator Bulb Replacement
The indicator bulb has a light-grey socket and is located below the slightly smaller sidelight bulb. To replace it, turn the socket anti-clockwise, remove the old bulb and replace it, install the socket with the new bulb into the headlight, and turn it 1/4 turn clockwise.

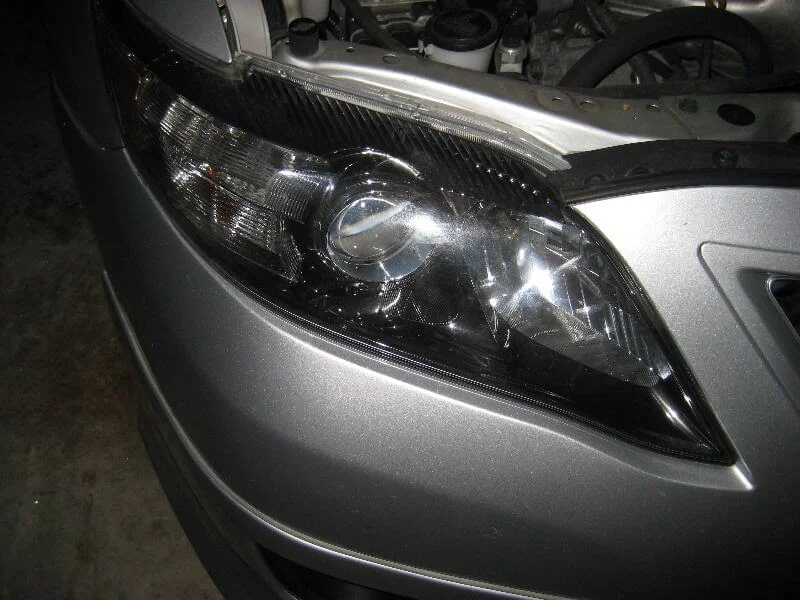
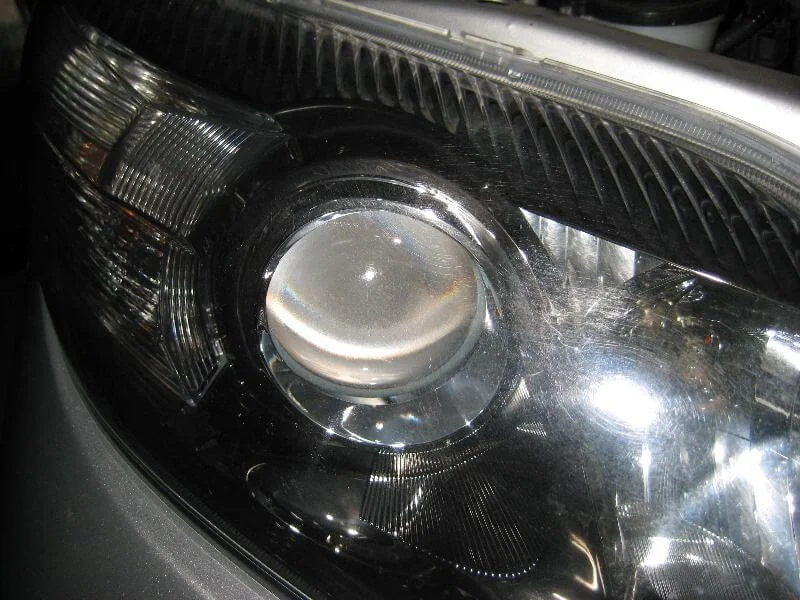
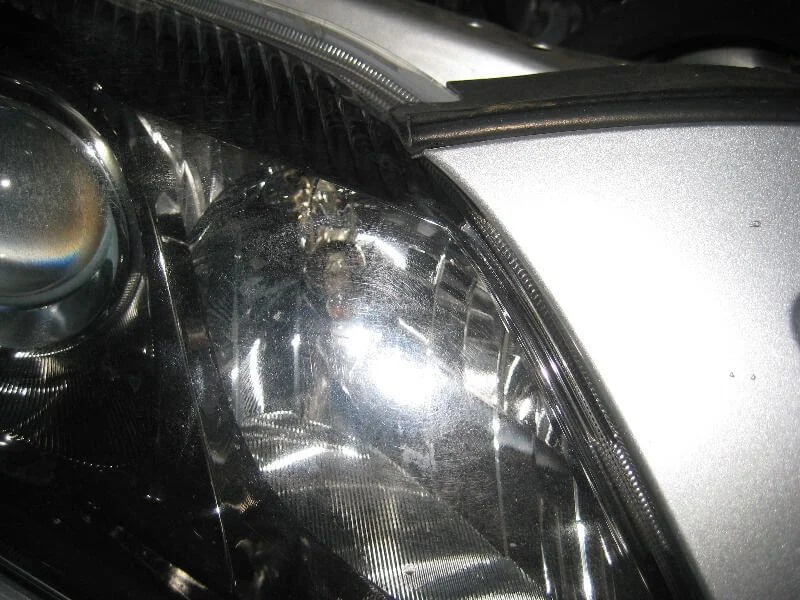
Left front headlight of the Toyota Camry V40.
Dipped beam bulb.
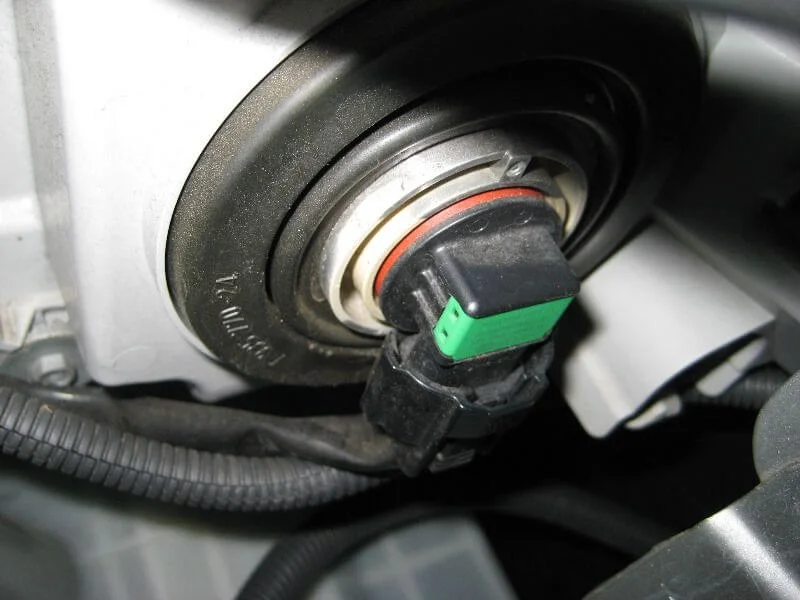
View from the back.
Turn the bulb base 1/4 turn anti-clockwise.
Remove the bulb.
Squeeze the release tab.

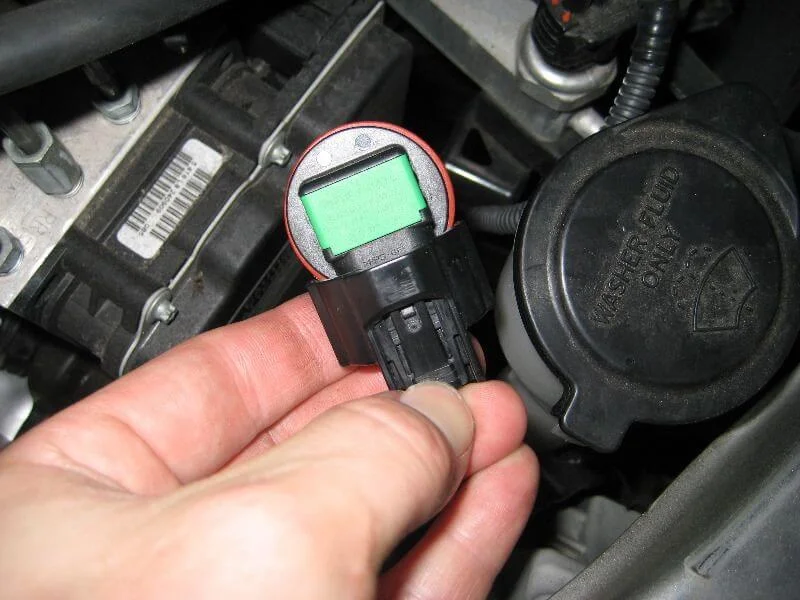
Disconnect the bulb.
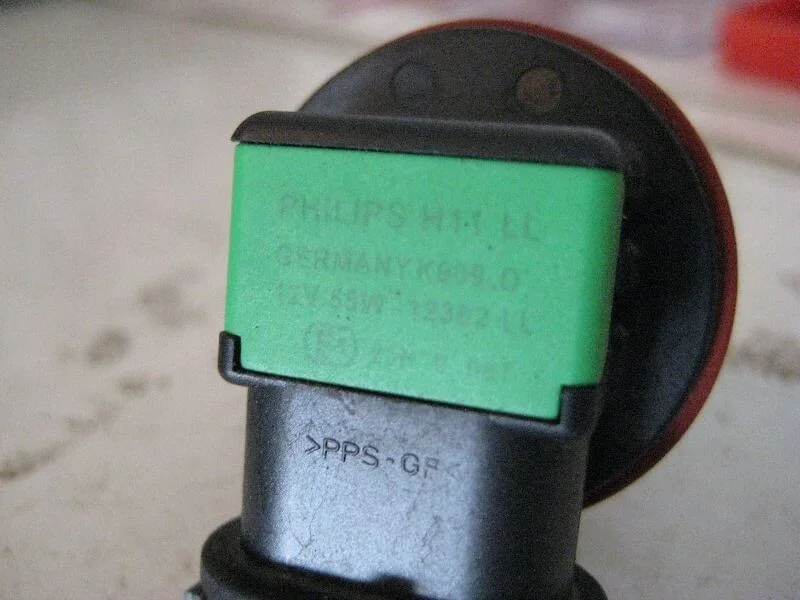
Philips H11 12V 55W bulb.
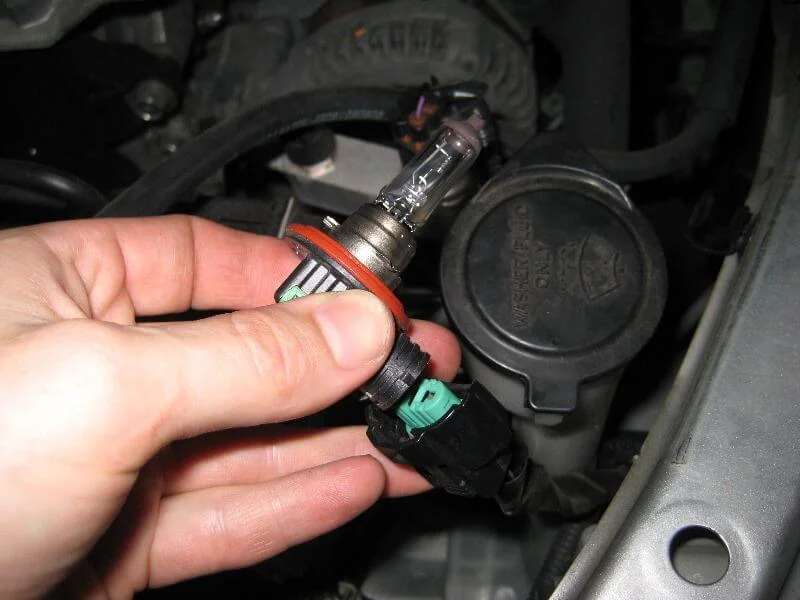
Connect the new bulb to the power connector.
Insert the bulb into the socket.
Bulb installed.
Turn the bulb base 1/4 turn clockwise to secure.
Main beam bulb.
View from the back.
1/4 turn anti-clockwise.
Remove the bulb.
Press the release tab.
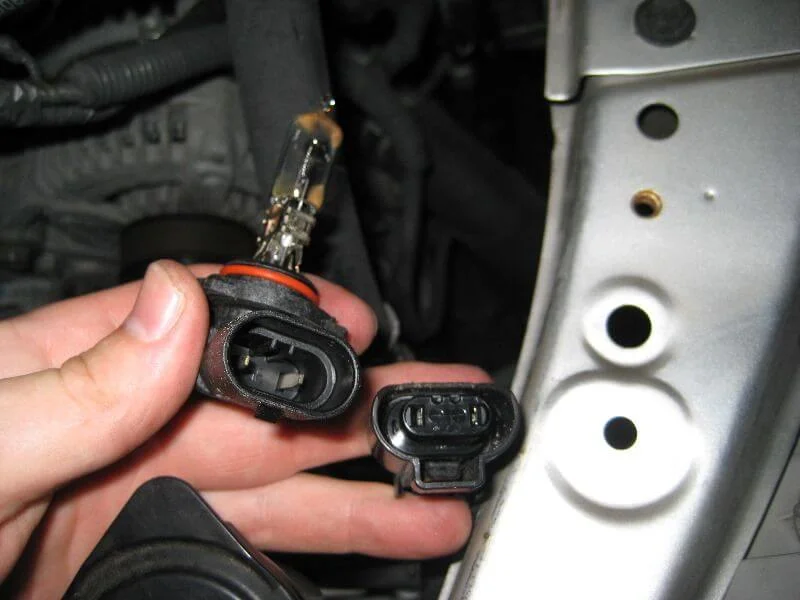
Disconnect the main beam bulb.
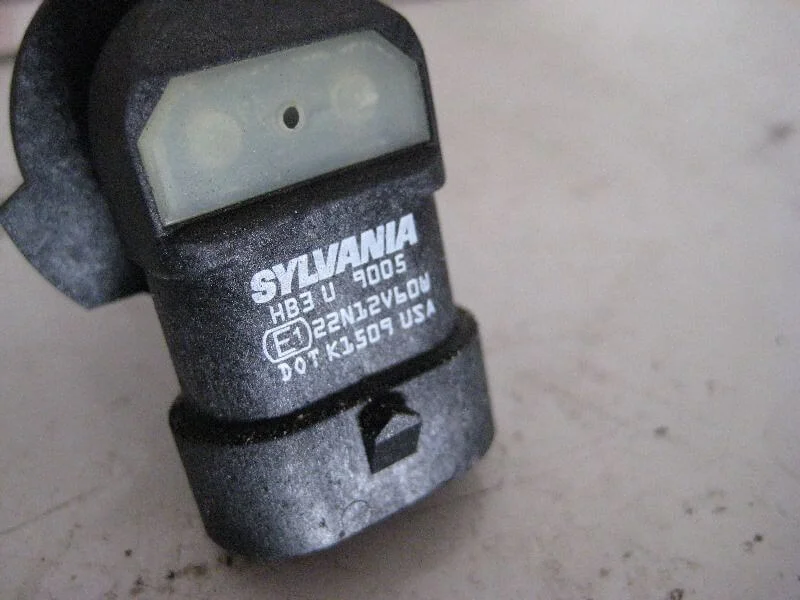
Sylvania 9005 12V 60W bulb.
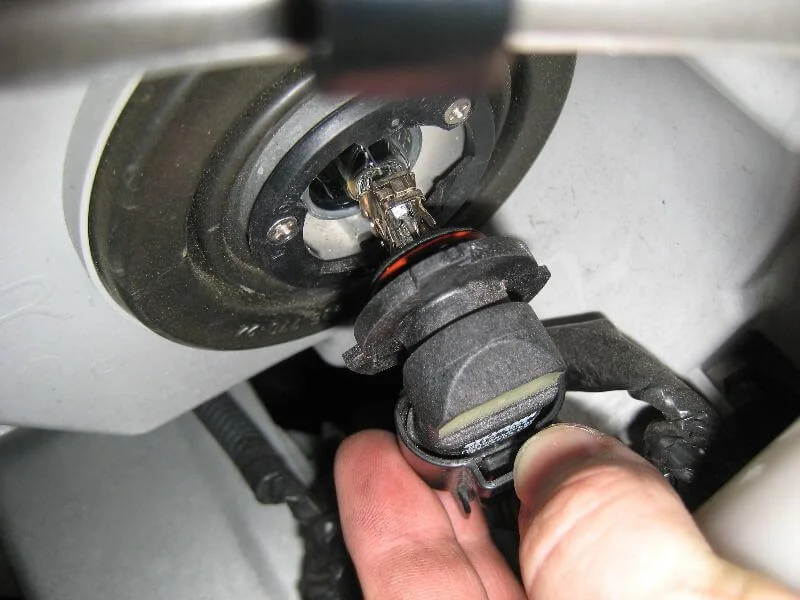
Connect the new bulb and install it in the socket.
Bulb installed.
1/4 turn clockwise to secure.
Sidelight and indicator bulb.
Turn the wheel.
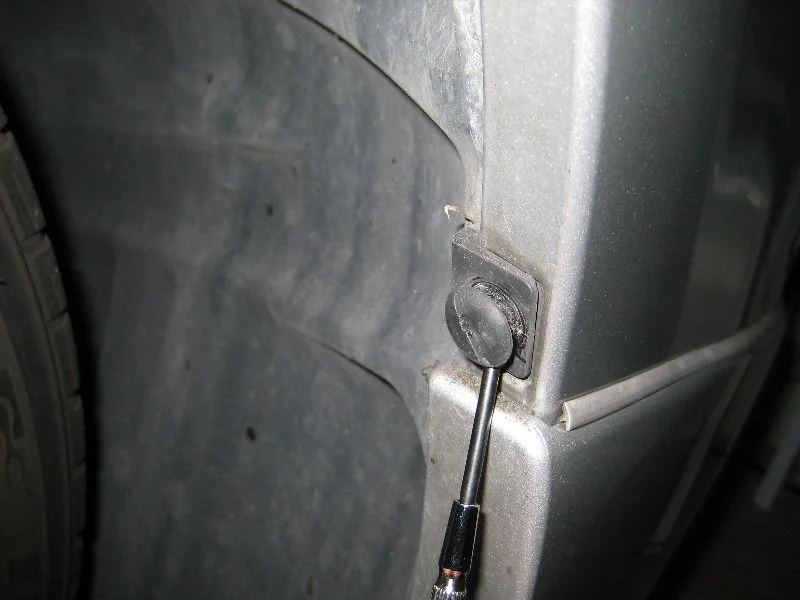
Wheel arch liner fixing.
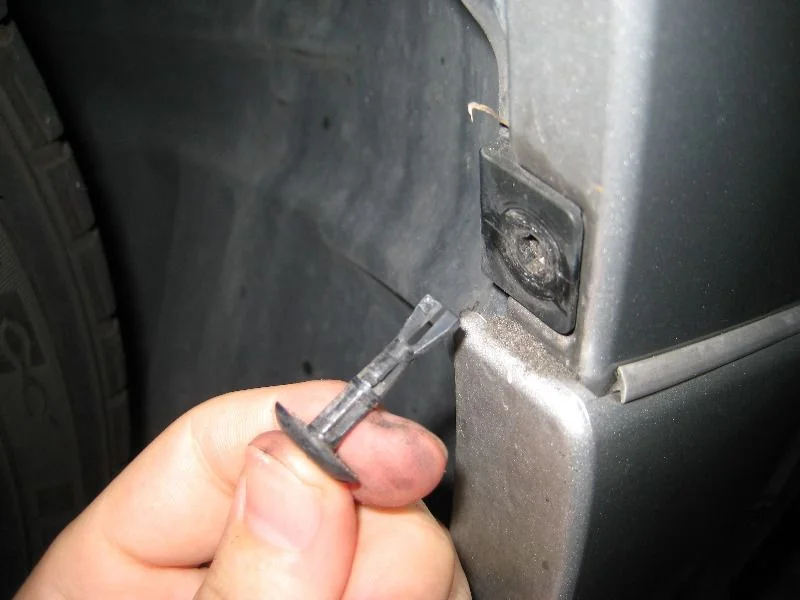
Pry out one clip.
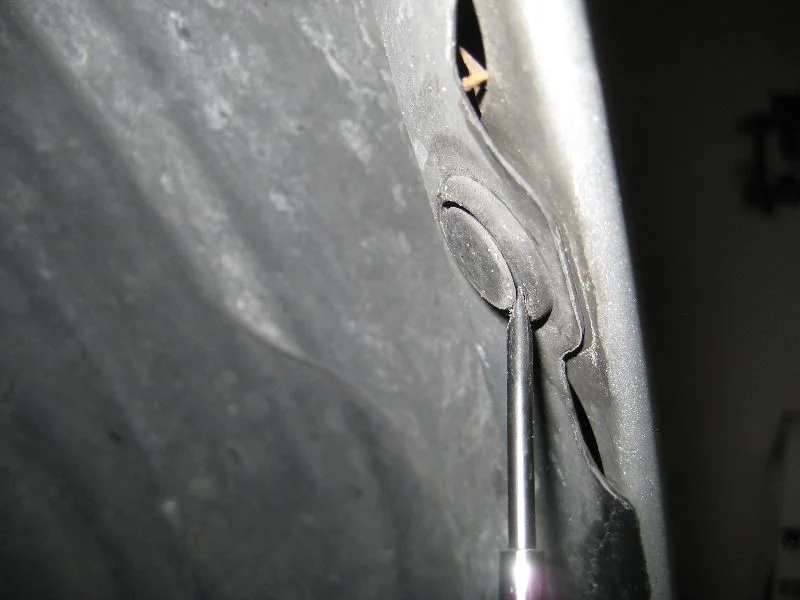
Pry out the second clip.
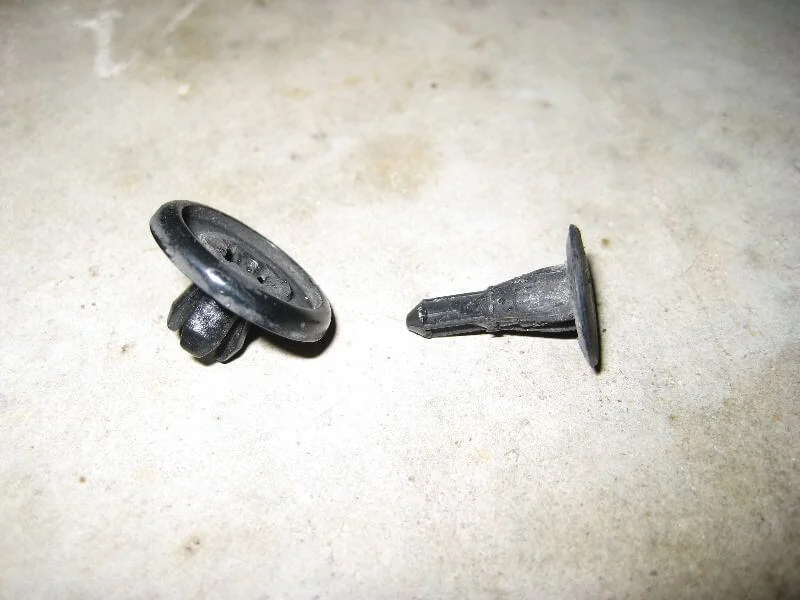
Clips.
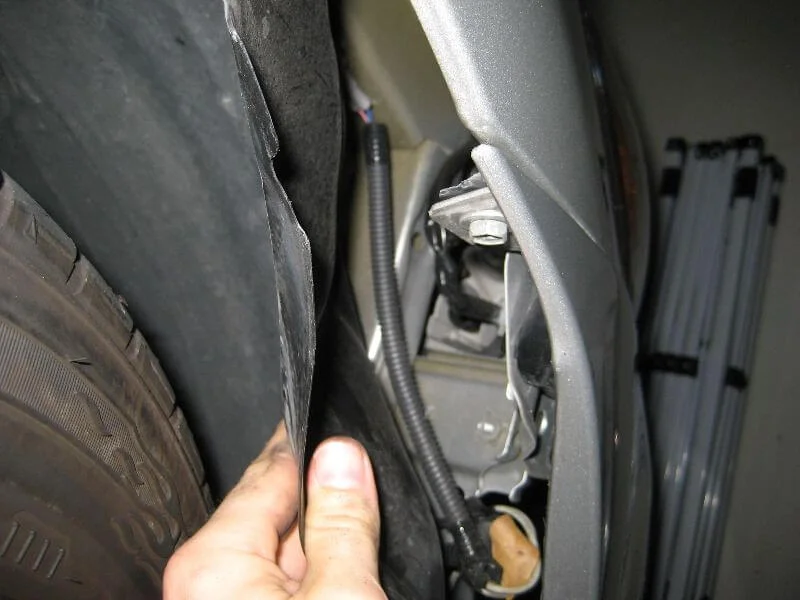
Pull back the wheel arch liner.
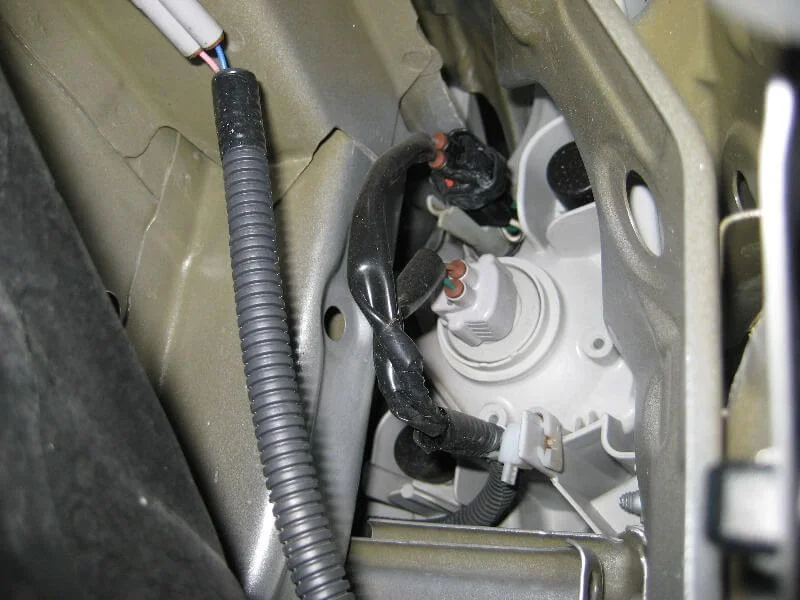
Sidelight bulb (top black) and indicator bulb (bottom light-grey).
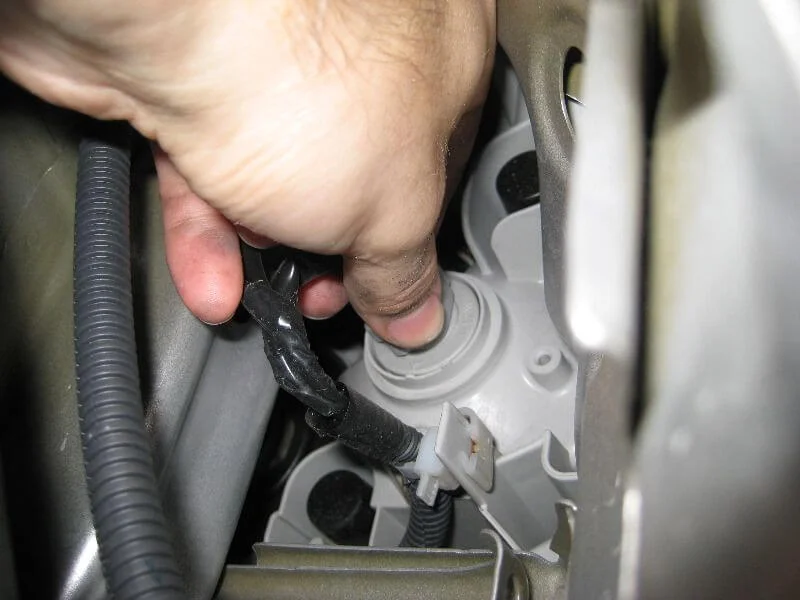
Turn the base 1/4 turn.
Remove and disconnect the old bulb.
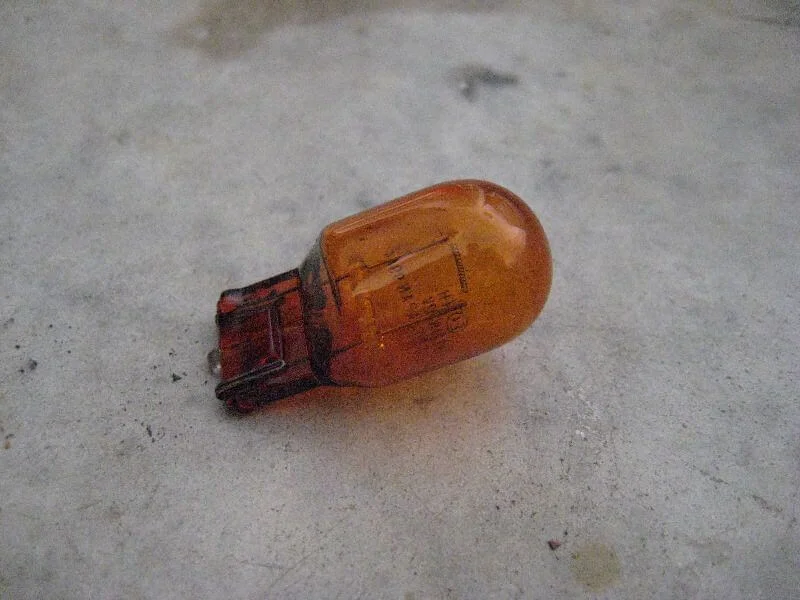
7440A (992) bulb.
Connect and install the new bulb.
Turn 1/4 turn clockwise to secure.
Put the liner and clips back in place.
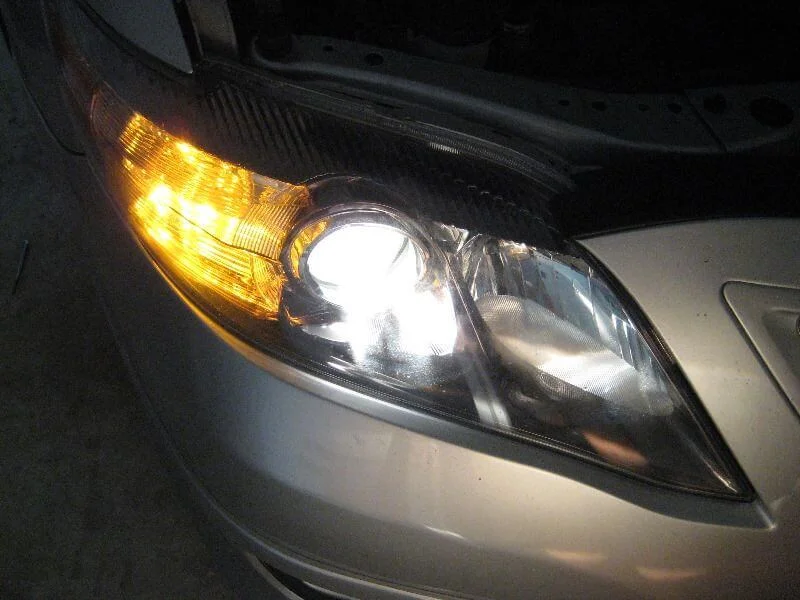
Checking the dipped beam.
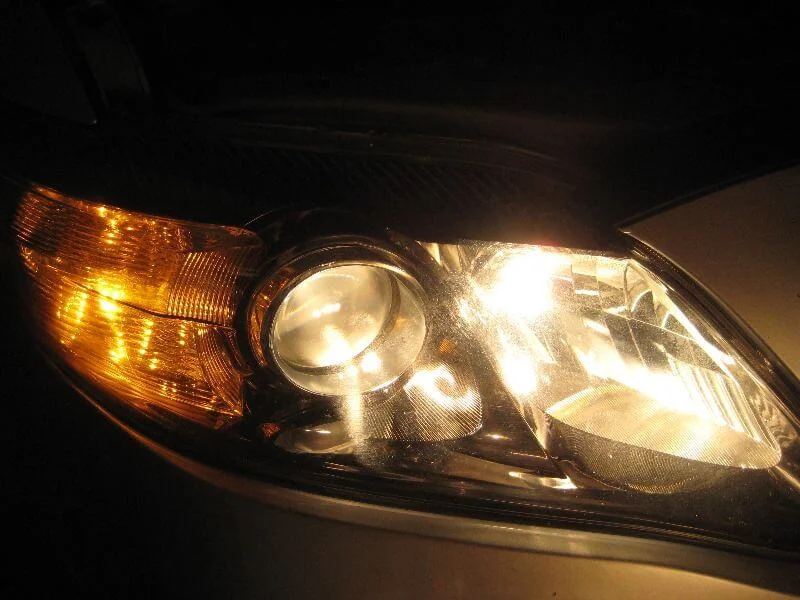
Checking the main beam.
Was this guide useful?
Your feedback helps us improve our content.


Discussion (0)
No comments yet!