Toyota Camry Fuel Filter Replacement
According to the Toyota Camry maintenance schedule, the fuel filter should be replaced at least every 80,000 – 100,000 kilometres. Often, this procedure is required sooner if the vehicle shows signs indicating insufficient fuel supply (jerking, poor starting).
This work involves flammable liquid. Do not smoke or use open flames near the vehicle. Ensure you relieve the pressure in the fuel system before starting work.
How to relieve fuel pressure?
To prevent petrol from spilling into the interior when removing hoses:
- Start the engine.
- Remove the fuel pump fuse (usually labelled C/OPN or EFI in the fuse box).
- Wait for the car to stall on its own.
- Crank the starter for a few more seconds. The pressure is now relieved.
What parts and tools are needed?
You will need a set of sockets (10mm and 12mm), Phillips and flat-head screwdrivers, rags, and a vacuum cleaner. Part numbers differ depending on the engine model.
Part numbers for Toyota Camry XV 50
For 1AZFE, 2ARFE, 6ARFSE engines (2.0 and 2.5 litres):
| Item | Part Number |
|---|---|
| Fuel filter assembly | Toyota 77024-33090 |
| Masuma MFF-T140 | |
| Sat ST-77024-33090 | |
| Fuel pump | Toyota 77020-33321 |
| Fuel pump strainer | Krauf KR1135F |
For the 3.5 engine (2GRFE):
| Item | Part Number |
|---|---|
| Filter assembly | Toyota 77024-33180 |
| Masuma MFF-T151 | |
| JS Asakashi FS2105 |
Parts for Toyota Camry XV 40
You must select the filter strictly by VIN, as modifications may vary. The fuel pump strainer (mesh) is always purchased separately (it is not included with the fine filter).
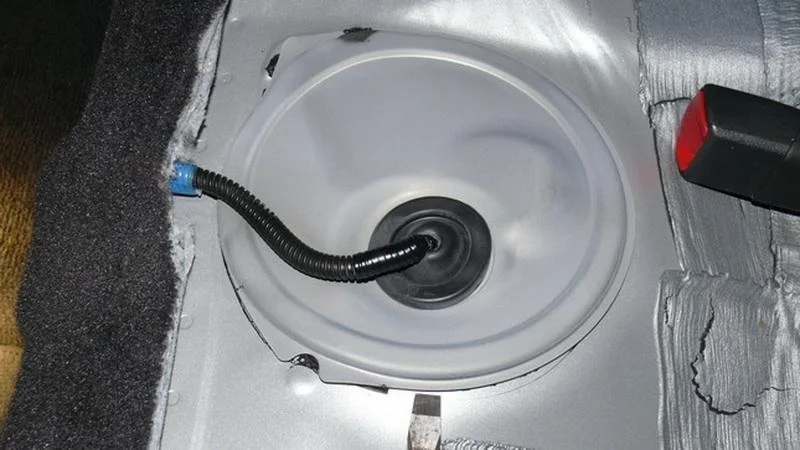
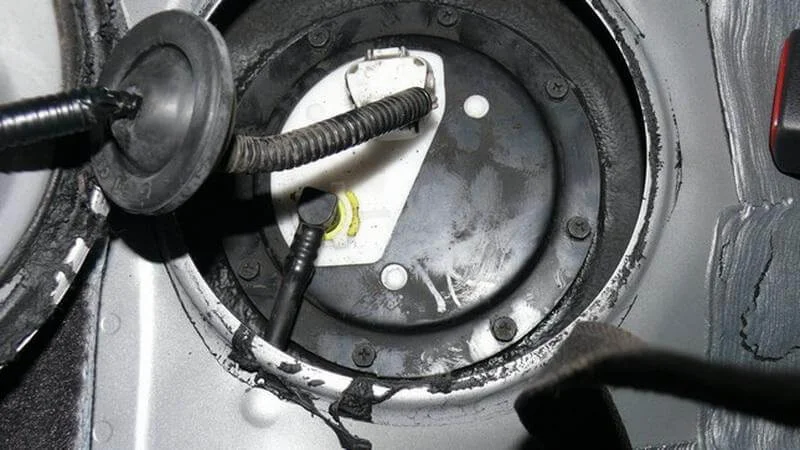
Observe safety measures. Lift the rear seat cushion. It is secured by two clips at the front — pull the edge of the seat sharply upwards to unclip them. You will see the maintenance hatch under the seat.
The hatch is glued with non-hardening bituminous sealant. Pry the cover up with a flat-head screwdriver and carefully peel it off.
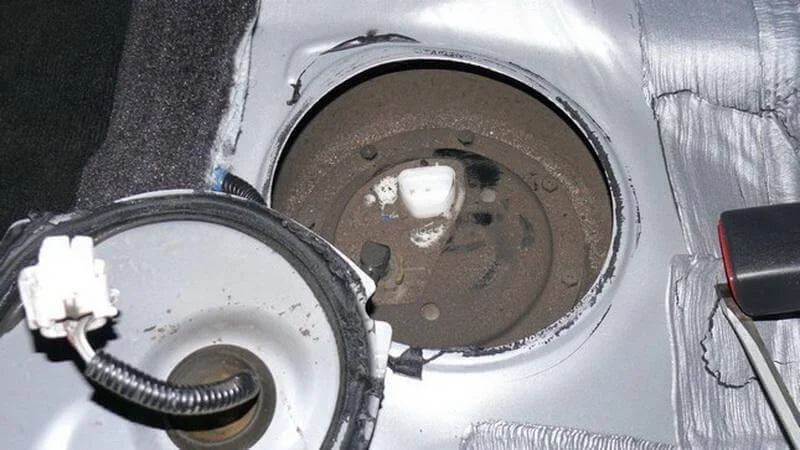
Thoroughly remove all dirt around the cover with a vacuum cleaner and a cloth so that debris does not fall into the tank. Disconnect the electrical connector. Remove the fuel pipe: release the plastic clip and pull.
If you did not relieve the pressure (see the beginning of the article), petrol will spill at this stage. Be ready to place a rag underneath.
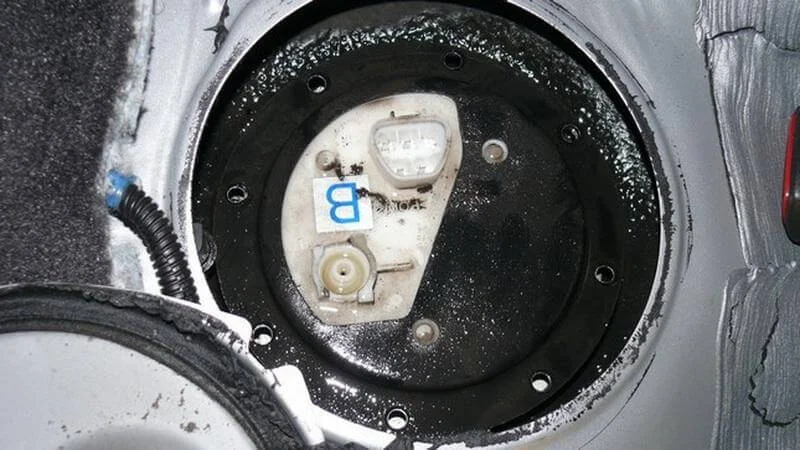
Unscrew the retaining ring bolts (usually with an 8mm socket or Phillips screwdriver) and remove the ring.
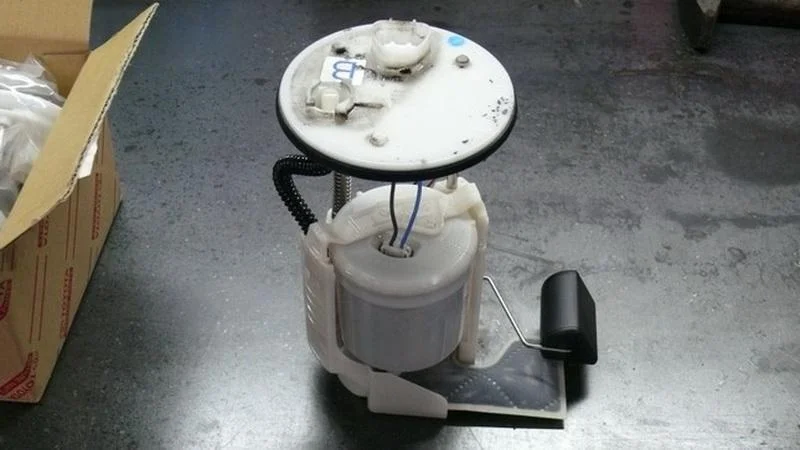
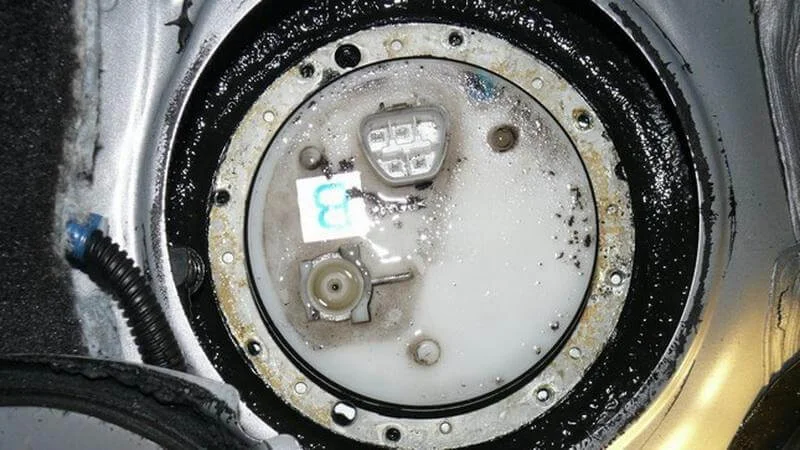
Carefully remove the pump housing assembly so as not to bend the fuel level float. Drain the remaining petrol from the housing back into the tank or into a prepared container.
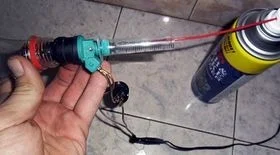
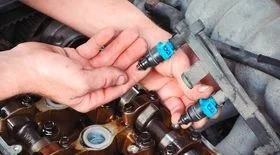
Important: The coarse mesh strainer (in the photo below) must be replaced. Cleaning the old strainer is ineffective, as the fine-pored structure gets clogged with resins that cannot be washed out.
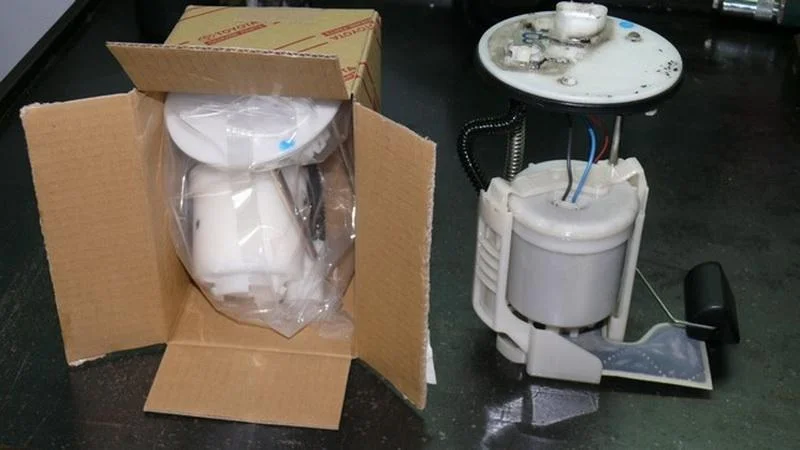
Prepare the new genuine filter (or a high-quality aftermarket alternative) for assembly.
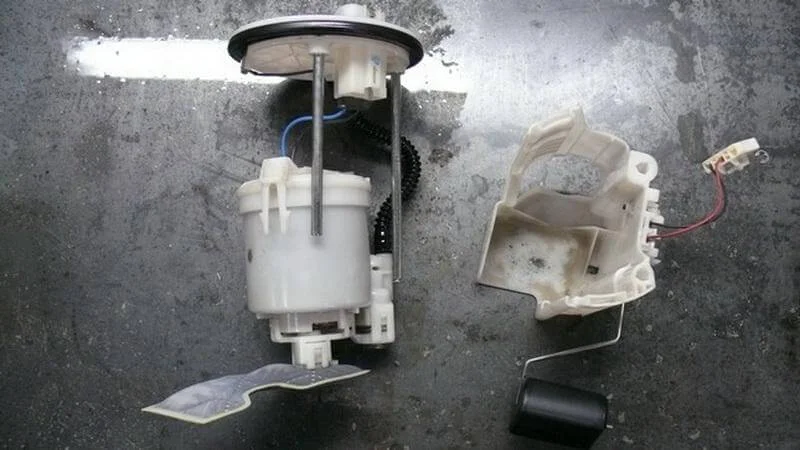
Disassemble the housing. This is the most critical stage. The plastic clips are fragile — pry them open with a flat-head screwdriver without using excessive force.
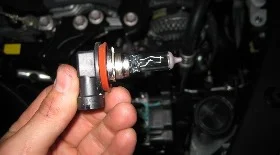
Critically important: When transferring the fuel pump and pressure regulator to the new housing, do not forget to transfer all the rubber O-rings. If a ring is left in the old filter or damaged, there will be no pressure in the system, and the car will not start.

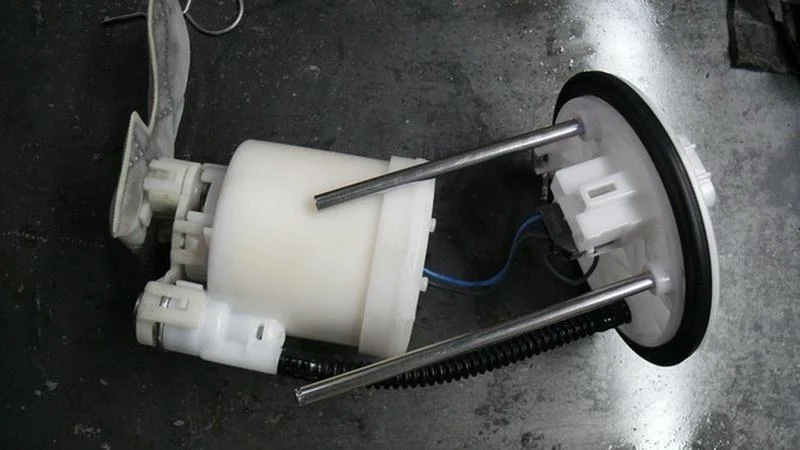
Shown in the photo are the disassembled elements: the bottom cover, the pump itself with the new strainer, and the pressure regulator (valve). Check the integrity of the rubber seals before reassembly.
Reassemble all elements in reverse order into the new fuel filter housing. Ensure that all clips have snapped into place. Install the module back into the tank, taking care with the float.
Tighten the retaining ring. Connect the fuel line and the power plug.
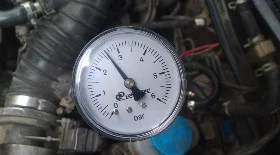
Check: Without closing the hatch, reconnect the battery terminal and switch the ignition on (without starting the engine) 2-3 times so the pump builds up pressure. Check for petrol leaks at the connections. Only then start the engine and reinstall the seat.
Was this guide useful?
Your feedback helps us improve our content.

Discussion (0)
No comments yet!