Toyota Camry V50 Bulb Replacement
This photo guide is intended to show how to replace bulbs on the 7th generation Toyota Camry V50 (2013). Specifically, it covers replacing the low beam bulb, high beam bulb, indicator bulb, and sidelight bulb.
Toyota Camry V50 Bulb Numbers:
Low beam bulb — H11;
High beam bulb — HB3 (9005);
Indicator bulb — 7440A (also 992 or 7444NA);
Sidelight bulb — 2825 (also 168 or W5W).
How to replace Camry V50 bulbs
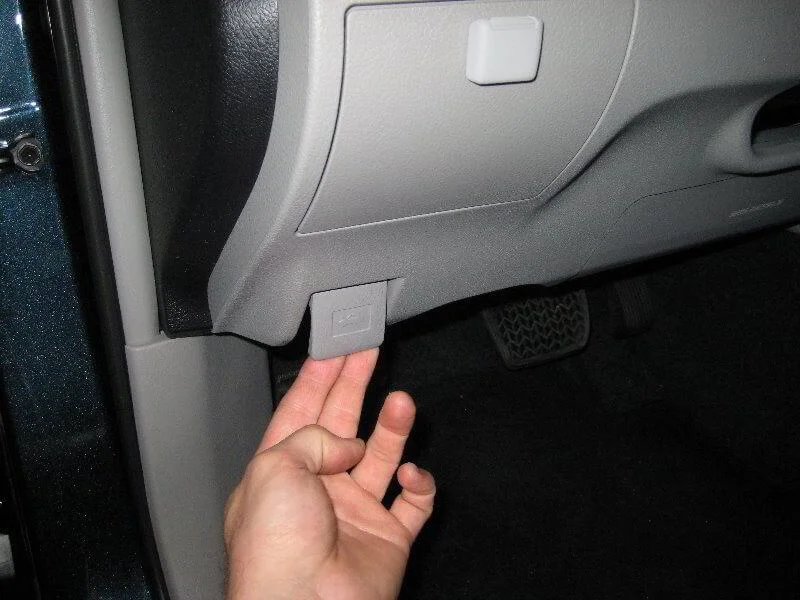
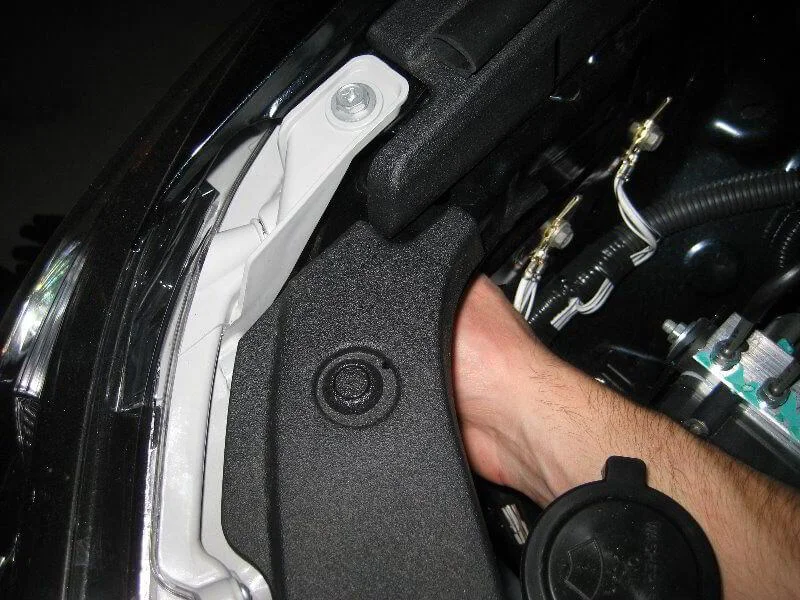
No tools are required to access the bulbs, and there is no need to remove the headlight unit. You can replace the front headlight bulbs yourself on both sides. First, open the bonnet and proceed to the headlight with the burnt-out bulb.
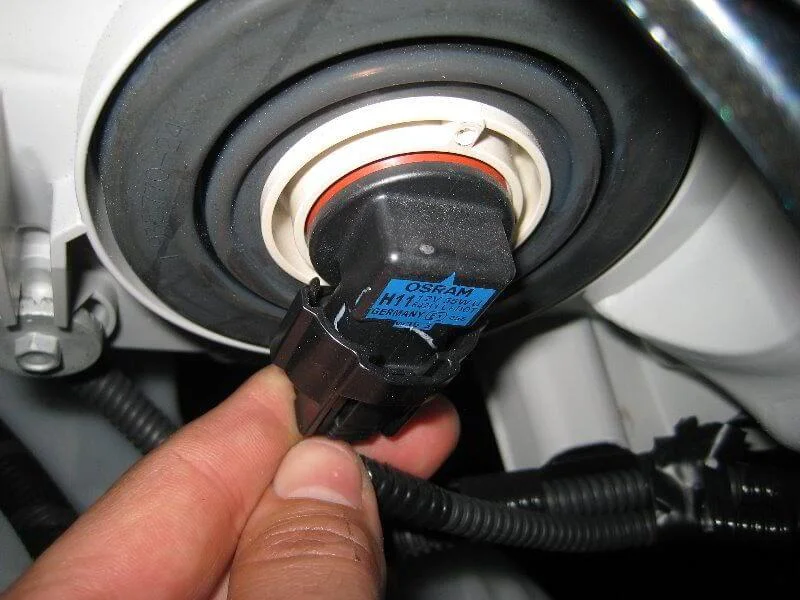
Camry V50 Low Beam Bulb Replacement
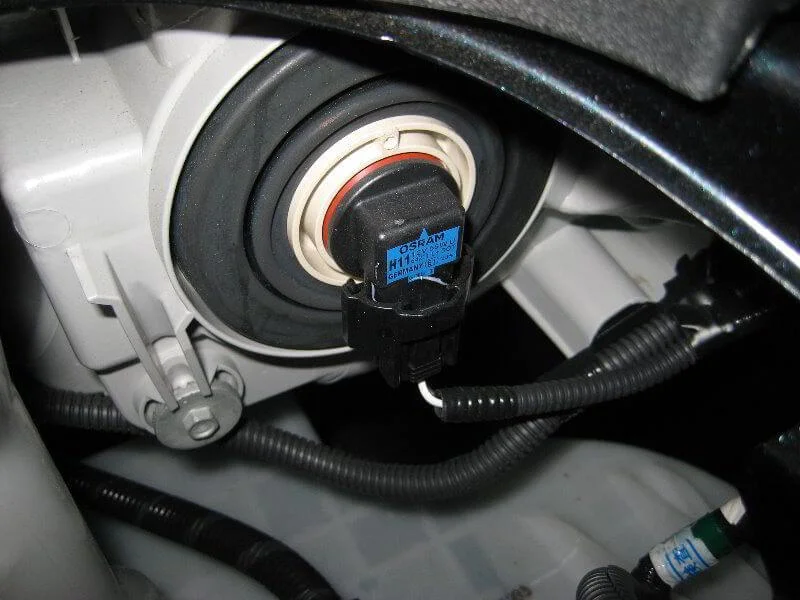
The low beam bulb is located in the centre of the headlight assembly. Squeeze the release tab and disconnect the power connector from the bulb. Then turn the bulb base a quarter turn anti-clockwise and remove the bulb from the headlight.
Insert the new bulb into the socket and turn it a quarter turn clockwise to lock it in place. Then connect the power connector. However, if the car is equipped with factory xenon lights, you will likely have to remove the headlight unit completely to remove the bulb from the lens.
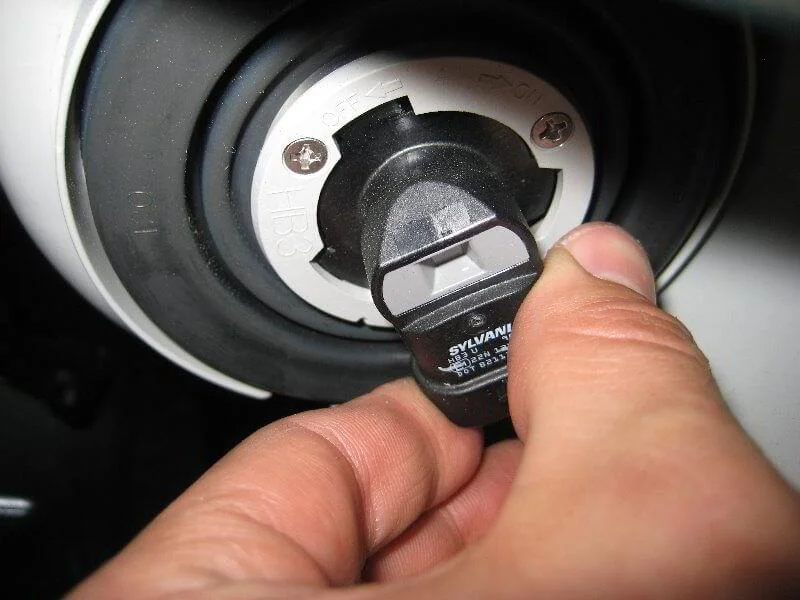
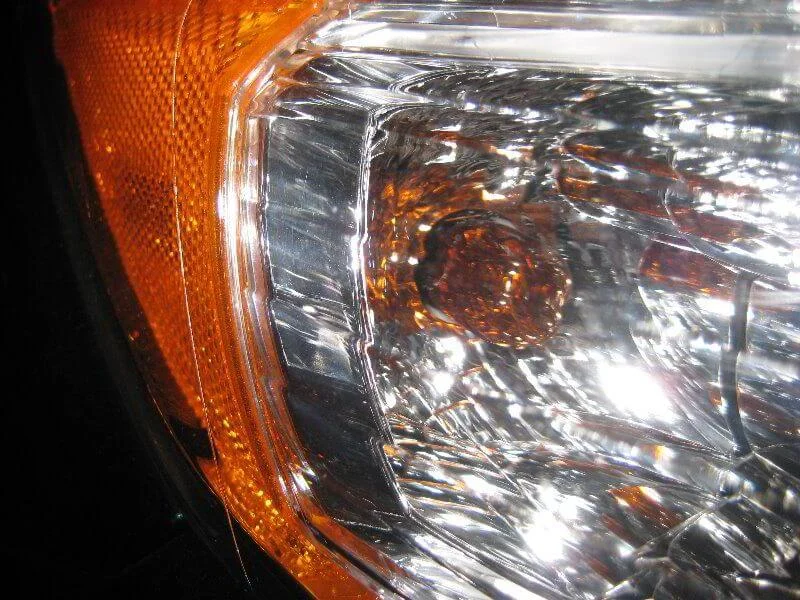
Camry V50 High Beam Bulb Replacement
The high beam bulb is located closer to the inner edge of the headlight assembly. The replacement principle is the same as for the low beam bulb: disconnect the power, twist and remove the bulb, insert the new one without touching the glass with your fingers. Lock it in place and connect the power.
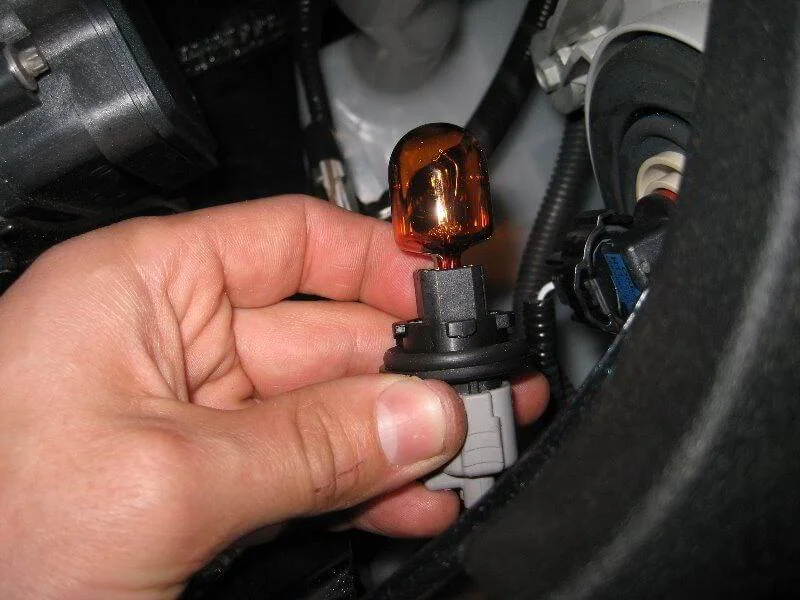
Camry V50 Indicator Bulb Replacement
The indicator bulb is located closer to the outer edge of the headlight assembly. Turn the bulb base a quarter turn anti-clockwise and remove the bulb socket from the headlight. Then simply pull the old bulb out of the socket and insert the new one. Afterwards, install the socket back into the headlight.
Camry V50 Sidelight Bulb Replacement
The sidelight bulb is located in the far corner of the outer edge of the headlight assembly. It is changed in the same way as the indicator bulb: twist and pull the socket out of the headlight, pull out the old bulb, insert the new one, and reinstall the socket into the headlight.

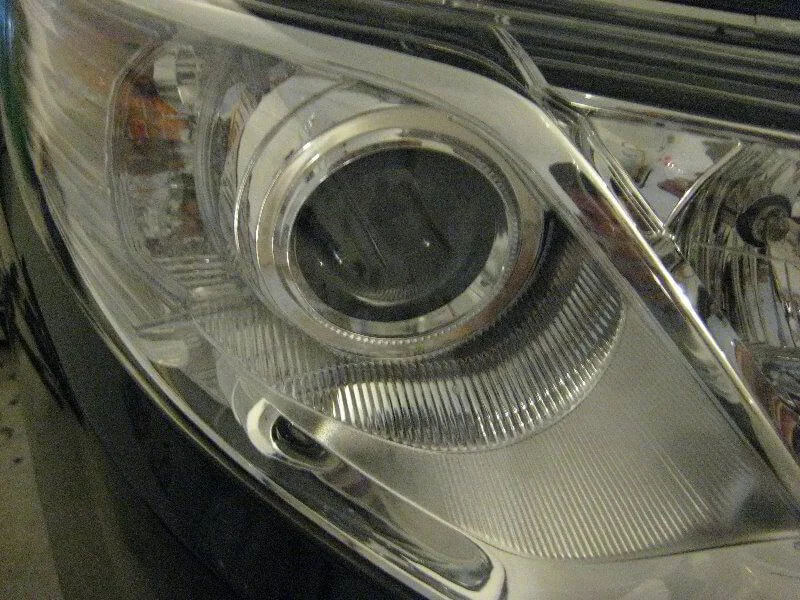
Front headlight of the 2013 Camry V50.
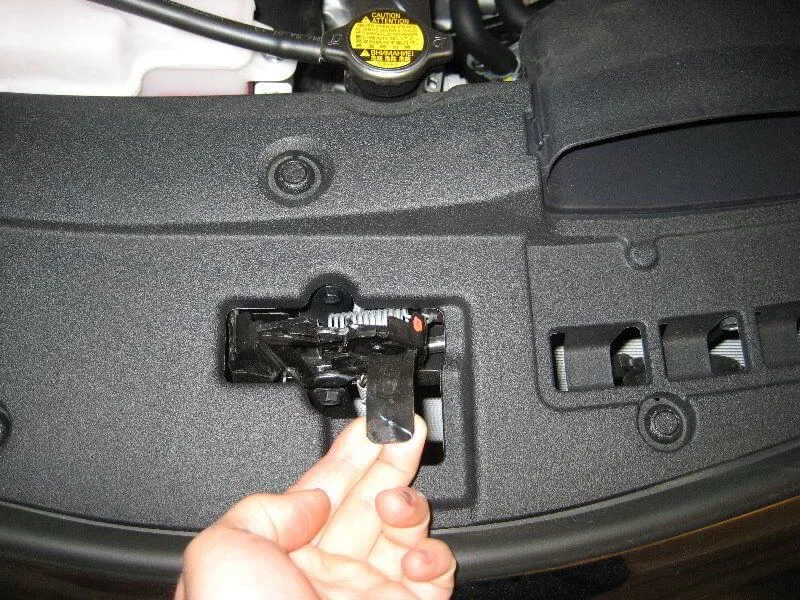
Open the bonnet.
Low beam bulb.
View from the back.
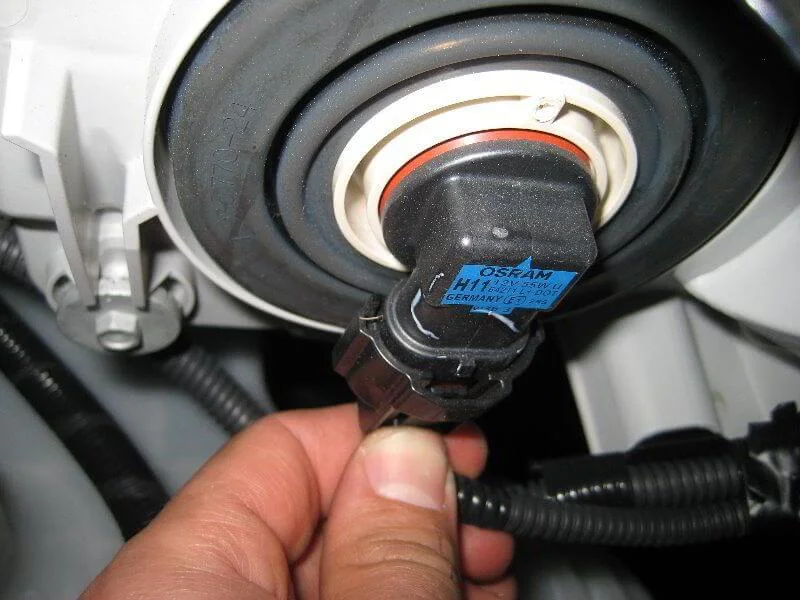
Squeeze the power connector release tab.
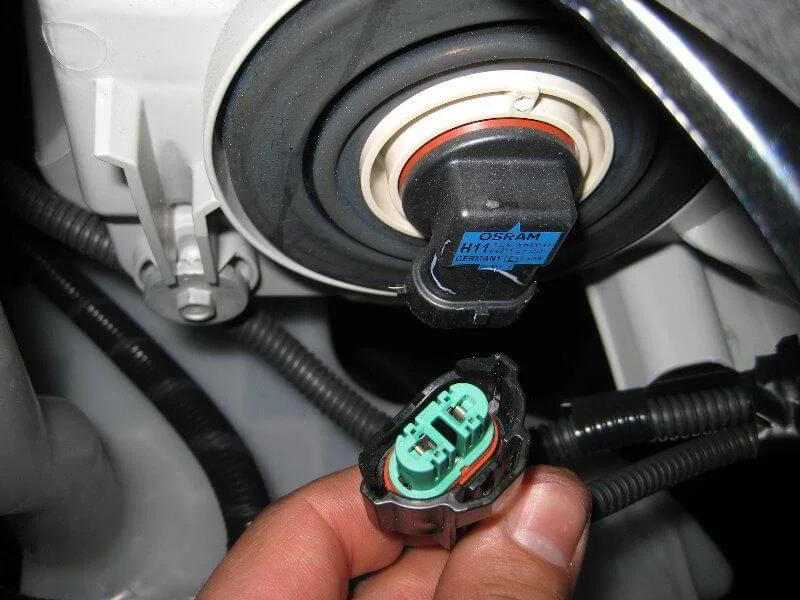
Disconnect the connector.
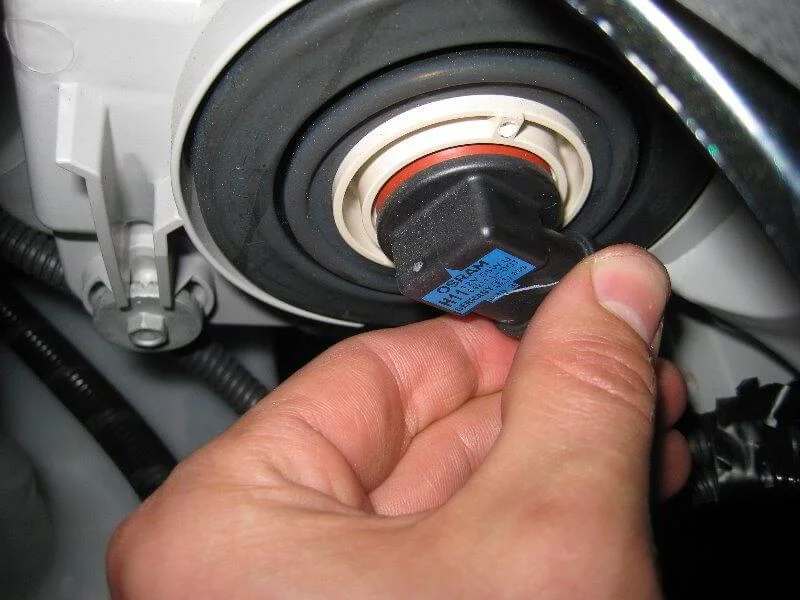
Rotate the base 1/4 turn anti-clockwise.
Remove the bulb.
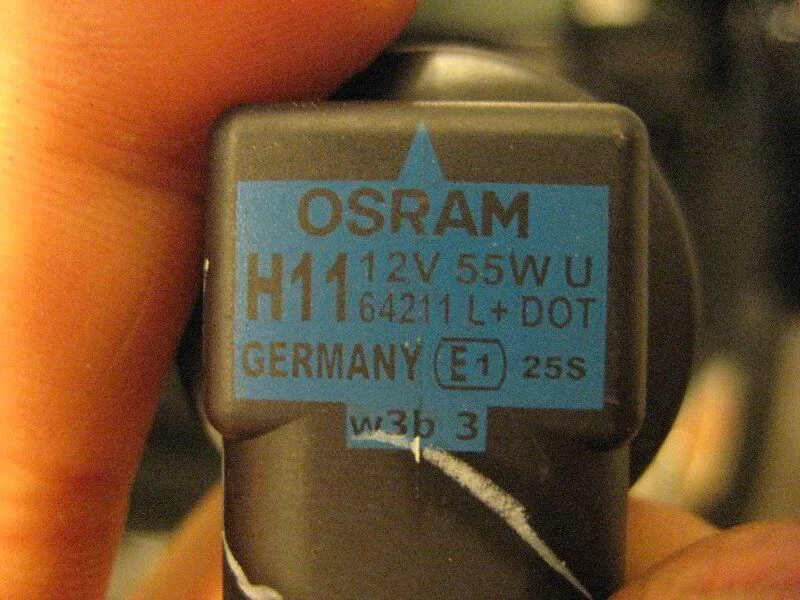
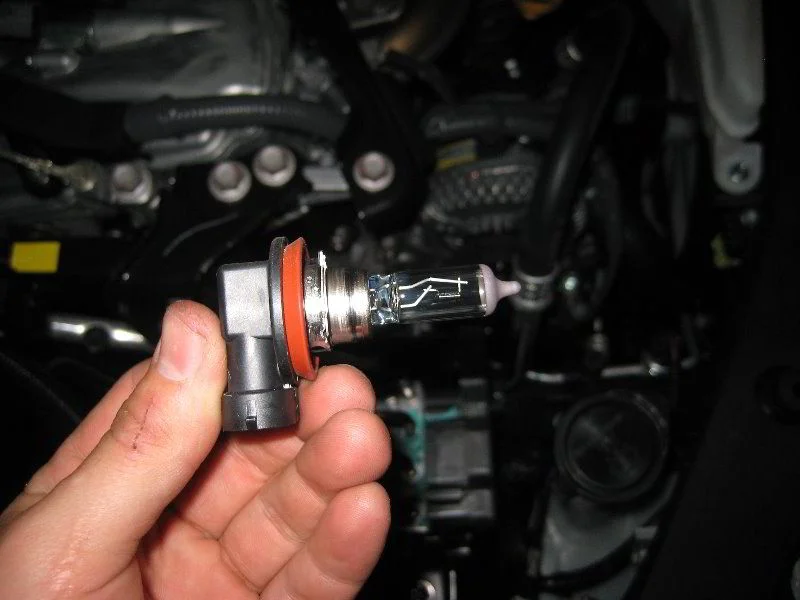
Osram H11 12V 55W low beam bulb.
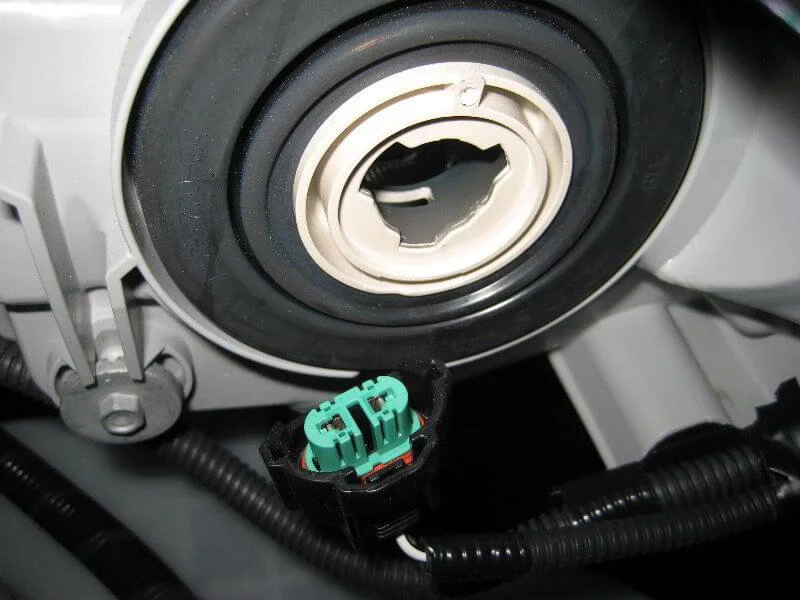
Empty socket.
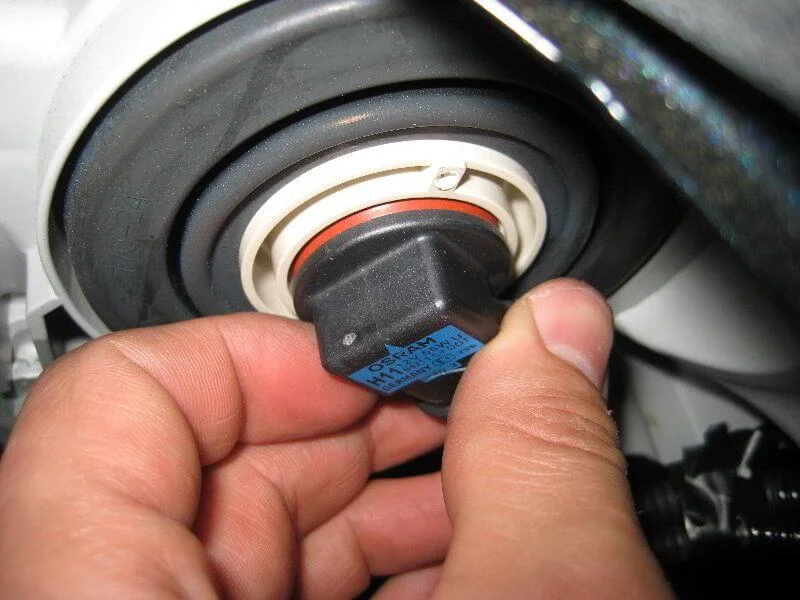
Insert the new bulb.
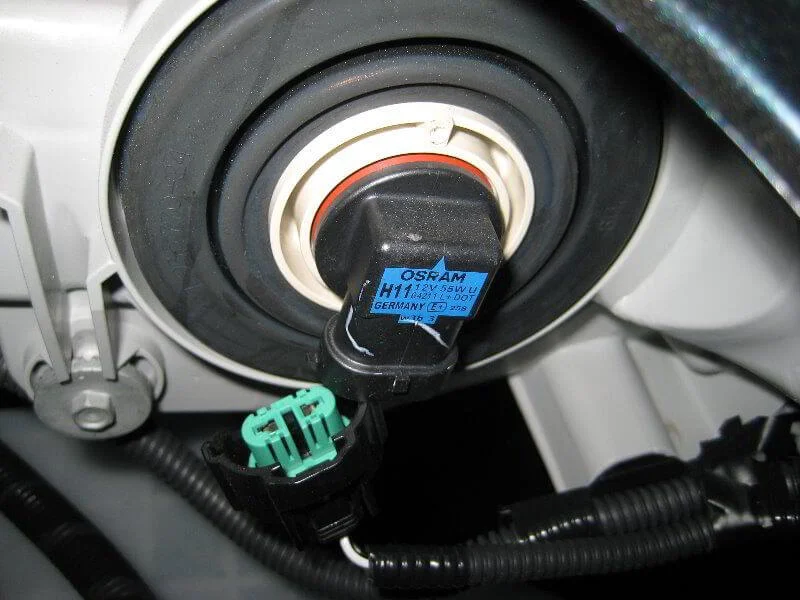
Rotate 1/4 turn clockwise.
Connect the connector.

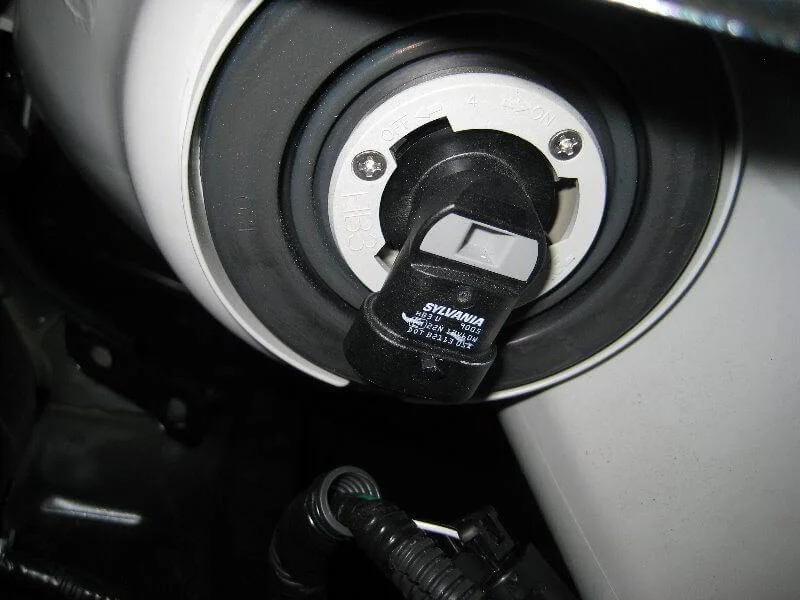
High beam bulb.
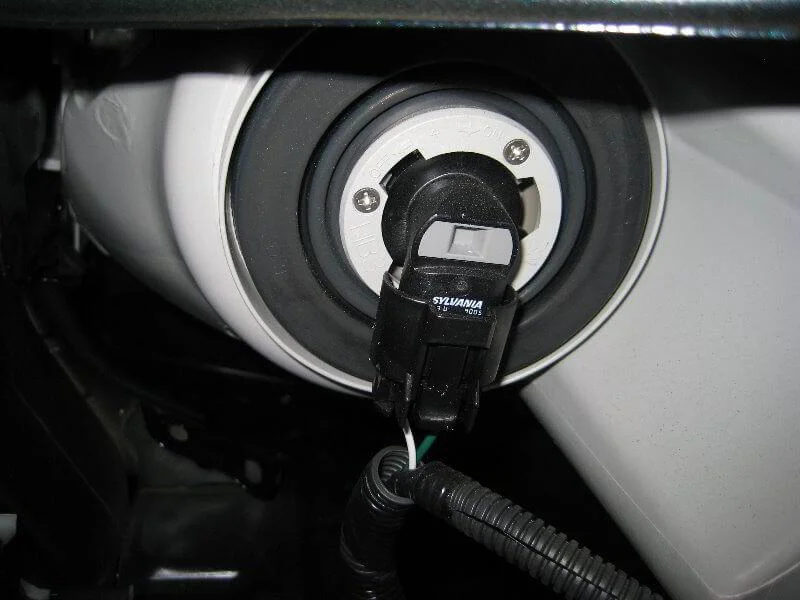
View from the back.
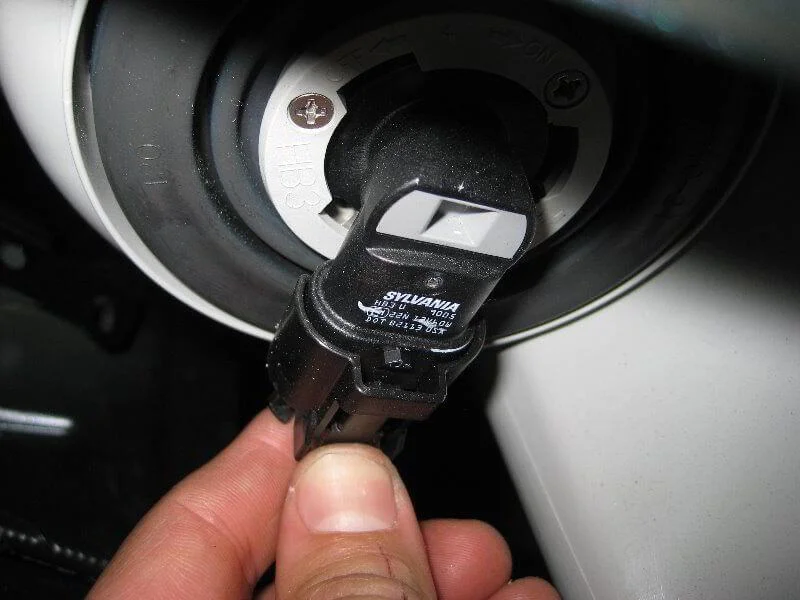
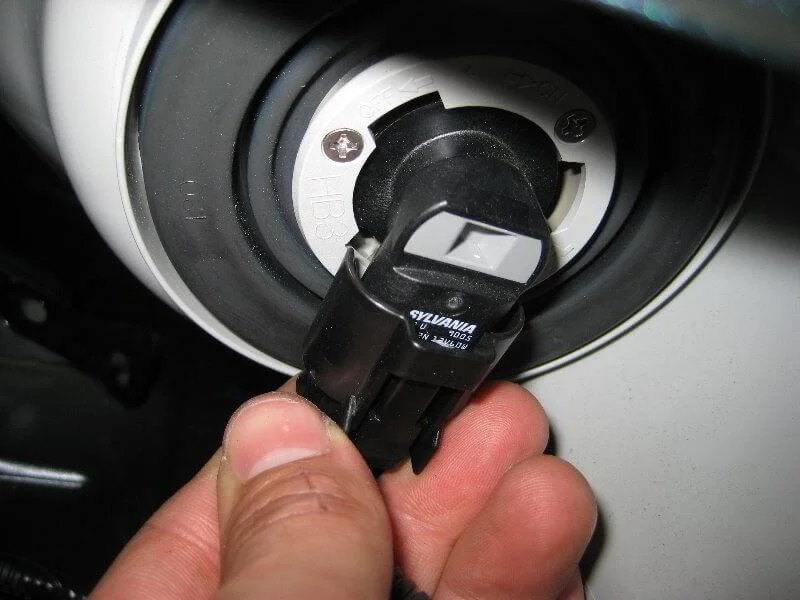
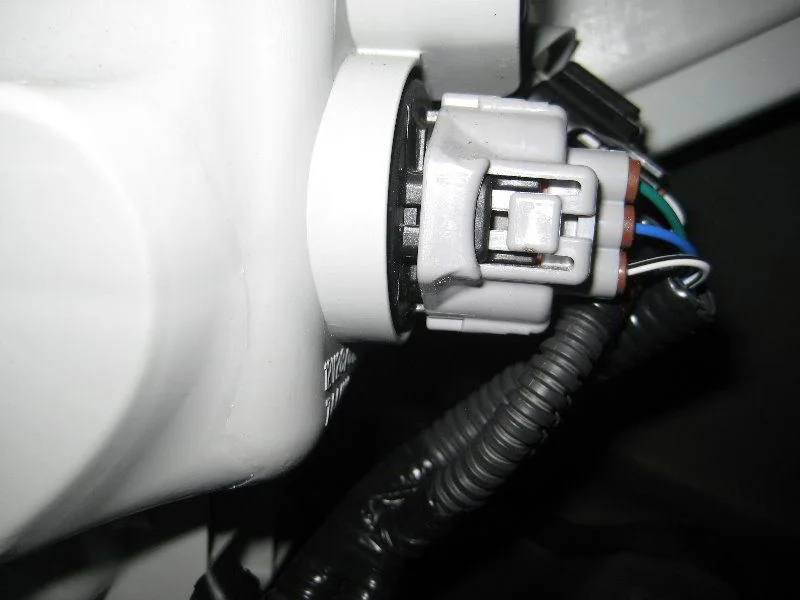
Squeeze the release tab and disconnect the connector.
Rotate 1/4 turn anti-clockwise.
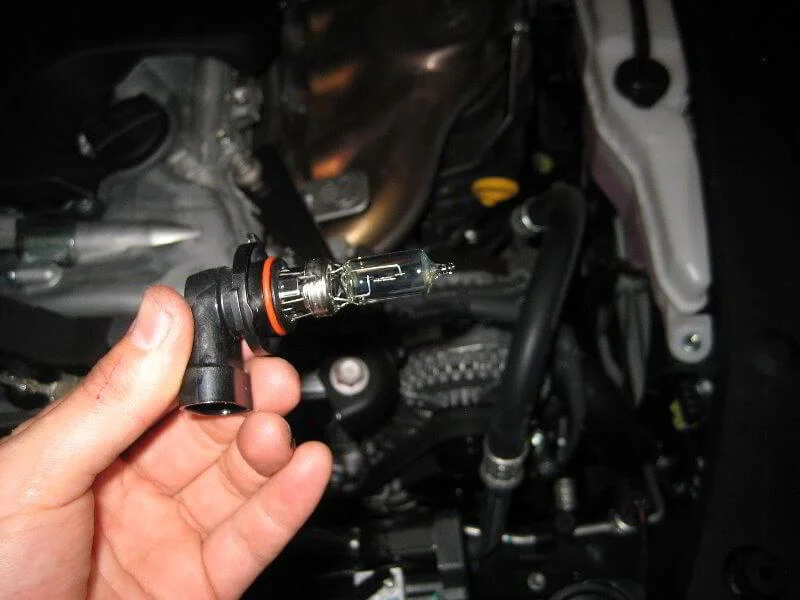
Remove the bulb from the headlight.
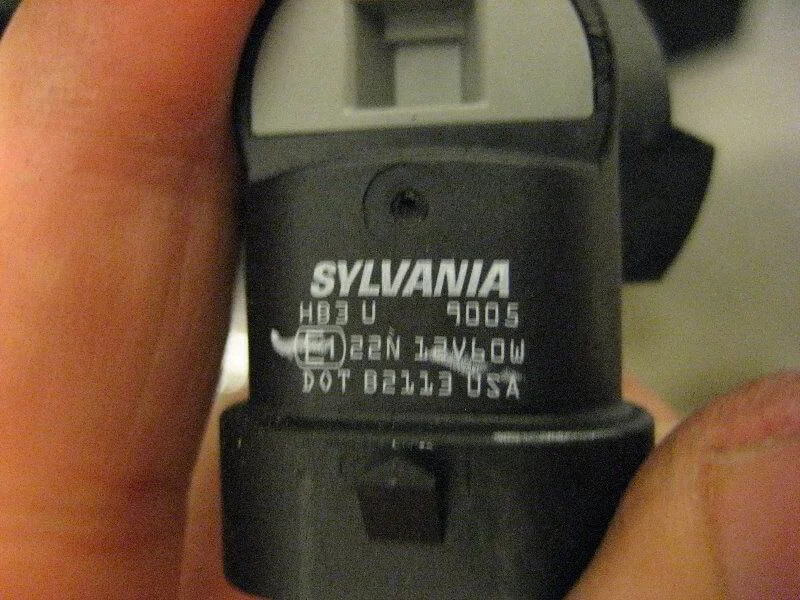
Sylvania 9005 12V 60W high beam bulb.
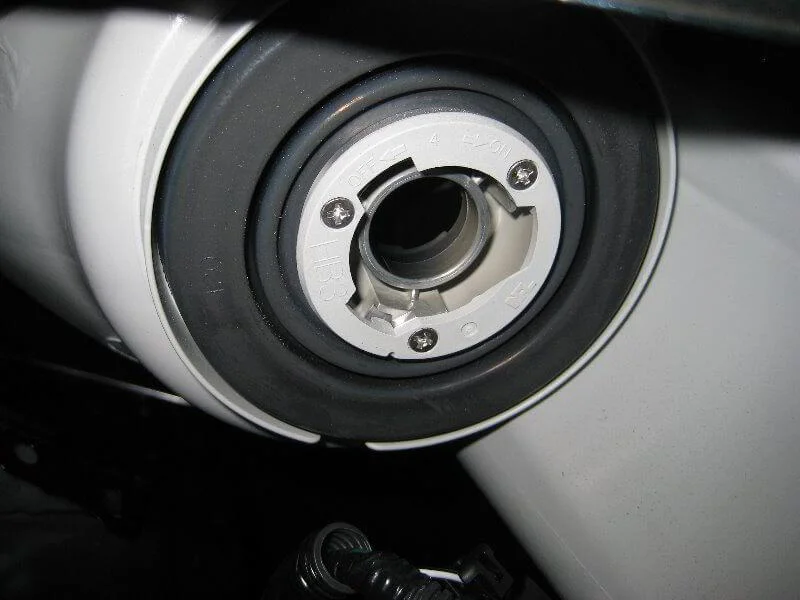
Empty bulb socket.
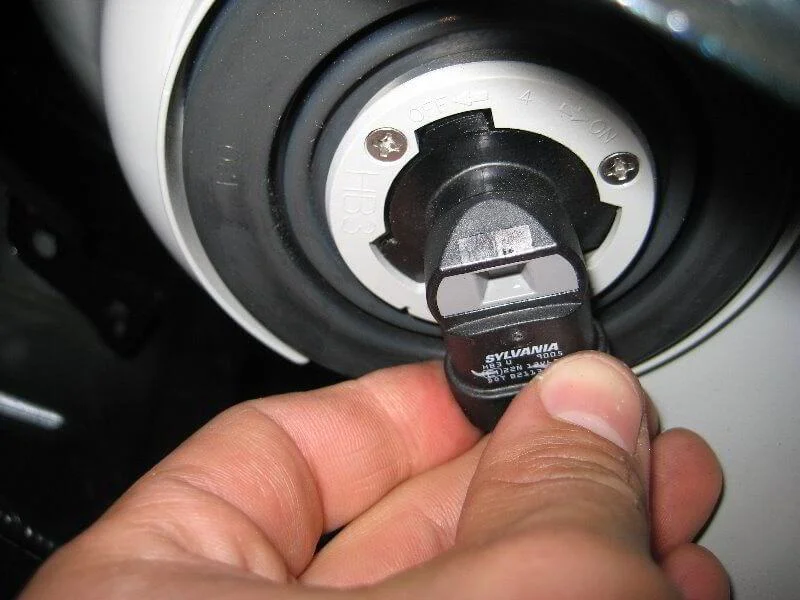
Insert the new bulb into the socket.
Secure by rotating 1/4 turn clockwise.
Connect the connector.
Indicator bulb.
Rotate the base 1/4 turn anti-clockwise and remove the socket from the headlight.
Remove the bulb from the socket.
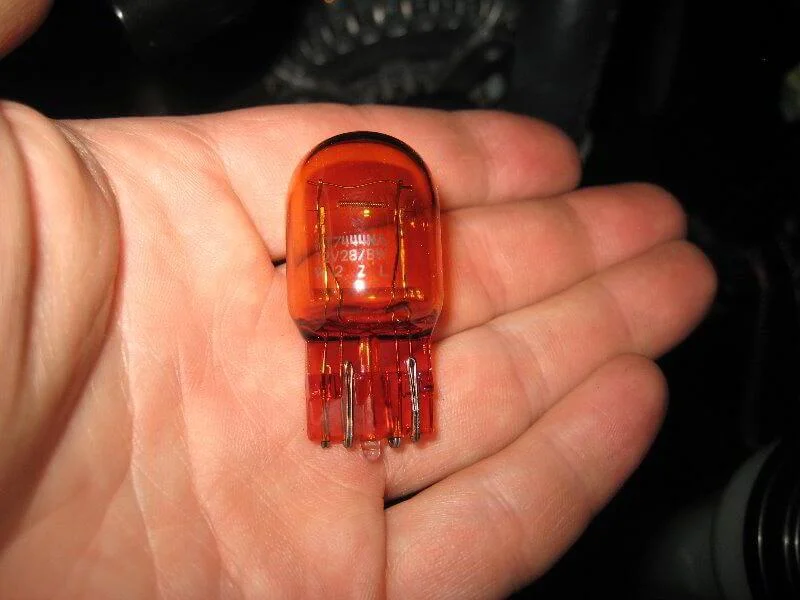
Indicator bulb 7444NA. Installation is in reverse order.
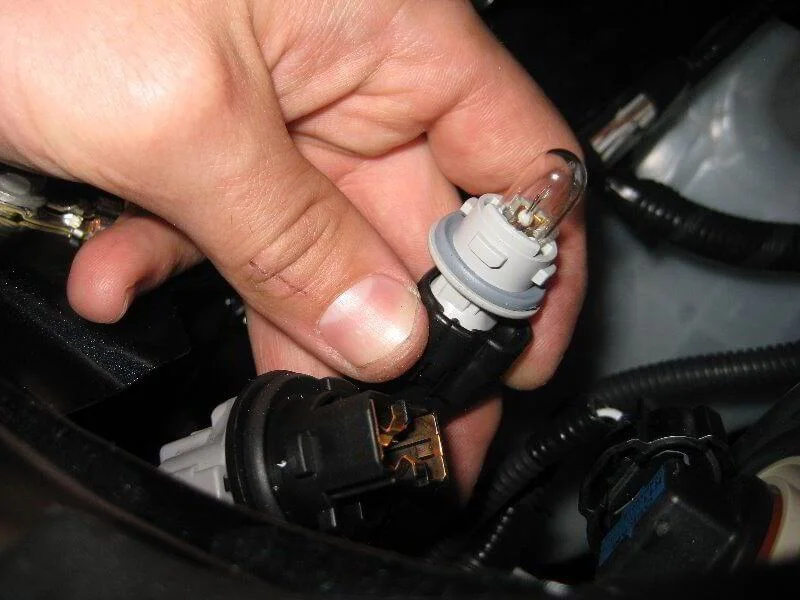
The sidelight bulb is removed in exactly the same way.
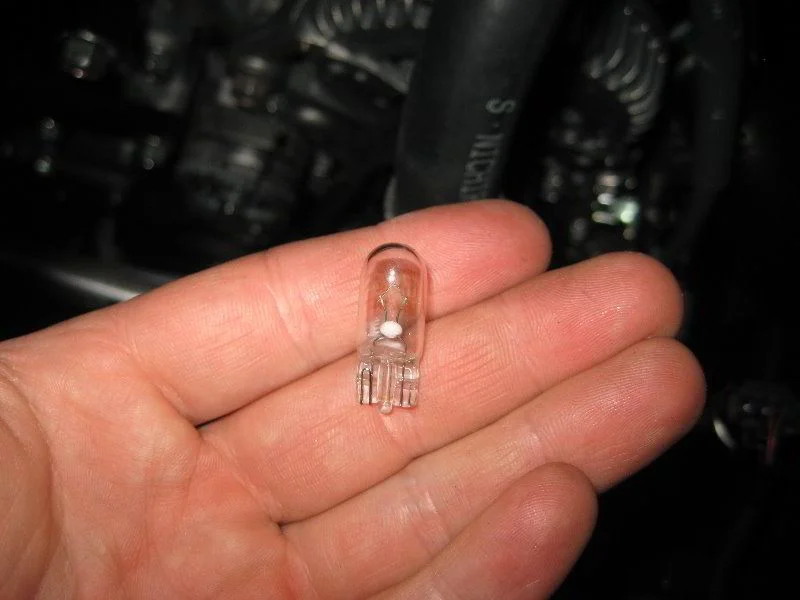
Remove the bulb from the socket simply by pulling.
Installation is in reverse order.
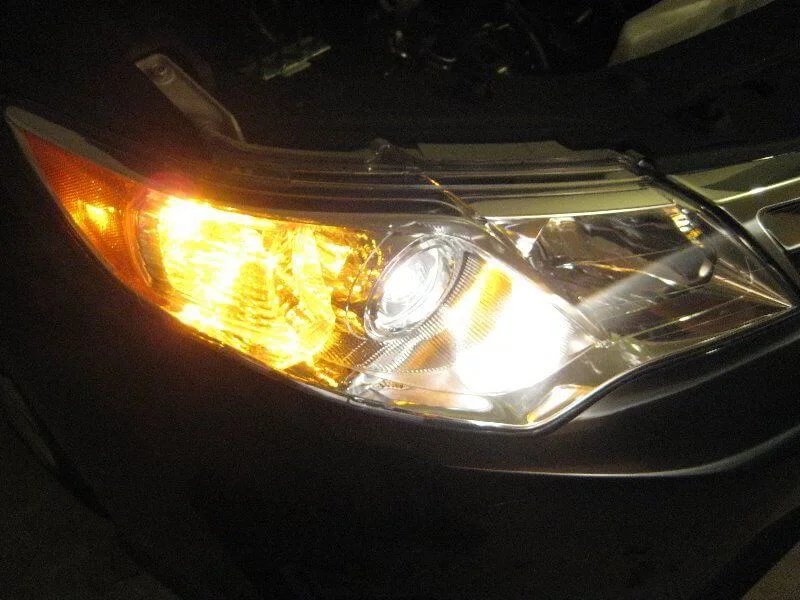
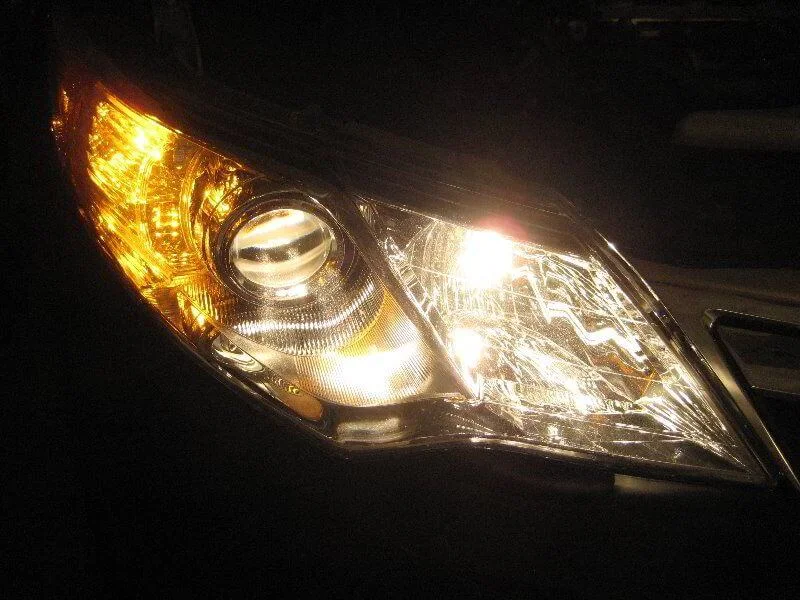
Check the new bulbs.
Check the high beam.
Was this guide useful?
Your feedback helps us improve our content.


Discussion (0)
No comments yet!