Toyota RAV4 (2013) Headlight Bulb Replacement
Replacing the front headlight bulbs on a Toyota RAV4 is a straightforward task — it is quite possible to change the bulbs yourself. This detailed photo guide will assist you, showing the replacement process on a 2013 Toyota RAV4 (4th generation). It covers the replacement of the dipped beam, main beam, indicator, and side light bulbs.
Toyota RAV4 Headlight Bulb Part Numbers:
Dipped beam (Low beam) — HB3 (9005);
Main beam (High beam) — HB3 (9005);
Turn signal (Indicator) — WY21W/5W (7444NA);
Side light (Parking light) — 2825, W5W or 168.
*Please verify bulb compatibility before purchasing — depending on the year of manufacture and the country of origin, specifications may differ slightly.
Toyota RAV4 Dipped Beam Bulb Replacement
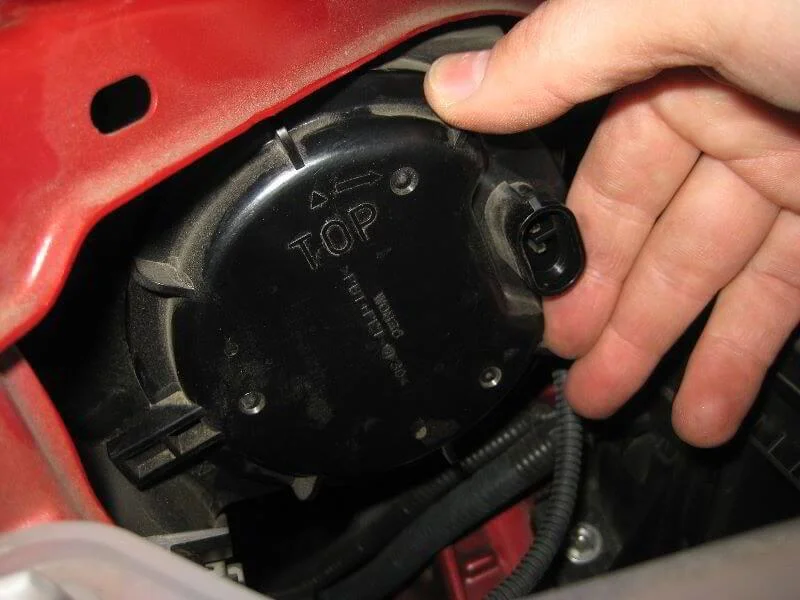
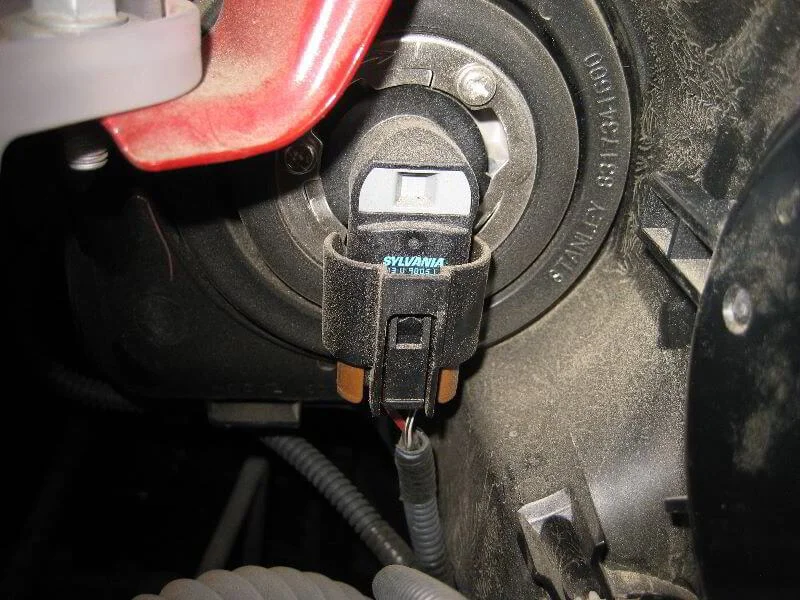
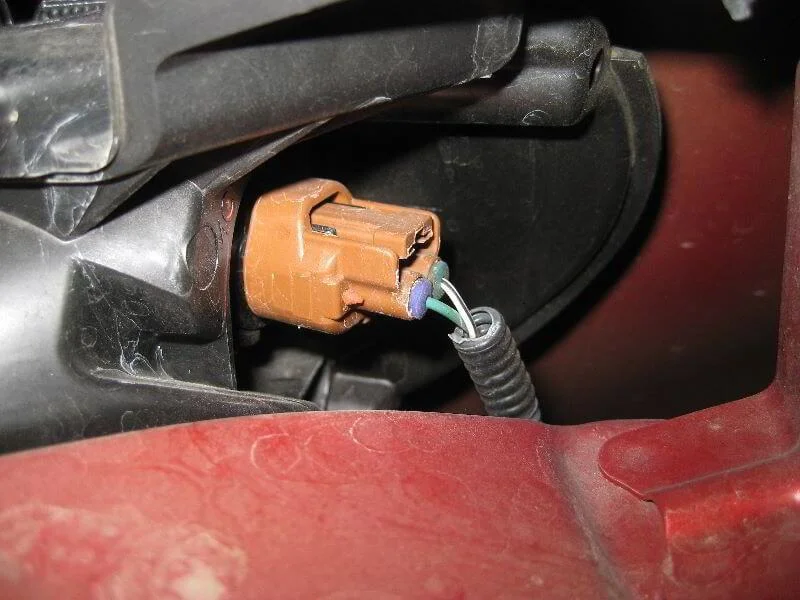
The dipped beam bulb is located near the outer edge of the headlight housing. First, press the release tab and disconnect the electrical connector. Then, turn the protective dust cover anti-clockwise and remove it.
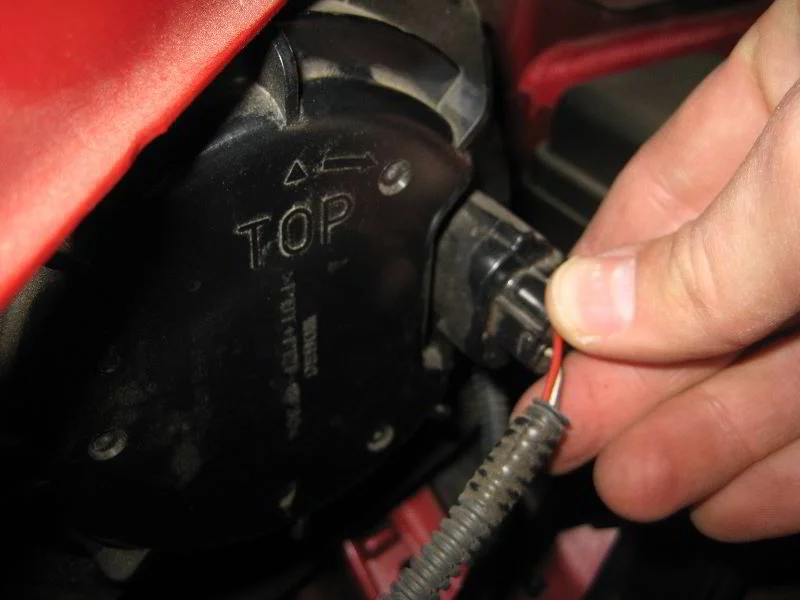
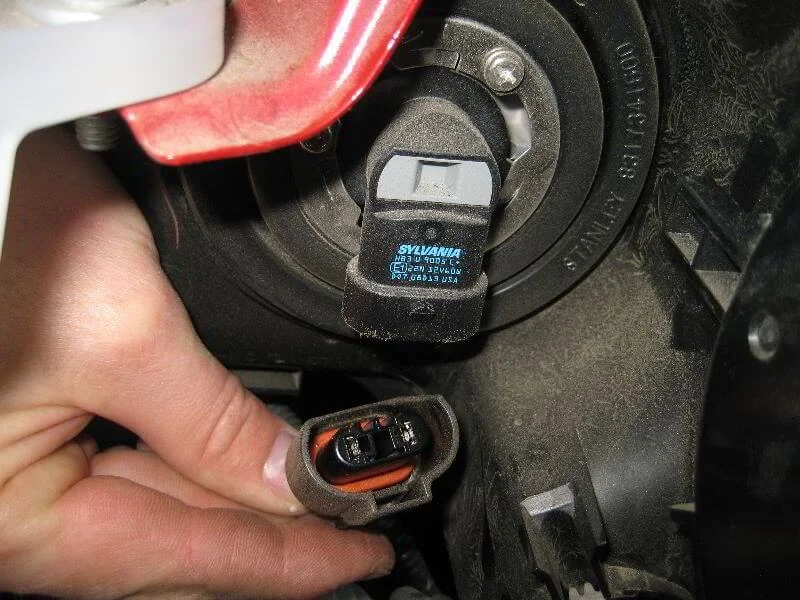
Next, disconnect the blue electrical connector, turn the bulb holder a quarter turn anti-clockwise and pull the bulb out. Installation is the reverse of removal.
Toyota RAV4 Main Beam Bulb Replacement
The main beam bulb is located closer to the centre of the headlight housing. The replacement principle is the same: disconnect the connector, turn the socket a quarter turn anti-clockwise, and remove the bulb. Install the new bulb in reverse order, ensuring you do not touch the glass with bare hands. The dipped and main beam bulbs share the same part number and are interchangeable.
Toyota RAV4 Indicator Bulb Replacement
The indicator bulb is located in the lower corner of the inner edge of the headlight. Turn the grey bulb holder a quarter turn and pull the bulb holder out with the bulb. Then remove the old bulb and install the new amber bulb into the socket. Reassemble in reverse order.
Toyota RAV4 Side Light Bulb Replacement
The side light bulb is located at the outer edge of the headlight. Turn the orange socket a quarter turn anti-clockwise, then pull the socket out and remove the bulb from it. Install the new bulb in reverse order.
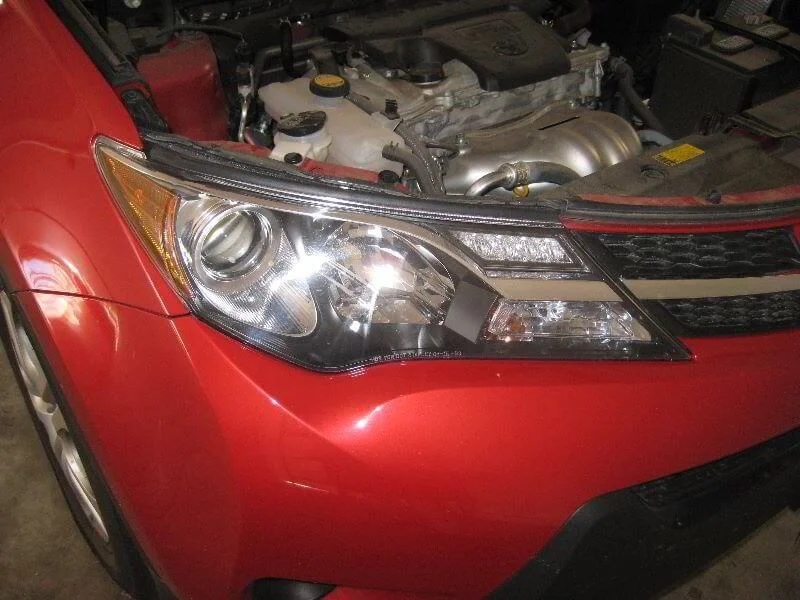
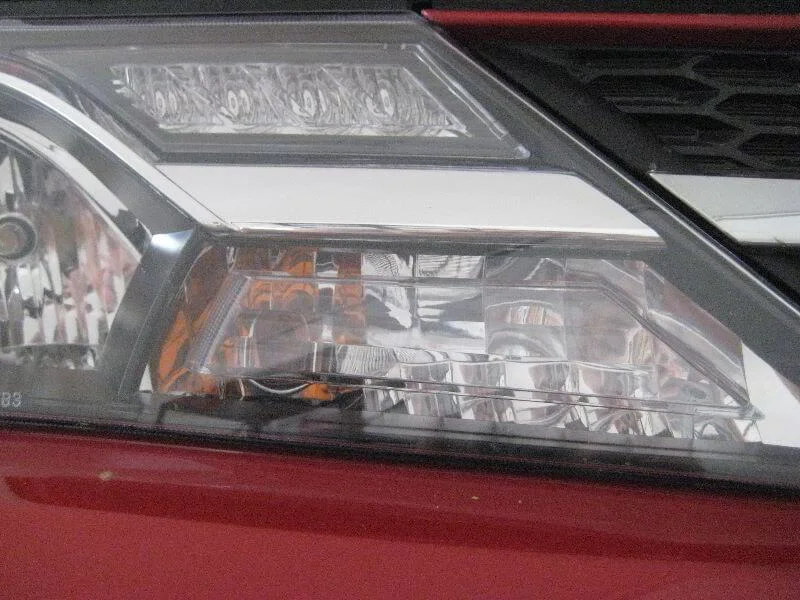
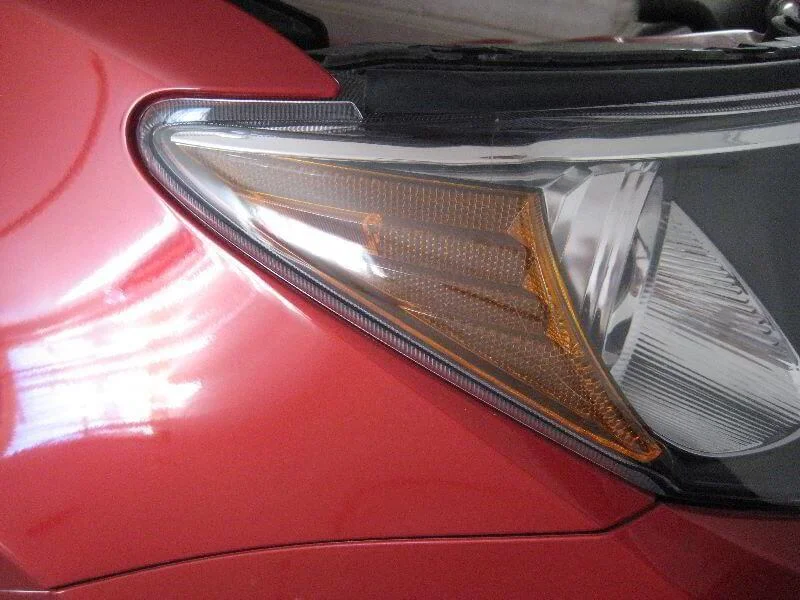
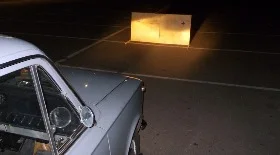
Front headlight of the 2013 Toyota RAV4.

Dipped beam, main beam and indicator bulbs.
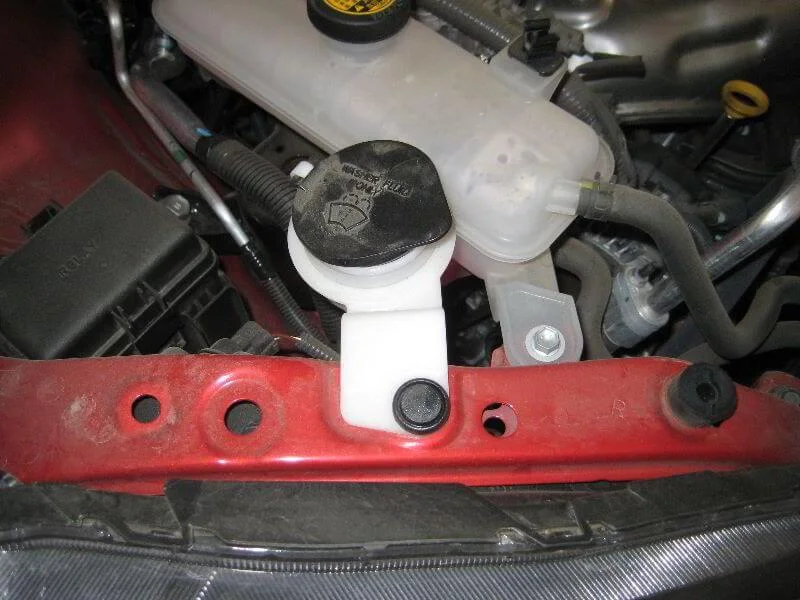
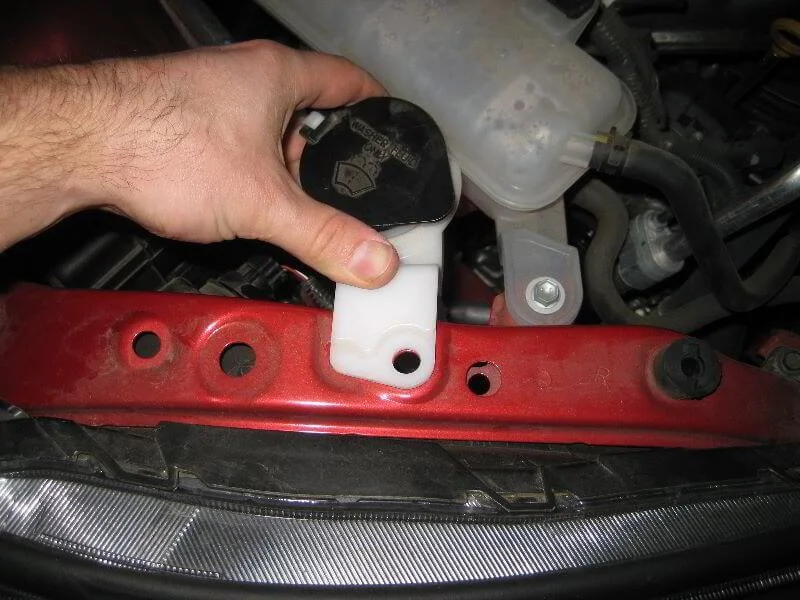
To replace bulbs on the passenger side, it is better to move the windscreen washer reservoir.
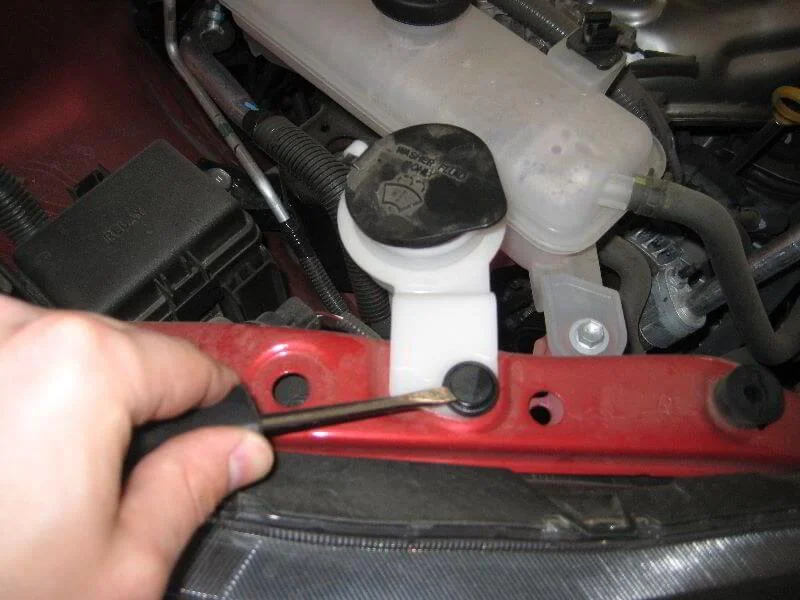
Pry up the retaining clip.
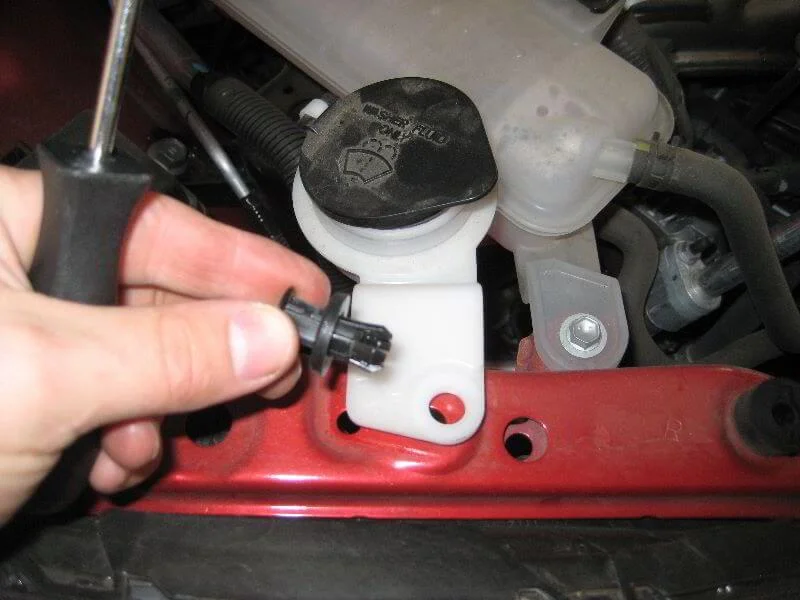
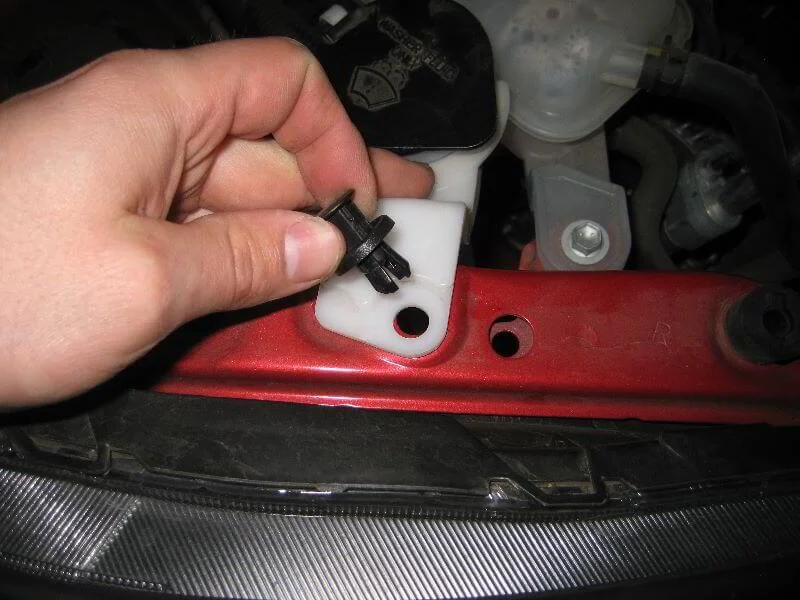
Remove the clip.
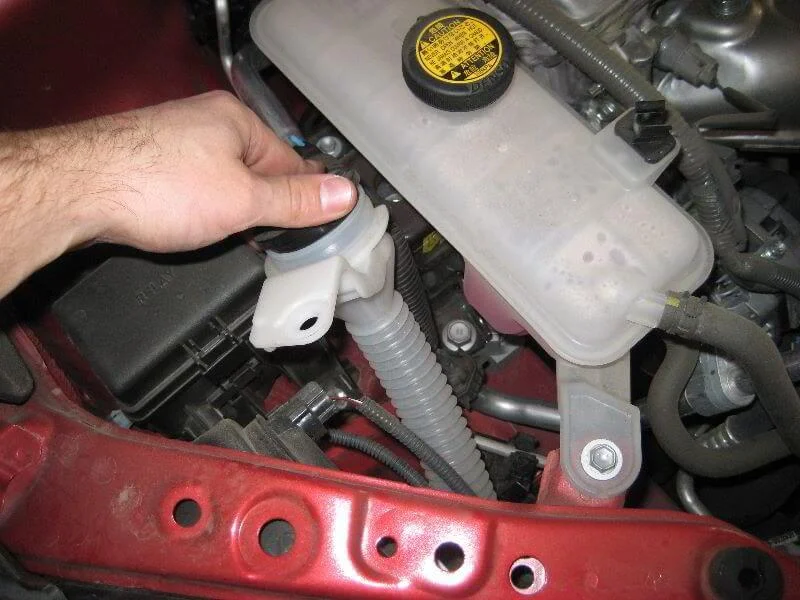
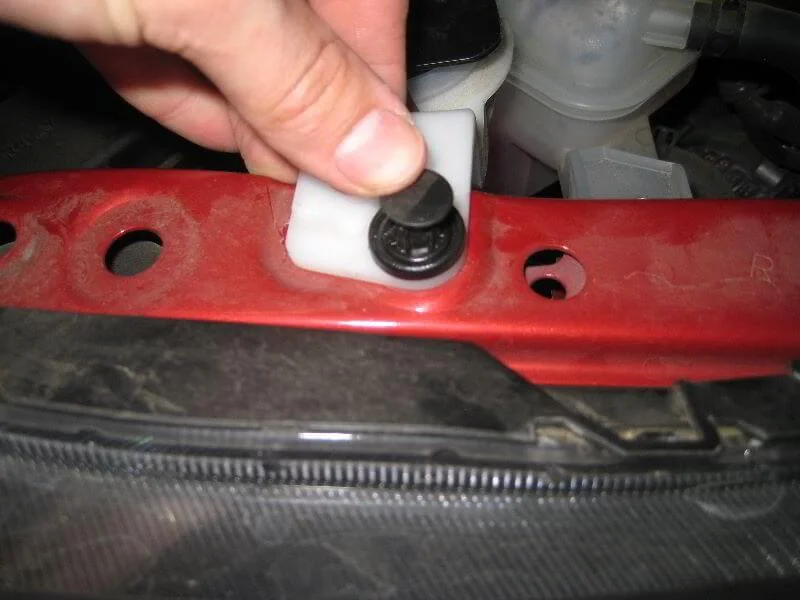
Move the reservoir aside.
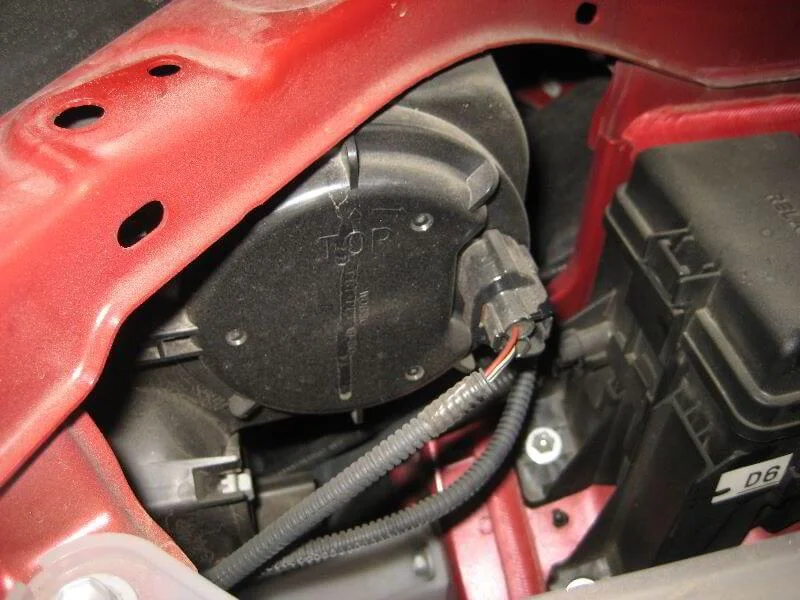
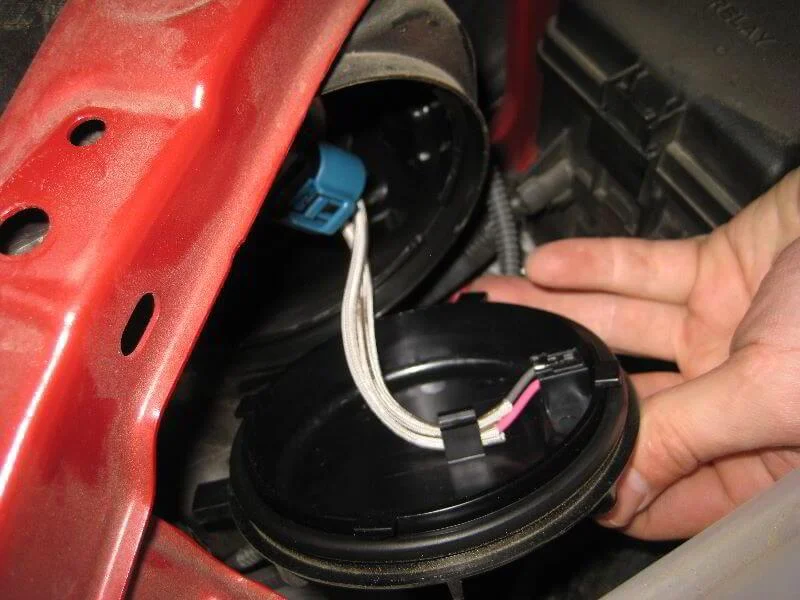
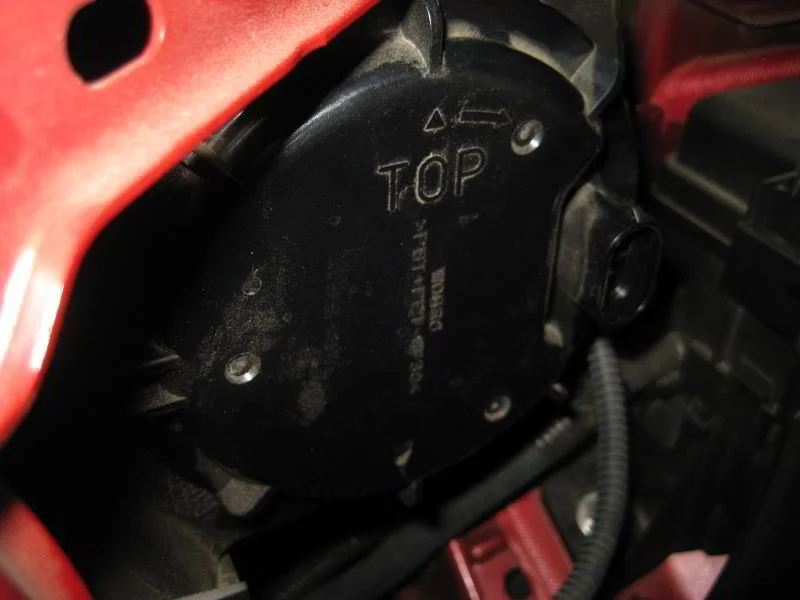
Dipped beam bulb housing.

Squeeze the electrical connector tab.
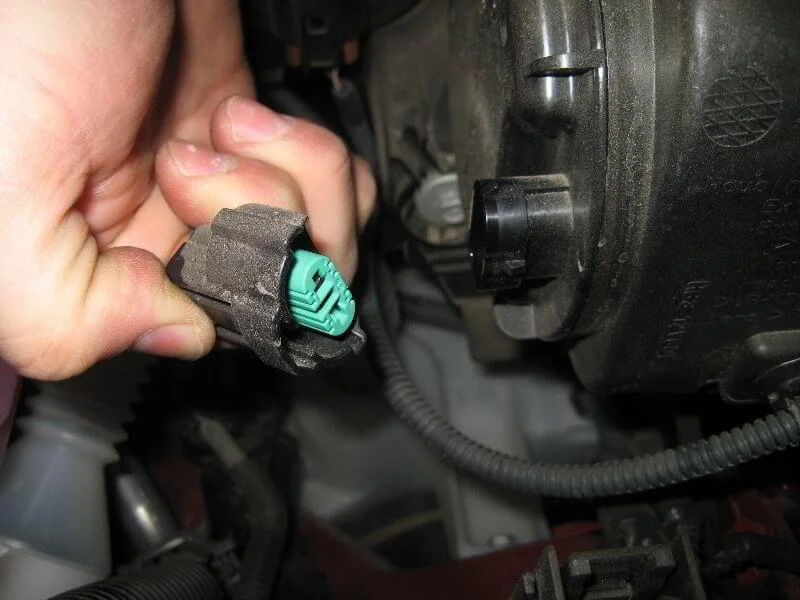
Disconnect the connector.
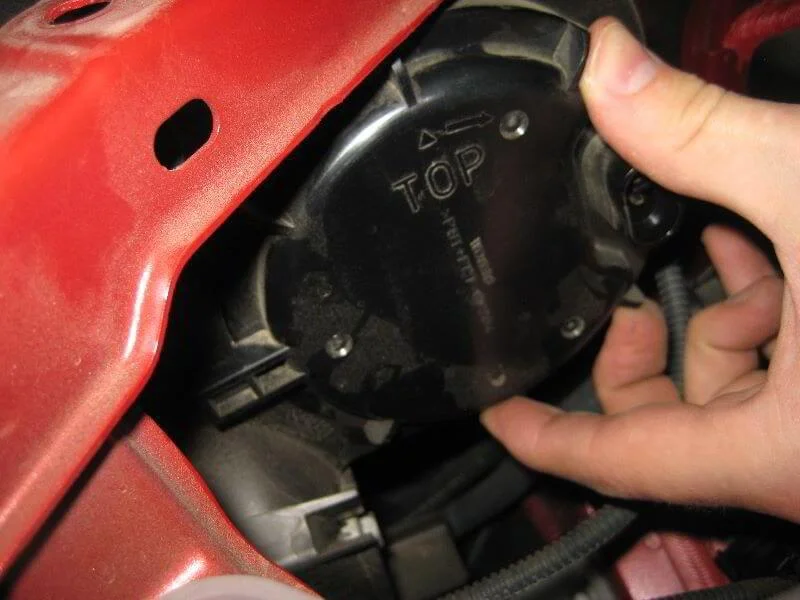
Turn the protective cover anti-clockwise.
Remove the cover.
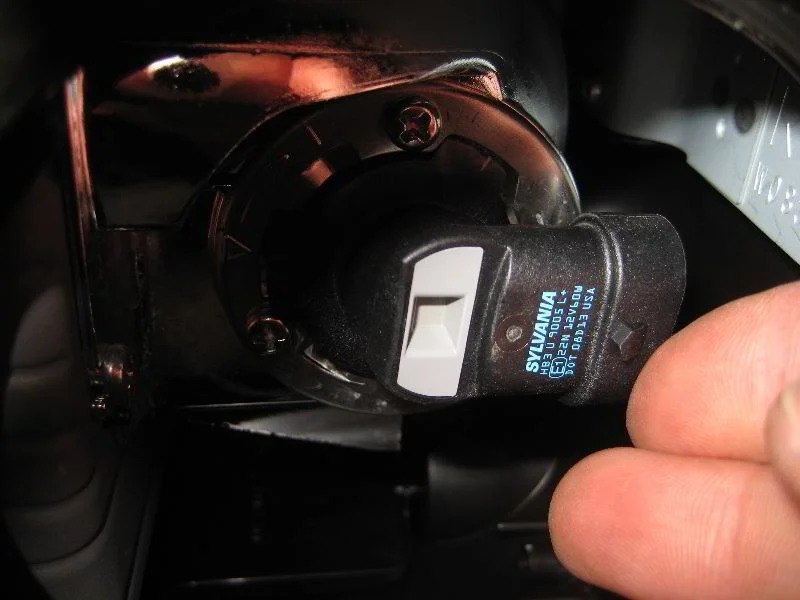
Dipped beam bulb socket.
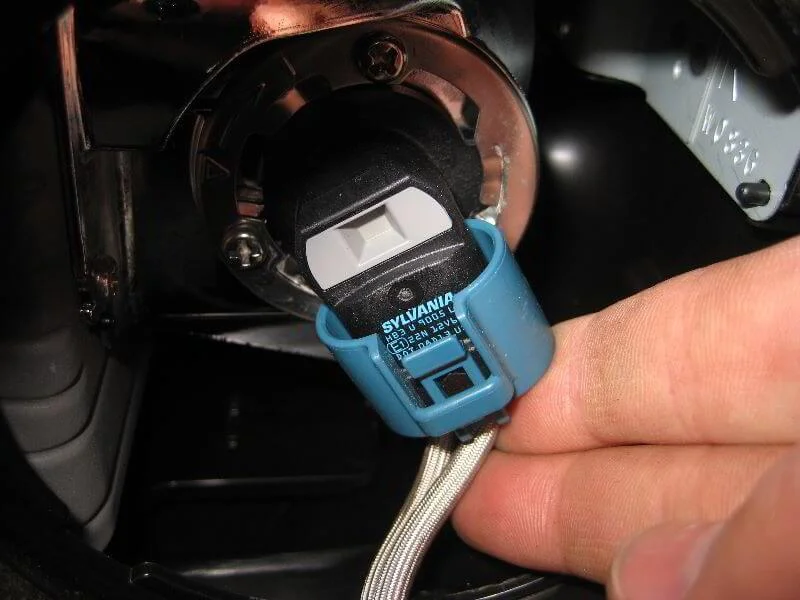
Blue plastic electrical connector.
Disconnect the connector.
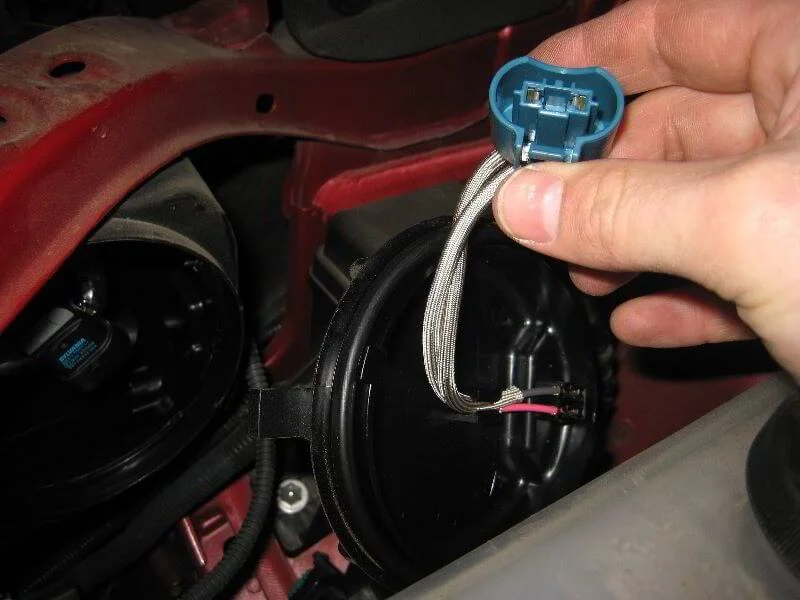

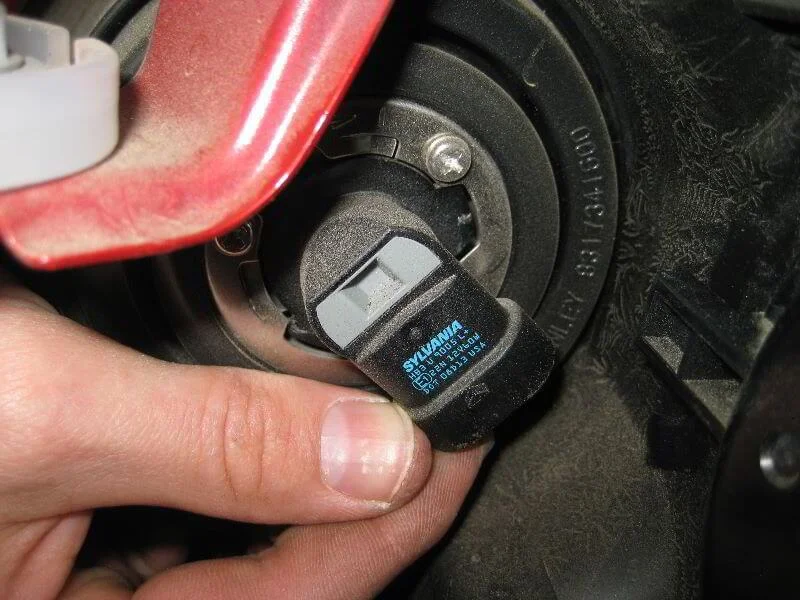
Dipped beam bulb holder.
Turn anti-clockwise a 1/4 turn.
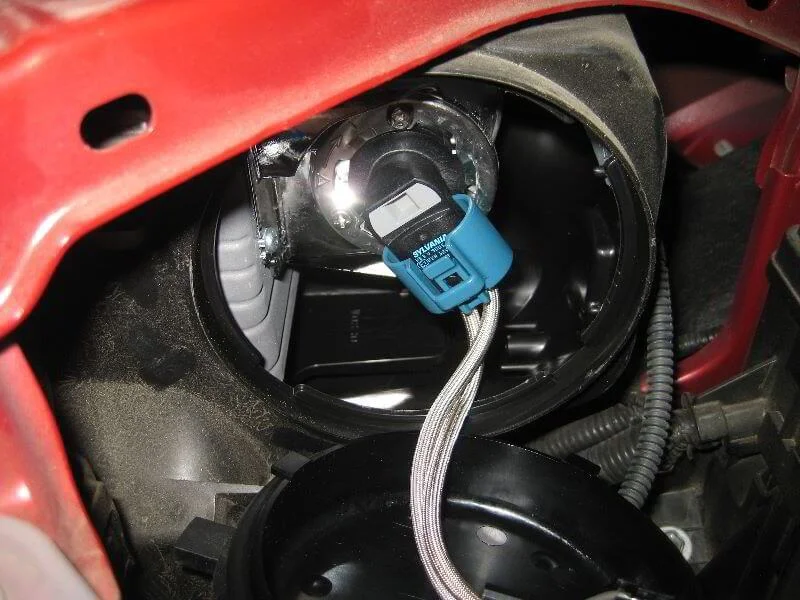
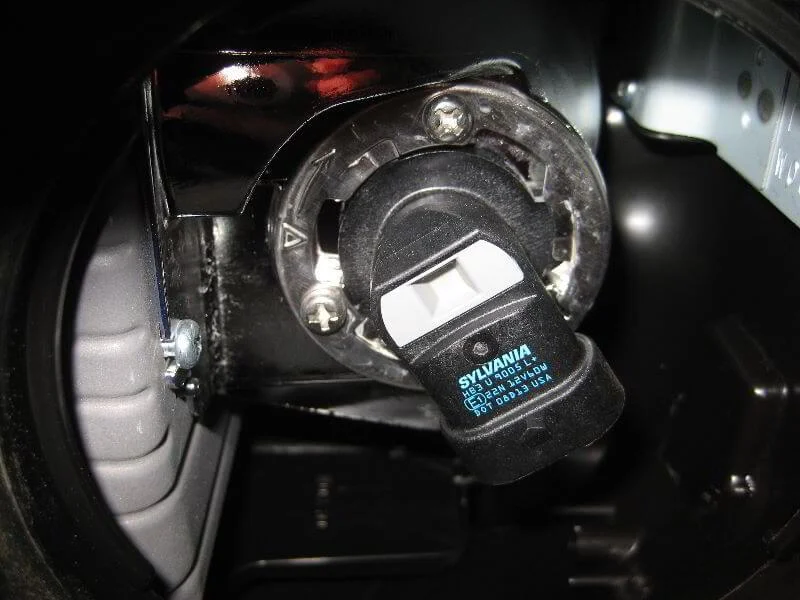
Remove the bulb from the headlight.
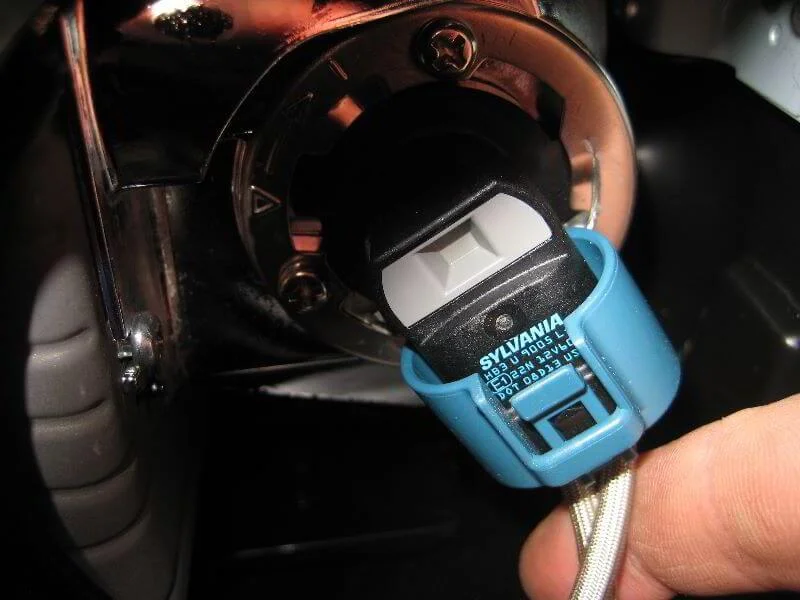
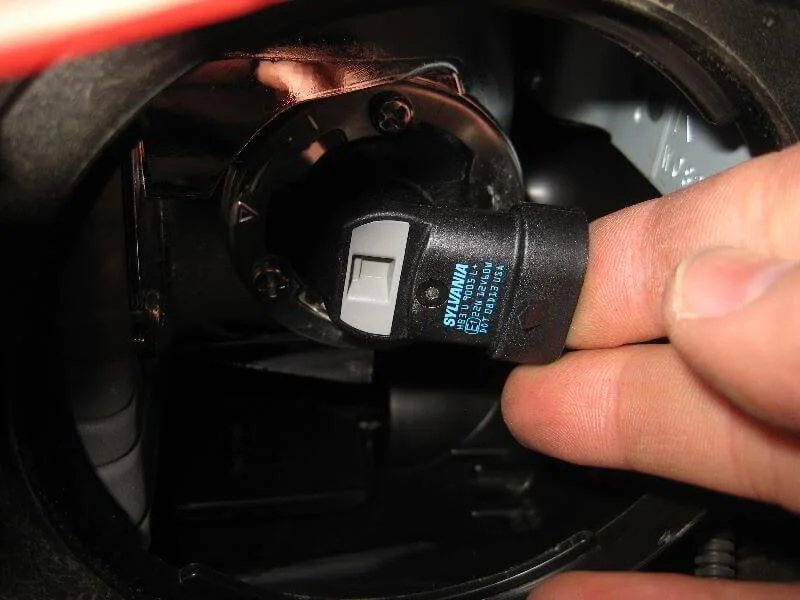
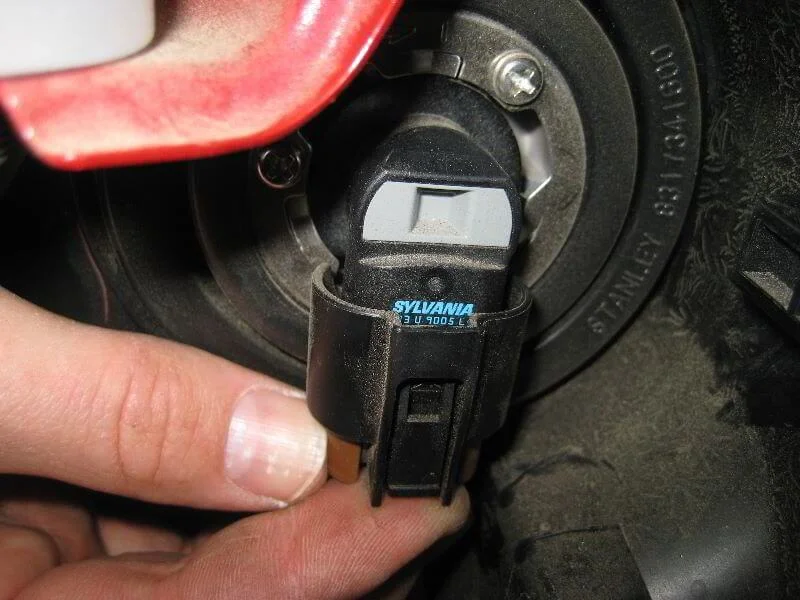
Bulb socket.
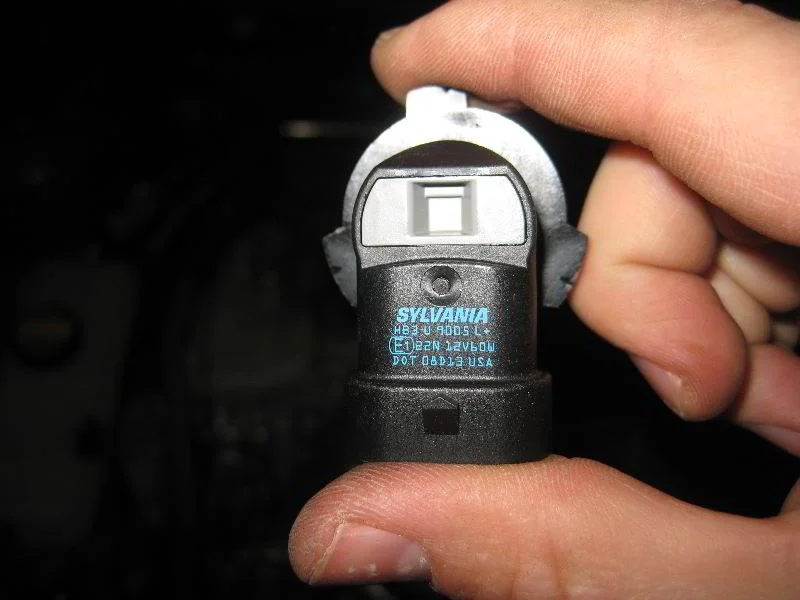
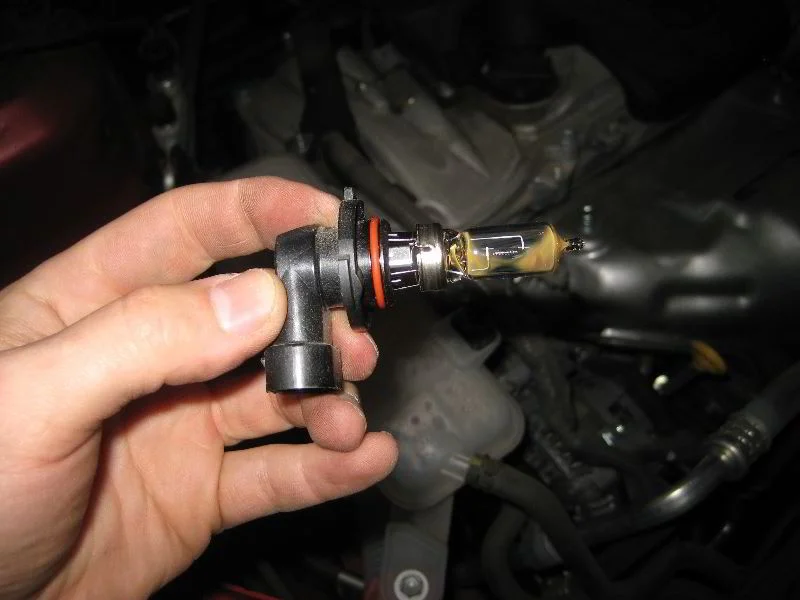
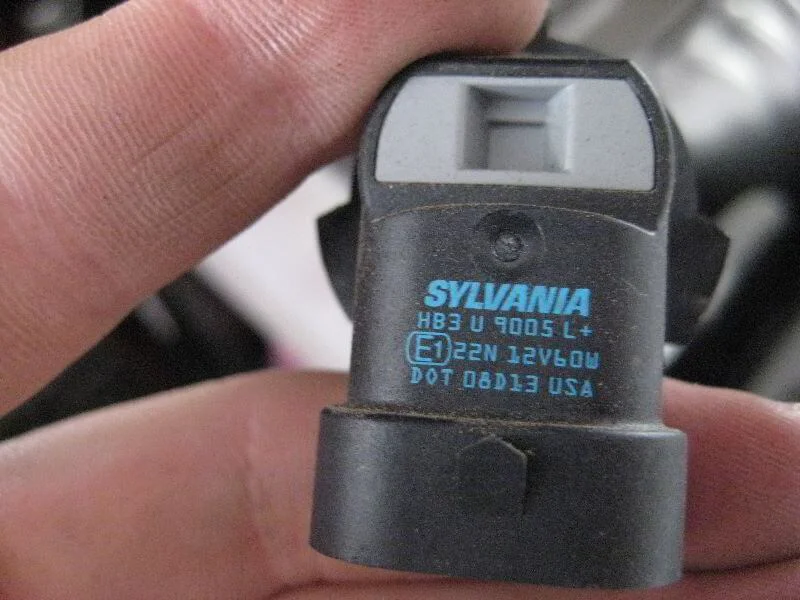
Sylvania HB3 (9005) 12V 60W bulb.
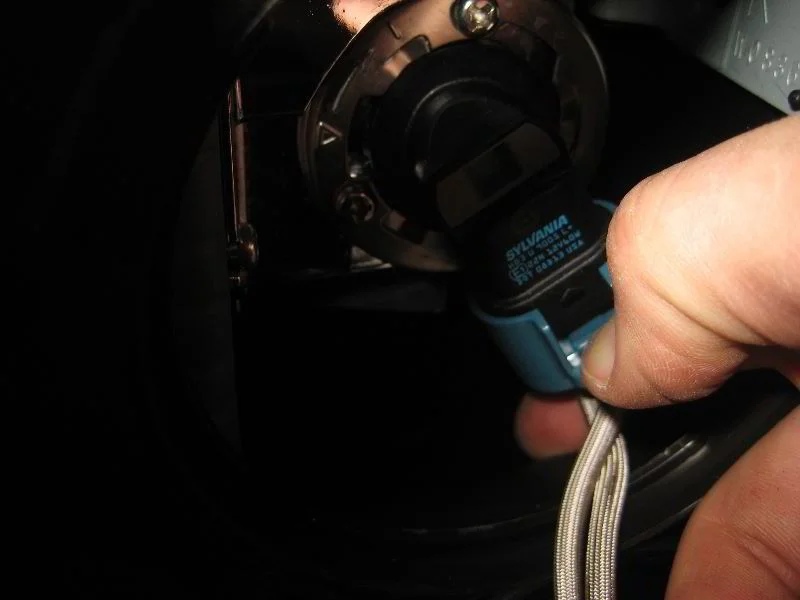
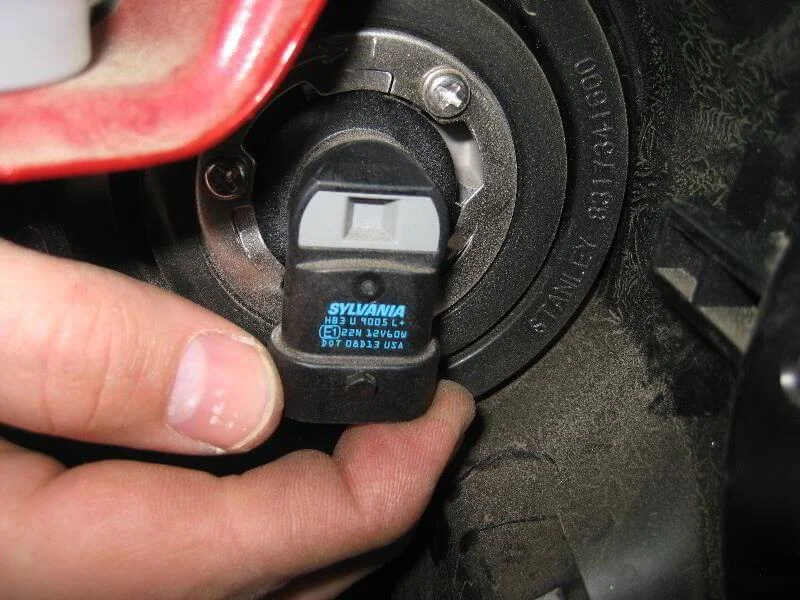
Install the new bulb without touching the glass with your fingers.
Turn a 1/4 turn clockwise to lock it.
Reconnect the connector.
Install the cover.
Turn the cover a 1/4 turn clockwise.
Reconnect the main connector.
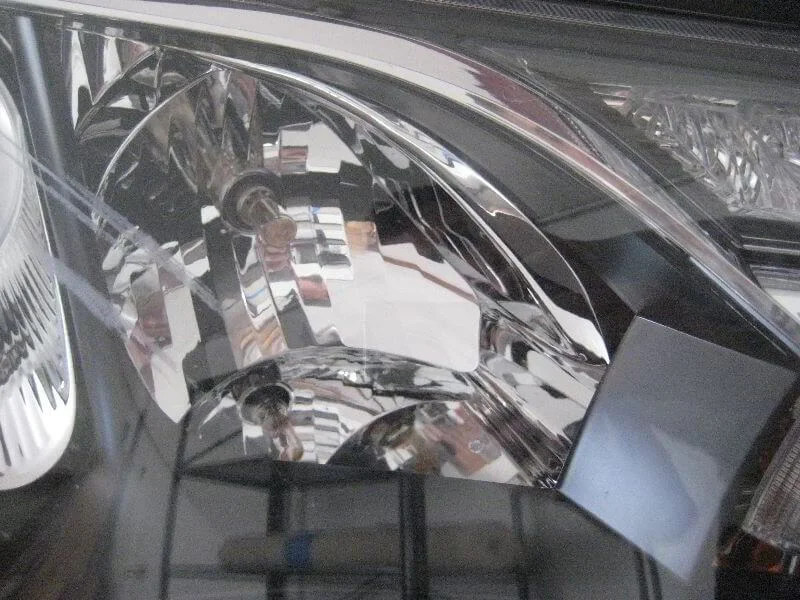
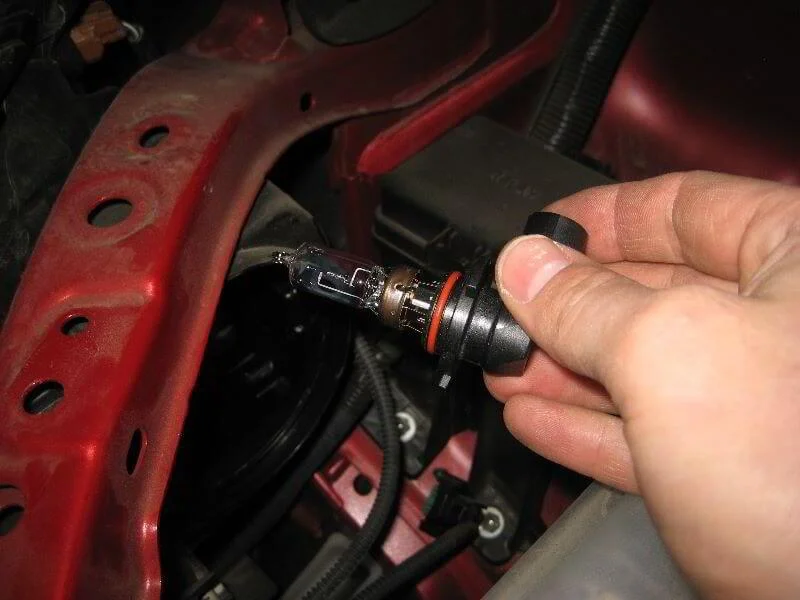
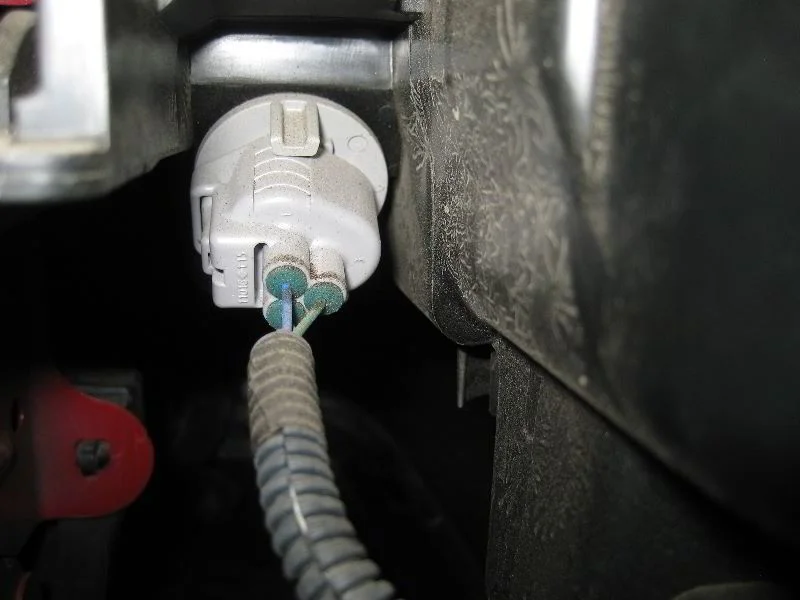
Main beam (High beam) bulb.
Bulb socket.

Press the release tab.
Disconnect the electrical connector.
Turn the socket a 1/4 turn anti-clockwise.
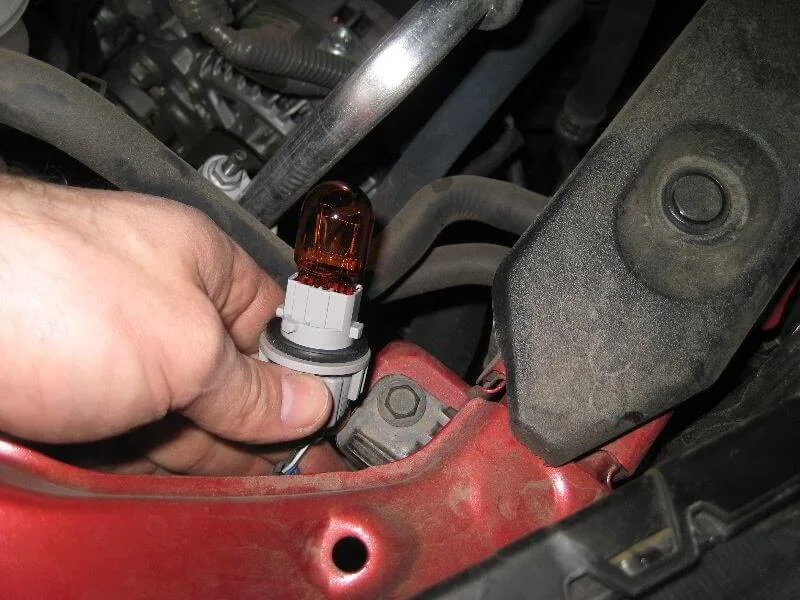
Remove the main beam bulb.
Sylvania 9005 — 12V 60W bulb.
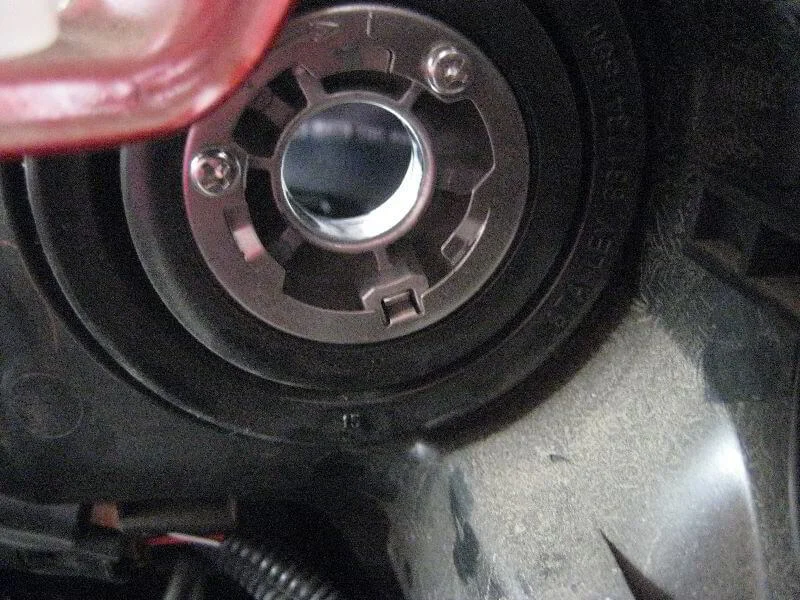
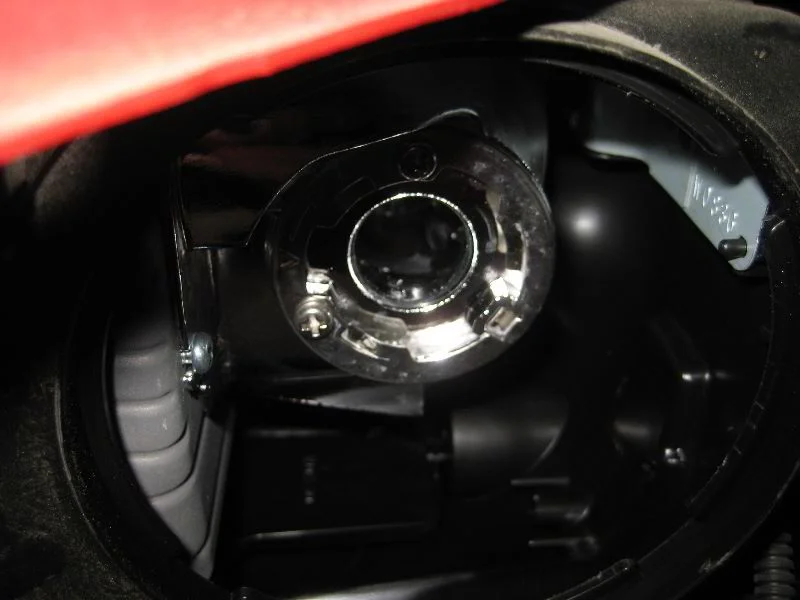
Empty bulb socket.
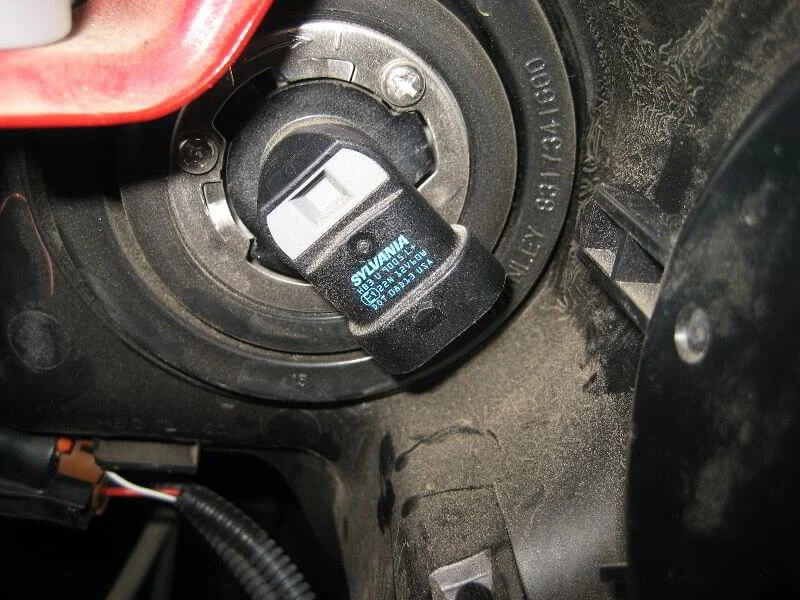
Install the new bulb, avoiding contact with the glass.
Turn a 1/4 turn clockwise to lock.
Reconnect the connector.
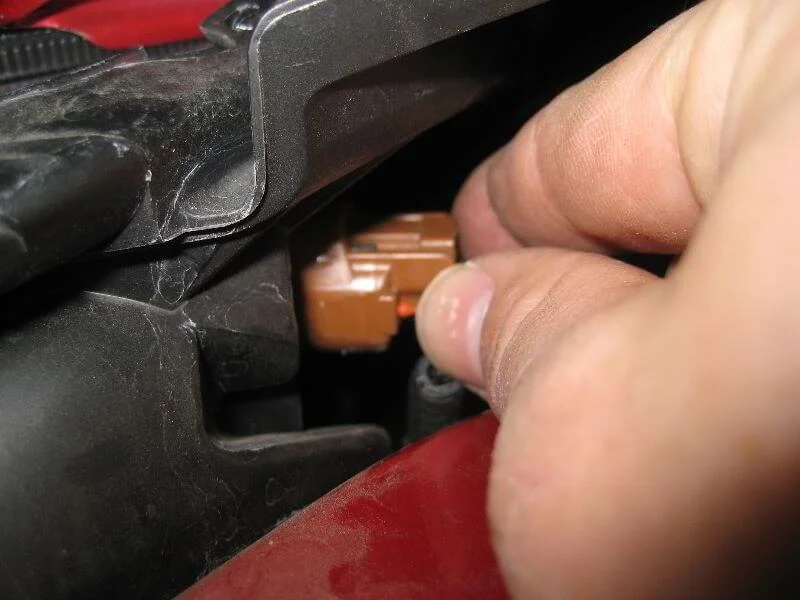
Indicator bulb.
Rear view of the bulb socket.
Remove the bulb holder by turning it a 1/4 turn anti-clockwise.
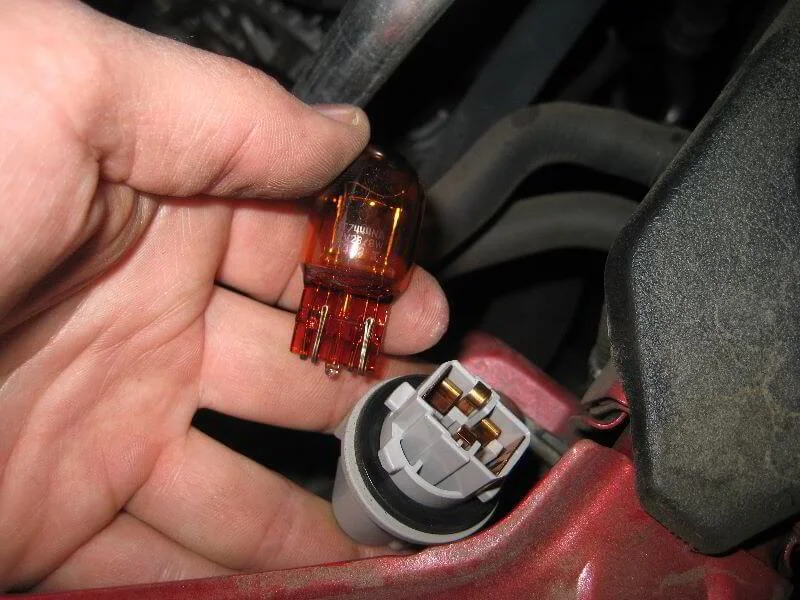
Pull out the indicator bulb.
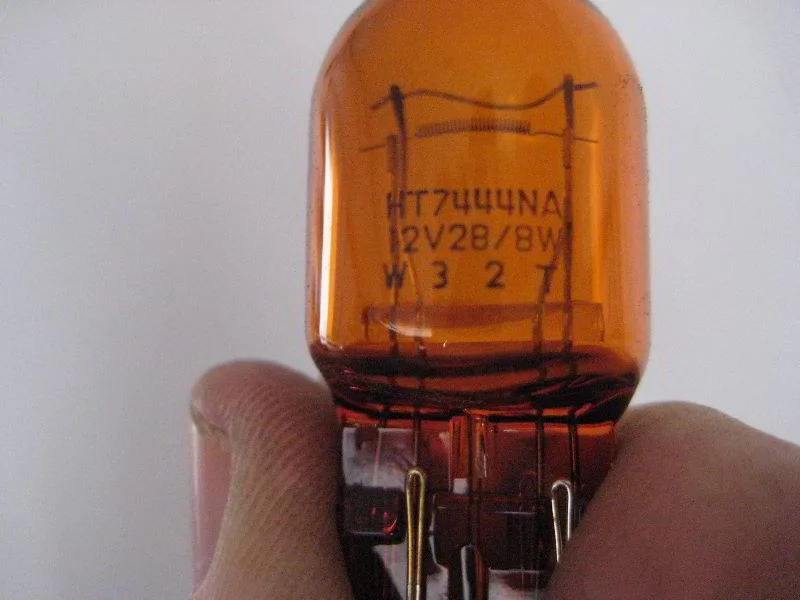
7444NA indicator bulb.
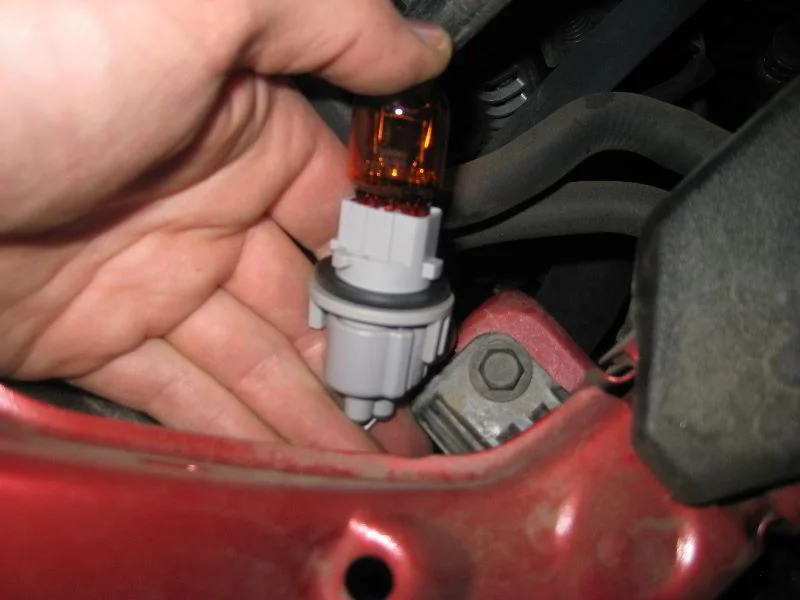
Install the new bulb into the holder, then into the headlight in reverse order.
Side light bulb.
Bulb socket.
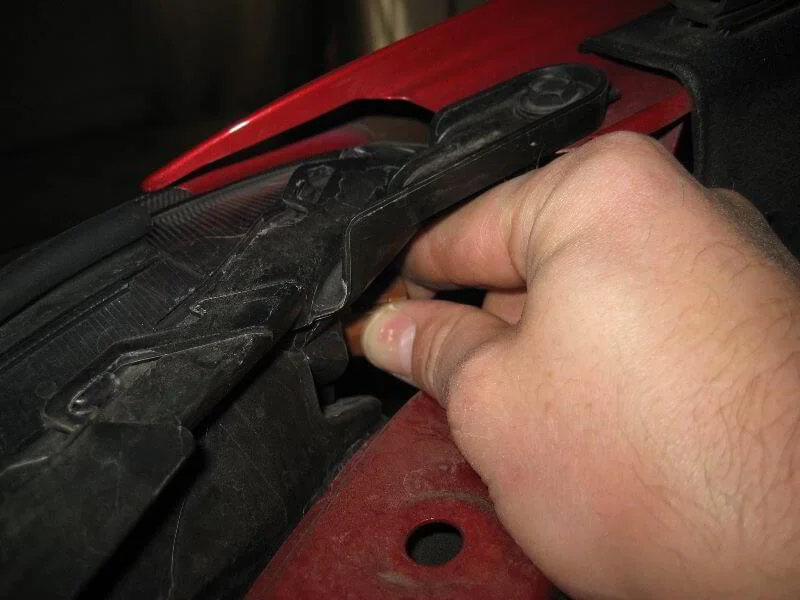
Turn a 1/4 turn anti-clockwise.
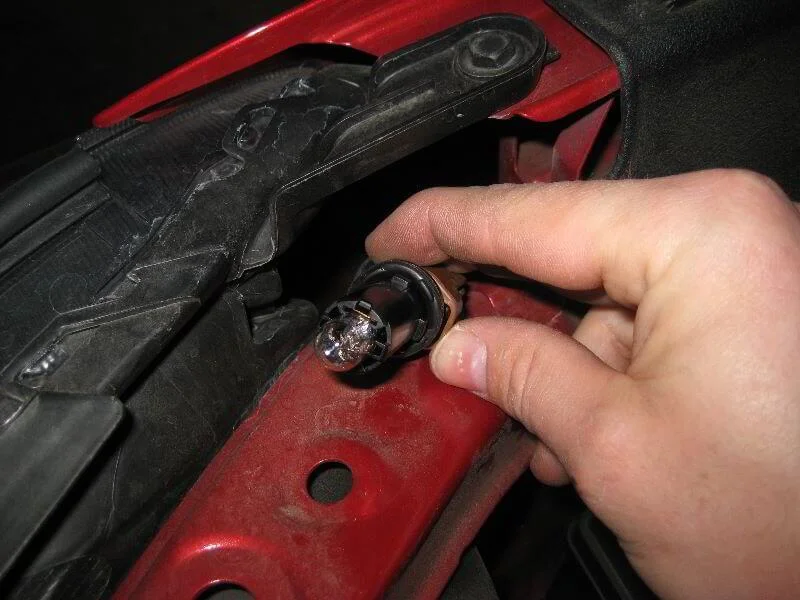
Remove the bulb.

Old W5W bulb.
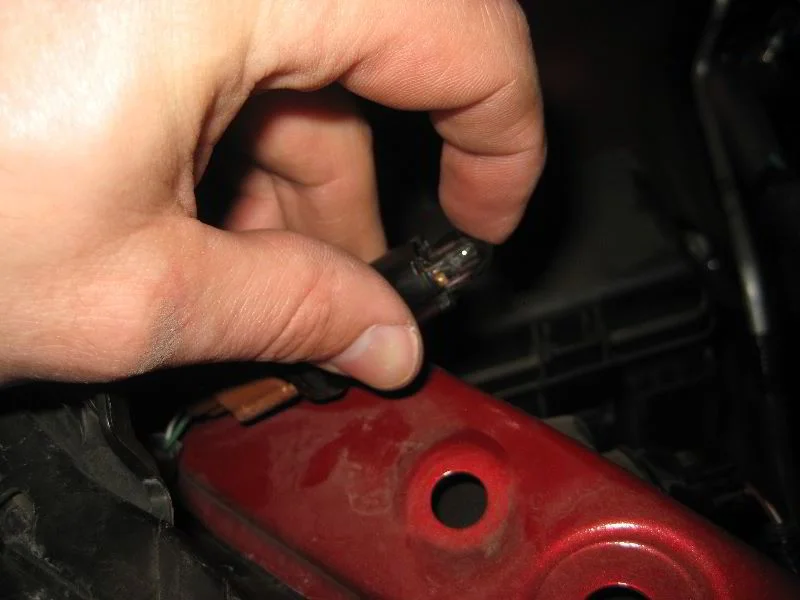
Install the new bulb.
Turn a 1/4 turn clockwise.
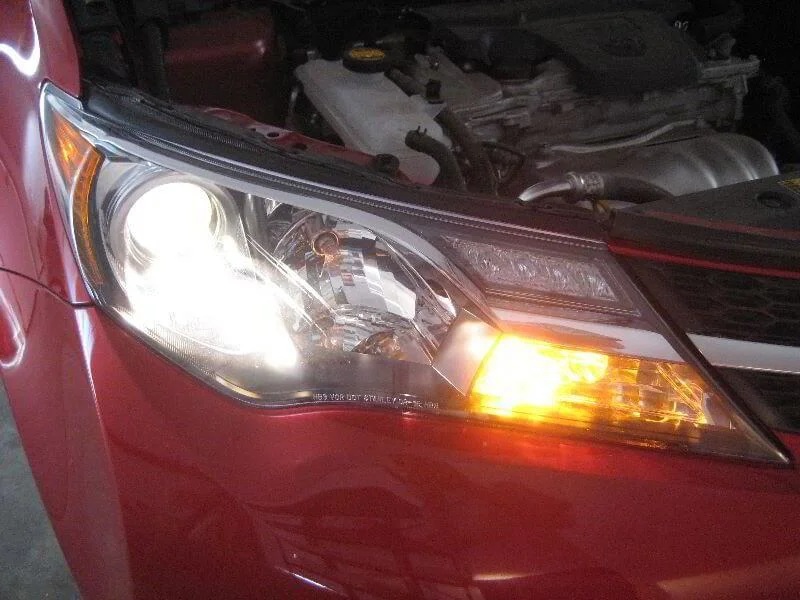
Check the dipped beam and indicator bulbs.
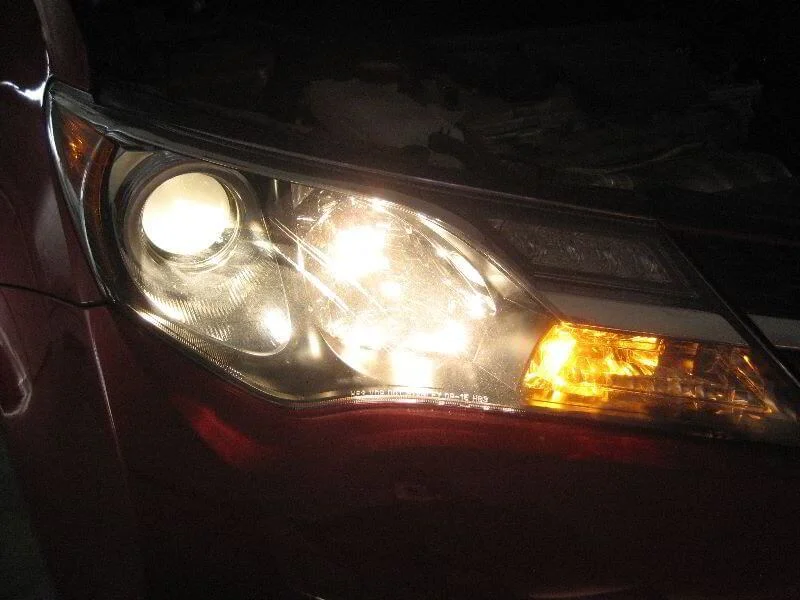
Check the main beam.
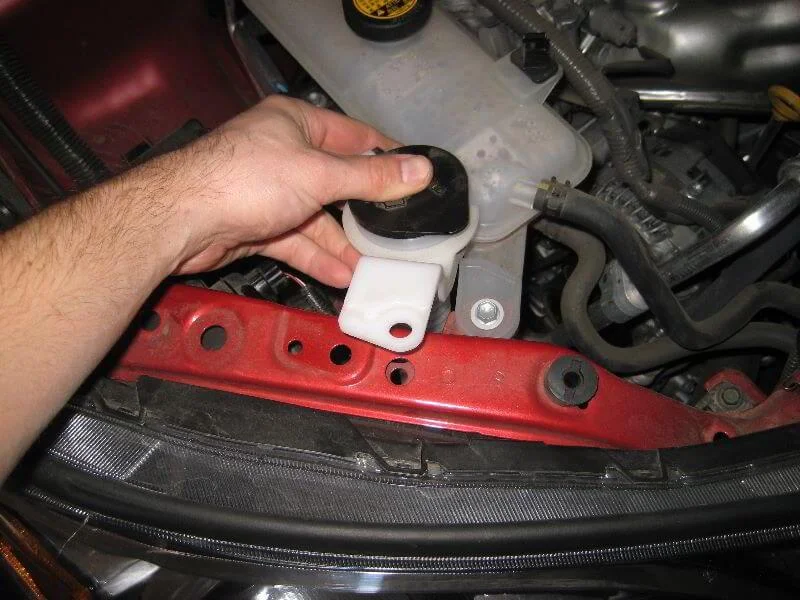
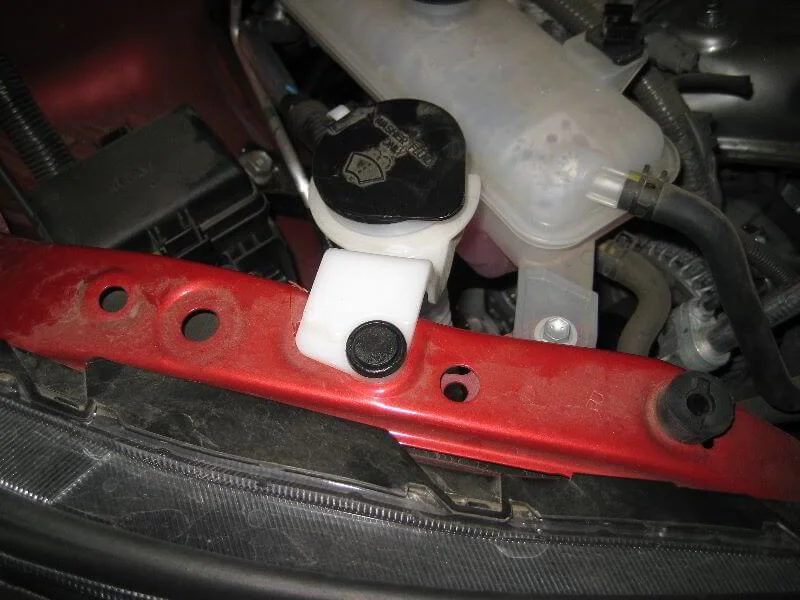
Reinstall the washer fluid reservoir.
Insert the retaining clip.
Was this guide useful?
Your feedback helps us improve our content.


Discussion (0)
No comments yet!