Volkswagen Jetta 6 Bulb Replacement
This photo guide demonstrates how to replace the bulbs in the front headlight of a 2012 Volkswagen Jetta. Changing the parking lights, indicators, sidelights, as well as the main beam and dipped beam on a Jetta 6 can be done without using any tools.
Volkswagen Jetta 6 Bulb Specifications
Dipped beam bulb — H7;
Main beam bulb — H7;
Indicator bulb — PY21W;
DRL bulb — P21W;
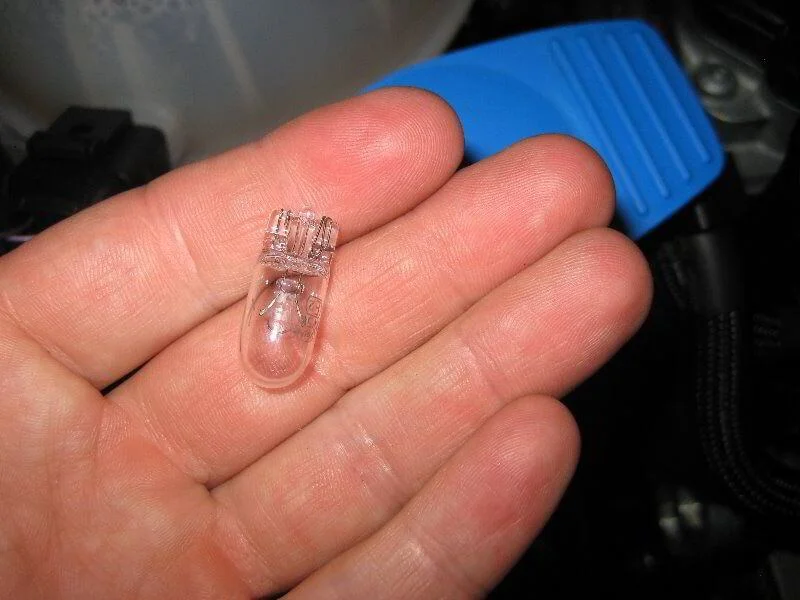
Sidelight bulb — W5W or 2825;
Parking light bulb — W5W or 2825.
How to change Jetta 6 front bulbs
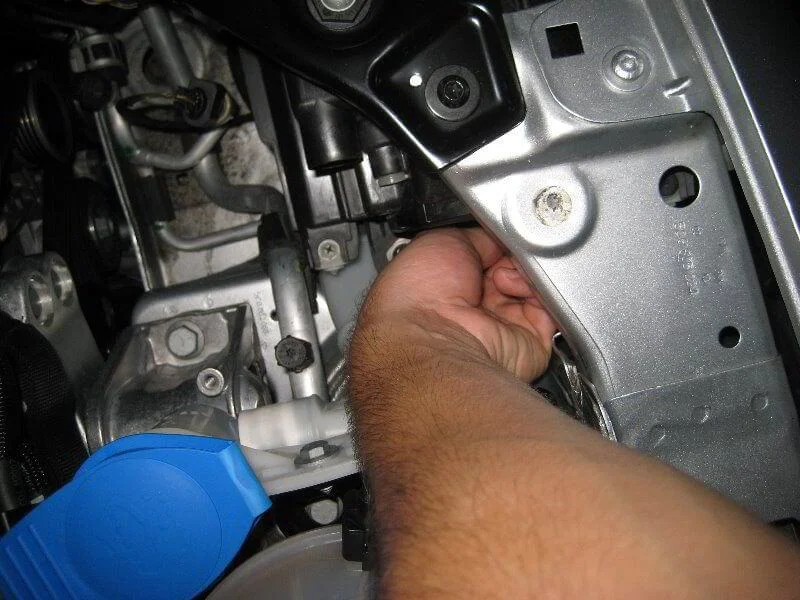
You do not need to remove the headlight unit to replace the bulbs, so no tools are required. However, a flat-head screwdriver might be handy for removing the protective caps. The bulbs are changed following a general principle: access the bulb holder, turn it anti-clockwise, remove the holder from the headlight, change the bulb, and reinstall it.
Jetta 6 Dipped Beam Bulb Replacement
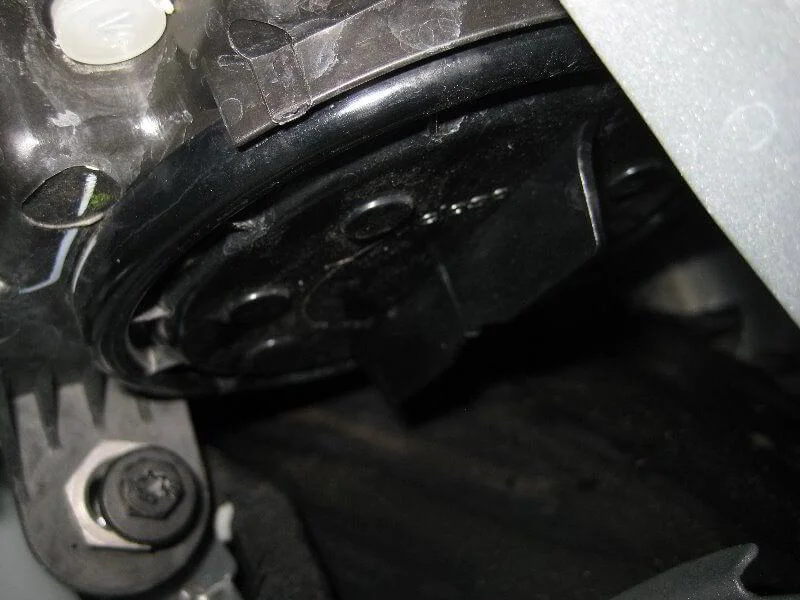
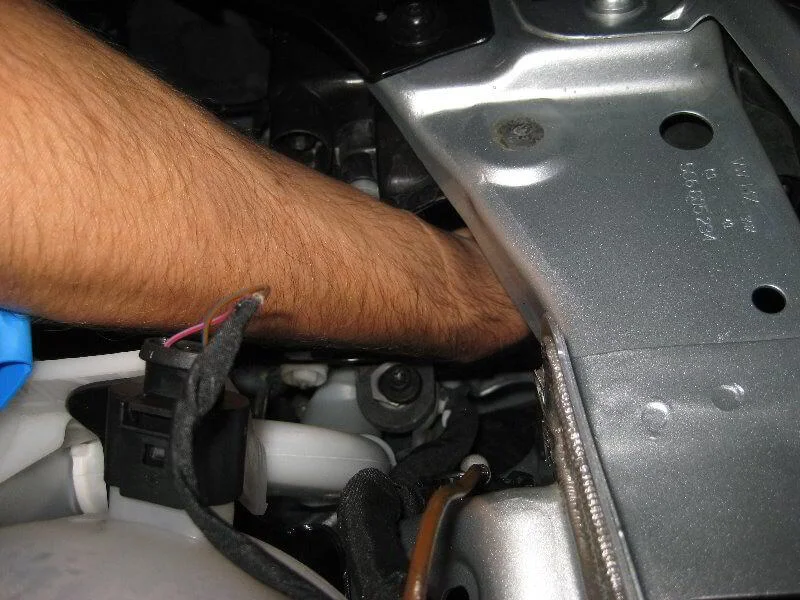
The dipped beam bulb is located next to the sidelight, near the centre of the headlight unit. You need to unscrew the plastic protective cover by turning it a quarter turn anti-clockwise. Then, turn the bulb holder a quarter turn anti-clockwise and remove it from the lamp. Pull the old bulb out of the holder and install the new one, then insert the holder and turn it a quarter turn clockwise.
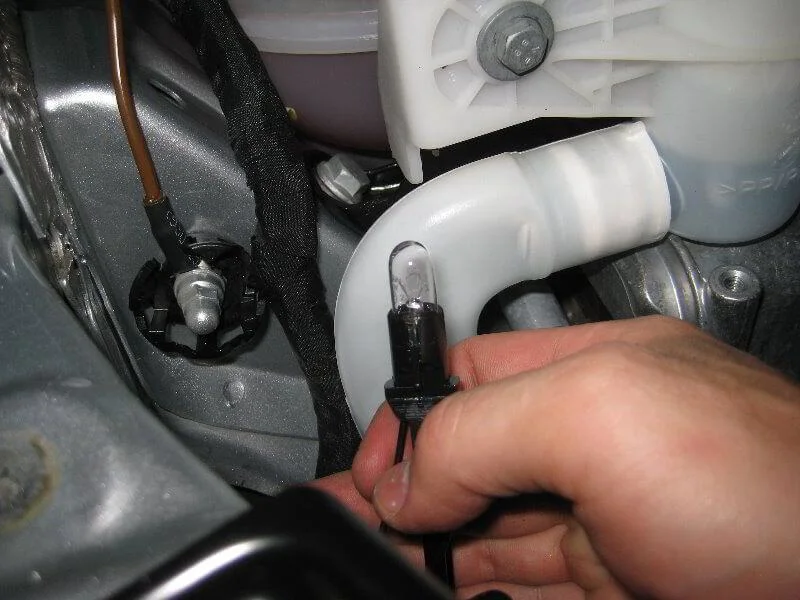
Jetta 6 Front Sidelight Bulb Replacement
Turn the bulb holder anti-clockwise, pull the holder out and remove the bulb. Install the new bulb into the holder and insert it back into the headlight socket, turning the holder clockwise.
Jetta 6 DRL Bulb Replacement
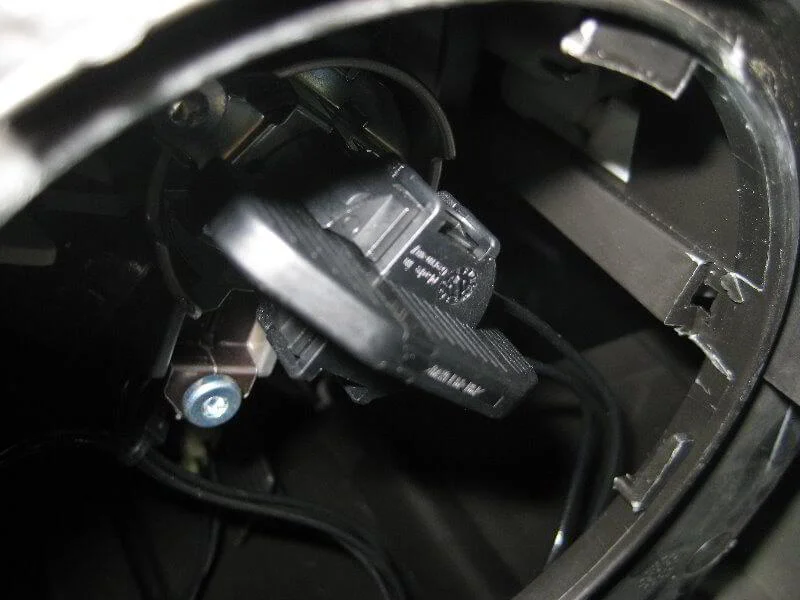
The Daytime Running Light (DRL) bulb is located slightly below the dipped beam bulb. You need to turn the black plastic tab a quarter turn anti-clockwise before pulling the bulb out of the headlight. Then push and turn it a quarter turn anti-clockwise to remove the bulb from the holder. Installation is the reverse of removal.
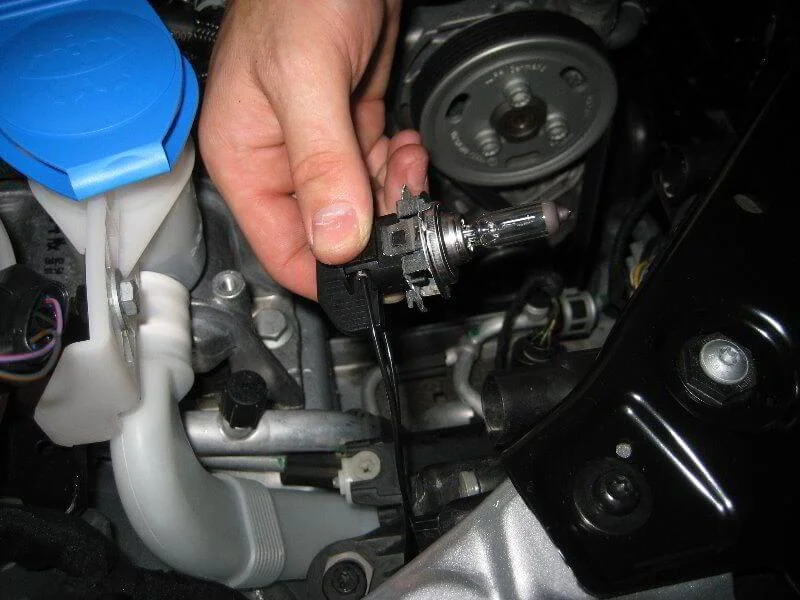
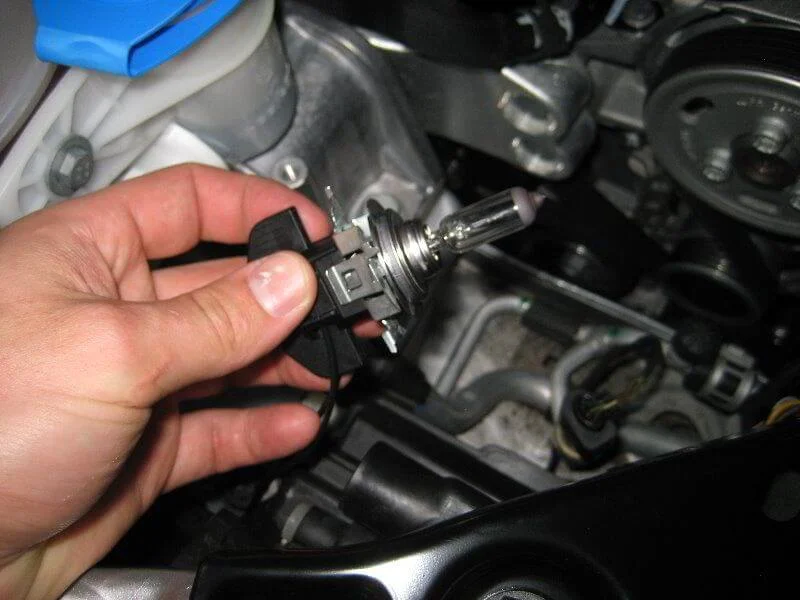
Jetta 6 Main Beam Bulb Replacement
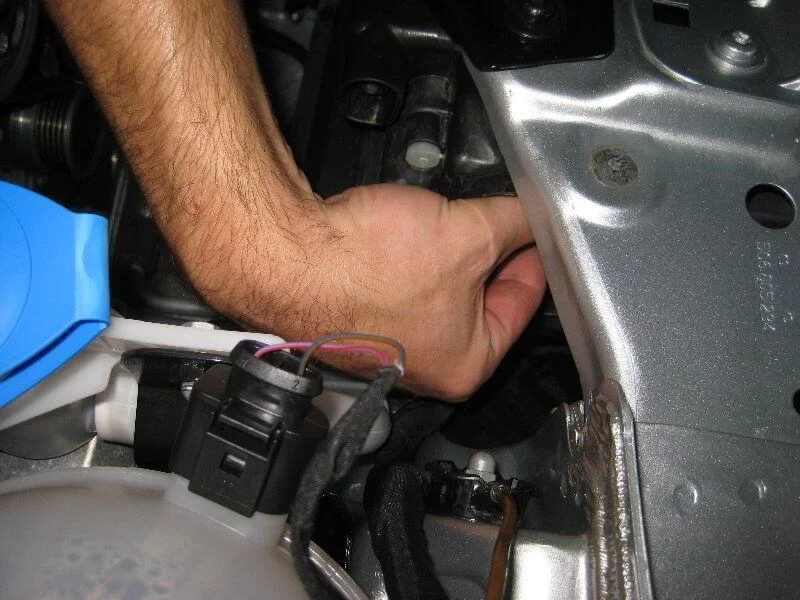
The main beam bulb is located near the inner corner of the headlight housing. First, remove the protective cap, then turn the base of the bulb a quarter turn anti-clockwise and pull the bulb out. Disconnect the old bulb and install the new one, ensuring you do not touch the glass or work whilst wearing gloves. Reinstall the bulb holder.
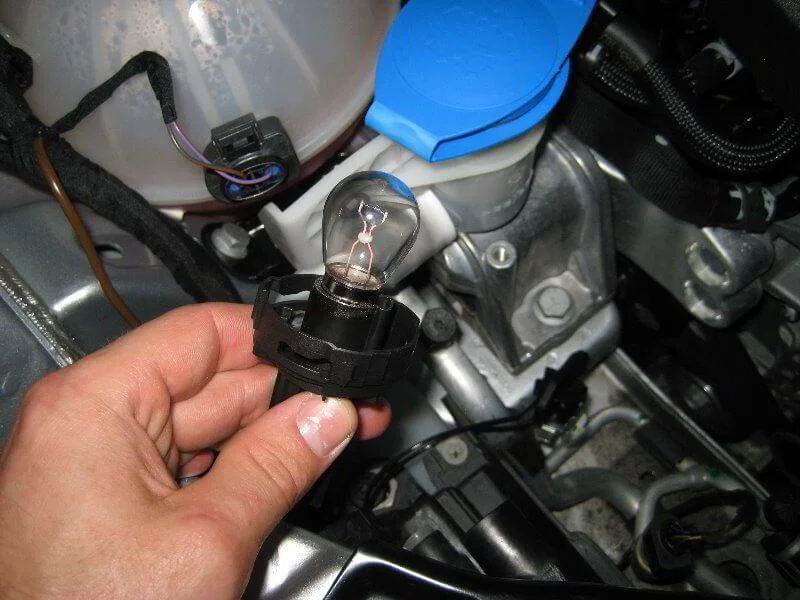
Jetta 6 Parking Light Bulb Replacement
The parking light bulb is located near the inner corner of the headlight housing. To remove the bulb, twist the small black base a quarter turn. Then disconnect the old bulb, connect the new one, and install in reverse order.
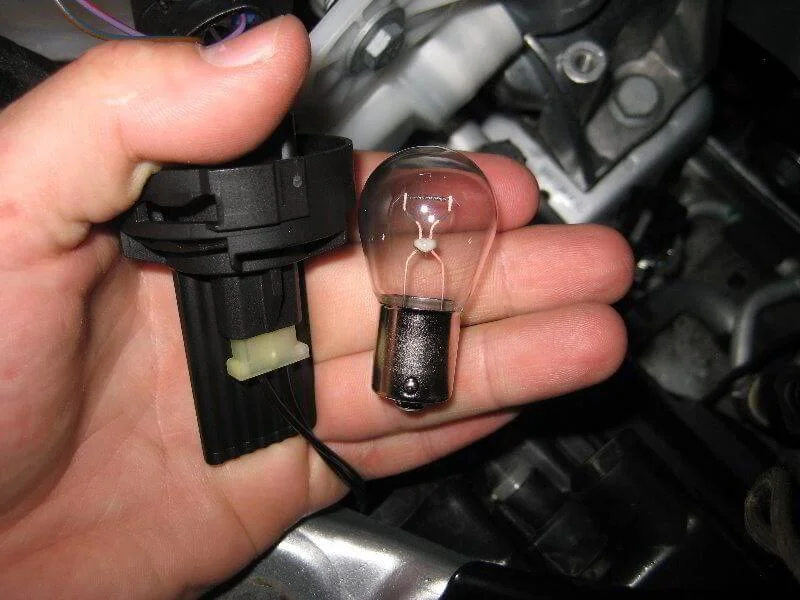
Jetta 6 Indicator Bulb Replacement
The indicator bulb is located in the lower inner corner of the headlight housing. Turn the large black tab of the bulb anti-clockwise a quarter turn and remove the bulb from the headlight. Then push and turn the bulb to remove it from the holder. Installation is the reverse of removal.
When replacing bulbs on a Jetta 6, the following questions may arise:
- How to remove the number plate light on a Volkswagen Jetta 6?
- How to replace the indicator bulb in the wing mirror on a Volkswagen Jetta 6?
- The bulbs in the boot lid light are not working on a Volkswagen Jetta 6
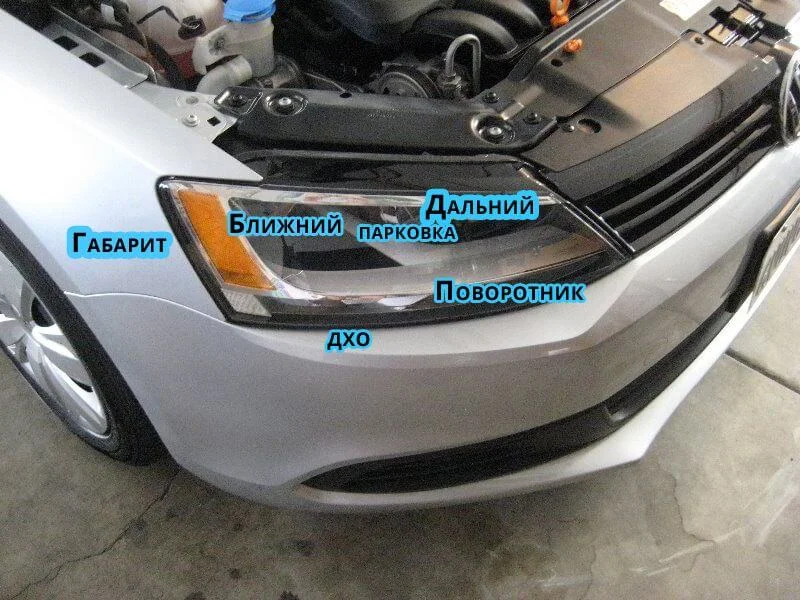
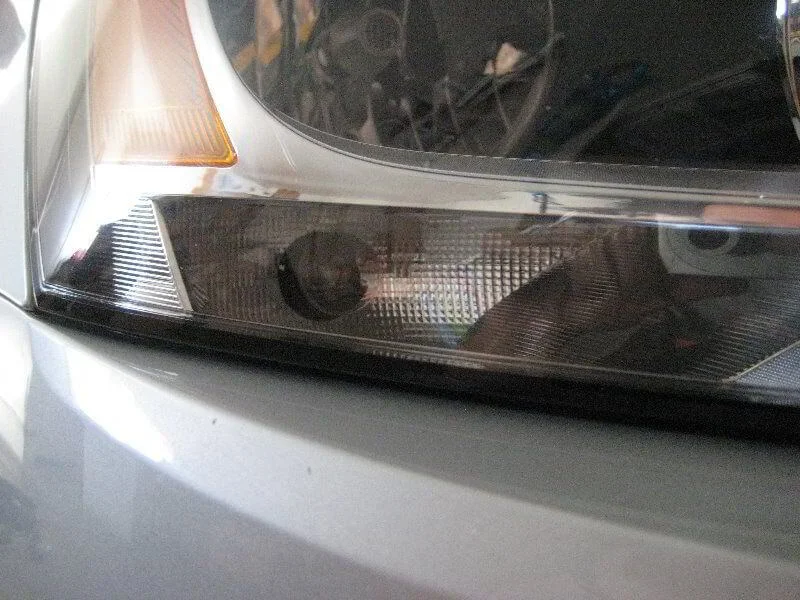
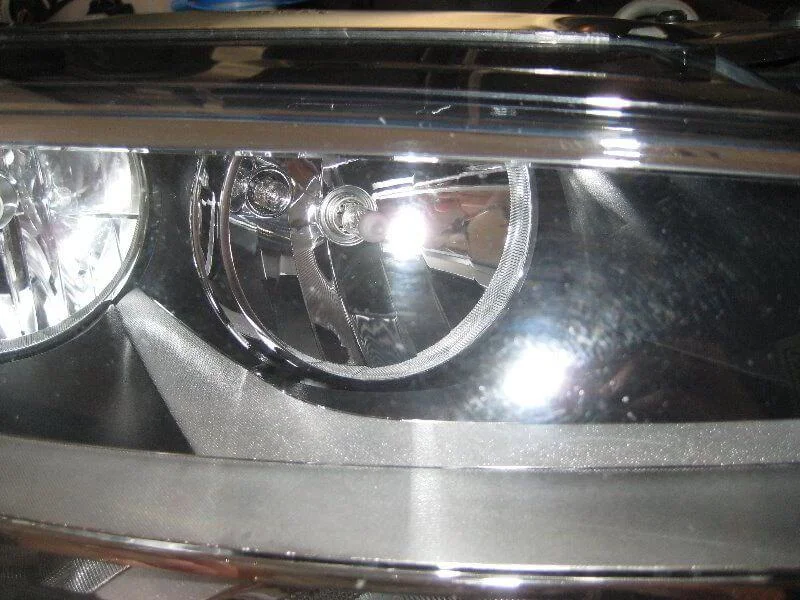
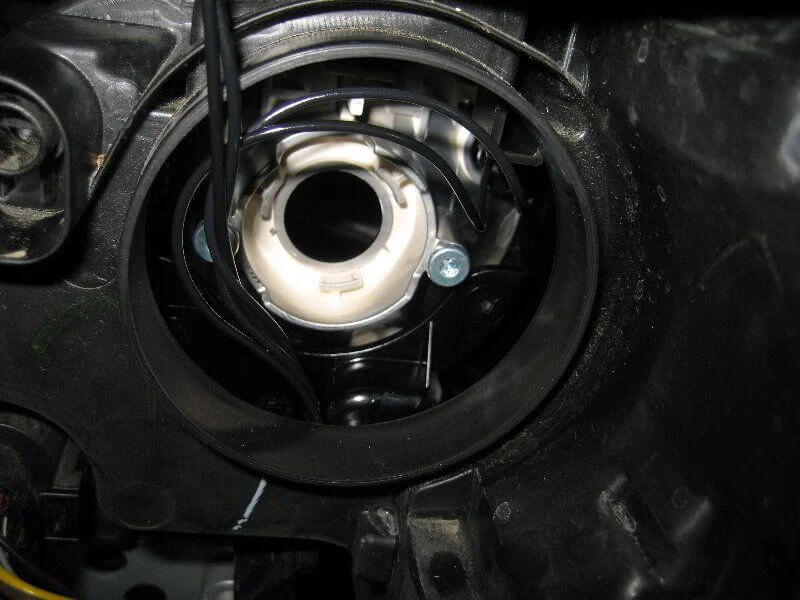
Location of bulbs in the front left headlight of a 2012 VW Jetta.
Dipped beam bulb.
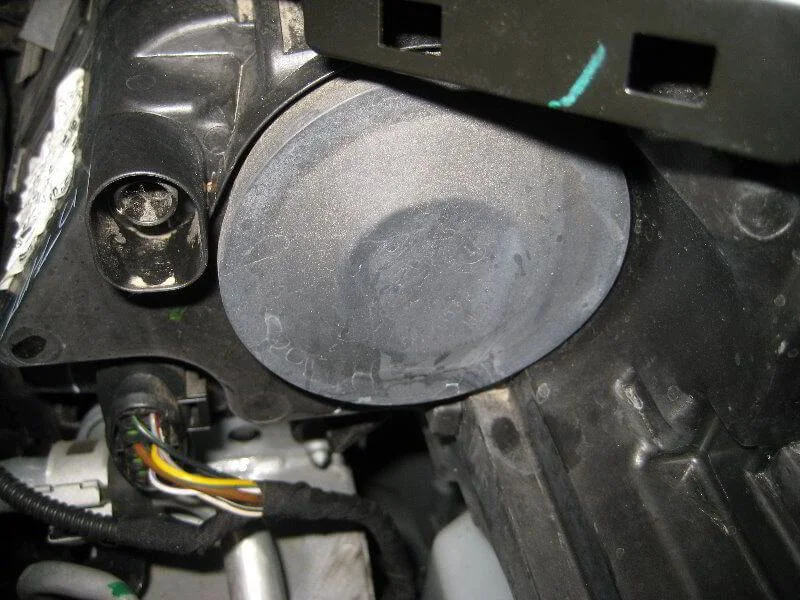
Protective cover.
Turn the cover 1/4 turn anti-clockwise.
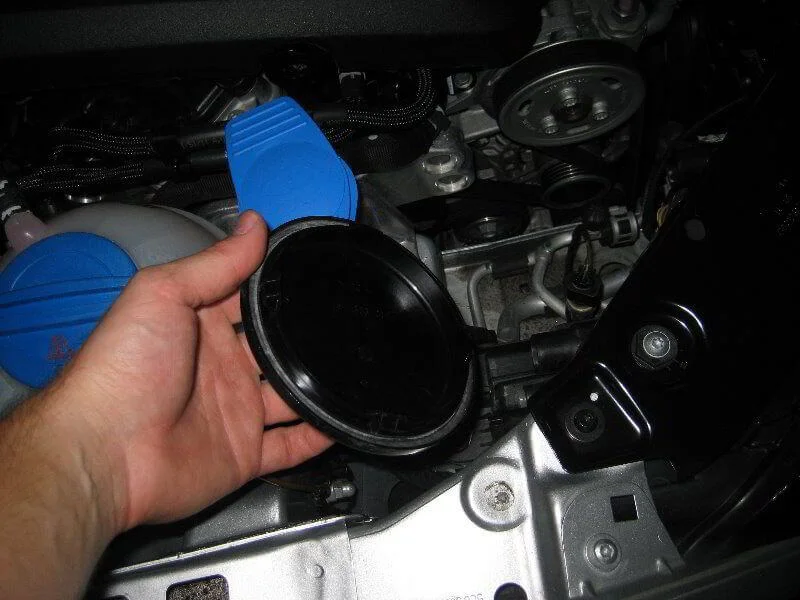
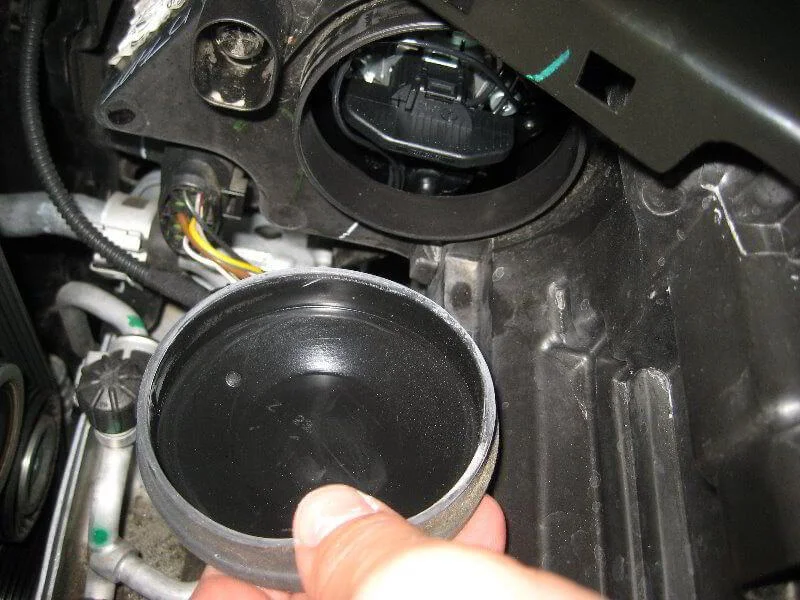
Remove the cover.
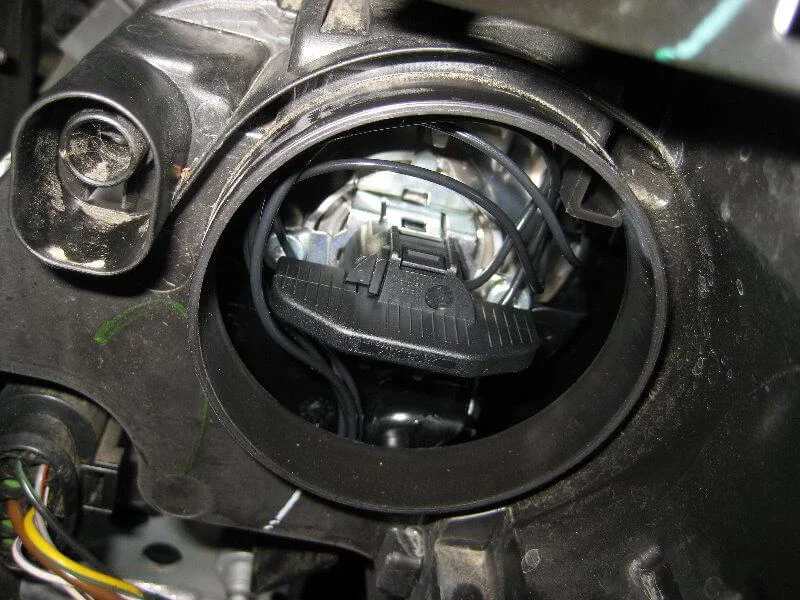
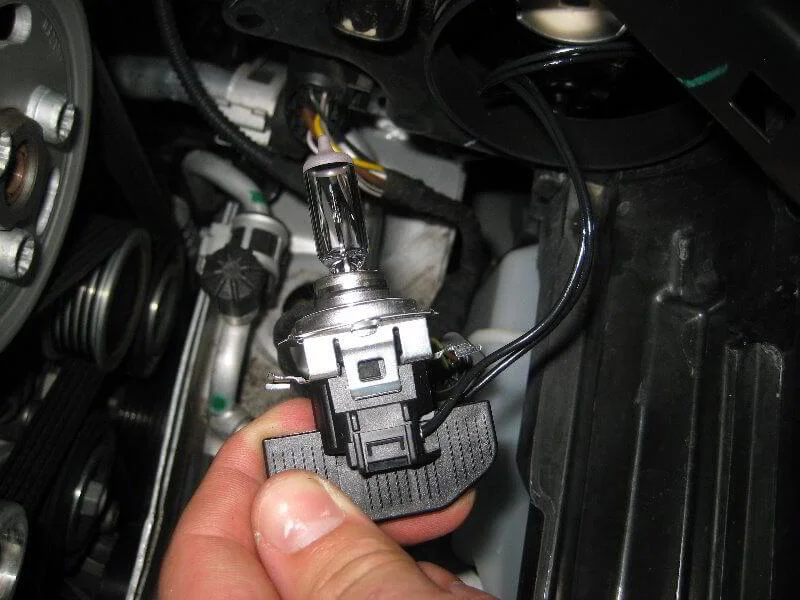
Rear view of the dipped beam bulb.
Turn the bulb holder 1/4 turn anti-clockwise.
Remove the holder.
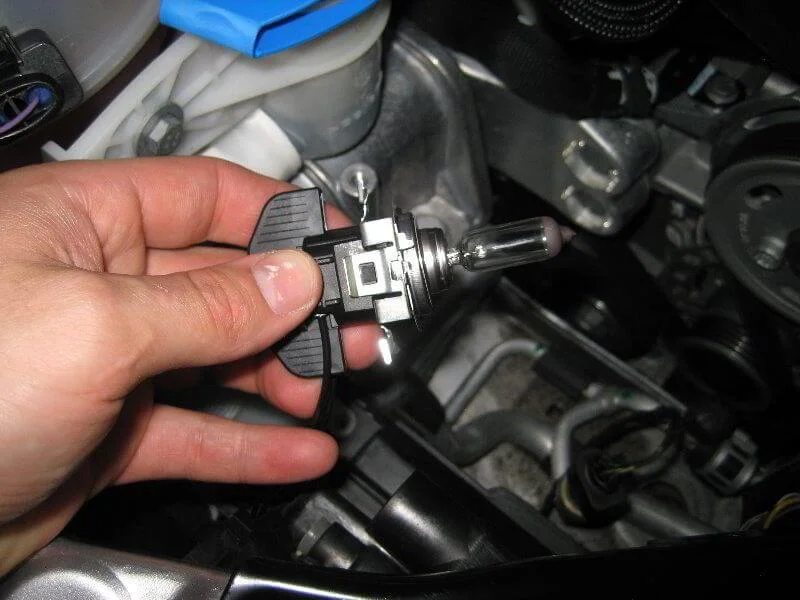
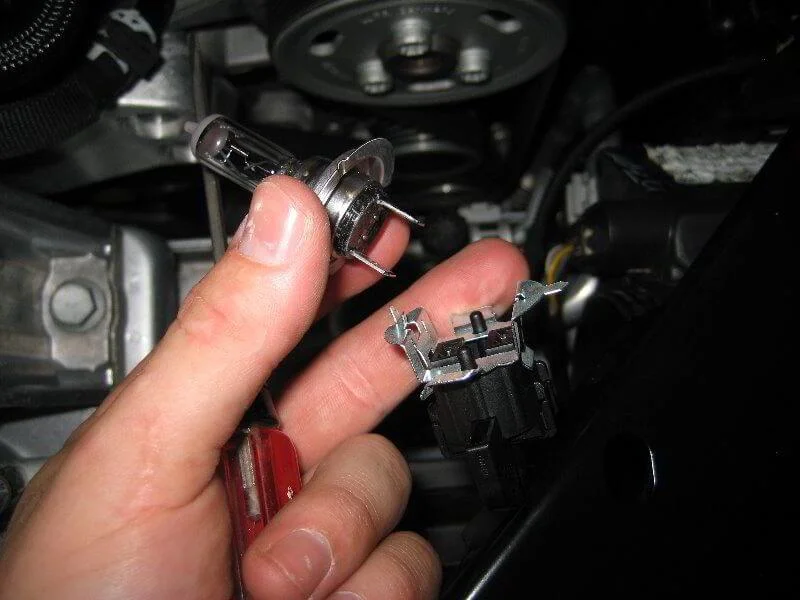
Pull out the old bulb.
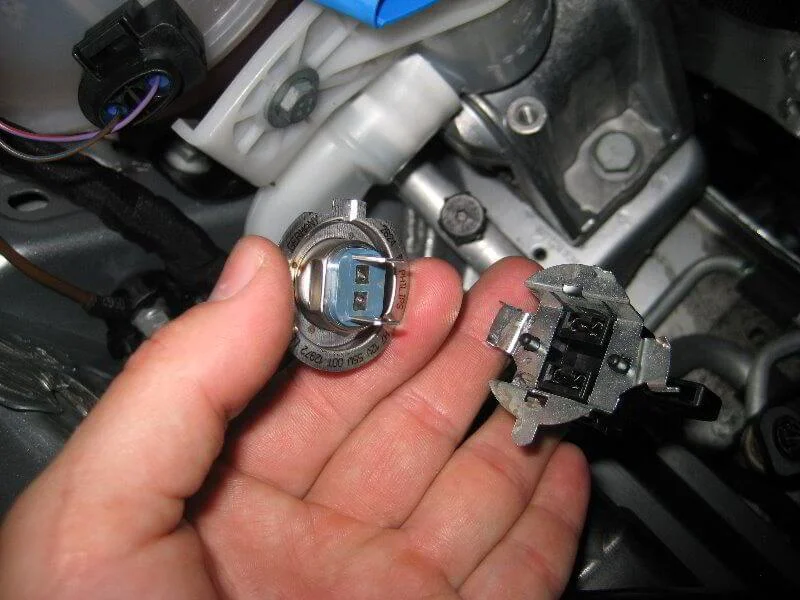
Disconnect the old bulb.
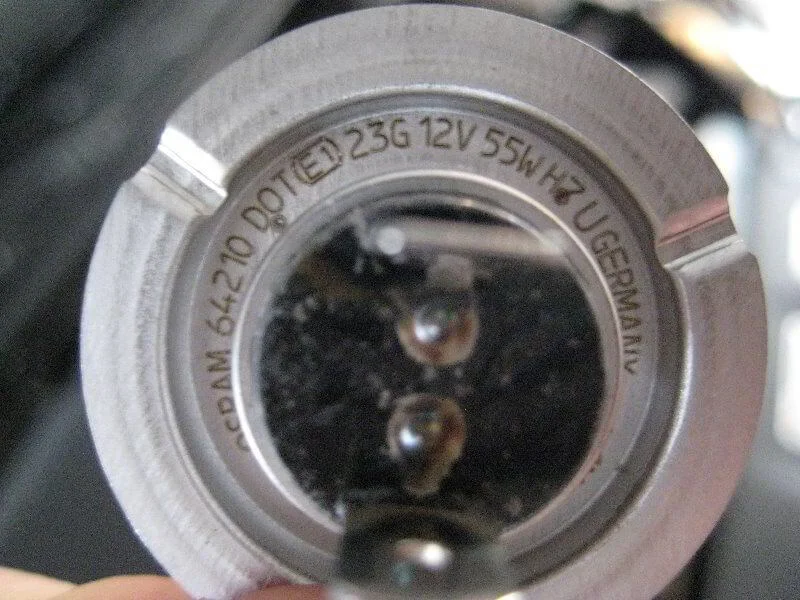
Philips H7 12V 55W dipped beam bulb marking.
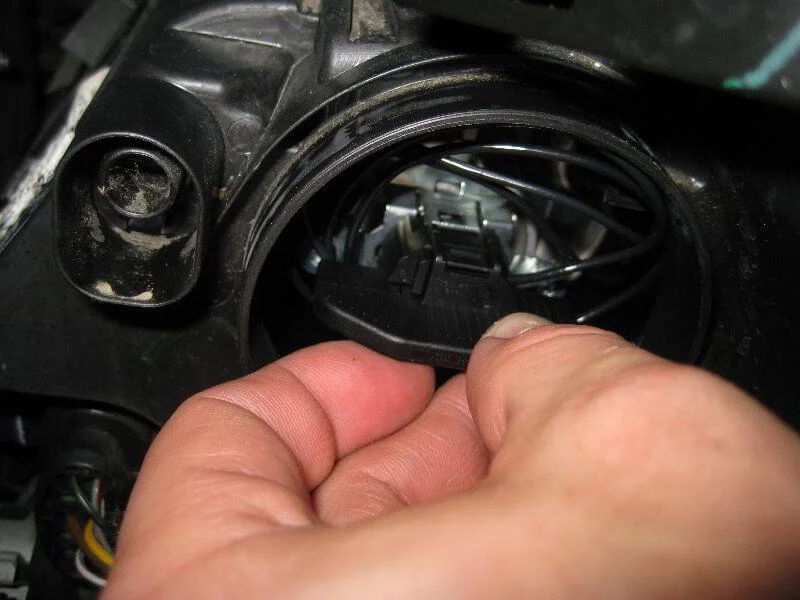
Front sidelight and DRL bulbs.
Turn the holder anti-clockwise 1/4 turn.
Pull out the sidelight bulb.
Disconnect the bulb. Installation is in reverse order.
Also pull out the DRL bulb.
Disconnect the DRL bulb. Installation is in reverse order.
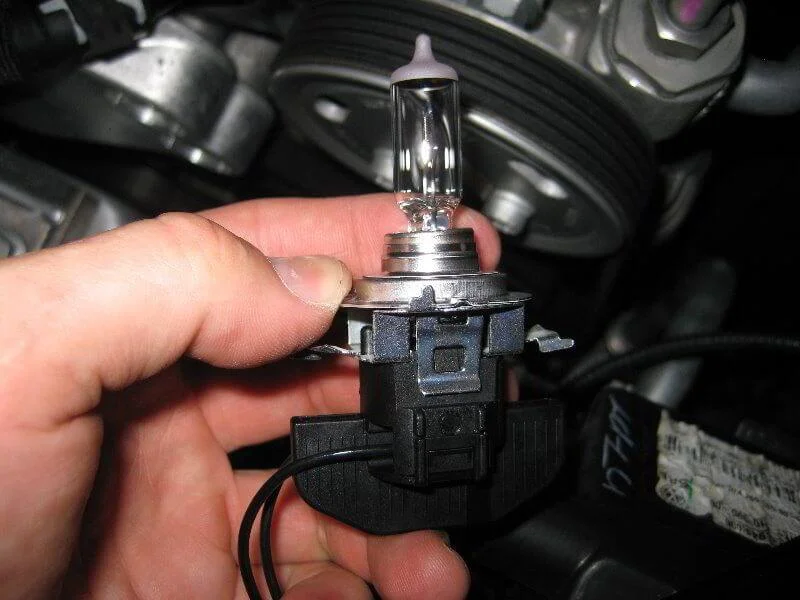
Install the new dipped beam bulb.
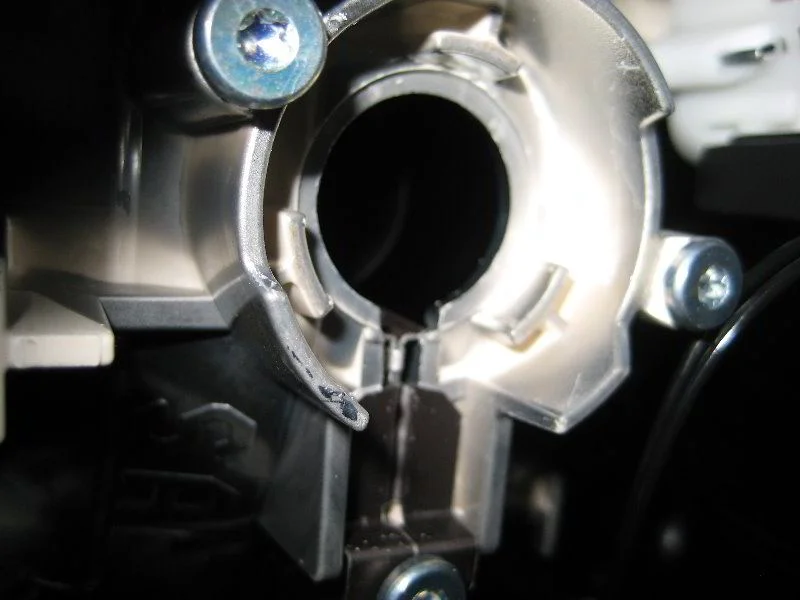
Dipped beam bulb socket.
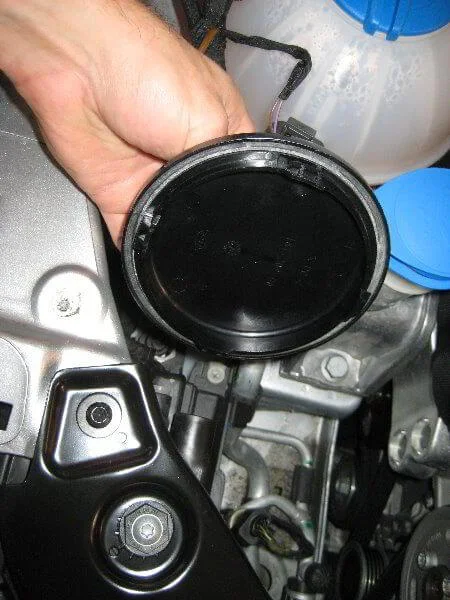
Replace the cover.
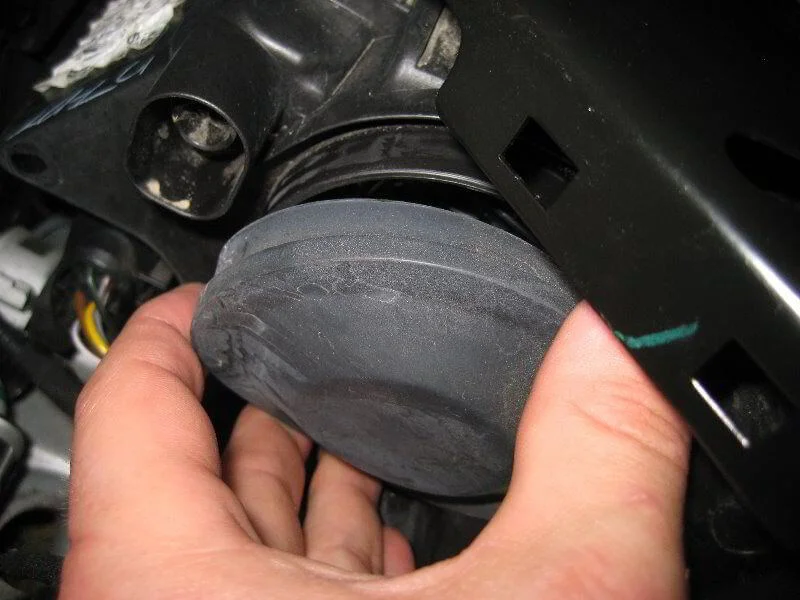
Main beam bulb.
Protective cap.
Remove the protection.
Rear view of the main beam bulb.
Turn the bulb 1/4 turn anti-clockwise.
Disconnect power.
Osram H7 12V 55W main beam bulb marking.
Connect the new bulb.

Do not touch the glass with your fingers.
Main beam bulb socket.
Turn the holder 1/4 turn clockwise.
Install the cap.
Indicator bulb.
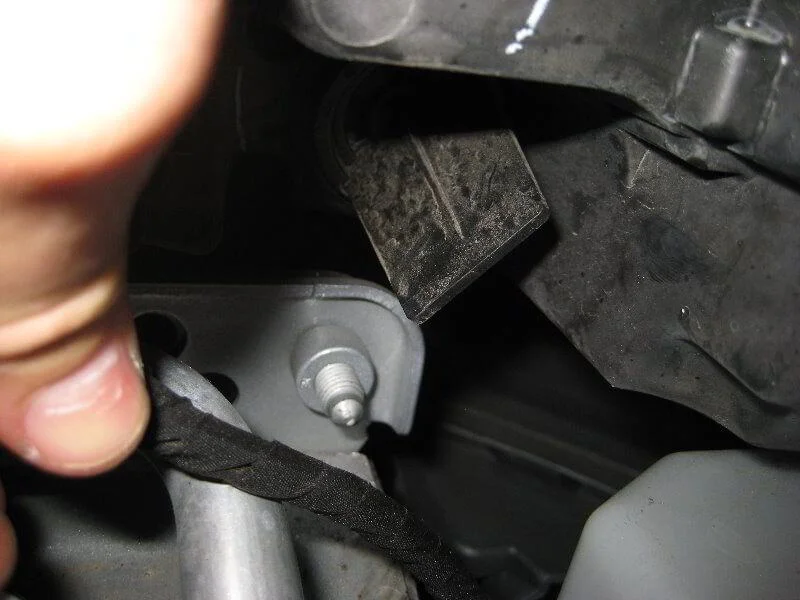
Black plastic tab of the bulb.
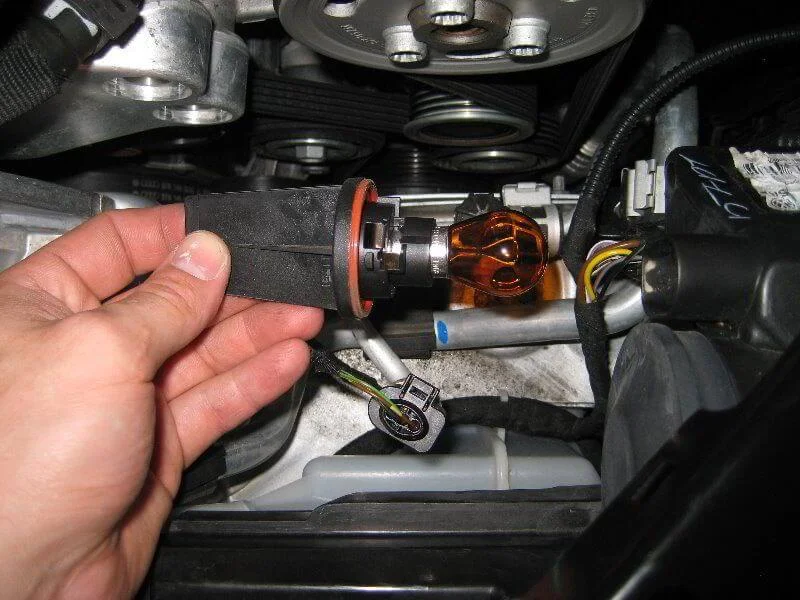
Turn the tab 1/4 turn anti-clockwise and remove the bulb unit.
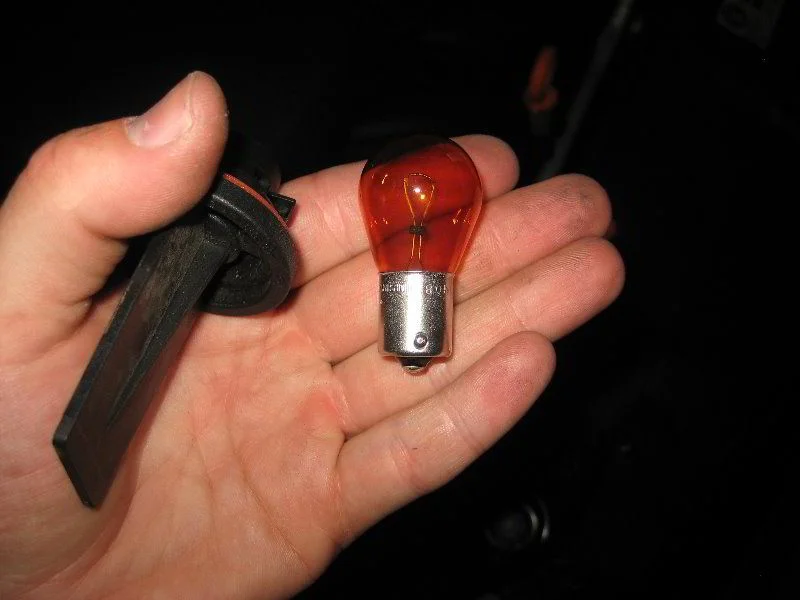
Push and turn the bulb 1/4 turn anti-clockwise to release it from the holder.
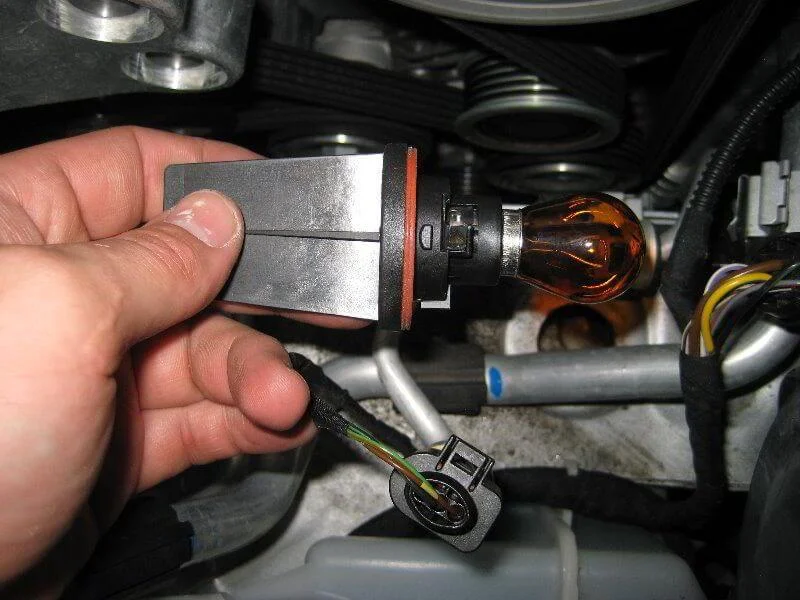
Installation is in reverse order.
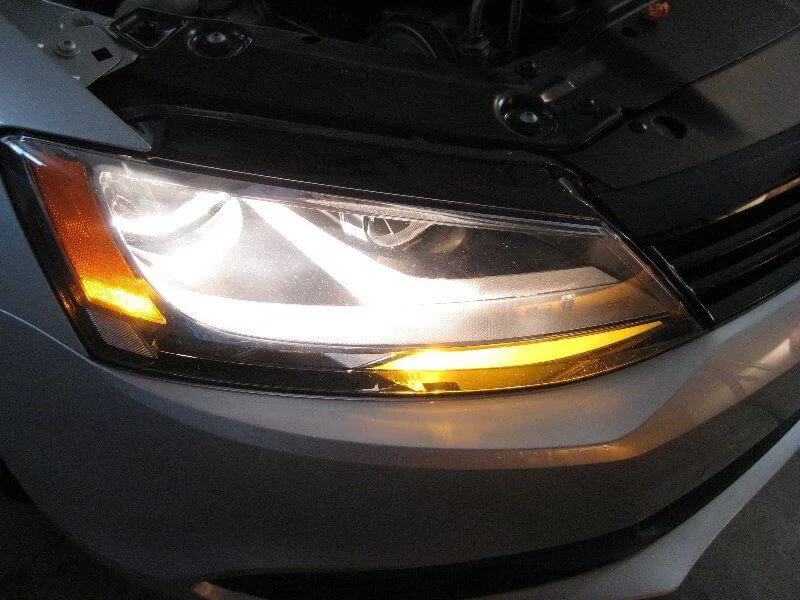
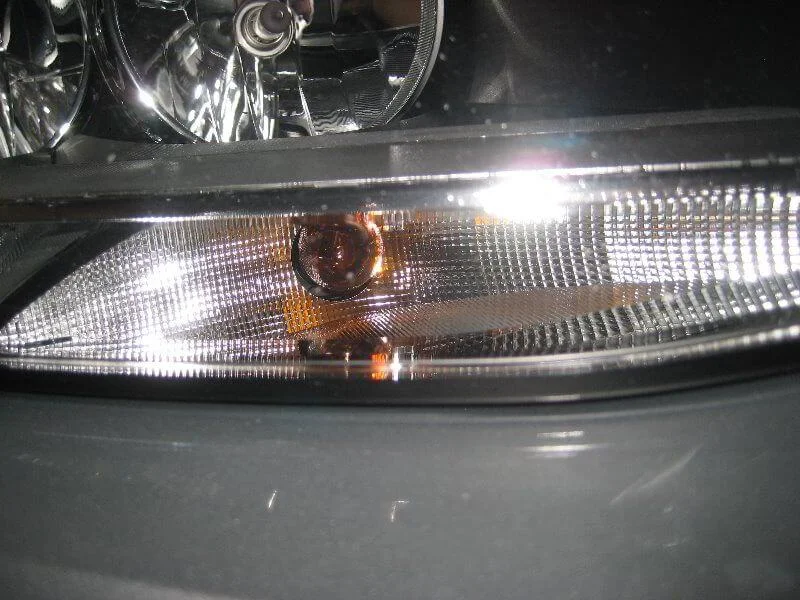
Check bulb operation.
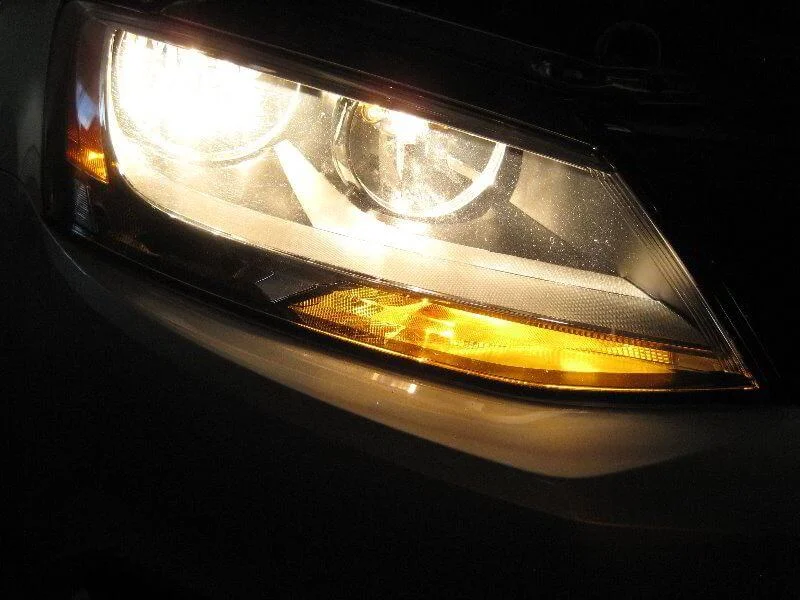
Main beam bulb test.
Was this guide useful?
Your feedback helps us improve our content.


Discussion (0)
No comments yet!