VW Jetta 6 Rear Bulb Replacement
This photo guide demonstrates how to replace the bulbs in the rear light cluster of a 2012 Volkswagen Jetta. Replacing the brake, indicator, reverse, and parking light bulbs on a Jetta 6 is a task you can easily do yourself.
Tools are only required to replace the reverse and parking lights located in the light unit on the boot lid. Since this involves removing and installing the light unit, the removal of the VW Jetta rear light is also shown in the photos.
Jetta Rear Bulb Specifications:
Brake light bulb — P21/5W (also 1157 or 7528);
Rear indicator bulb — P21W;
Reverse light bulb — P21W;
Parking light bulb — R5W.
How to Replace Jetta 6 Rear Bulbs
Removing the Rear Light Cluster
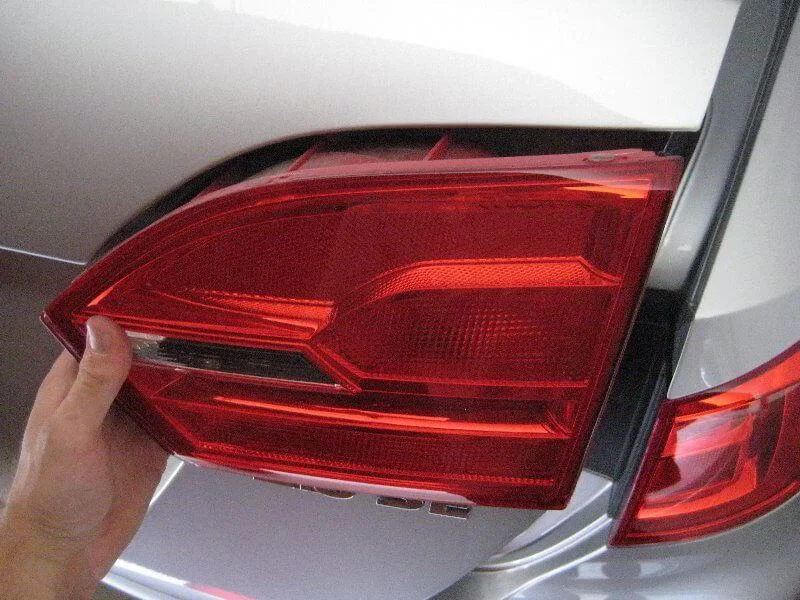
Open the boot and locate the corner with the light unit containing the burnt-out bulb. Remove the trim panel and unscrew the plastic retaining screw holding the light. Then carefully remove the light unit from its recess and disconnect the power connector.
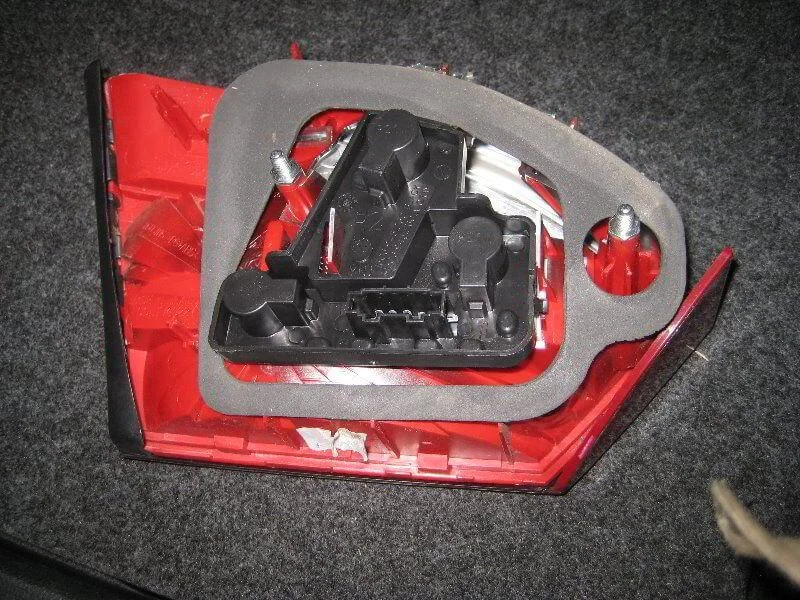
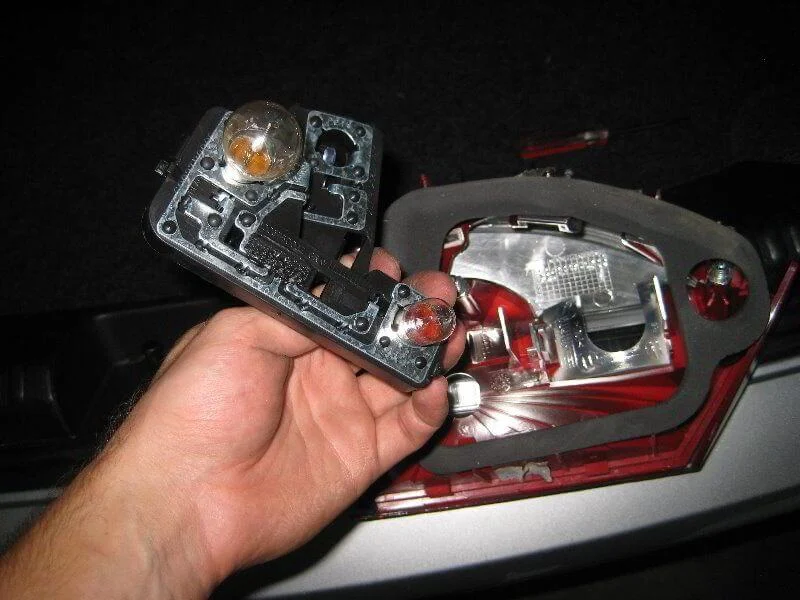
Turn the light unit over, locate the two plastic clips, and squeeze them. Pull the bulb holder out of the housing.
Replacing the Jetta 6 Brake/Tail Light Bulb
The brake/tail light bulb is located in the holder next to the marking 'P21W/5W'. To change the bulb, press it down and turn it a quarter turn anti-clockwise. Then insert the new bulb and turn it clockwise.
Replacing the Jetta 6 Indicator Bulb
The indicator bulb is marked 'P21W'. Turn the bulb anti-clockwise, remove the old bulb, and install the new one in reverse order.
Installing the Jetta 6 Light Unit
Insert the bulb holder into the light housing until it clicks. Connect the power connector, fit the light unit back into its recess, and press it firmly into place. Tighten the retaining screw in the corner of the boot and replace the cover panel.
Removing the Inner Rear Light (Boot Lid)
The Jetta 6 rear light consists of two parts, one of which is mounted on the boot lid. You need to remove this unit to replace the reverse and parking light bulbs.
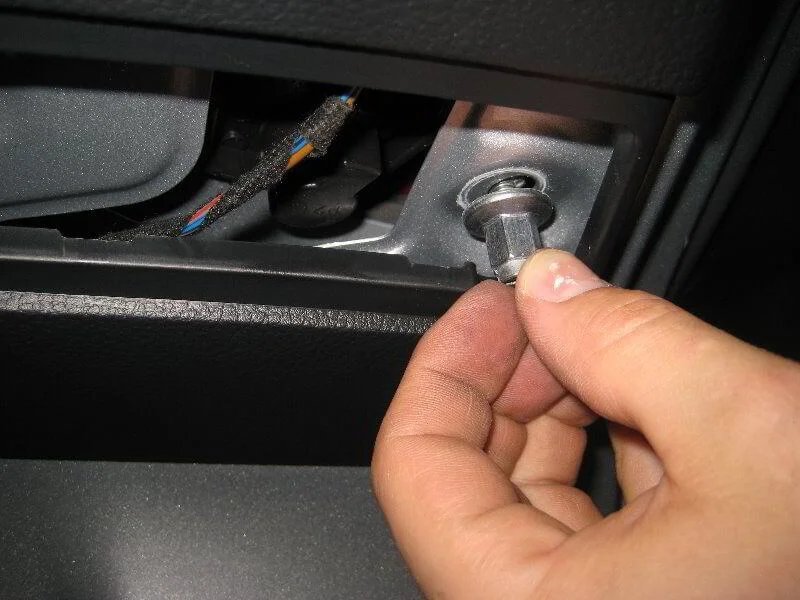
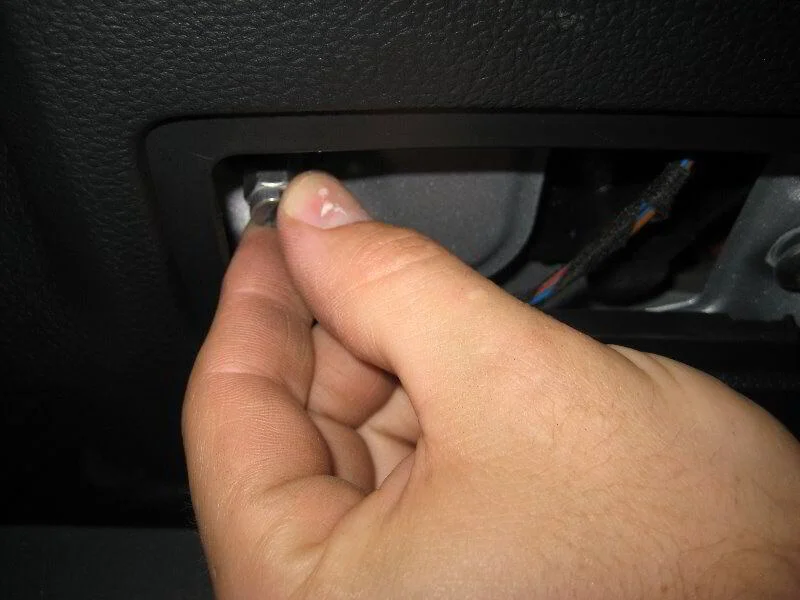
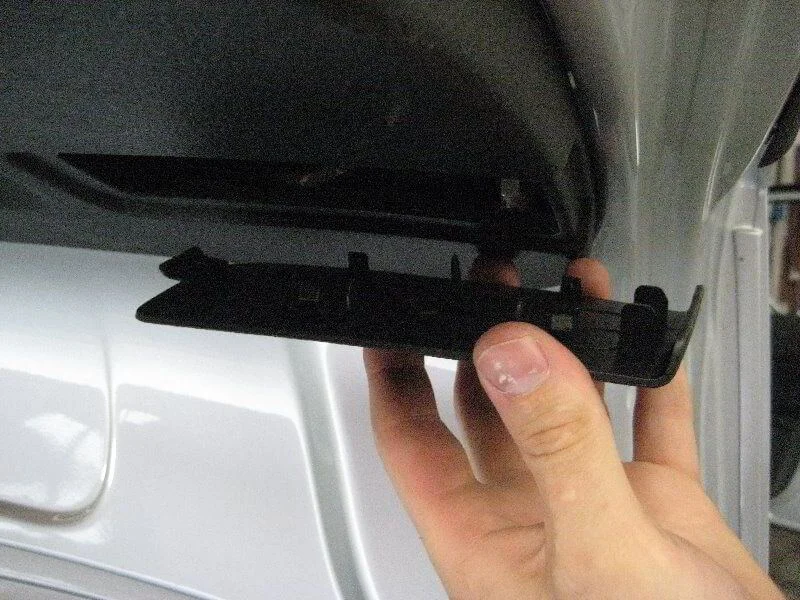
To do this, open the boot lid and remove the trim cover by prying it off with a screwdriver. Then remove the two nuts under the cover using a 10 mm socket or a screwdriver. Remove the light unit from its recess and disconnect the power connector.
You can change the bulbs just like in the main unit: release the tabs and pull the bulb holder out of the light unit.
Replacing the Jetta 6 Reverse Light Bulb
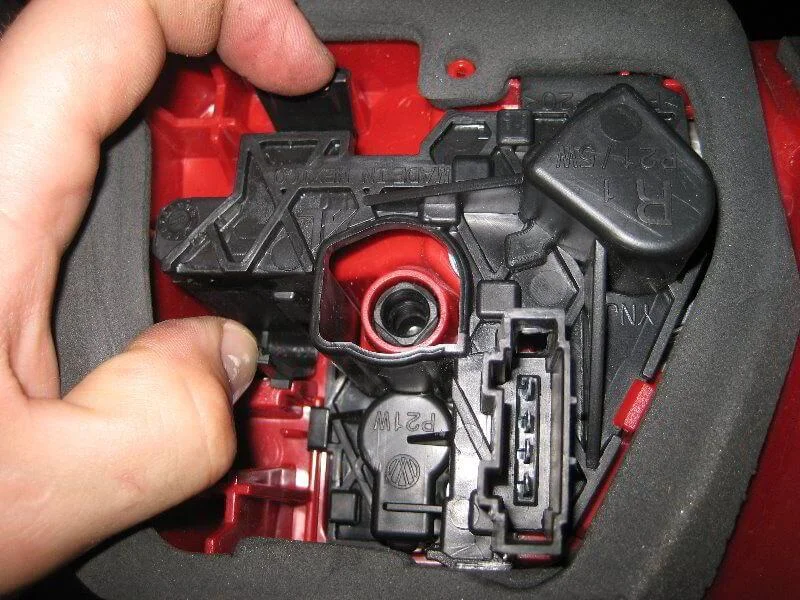
The reverse light bulb is marked 'P21W' on the metal holder. To replace the bulb, press down on it and turn it a quarter turn anti-clockwise. Install the new bulb and turn it a quarter turn clockwise.
Replacing the Jetta 6 Rear Parking Light Bulb
The parking light bulb is marked 'R5W' on the metal holder. To change it, press down and turn the bulb a quarter turn anti-clockwise. Install the new bulb and turn it a quarter turn clockwise.
Installing the Inner Rear Light Unit
The light unit on the boot lid is installed in the reverse order of removal.
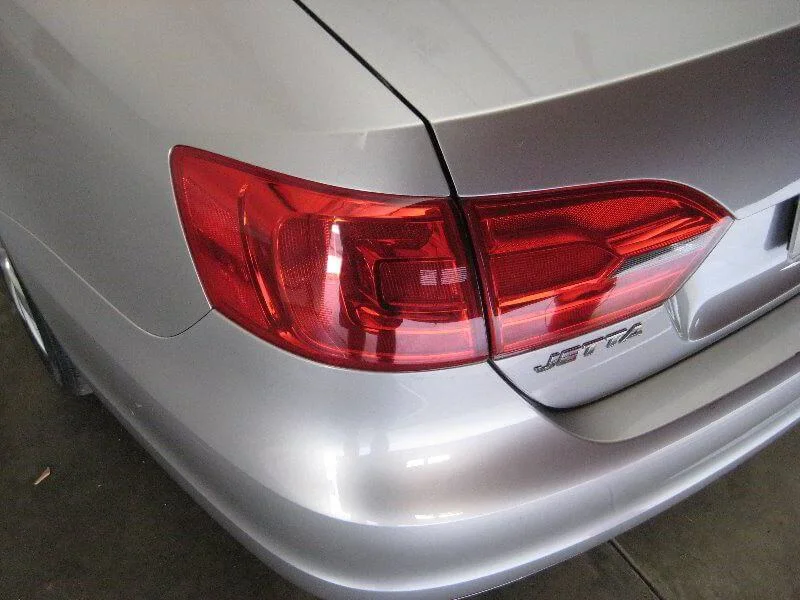
The Volkswagen Jetta 6 rear light is divided into two parts by the boot lid.
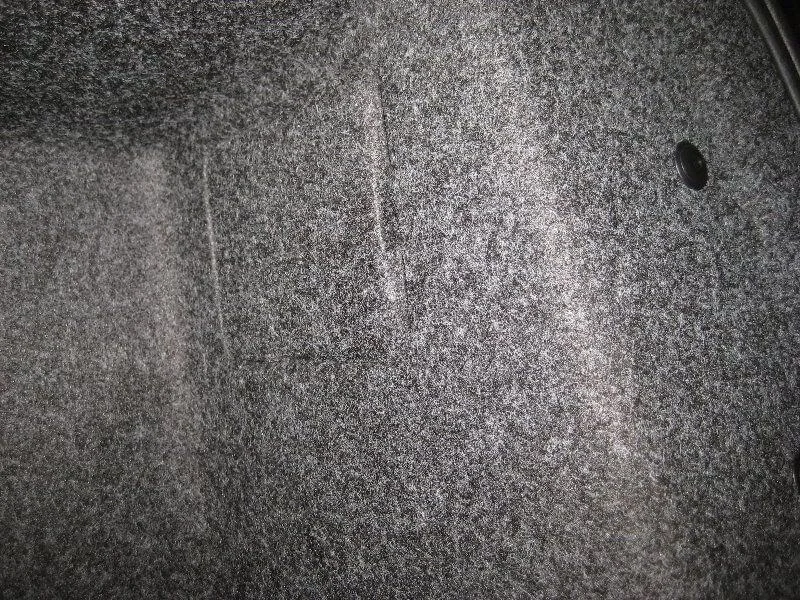
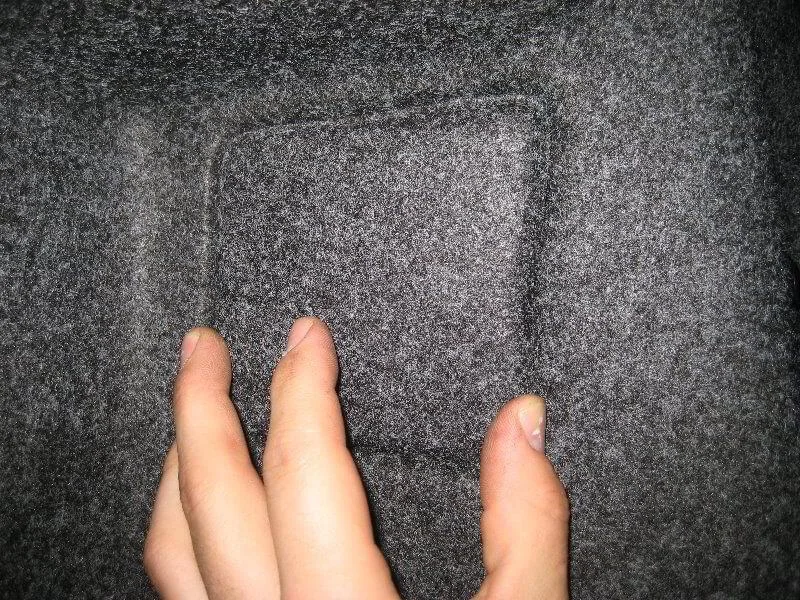
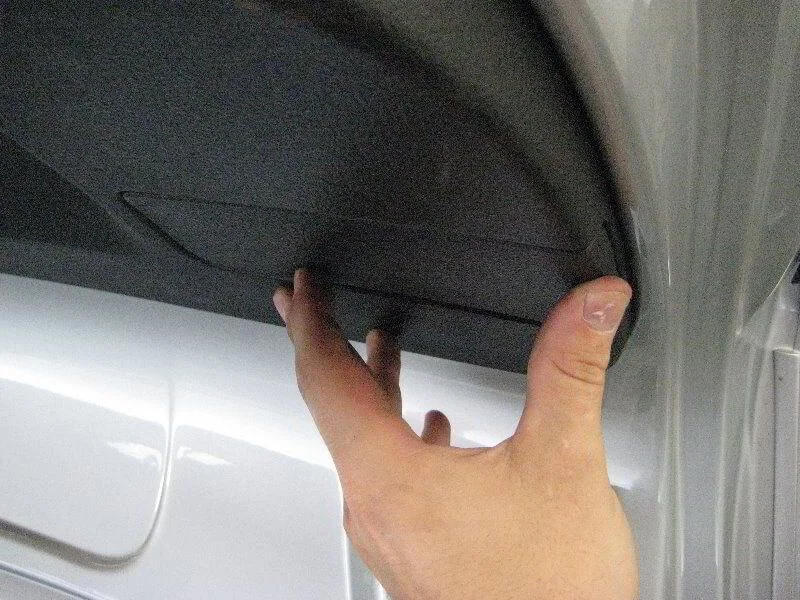
Open the boot — there is a panel in the corner.
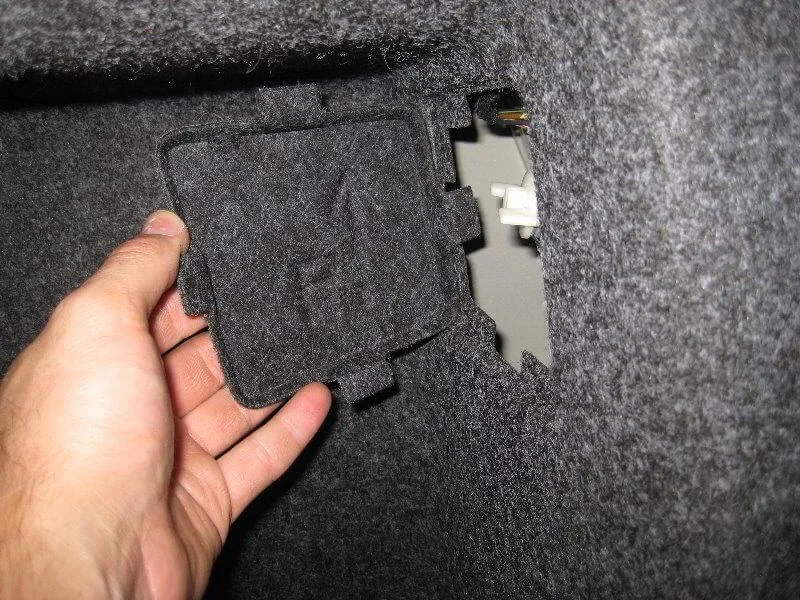
Remove the panel.
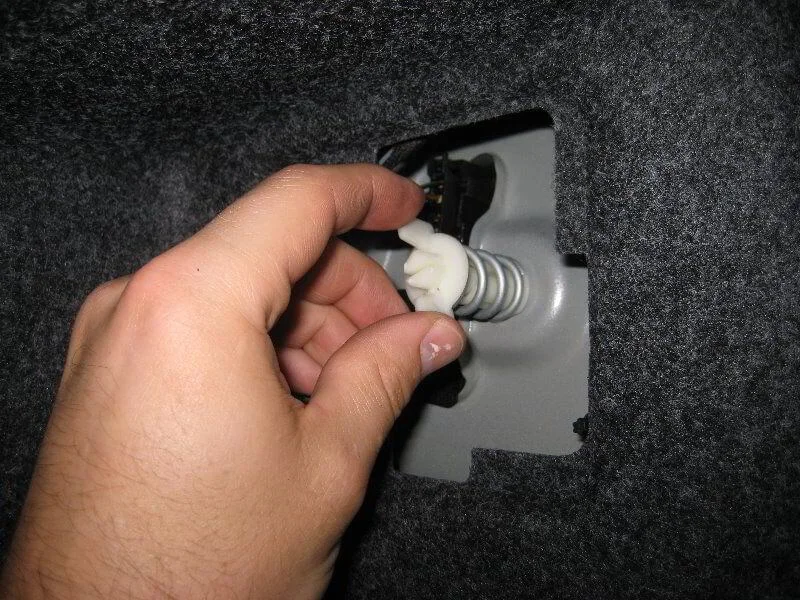
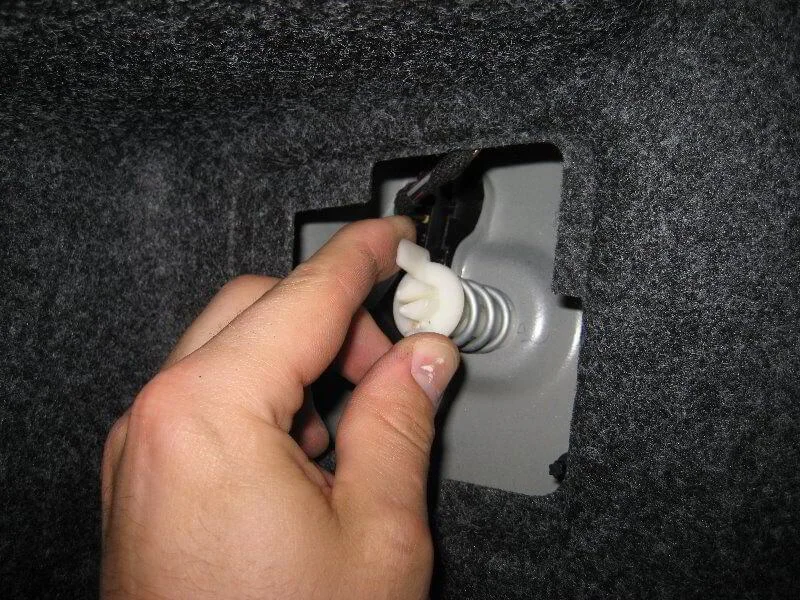
Unscrew the light retaining screw.
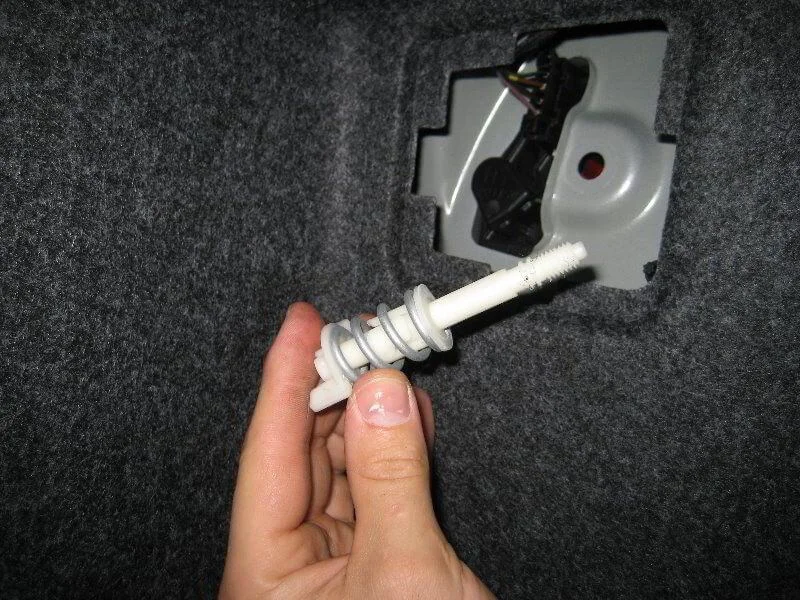
Remove the screw.
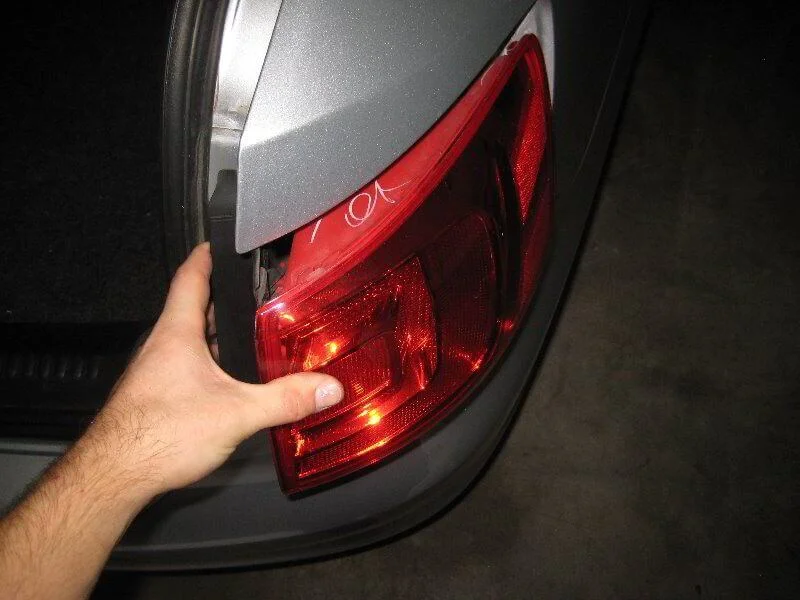
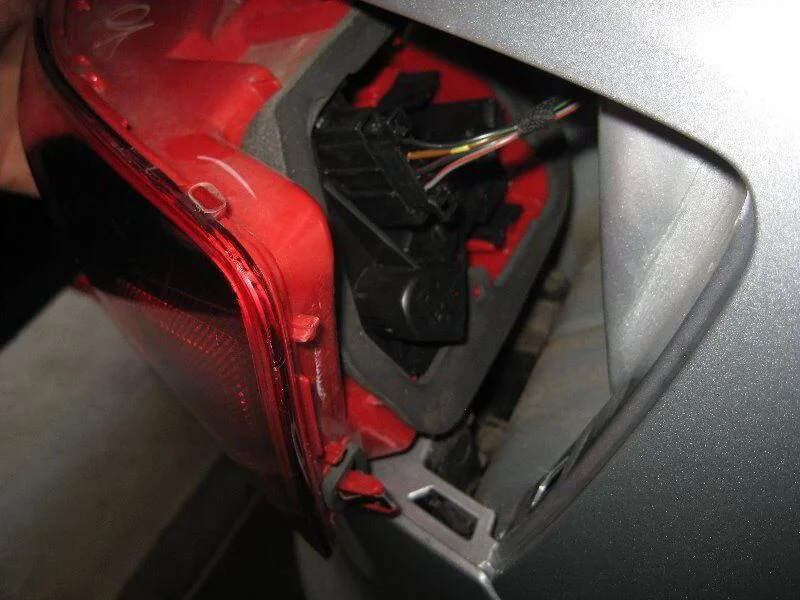
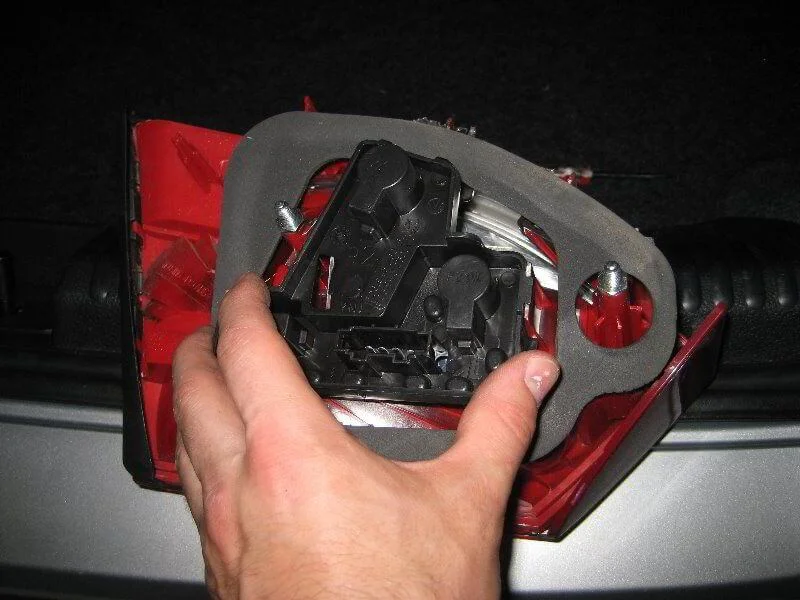
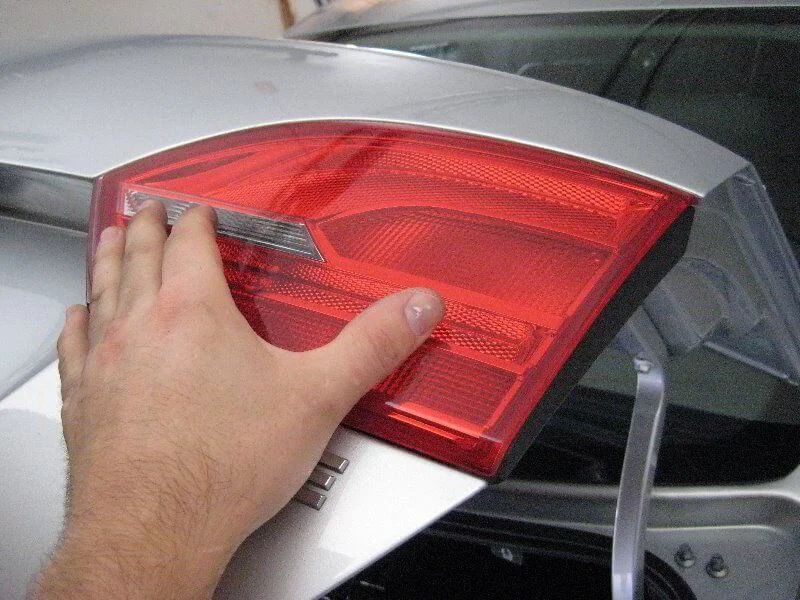
Remove the light unit.
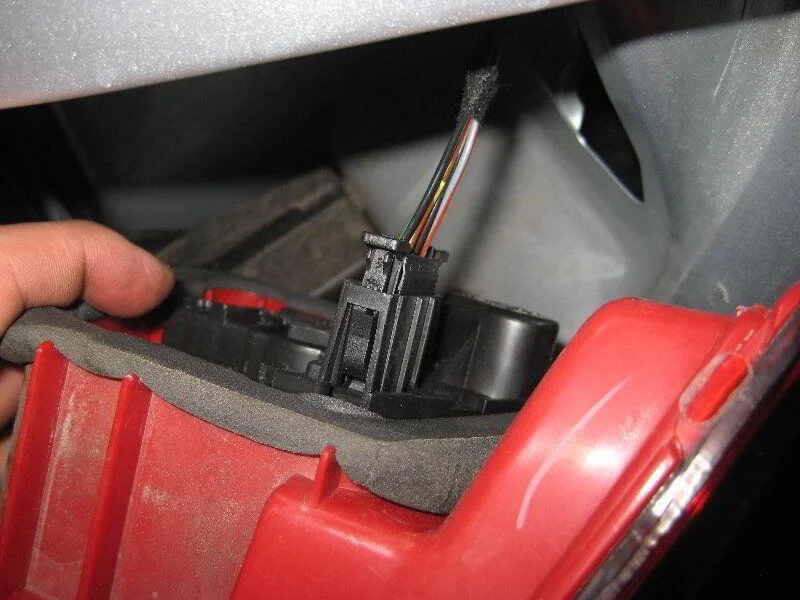
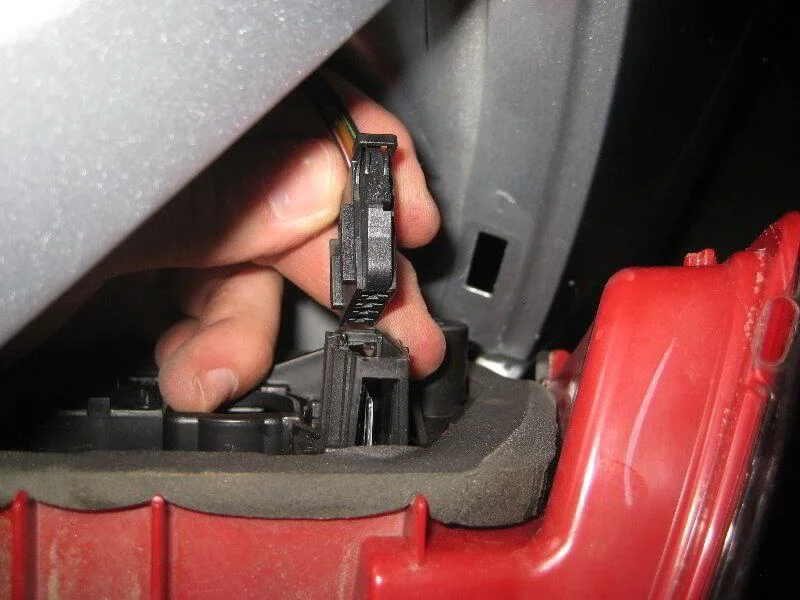
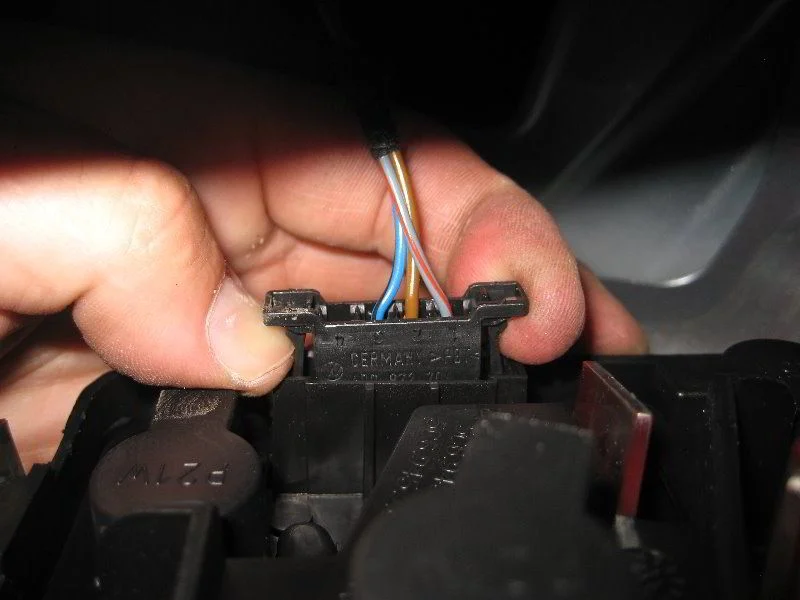
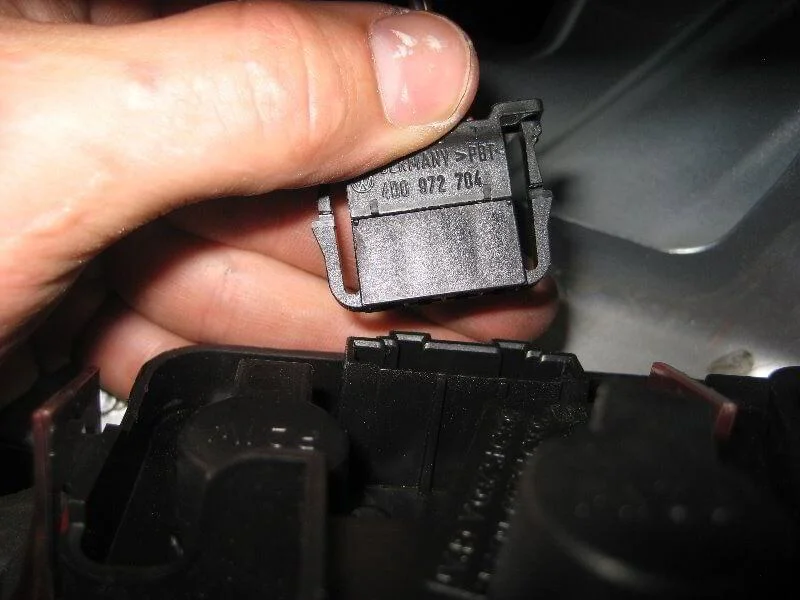
Power connector.
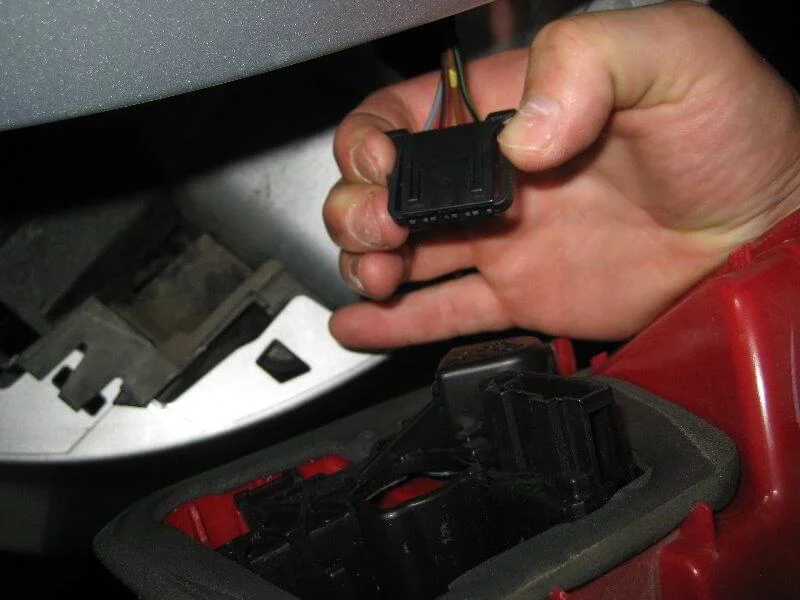
Disconnect the power connector.
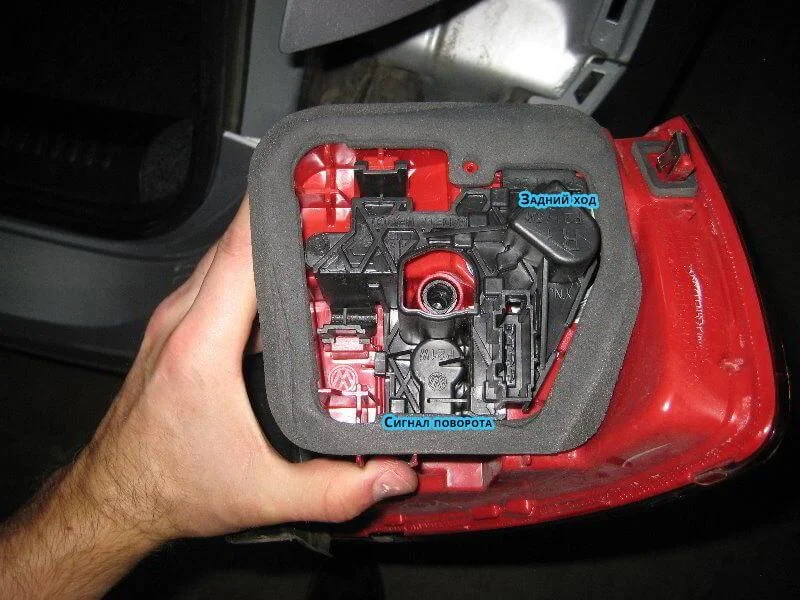
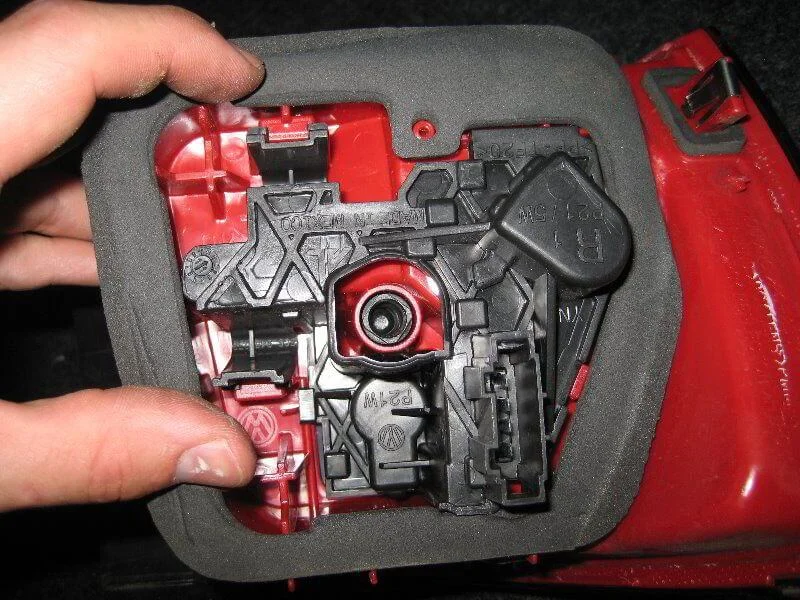
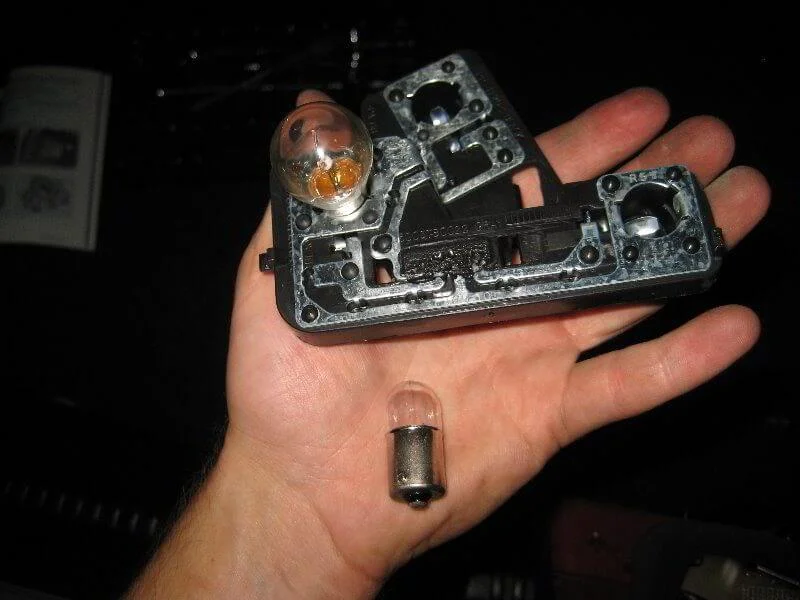
Rear view of the light unit.
Two plastic tabs.
Squeeze the tabs.
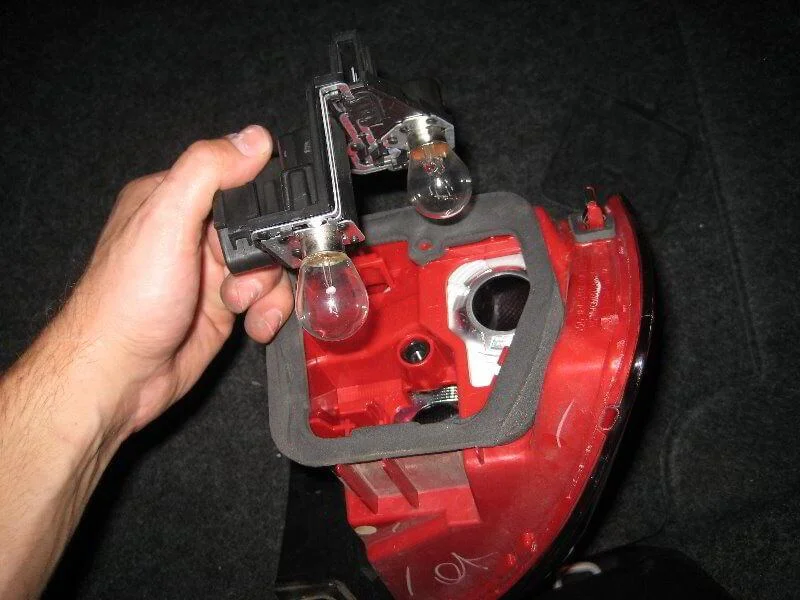
Pull out the bulb holder.
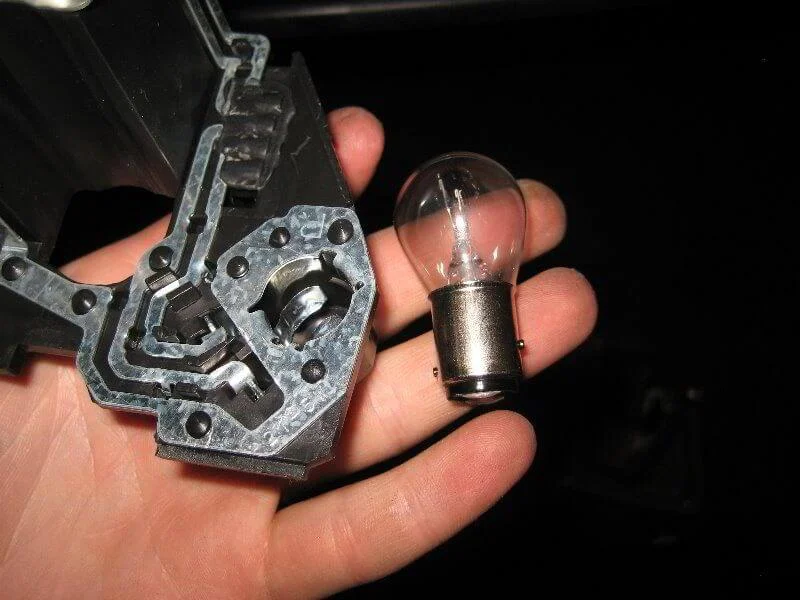
The brake/tail light bulb is removed by pressing down on the bulb and turning it 1/4 turn anti-clockwise. Install in reverse order.
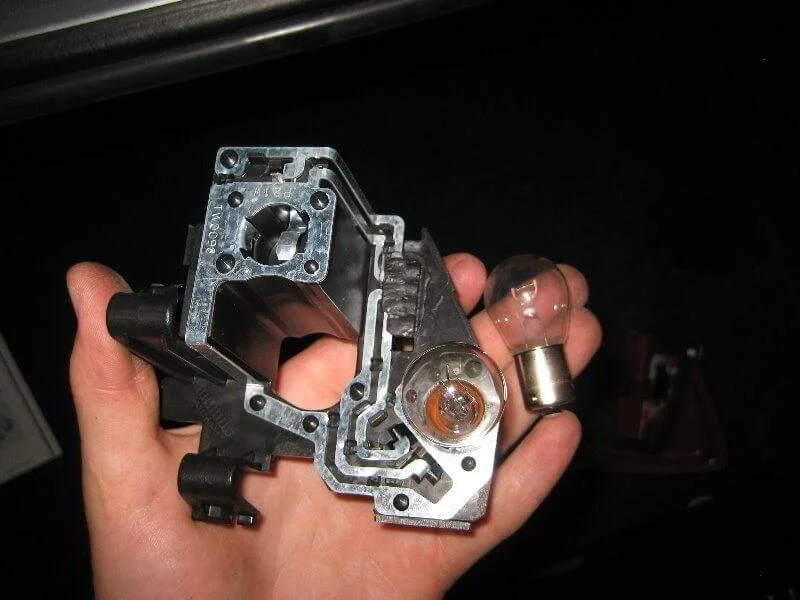
The indicator bulb is changed in the same way.
Install the holder into the light housing.
Push until it clicks and the tabs sit in place.
Connect the connector.
Mounting recess.

Install the light and press down, checking it is seated correctly.
Tighten the screw.
Close the panel.
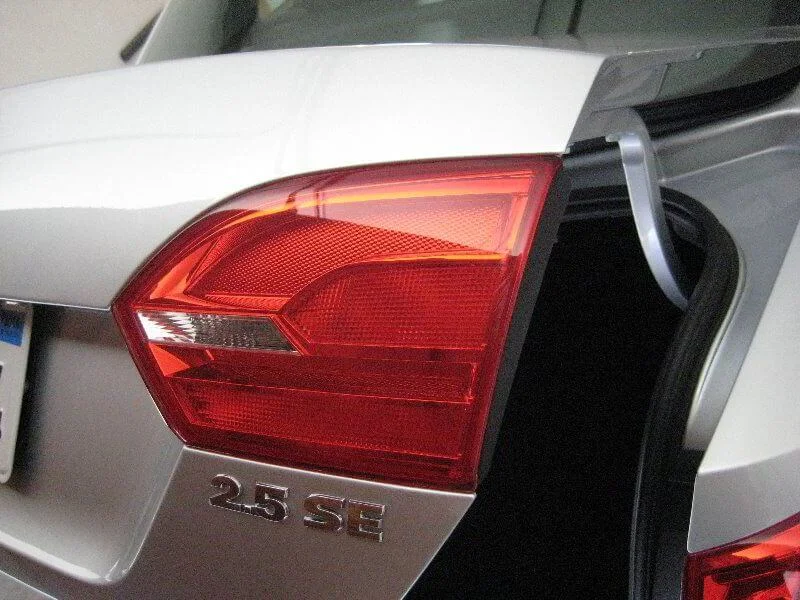
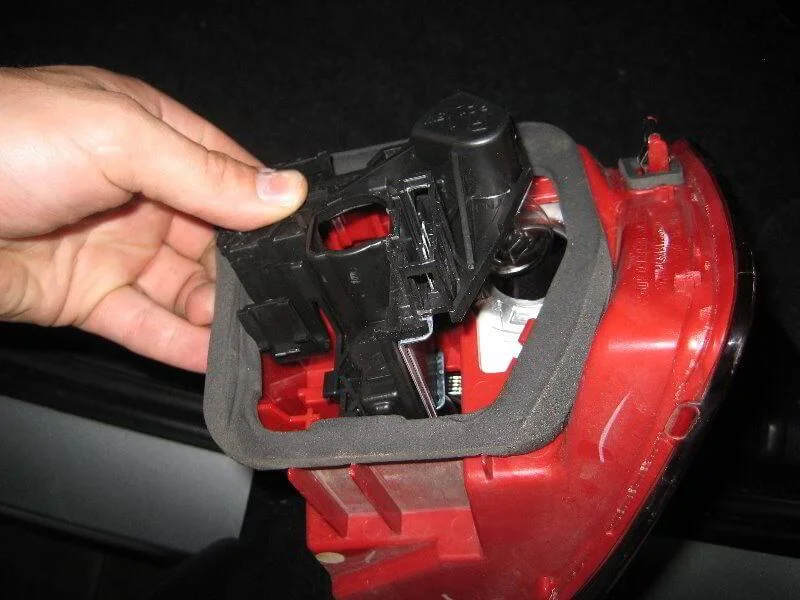
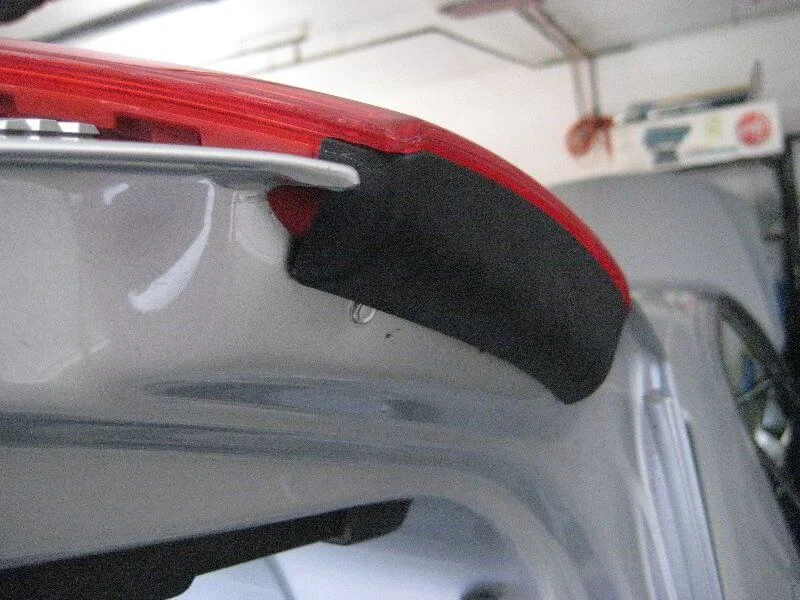
Light unit on the boot lid.
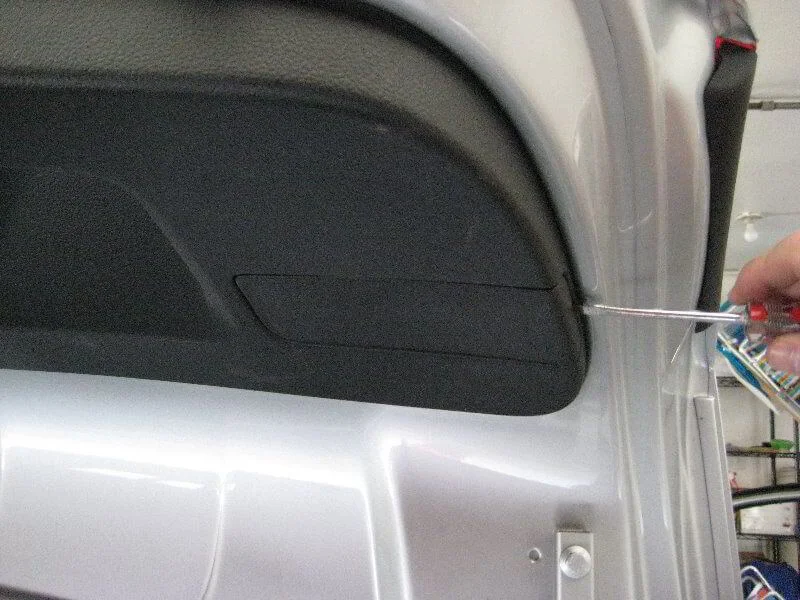
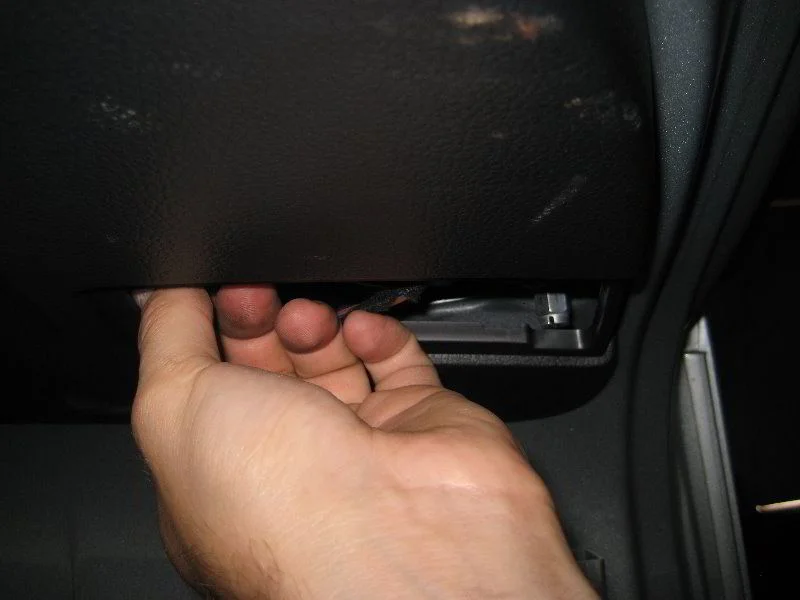
Open the boot and pry off the small panel.
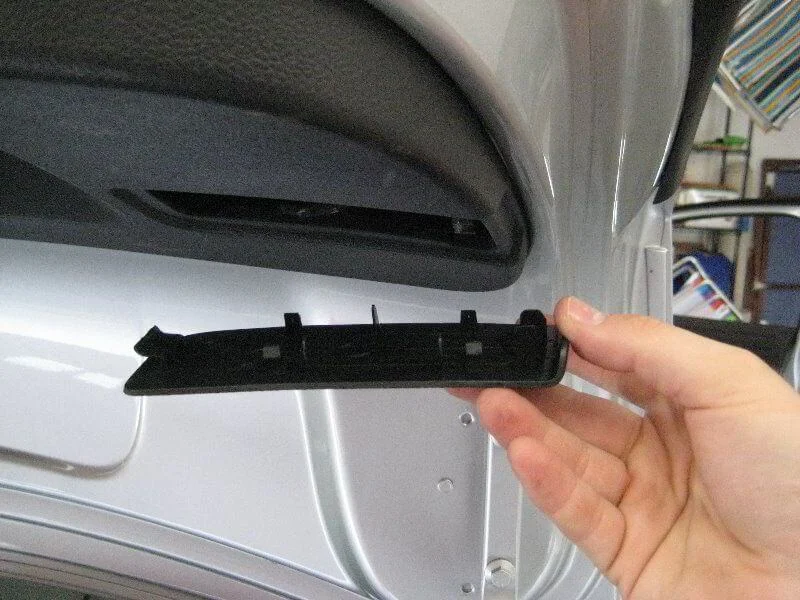
Remove the panel.
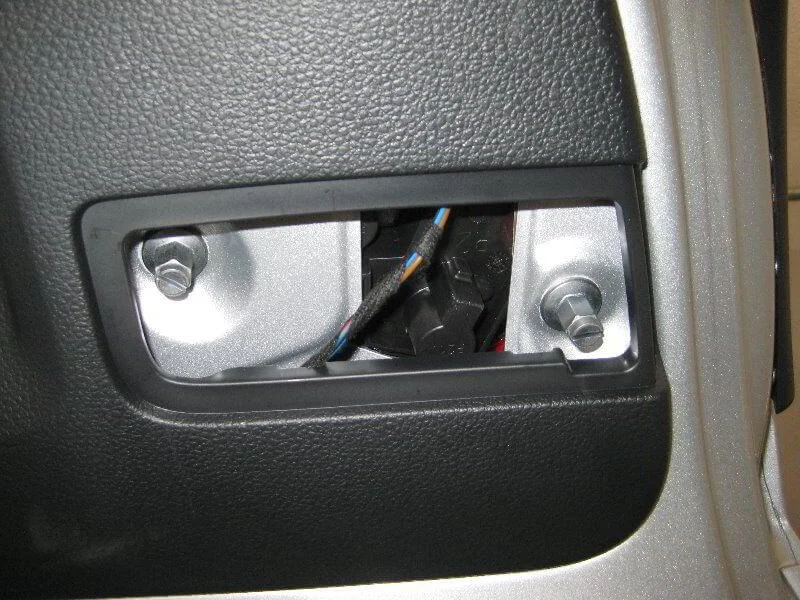
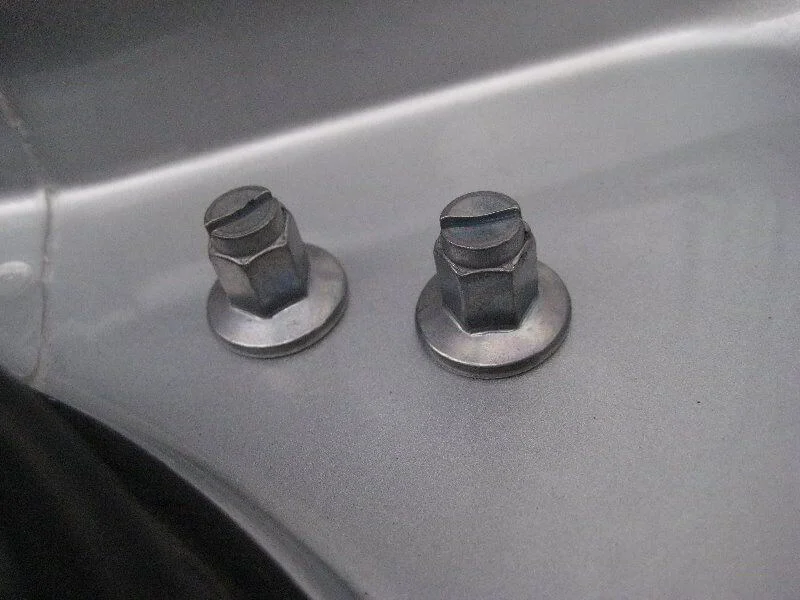
Two retaining nuts.
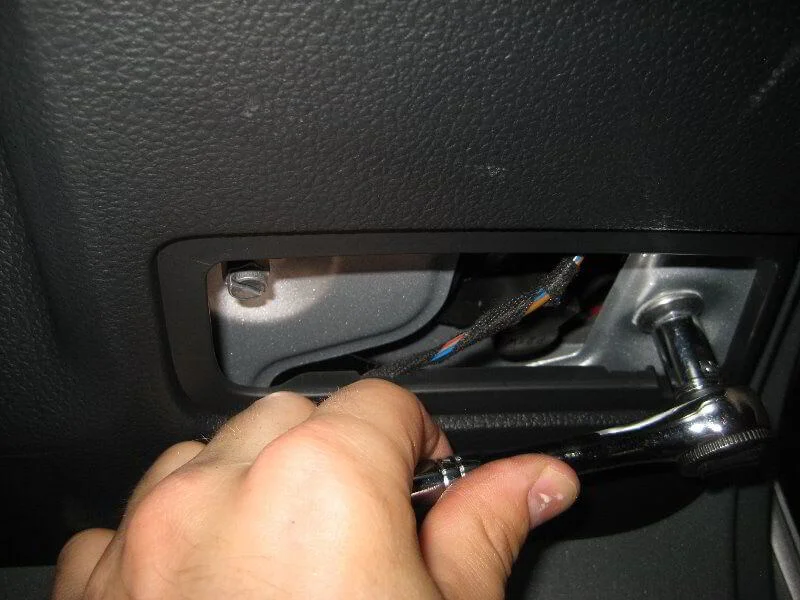
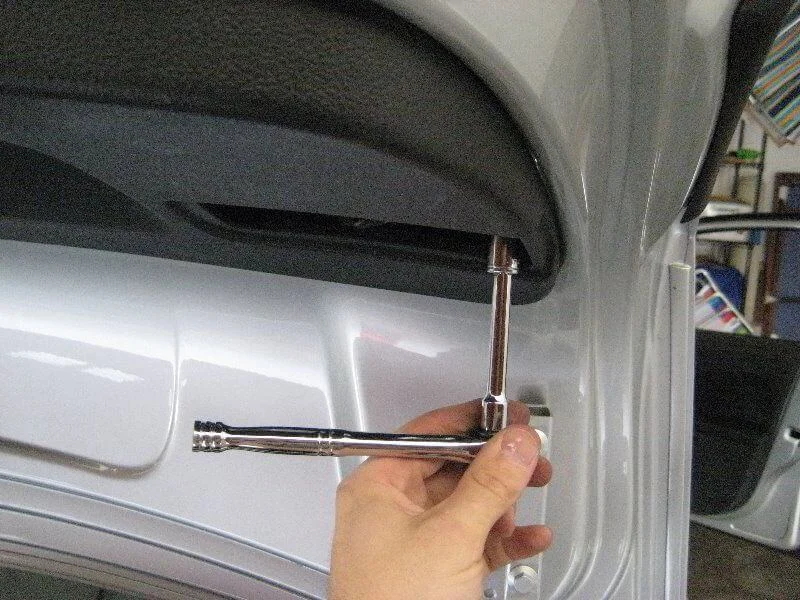
Unscrew the nuts using a 10 mm socket.
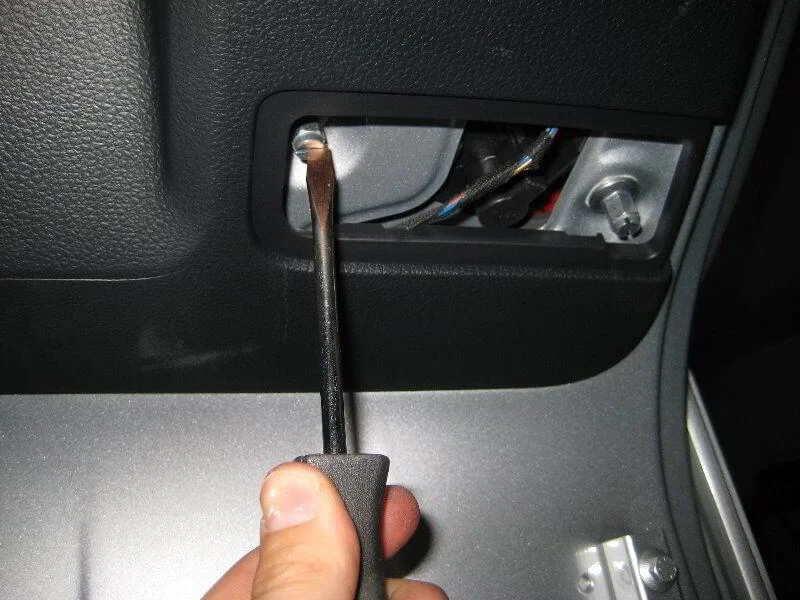
Or a flat-head screwdriver.
Remove the nuts.
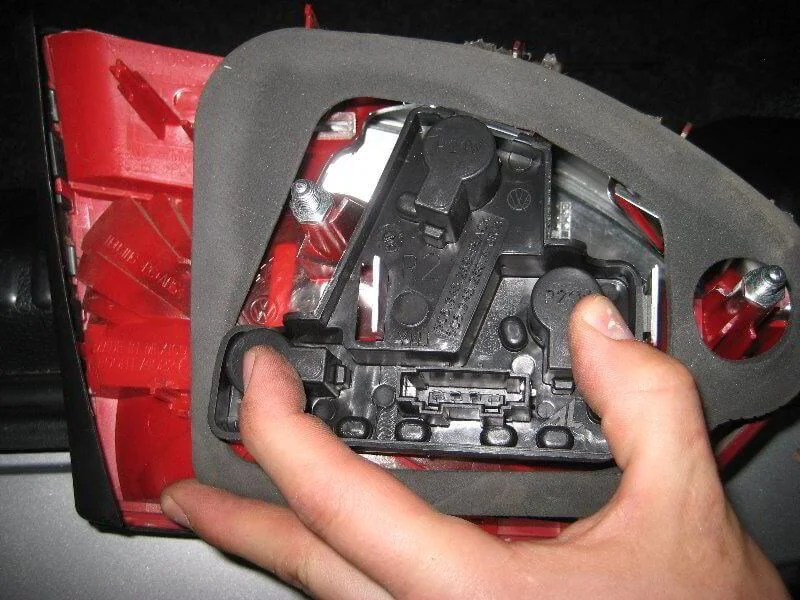
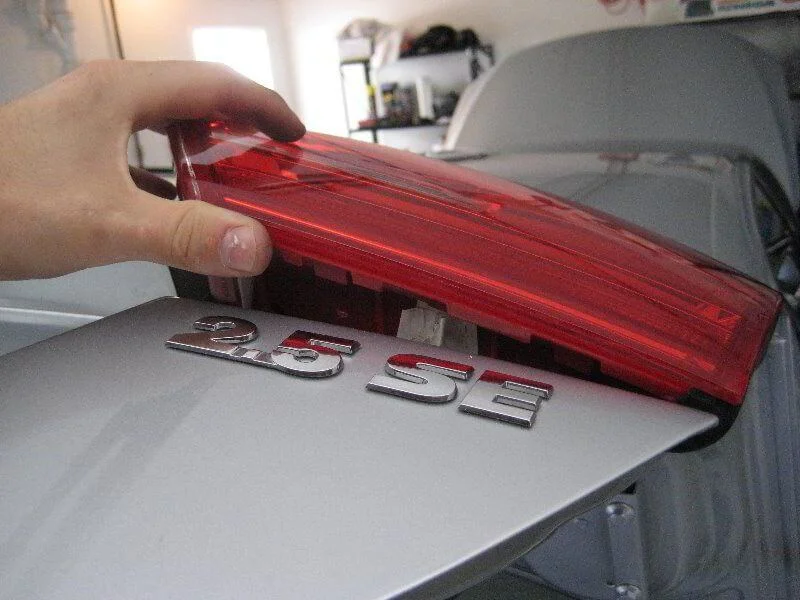
Remove the light unit.
Disconnect the connector.
Rear view of the light unit.

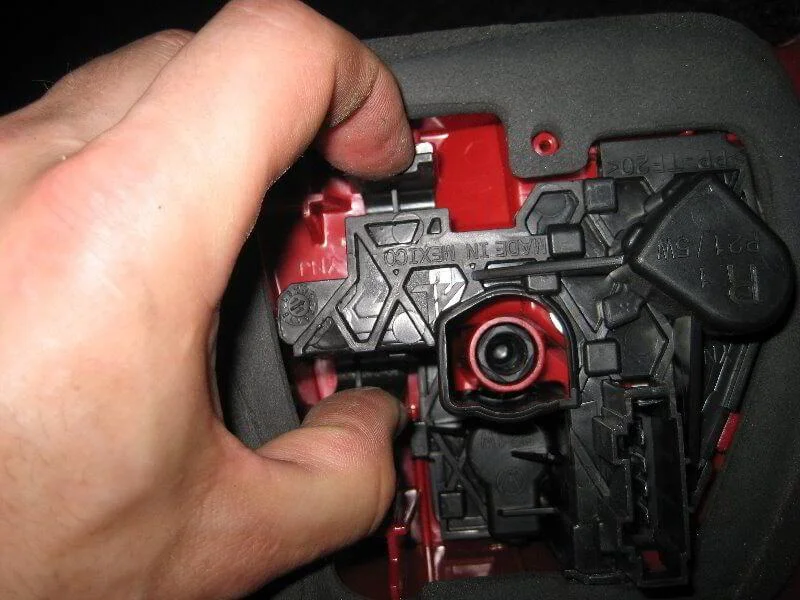
Push out the metal tabs.
Remove the bulb holder.
Press and turn 1/4 turn anti-clockwise to remove the parking light bulb.
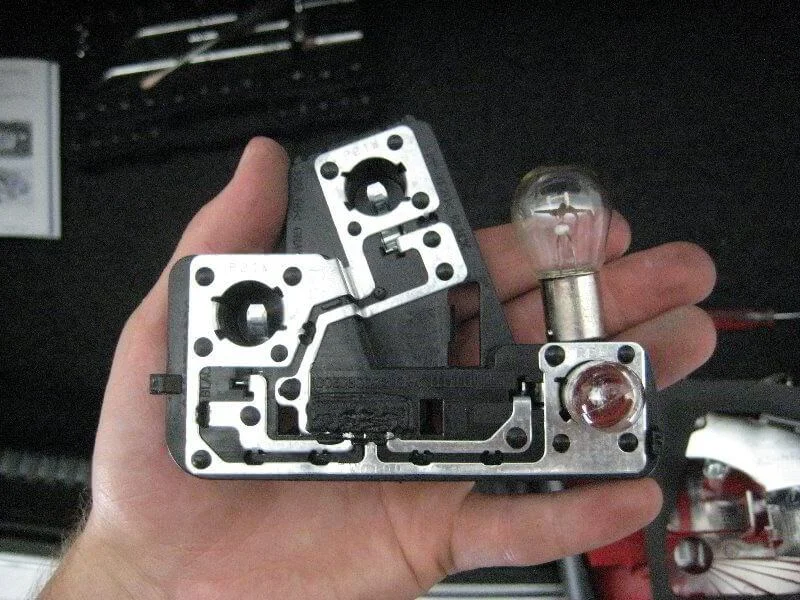
The reverse light bulb is changed similarly.
Install the holder into the light unit.
Secure with the tabs.
Connect the connector.
Mounting recess.
Install the light unit.
Tighten the nuts.
Put the panel back in place.
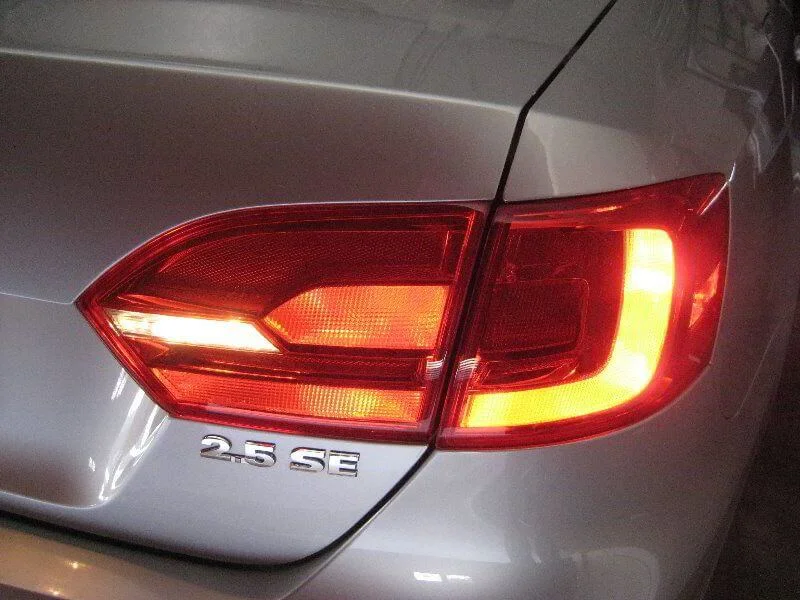
Check the lights.
Was this guide useful?
Your feedback helps us improve our content.


Discussion (0)
No comments yet!