Door Disassembly and Lock Repair on Volkswagen Passat B5
To remove the trim and disassemble the Volkswagen Passat B5 door, you will need the following:
- Torx T20 key;
- large Phillips screwdriver;
- 10mm spanner (preferably a socket wrench) or a 10mm socket;
- small flat-blade screwdriver.
If you are disassembling a rear door, you will need a tool to knock the plastic dowels out of the window glass.
If you are not repairing but installing a new lock, you can purchase an aftermarket replacement, for example, JP GROUP 1187501170.
Unscrew the 2 (or 3 on some models) Torx screws at the bottom of the door.
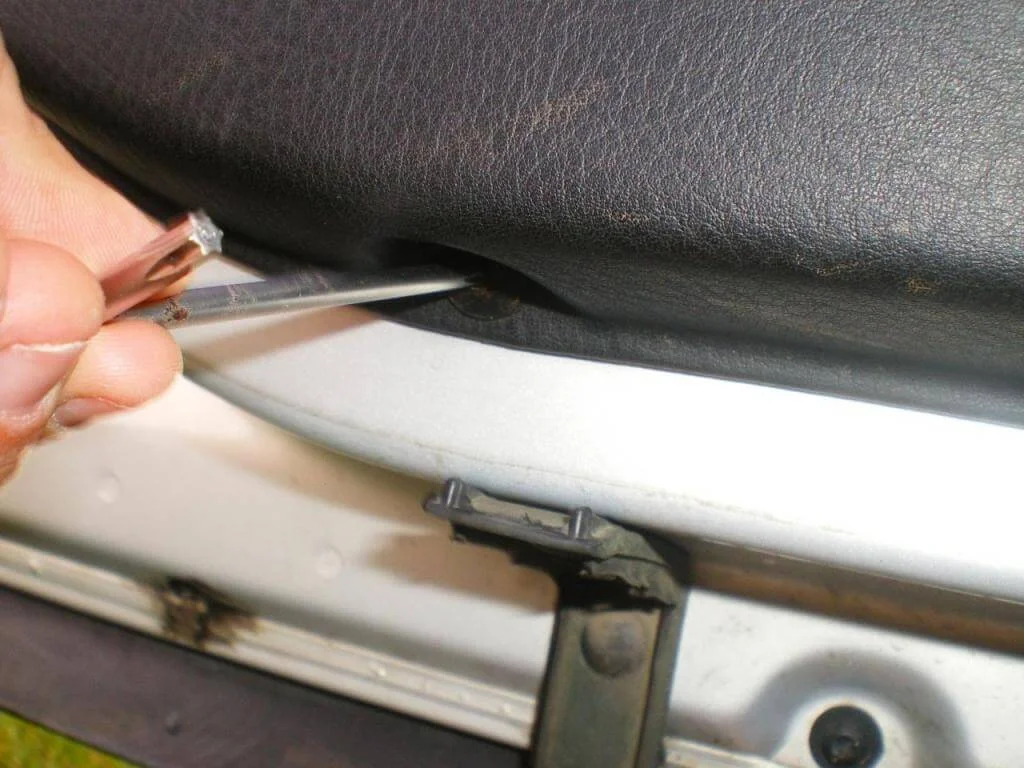
Remove the handle (the passenger side is removed similarly, but needs to be prised from the side).
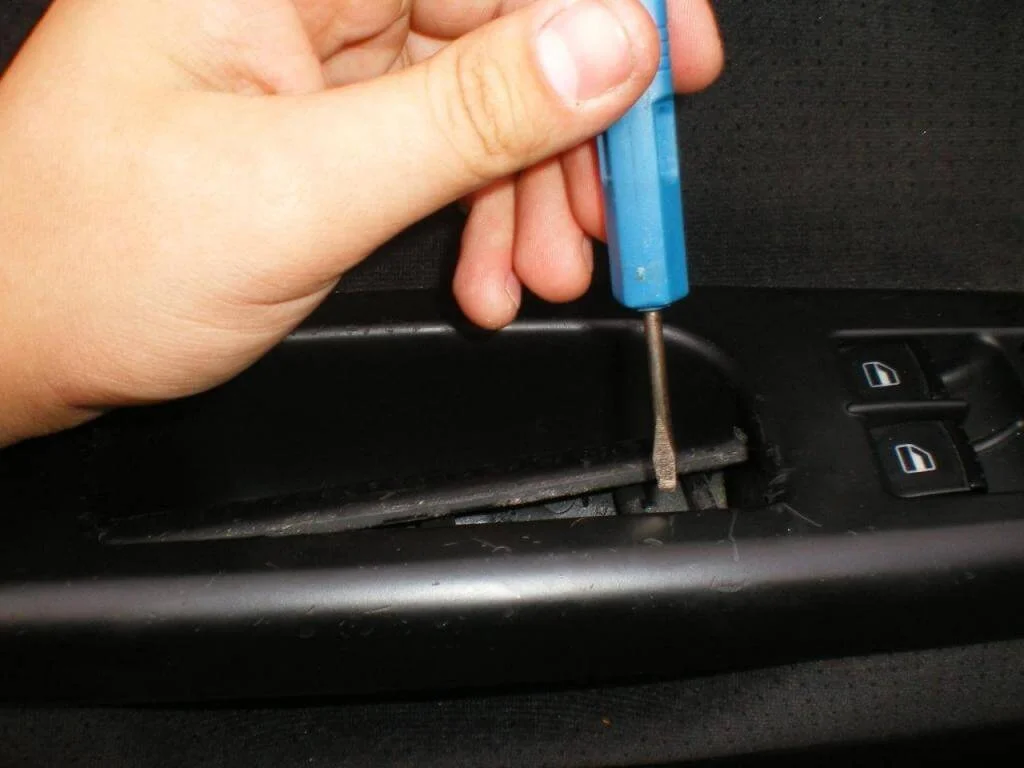
Prise up the window switch block with a flat-blade screwdriver to release it from the clips.
Unscrew the 2 (or 3) screws using a large Phillips screwdriver.
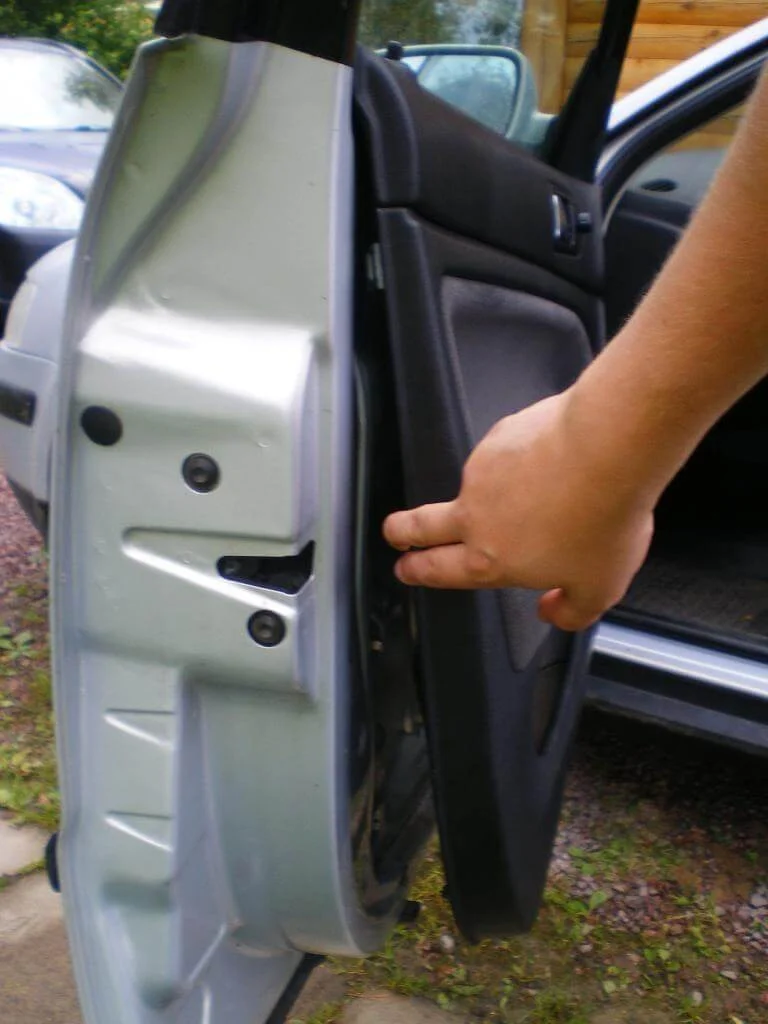
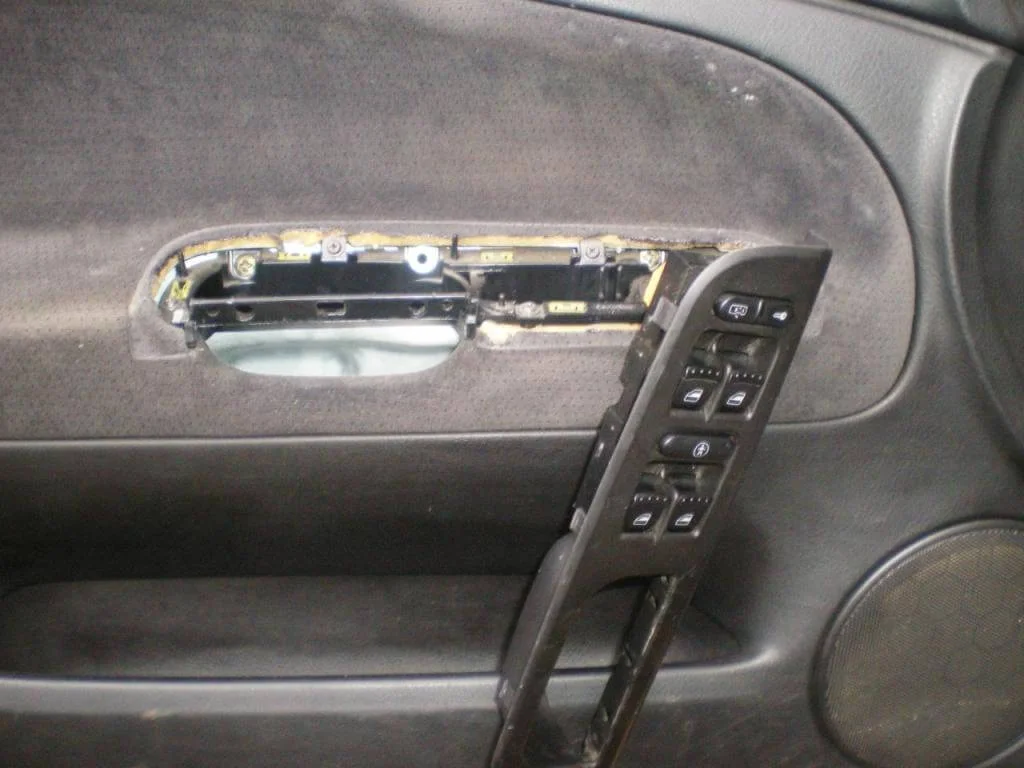
Prise off the door card using a flat-blade screwdriver, pull it towards you, and then lift upwards to remove it.
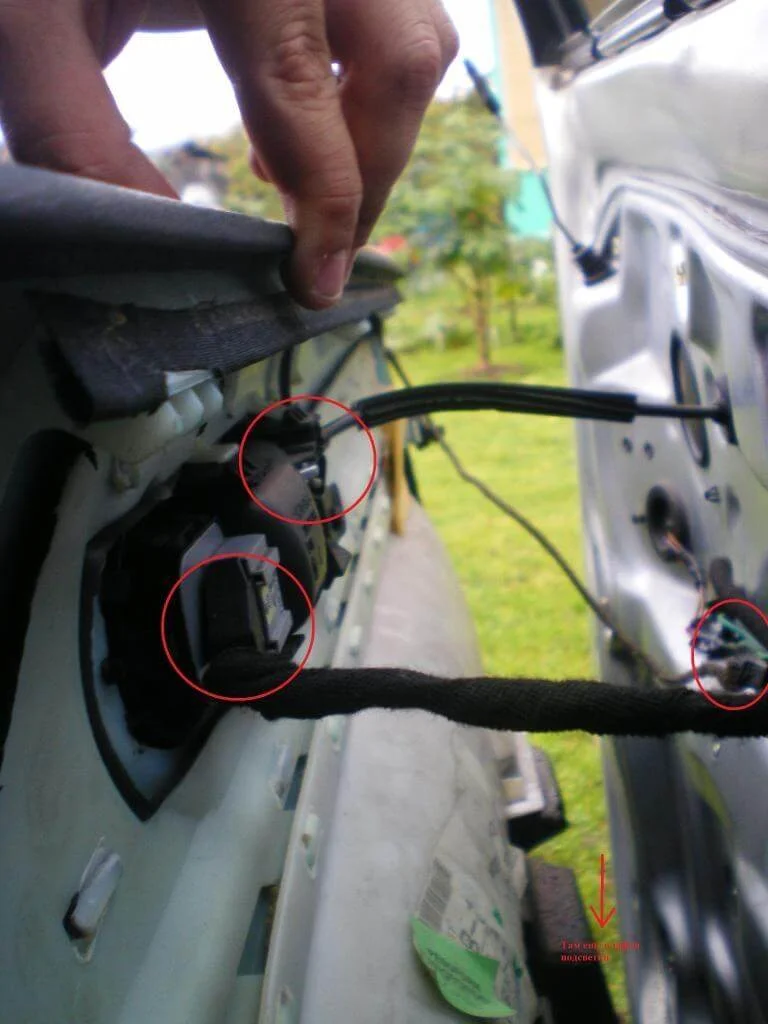
Disconnect all electrical plugs and the inner door handle cable.
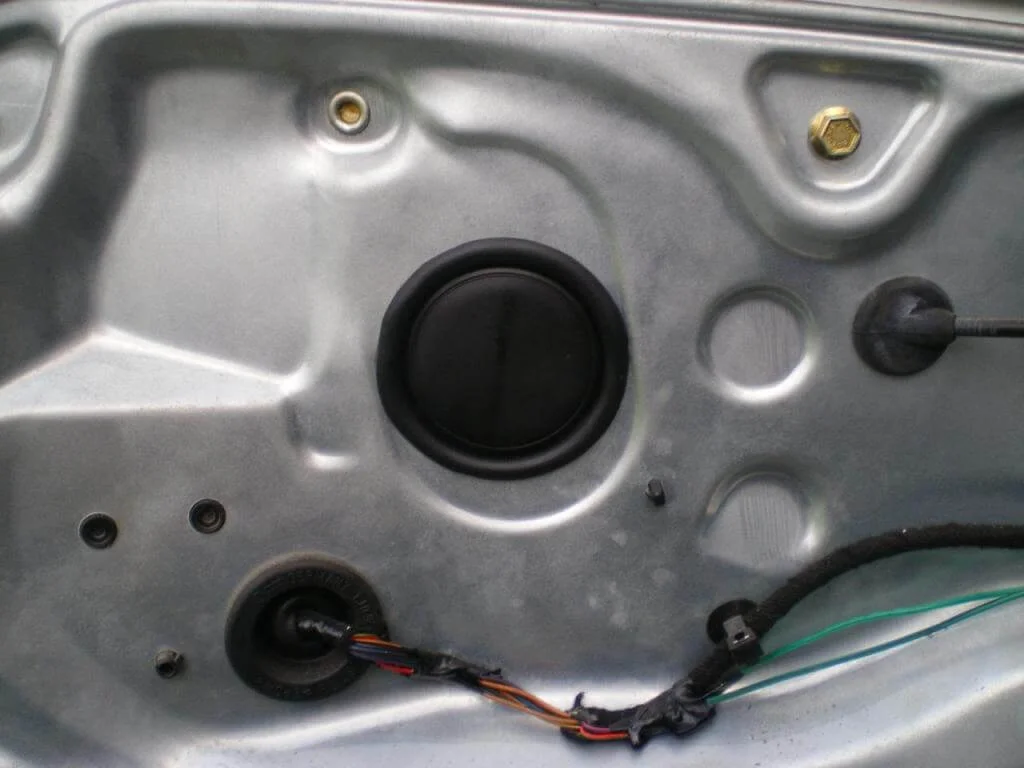
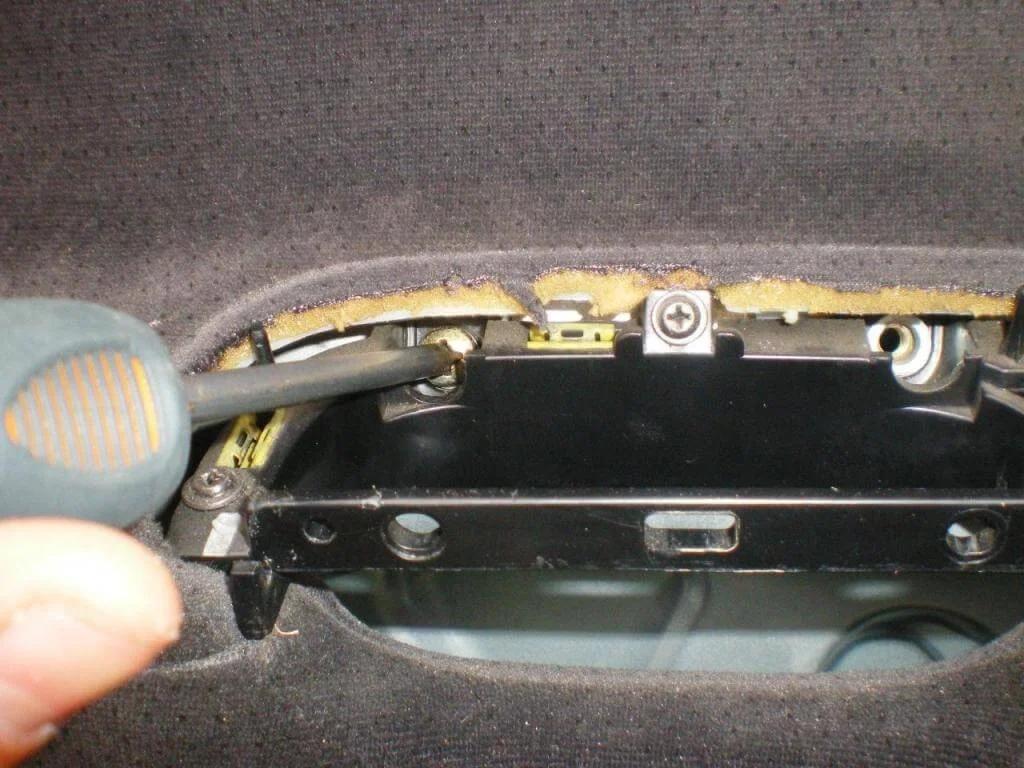
Remove the rubber grommets from the maintenance holes.
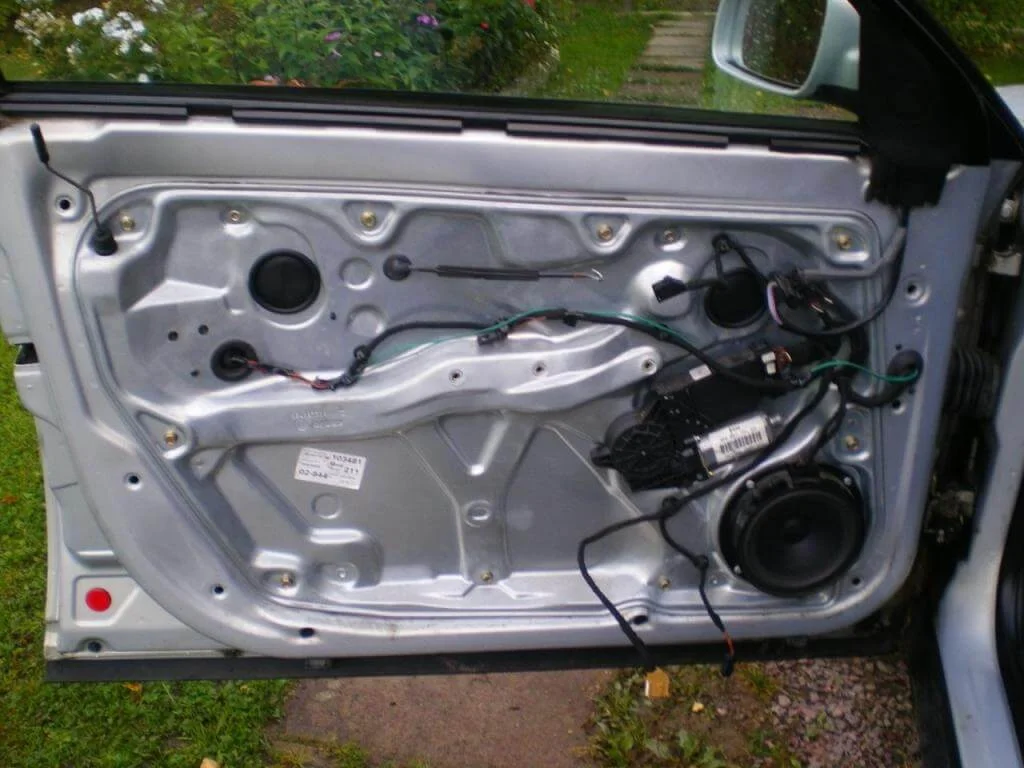
Loosen the glass clamping screws (no need to unscrew them completely).
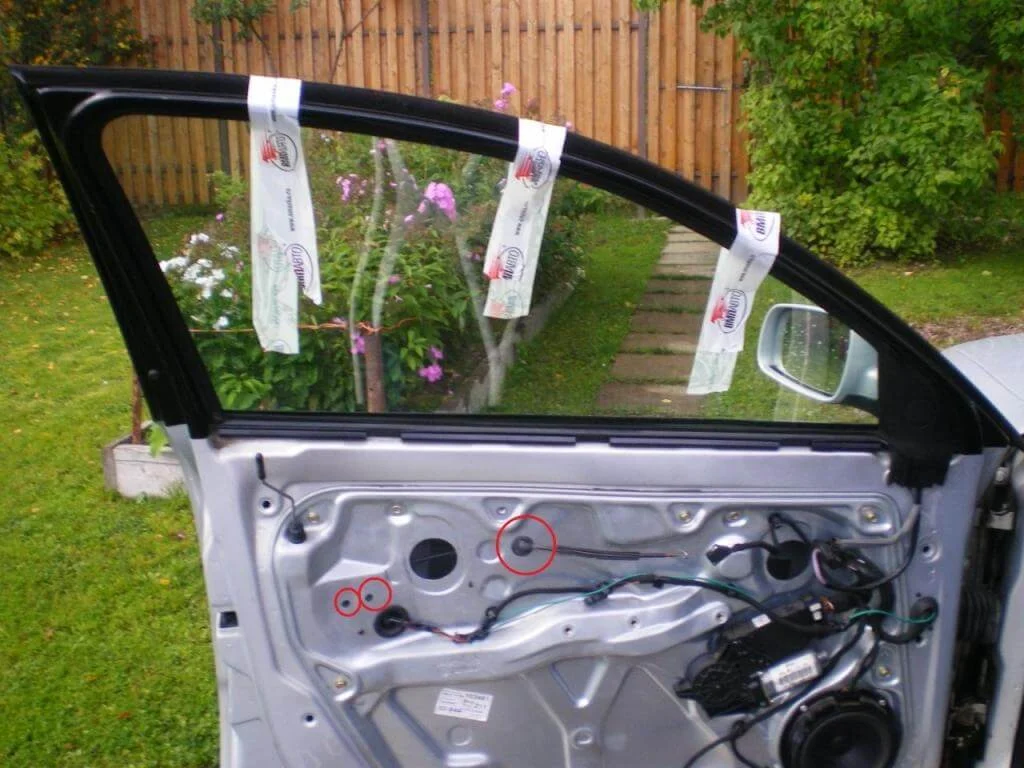
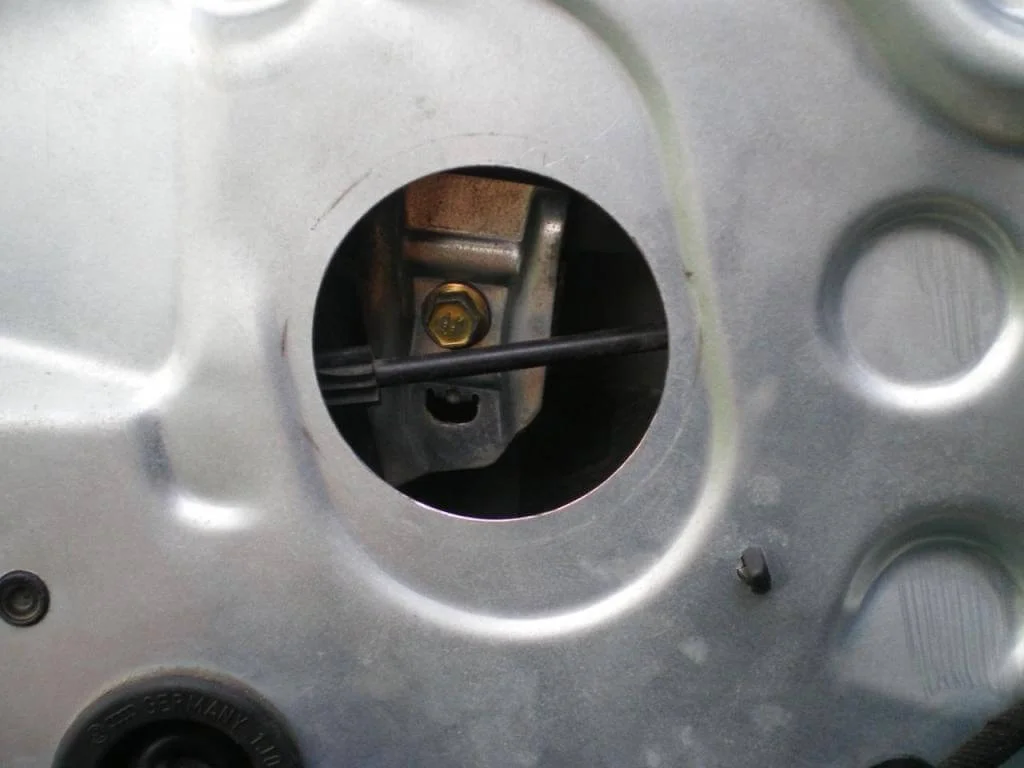
Lift the glass by hand and secure it to the door frame with tape so it doesn't drop. Push the part marked with the large circle inwards. The parts marked with small circles will need to be knocked out after removing the metal carrier plate.
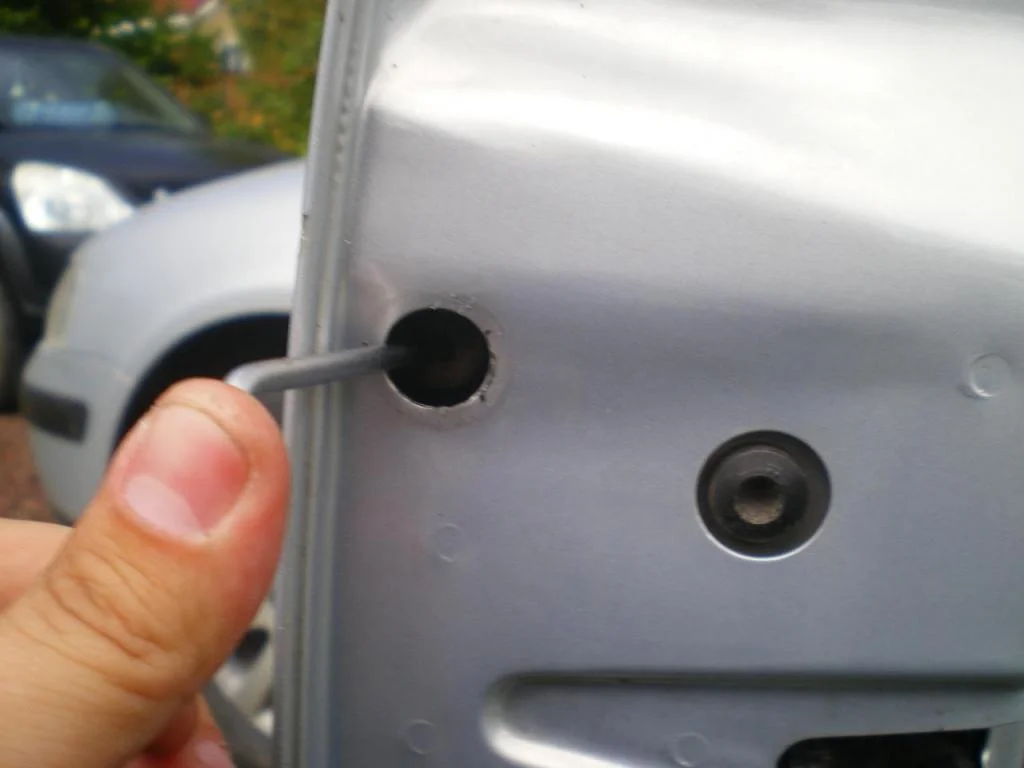
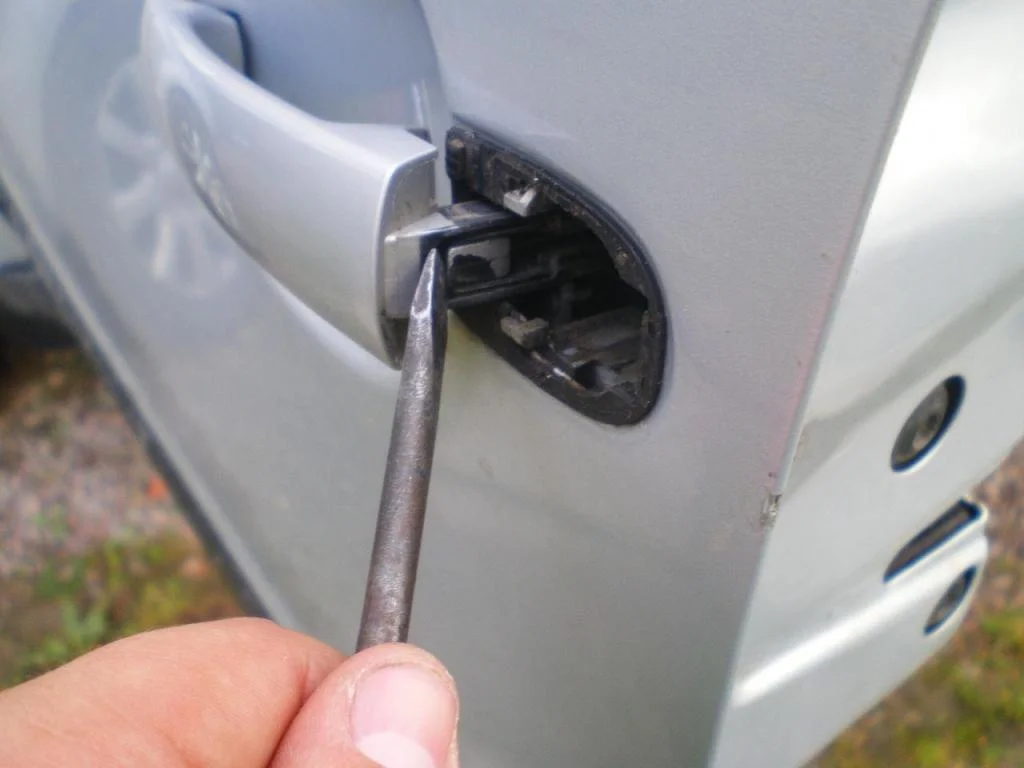
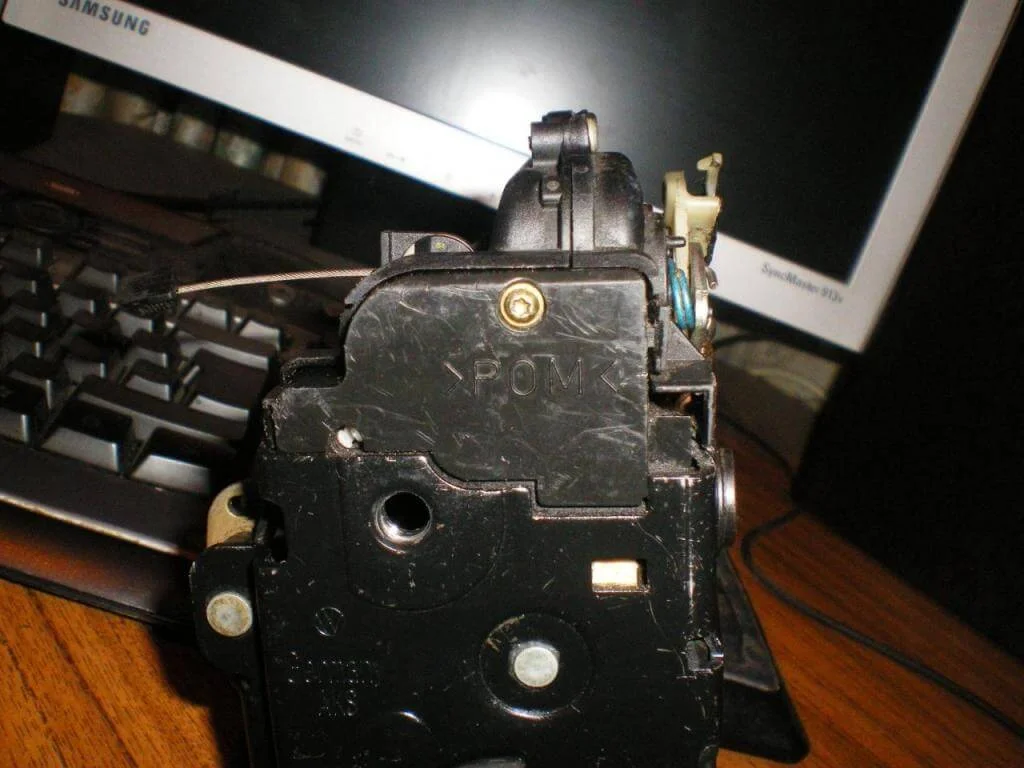
Unscrew the bolt on the side edge of the door using a Torx T20 key. Note (or take a photo of) the position of this bolt to ensure the lock barrel doesn't jam during reassembly.
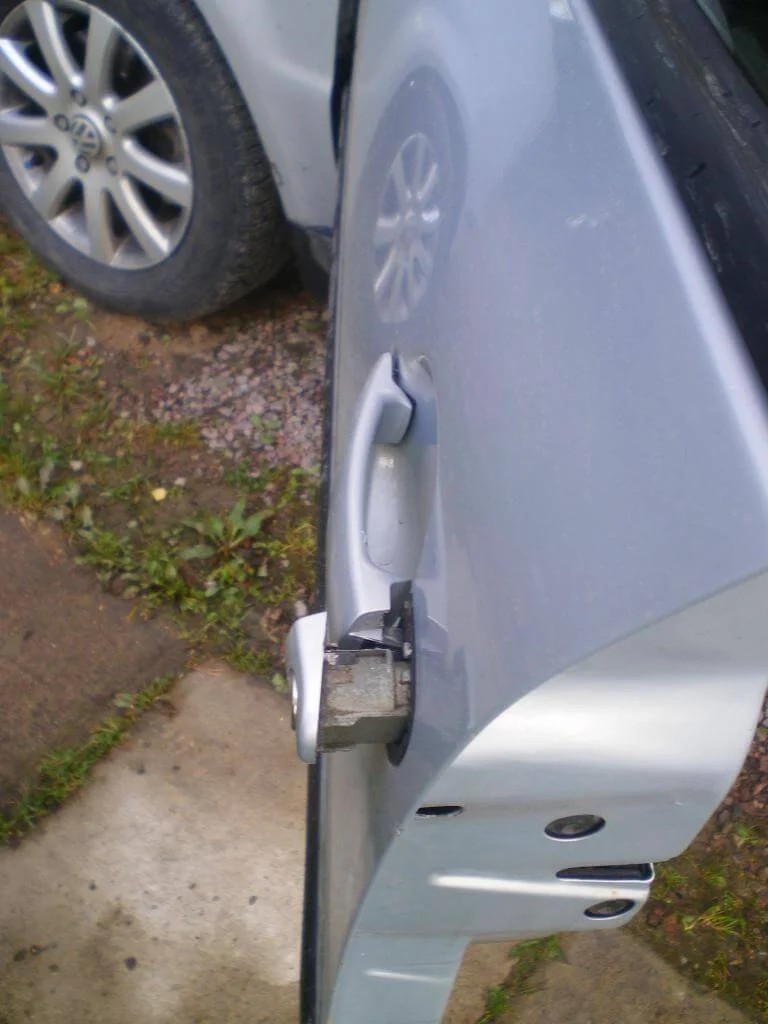
Once the bolt is removed, take out the lock cylinder blanking cap (or cylinder itself).
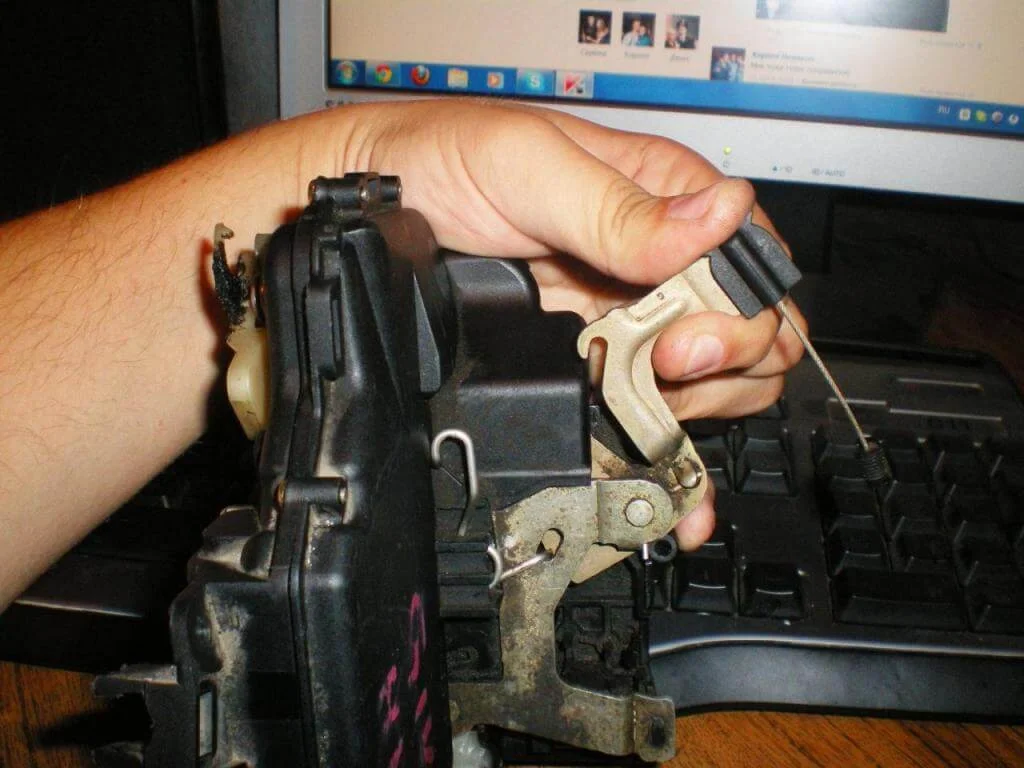
Unhook the small cable for the outer handle (remember its position for reassembly).
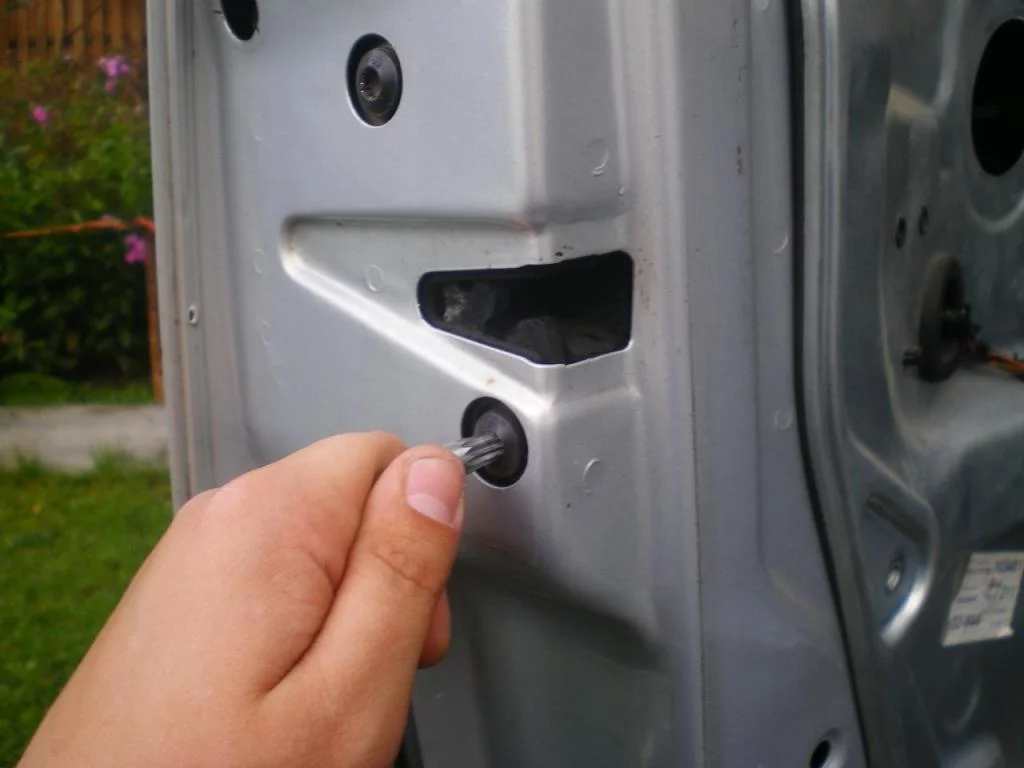
Unscrew the bolts securing the lock module to the door edge. Now remove the metal panel: lift it upwards, as the window regulator runners at the bottom prevent it from being pulled straight out. Remove the panel together with the lock module.
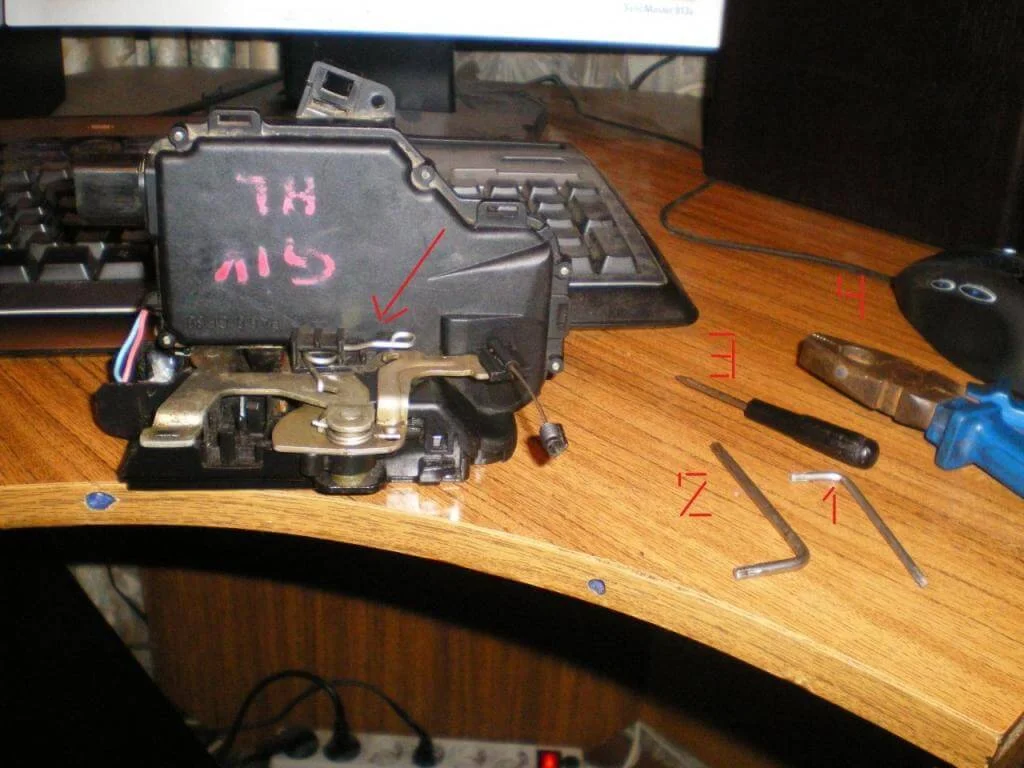
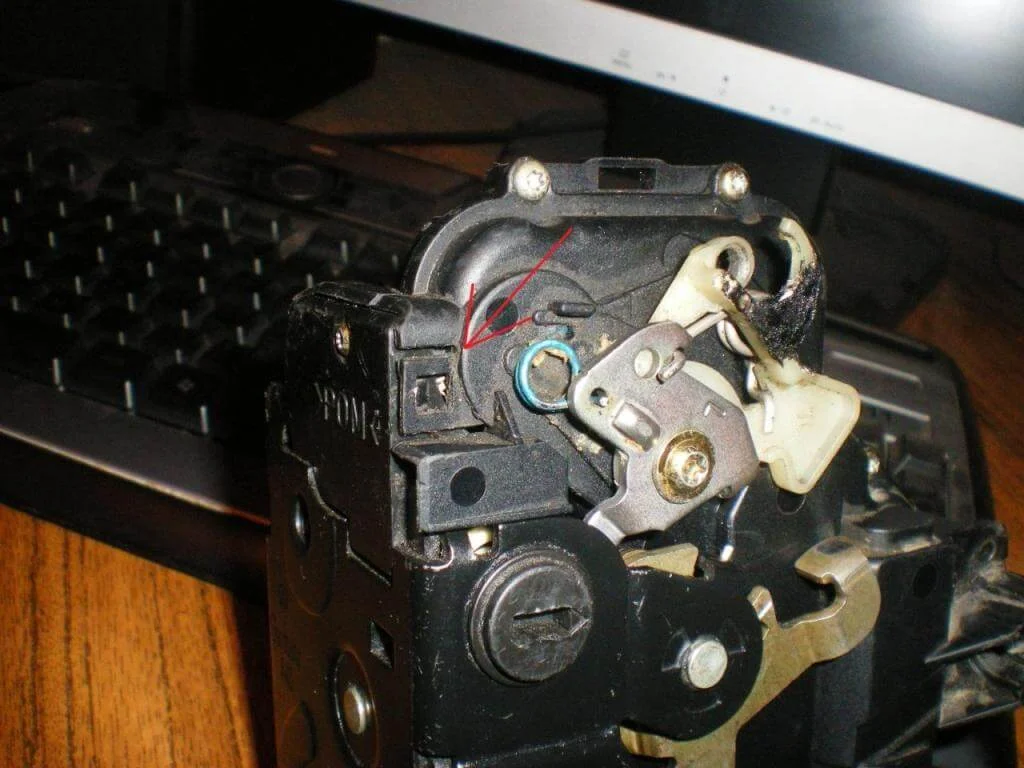
Proceed to disassemble the lock module to repair the solder joints or replace the microswitch. Remove the spring indicated by the arrow.
Unscrew the housing screw.
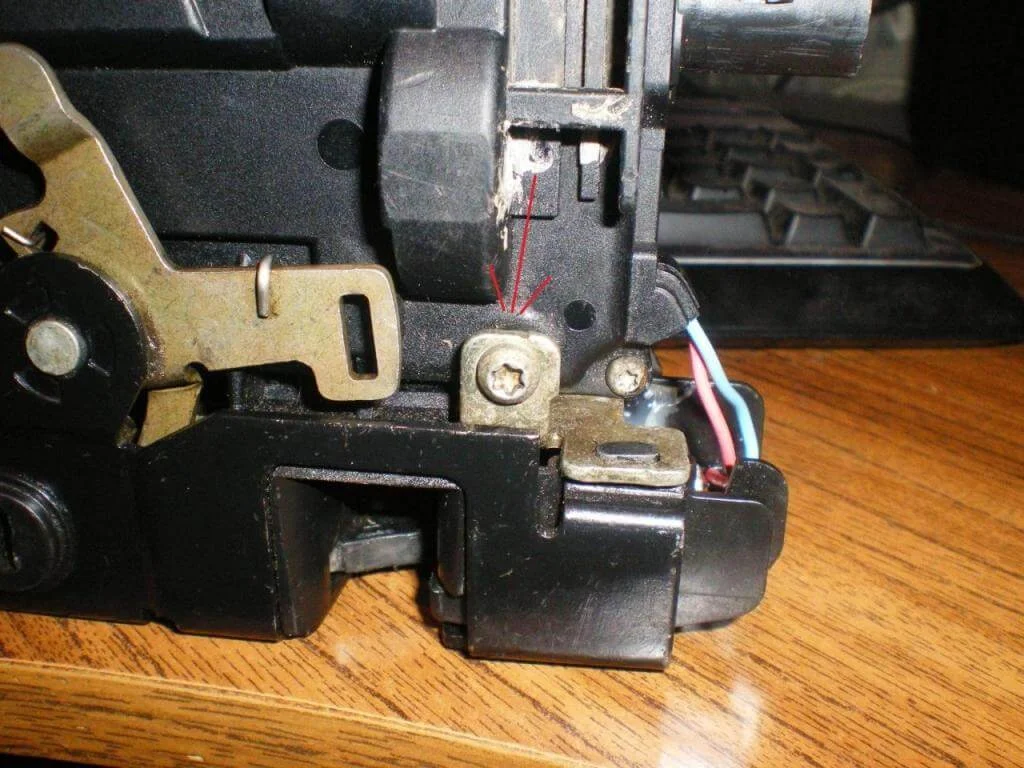
Next, unscrew the small Torx screw.
Release the plastic housing clips on both sides.
Move the linkage rod aside and remove the plastic housing.
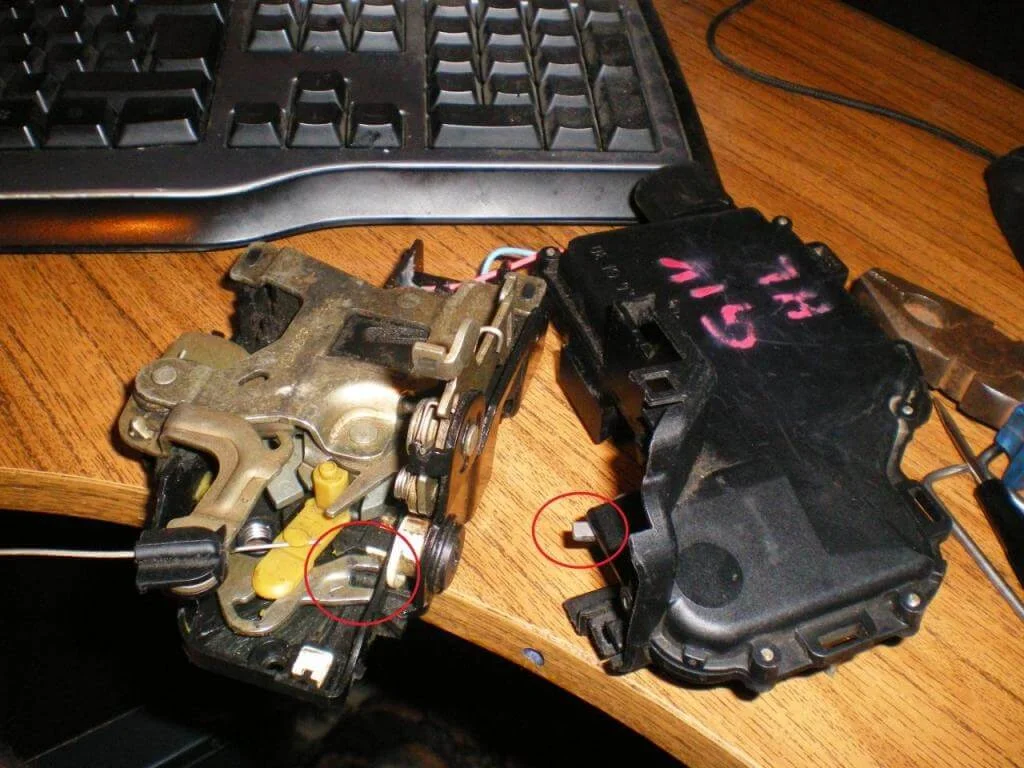
Reassembly is the reverse of removal. Note: the mechanism parts marked with circles must align and engage with each other during reassembly.
Was this guide useful?
Your feedback helps us improve our content.
Related Materials


Discussion (0)
No comments yet!