Replacing the heater matrix on a Volkswagen Passat B5+
Photo guide on how to replace the heater matrix on a Volkswagen Passat B5+, AWT engine.
1. Disconnect the negative battery terminal (for safe removal of airbags).
2. Have the refrigerant evacuated from the air conditioning system at a workshop (venting it yourself is dangerous and environmentally harmful).
3. Drain some of the coolant or clamp the heater hoses under the bonnet to prevent spilling liquid inside the cabin.
The radiator replacement procedure is not technically complex, but it requires attention and time: to access the heater unit, you will have to dismantle the front dashboard. Only proceed if you are confident in your abilities and have the necessary tools (screwdriver set, Torx keys).
Which heater matrix to install on a VW Passat B5+?
Original part number: 8D1819030B.
Aftermarket alternatives:
- NISSENS 70224
- AVA AI6097
- BEHR-HELLA 8FH 351 311-421
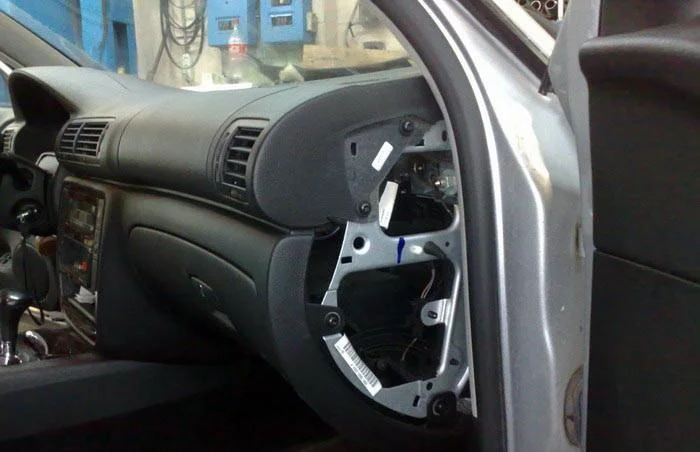
First, remove the side dashboard covers. View from the right.
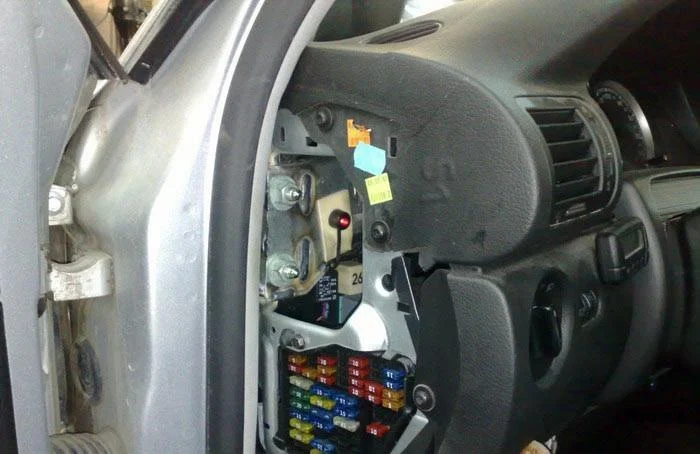
Side dashboard covers on the left.
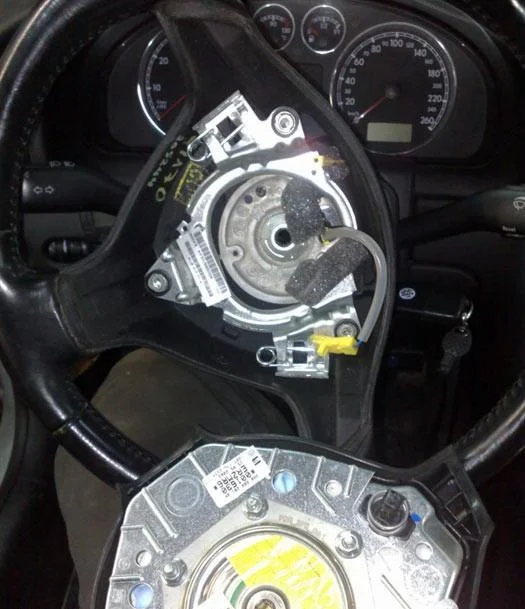
After ensuring the battery terminal is disconnected, remove the driver's airbag and the steering wheel.
Next, remove the lower trim panel on the driver's side.

After that, remove the steering column cowl.
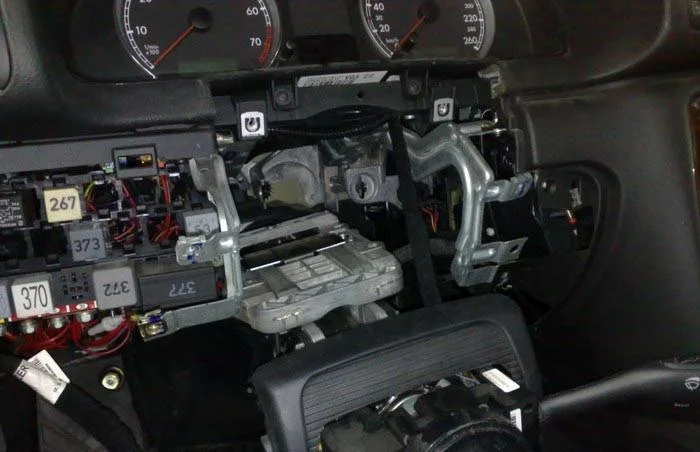
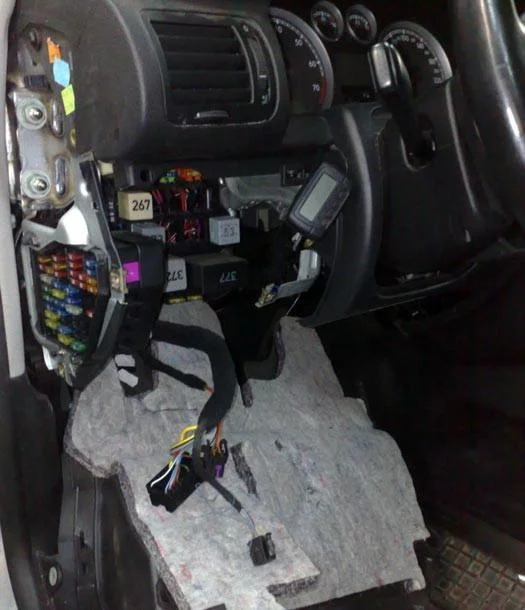
Unscrew the 4 bolts and lower the steering column assembly.

Steering column lowered.
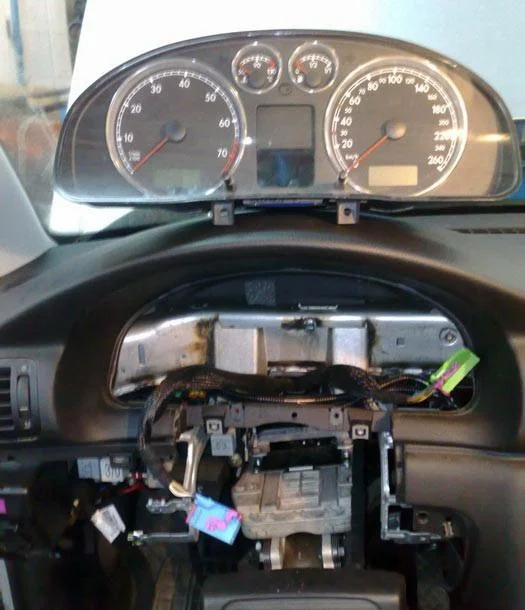
The next step is to remove the instrument cluster.
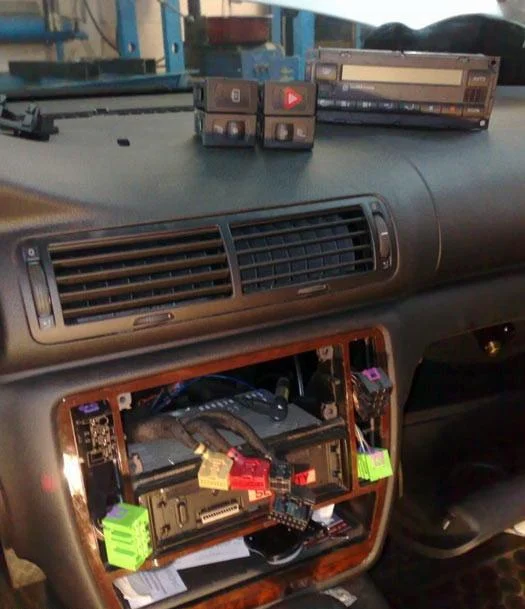
Next, dismantle the centre console: pull out the buttons and unscrew the climate control unit.
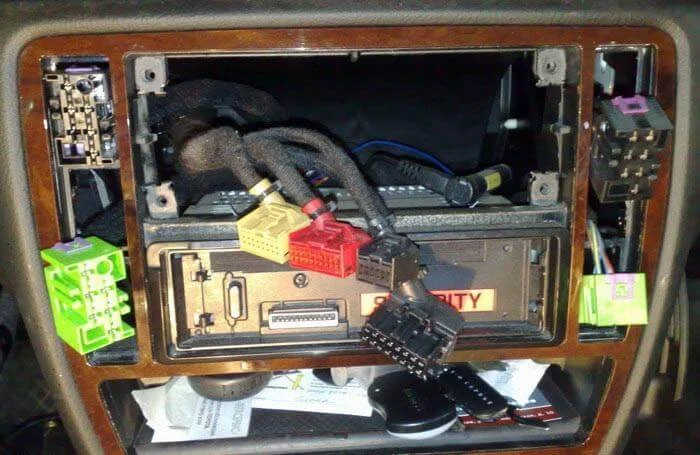
The "internals" of the centre console.
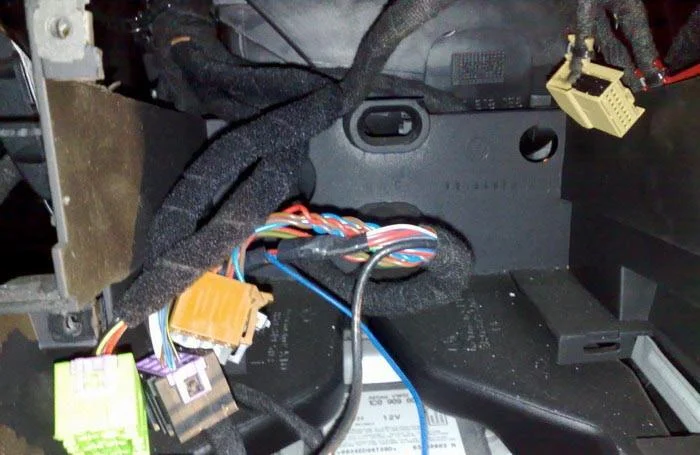
Remove the mounting screws and pull out the centre console frame together with the radio unit.
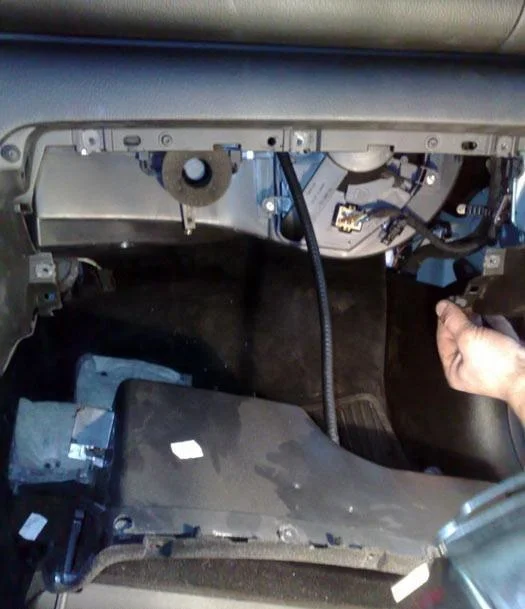
After removing the centre console housing and the radio, proceed to remove the glovebox.
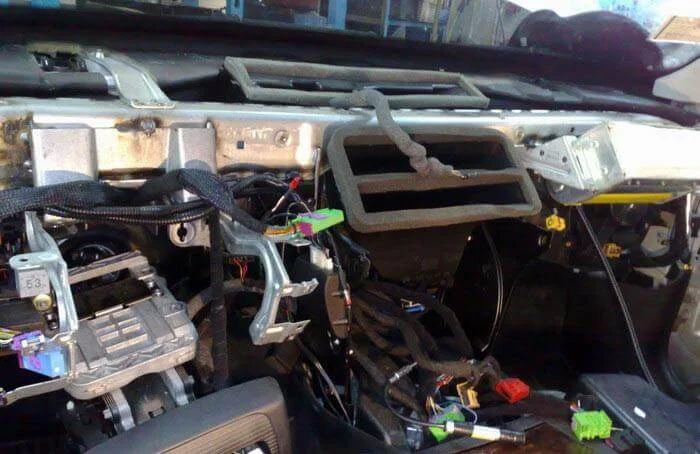
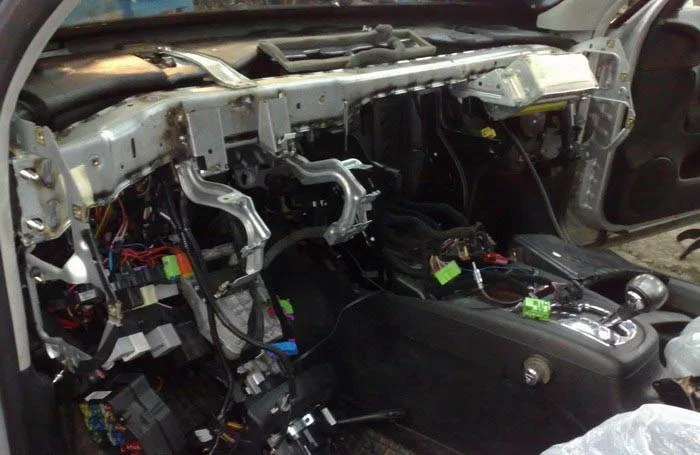
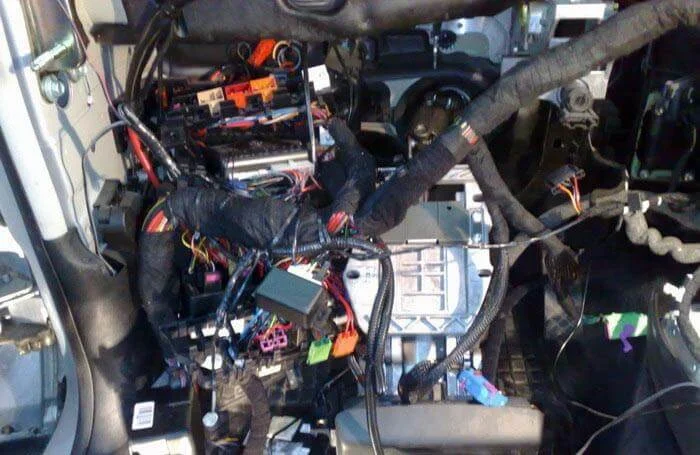
Next, remove the dashboard panel itself from the cabin.
Locate the passenger airbag and disconnect it (yellow connector).
Remove the central air duct.
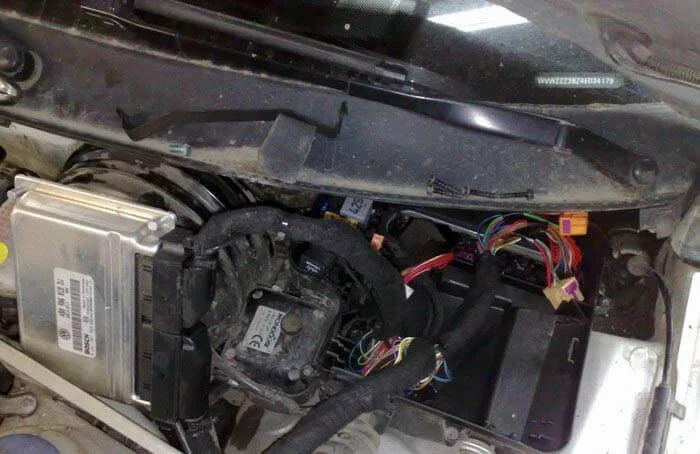
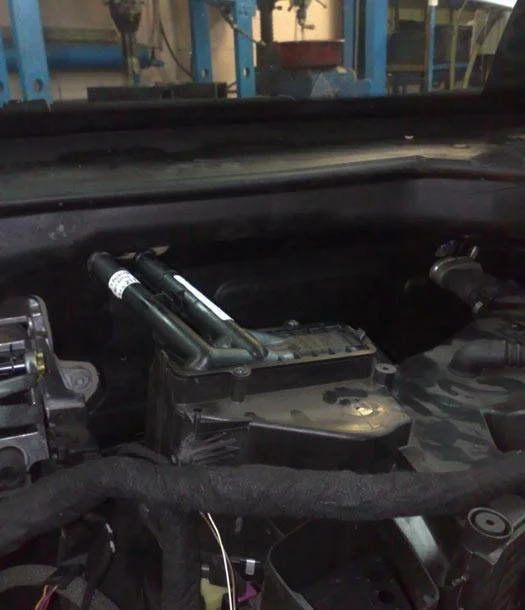
Move to the engine bay. Remove the ECU and disconnect all connectors beneath it.
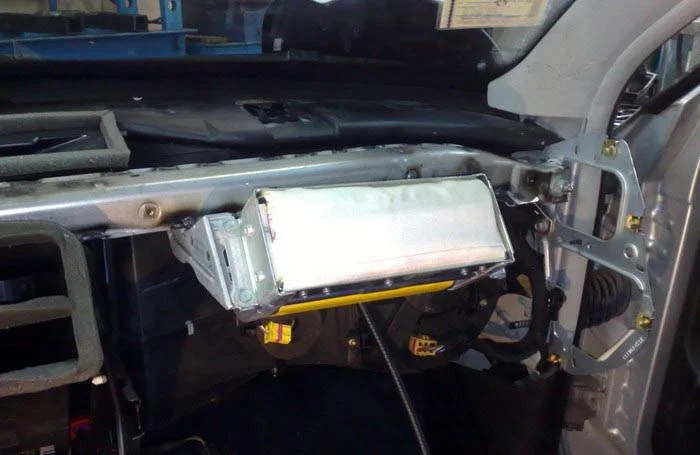
Remove the metal dashboard reinforcement bar inside the cabin.
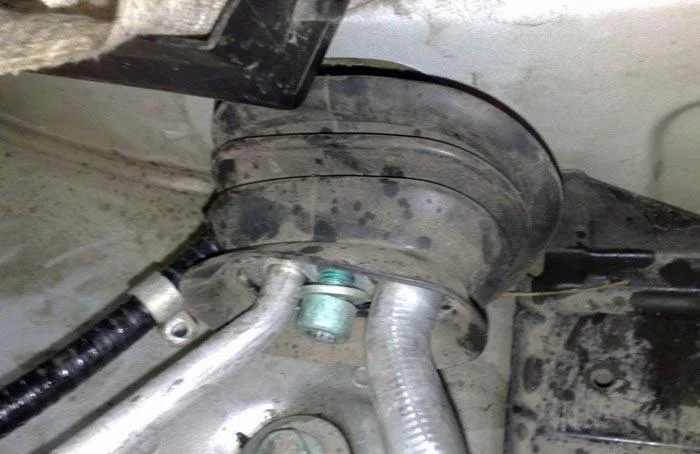
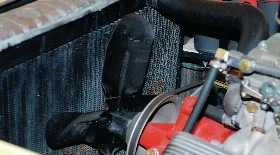
Under the bonnet, unscrew the air conditioning pipes (the system must be empty!). In the same location, remove the clamps and disconnect the coolant supply and return hoses from the heater matrix.
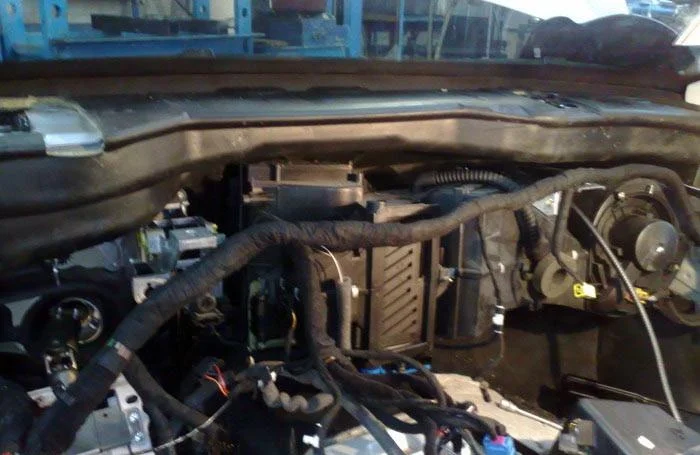
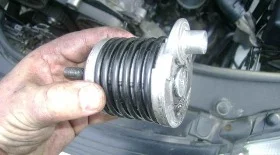
In the cabin, pull the heater housing towards you and lift the matrix out upwards.
Install the new heater matrix and reassemble everything in reverse order. During assembly, pay special attention to neatly routing the wiring harnesses.
Was this guide useful?
Your feedback helps us improve our content.
Related Materials


Discussion (0)
No comments yet!