Mazda 3 Cabin Filter Replacement
Mazda 3 Cabin Filter Replacement is demonstrated in detail in this photo report.
In many cars, replacing the cabin filter is not difficult—a 5-10 minute procedure where the hardest part is simply removing the glove box. However, the design of the Mazda 3 BL offers no easy route for those wishing to change the cabin filter themselves.
Besides the usual removal of the glove box, the owner will have to deal with the battery, removing decorative panels, and disconnecting fuses. Nevertheless, any car enthusiast can handle the filter replacement.
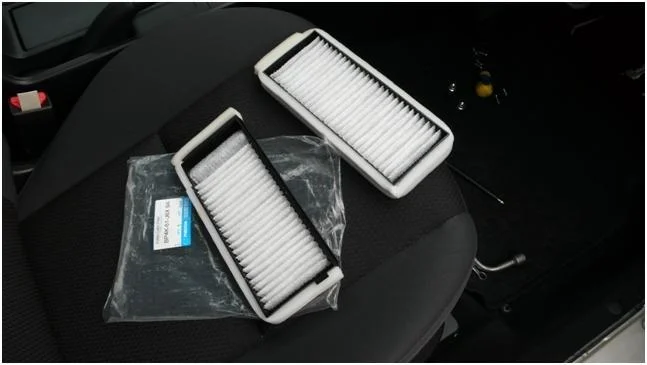
Part numbers for the Mazda 3 cabin filter
The original Mazda 3 BL cabin filter has the part number BBP2-61-J6X -9A. Aftermarket alternatives are also available:
- Filtron K 1312-2X;
- Goodwill AG 356 2K CF;
- MANN-FILTER CU 26 008-2.
Part numbers are relevant for the Mazda 3 BL model.
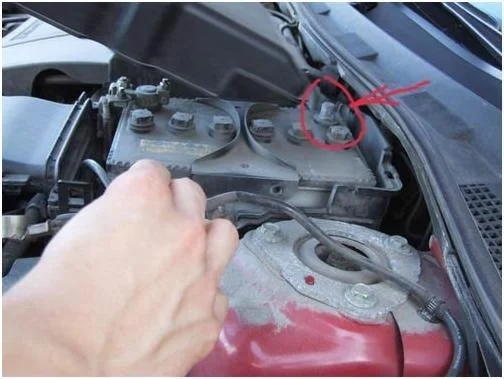
First, disconnect the negative terminal from the battery.
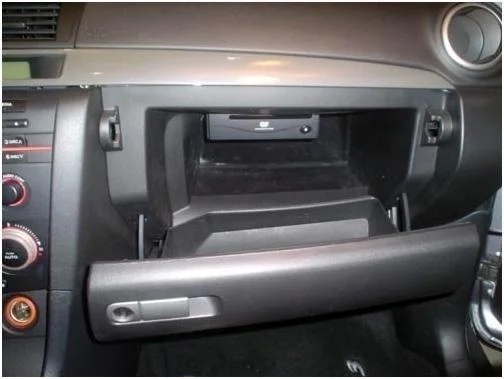
Open the glove box.

The glove box fixing screws are located under the decorative panel, which must be removed by unclipping it and sliding it to the left.
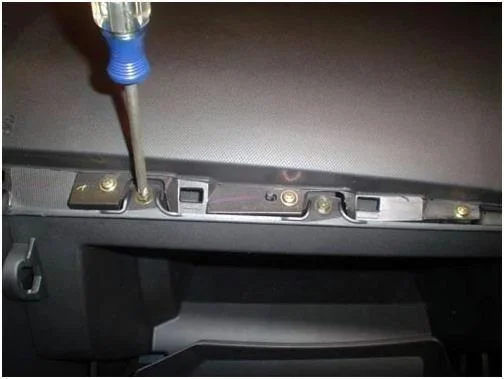
Locate the 2 glove box fixing screws and unscrew them with a screwdriver.
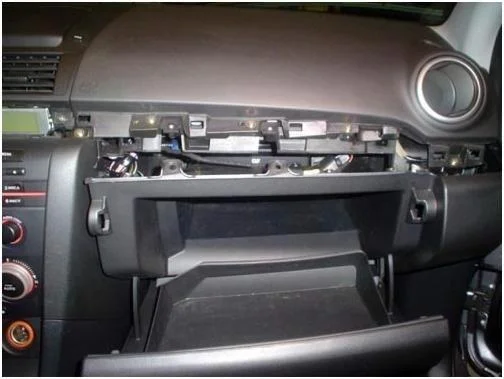
Next, remove the glove box housing.
Unscrew the connector fixing screw.
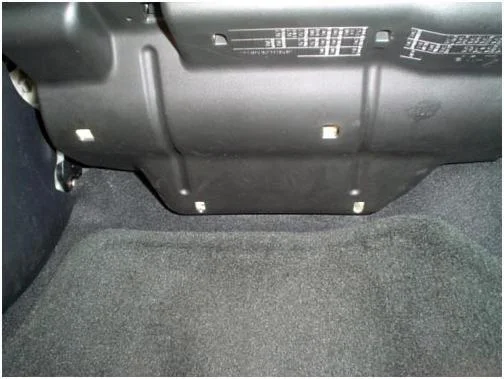
Remove the plastic guard by undoing its 2 fixing clips.
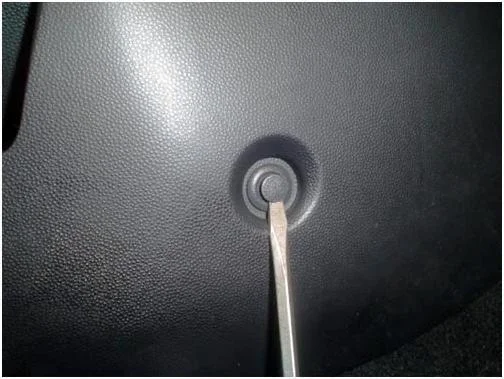
Then remove the panel fixing clip located near the passenger's left foot.
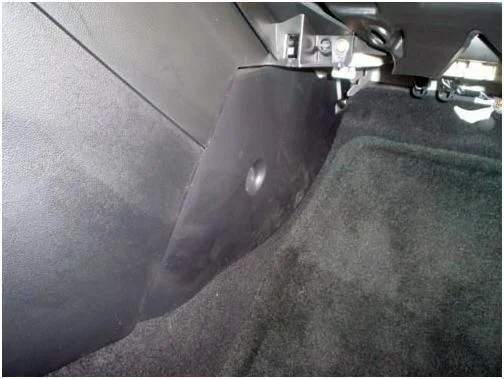
After which the panel itself is removed.
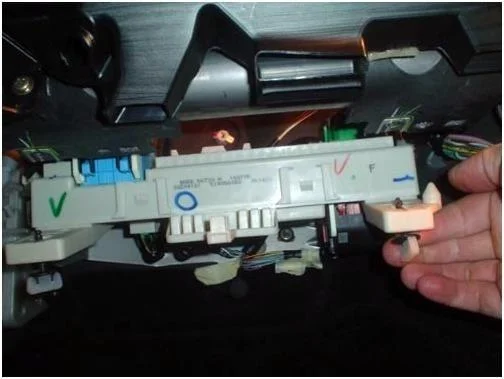
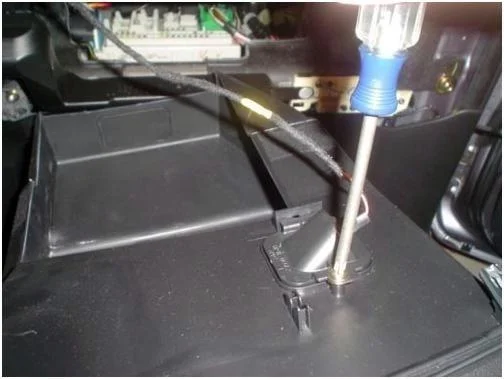
Remove the fuse box unit by unscrewing its 2 fixing screws.
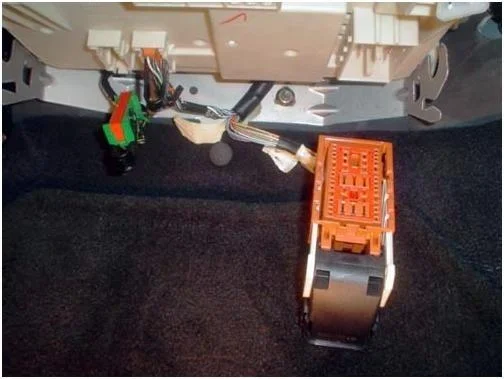
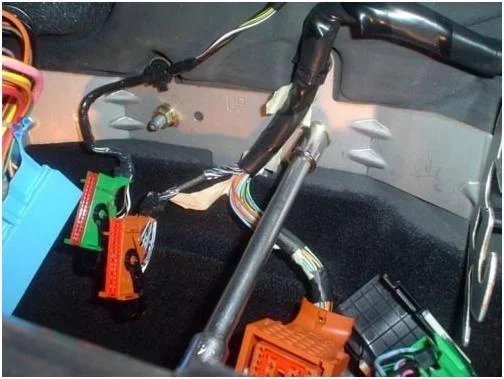
Disconnect the connectors.
Unscrew the 2 nuts securing the box.
Remove the box.
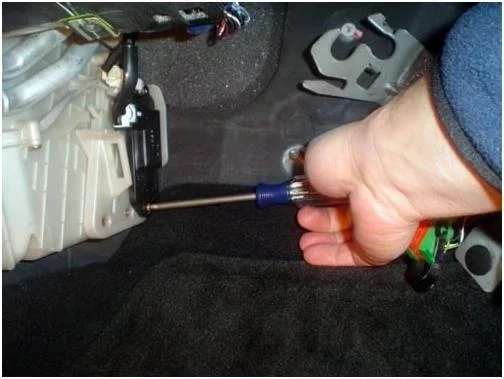
Unscrew the 2 screws.

Next, disconnect the connector.
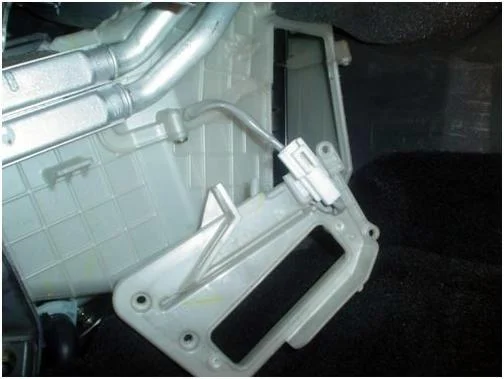
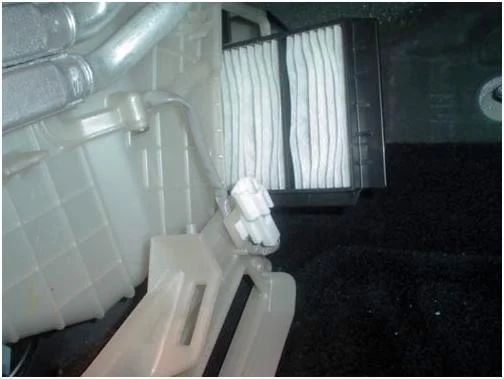
Remove the cover of the cabin filter compartment.
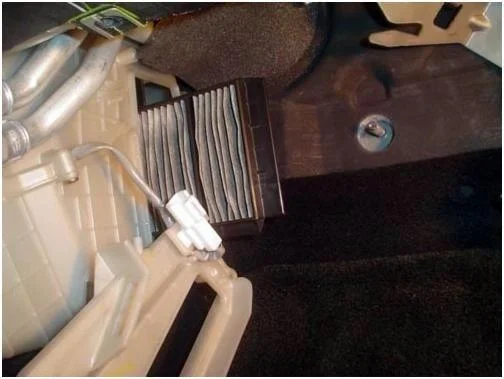
Remove the 2 old cabin filters.
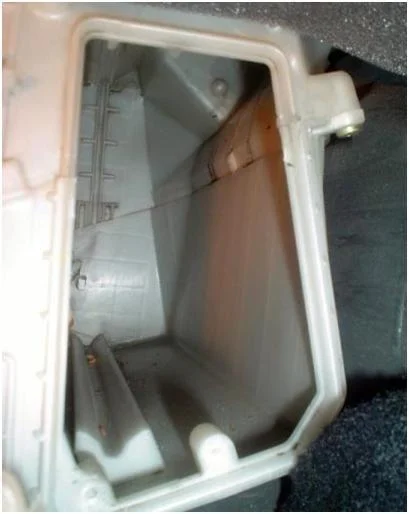
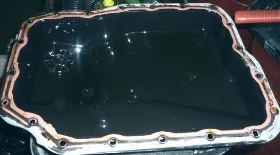
It is advisable to wipe the inside of the cabin filter housing.
Insert the new cabin filters.
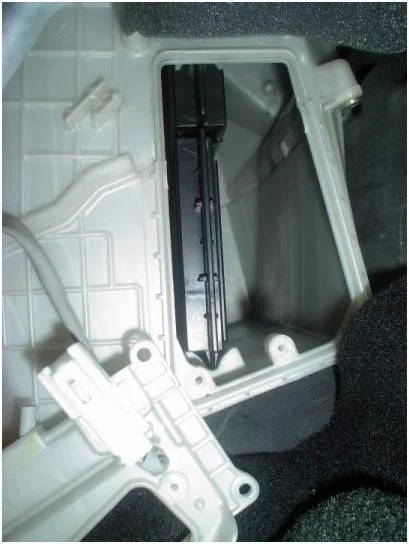
The housing with the replaced cabin filter. Reassemble everything in reverse order.
If you are changing the cabin filters yourself, you can apply foam sealing tape to them. This makes the lower filter easier to insert (prevents the upper one from falling down) and ensures there are no gaps between the housing and the filter.
Was this guide useful?
Your feedback helps us improve our content.


Discussion (0)
No comments yet!