Removing the Heater Blower Motor on Renault Megane 2
This photo guide will help Renault Megane II owners remove the heater blower motor themselves. Access to the unit is gained from the driver's side, to the right of the pedal assembly. The procedure requires partial disassembly of the interior and removal of the pedals.
- 13mm spanner or socket (for the pedal assembly).
- Set of Torx bits (star).
- Flat-blade screwdriver.
- Torch (the work area is not illuminated).
The blower is usually replaced when a loud droning noise, vibration, or complete failure occurs. Often, leaves stuck in the impeller cause the noise, but if the bushes or brushes are worn, replacement will be necessary.
Which heater blower to install on Renault Megane 2?
Original part number: 7701056965.
Aftermarket alternatives:
- Temal 402765M
- Valeo 698729
- ERA 664025
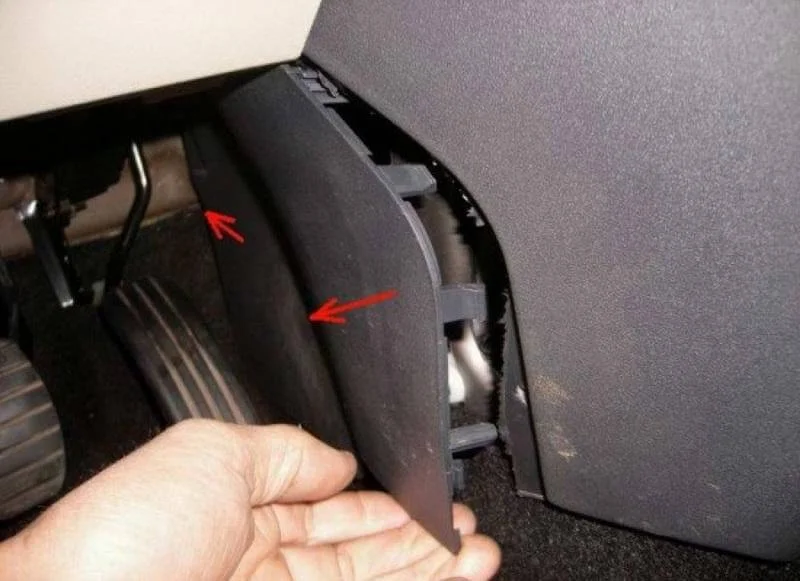
Remove the plastic sill trim and the lower part of the dashboard. The key clip is located in the centre of the panel — pull it gently towards you.
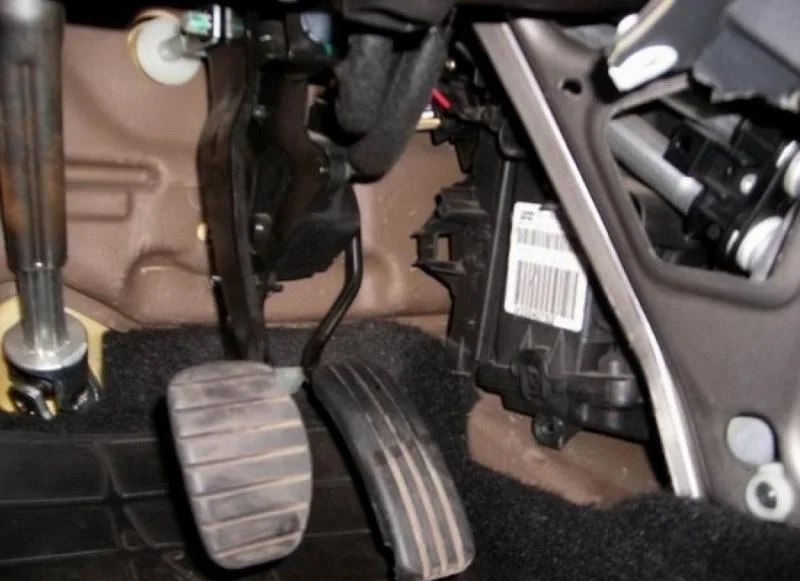
Illuminate the work area around the pedal assembly to gain access to the mountings.
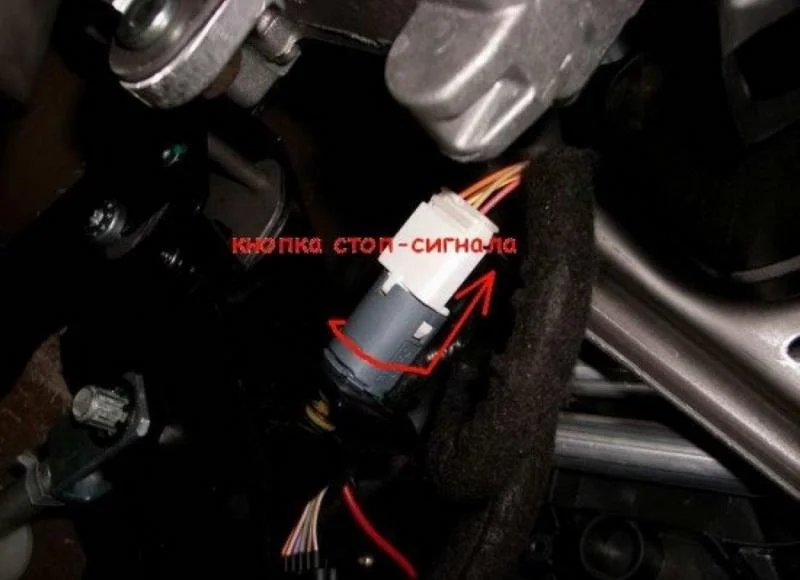
Remove the brake light switch: turn it 90 degrees anticlockwise and pull it towards you.
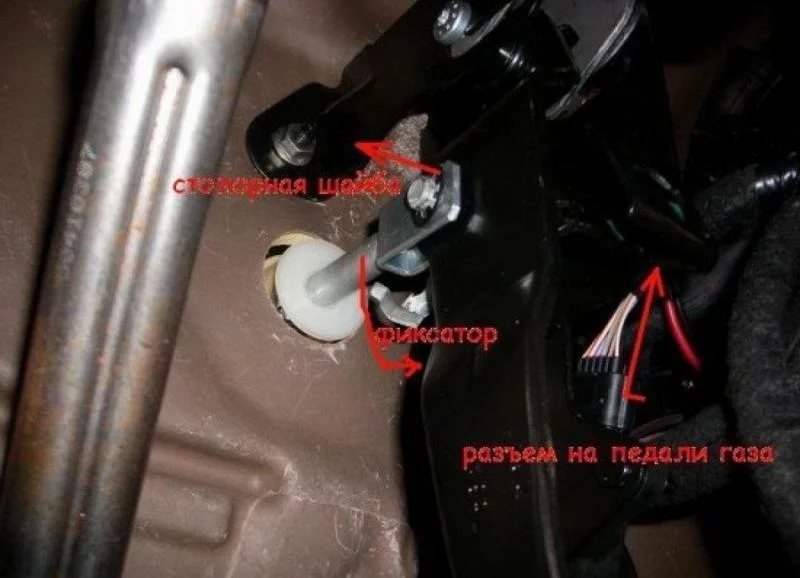
Disconnect the connector from the accelerator pedal (the latch is on the flat side). Remove the retaining clip from the brake pedal, lower the locking pin, and extract the pivot pin connecting the pedal to the brake servo rod.
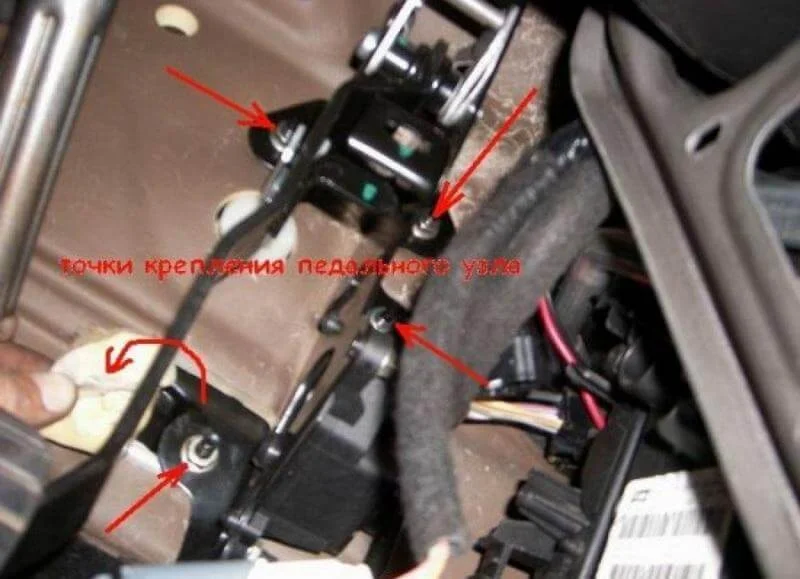
Using a 13mm spanner, unscrew the 4 nuts securing the pedal assembly to the bodywork and carefully extract it.
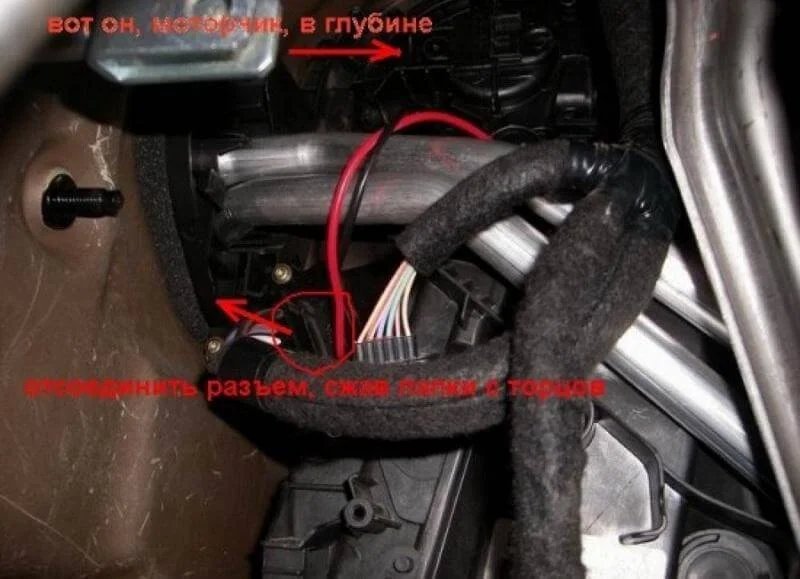
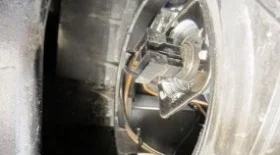
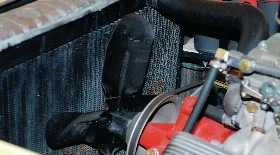
Access to the heater housing is now open. Locate the blower fan in the upper section. Disconnect the power connector by pressing the latches on the sides.
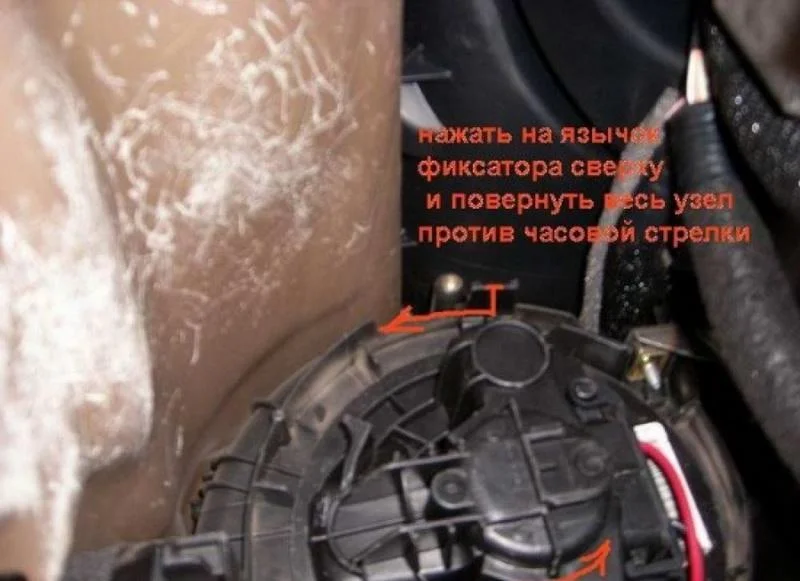
To remove the motor itself, press the plastic locking tab and rotate the fan housing anticlockwise to disengage it.
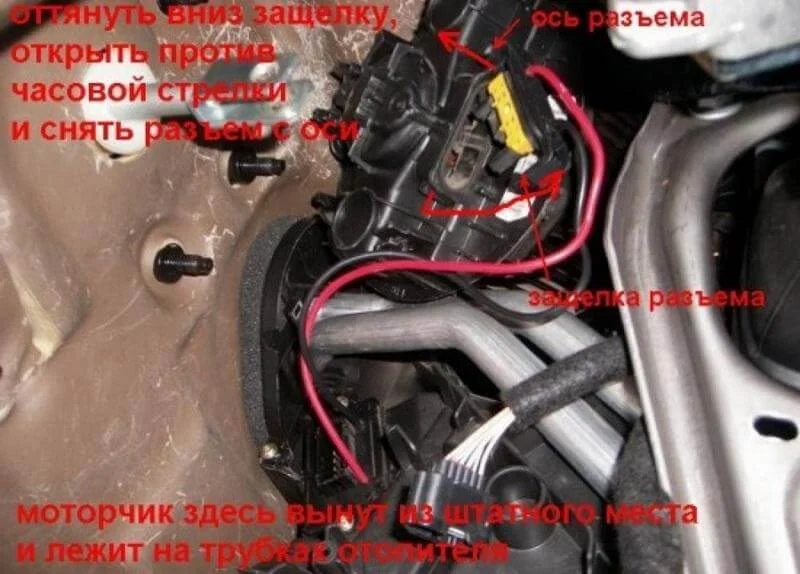
Disconnect the main power connector with the two thick wires. Prise up the latch from below (away from the centre of the unit) and open the connector, then remove it from the terminals.
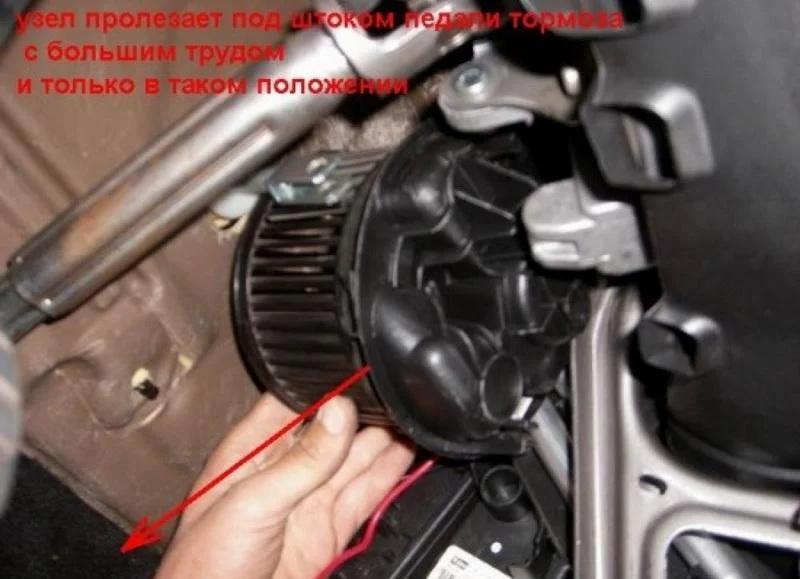
Extract the blower motor. The brake servo rod and heater pipes will obstruct removal. Find the correct angle where the motor fits between the obstacles (you will need to rotate it).
Reassembly:
- Tighten the pedal assembly nuts to a torque of 21 Nm.
- Before installing the brake switch, pull its plunger out fully (reset it). It will automatically self-calibrate upon the first press of the pedal.
Was this guide useful?
Your feedback helps us improve our content.
Related Materials


Discussion (0)
No comments yet!