Clutch Replacement on Renault Megane 2
The process of removing the gearbox on a Renault Megane 2 is quite labour-intensive. It is recommended to have the repair manual for this car at hand to check tightening torques and mounting points. Here we describe the main nuances of dismantling the gearbox and replacing the components.
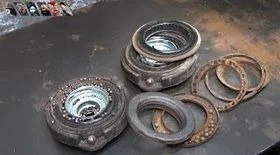
Clutch replacement on the Renault Megane 2 is usually required after 100,000 km. The procedure involves replacing the pressure plate, clutch disc, and the hydraulic release bearing.
In addition to an inspection pit, a jack, axle stands, and a set of spanners and wrenches, you will need spare parts. You can choose the following options:
- Original clutch kit (pressure plate and disc) — Renault 77 01 475 246. Analogues: Valeo 826 479, SACHS 3000 951 333, Luk 622 3110 09.
- Original release bearing — Renault 30 62 028 64R. Analogues: Luk 510 0088 10, Valeo 804 526, Patron PHCB17.
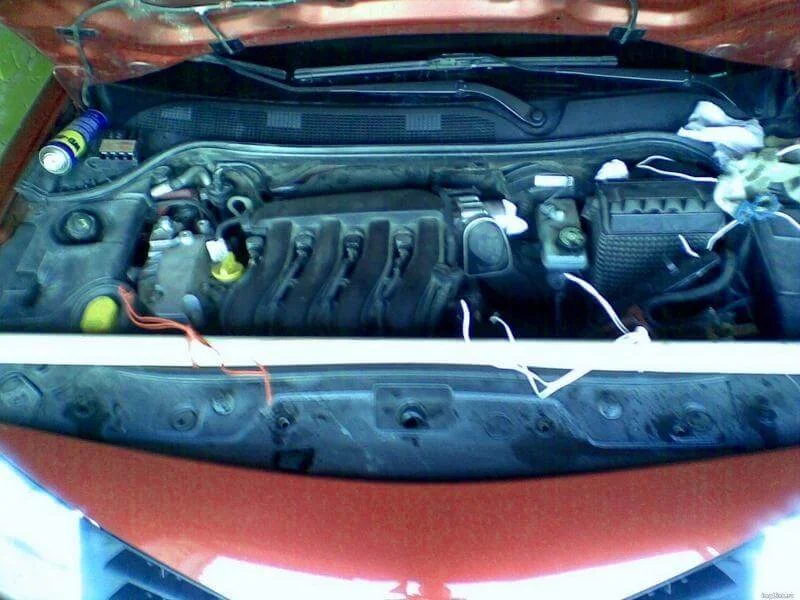
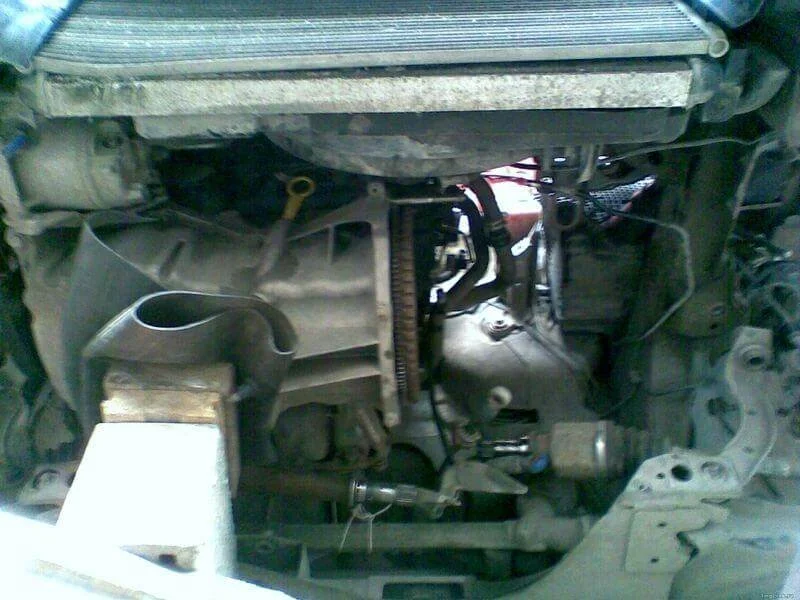
Remove the battery, battery tray, and the ECU. Disconnect the crankshaft position sensor (CKP) connector, the gear selector cables, and their mounting bracket. Disconnect the reverse light switch connector.
All obstructing wires and hoses must be tied up and moved away from the gearbox. Next, suspend the cooling radiator.
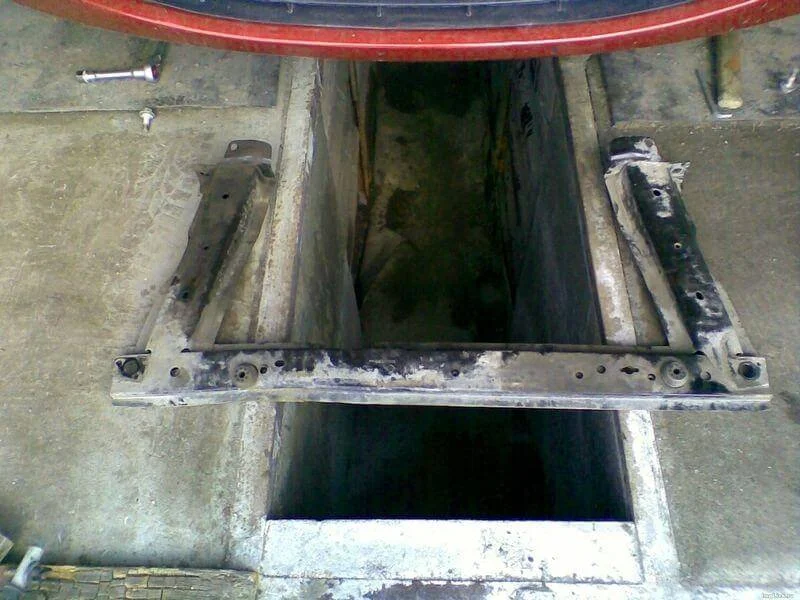
Remove the radiator crossmember (lower beam).
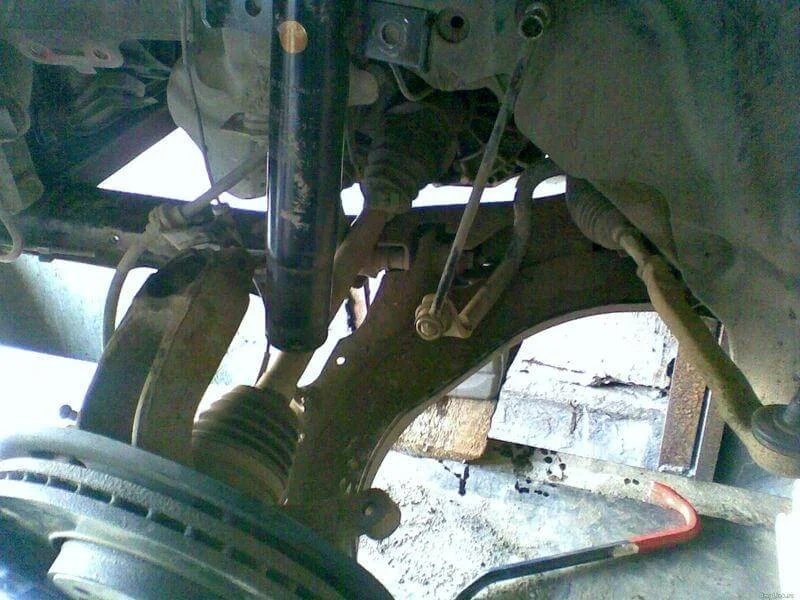
To remove the driveshafts, the suspension must be partially dismantled. It is more convenient to remove the shock absorber strut from the steering knuckle (hub carrier) to avoid damaging the ball joint boot during removal.
- Unbolt the steering rack from the subframe and tie it to the exhaust pipe;
- Unbolt the track rod ends from the steering knuckles;
- Unbolt the anti-roll bar links (drop links);
- Compress the suspension spring slightly (if necessary to release the link);
- Unbolt the subframe and leave it hanging on the last bolts (it is not necessary to remove it completely, but it must be loosened, otherwise the gearbox will not come out);
- Remove the shock absorber strut from the steering knuckle. It is advisable to tie the knuckle to the strut cup with wire to avoid stressing the brake hose and ball joint.
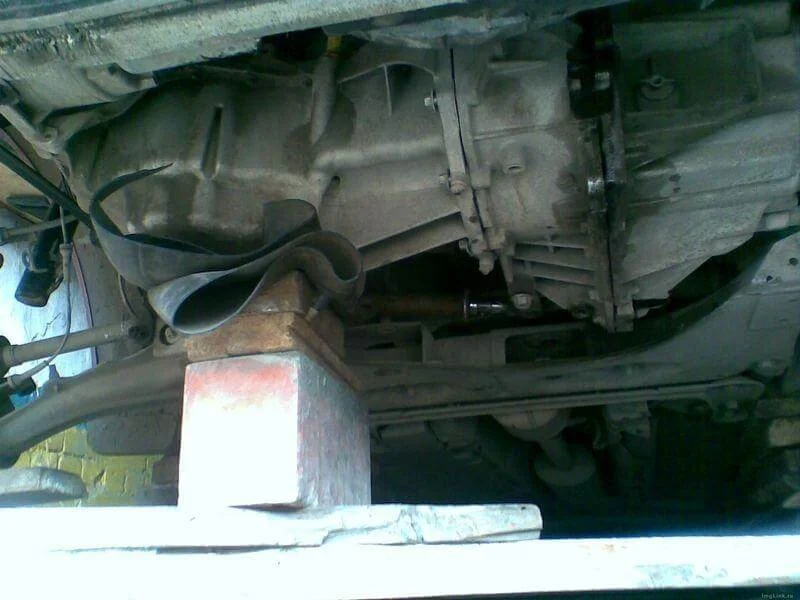
Place a secure support (jack) under the engine.
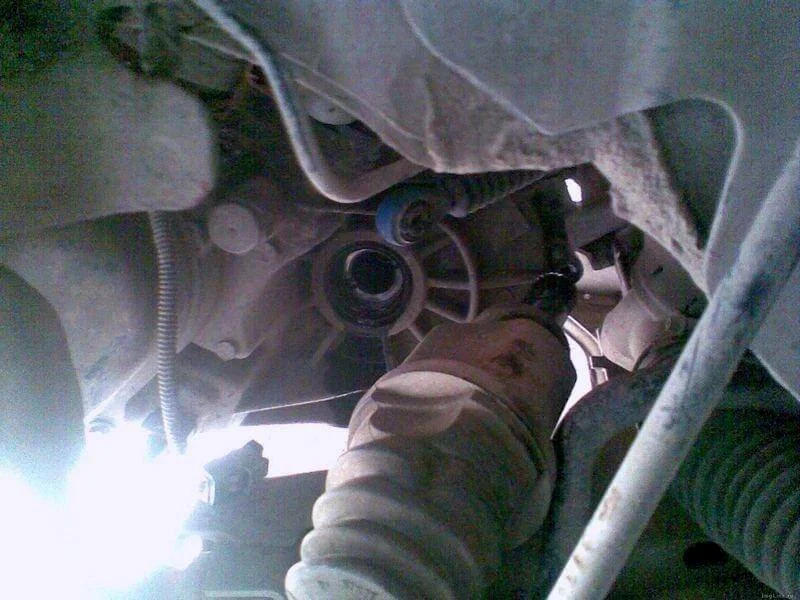
Remove the left driveshaft. Using a pry bar, carefully lever the inner CV joint (tripod) between the gearbox housing and the joint, assisting with light hammer taps.
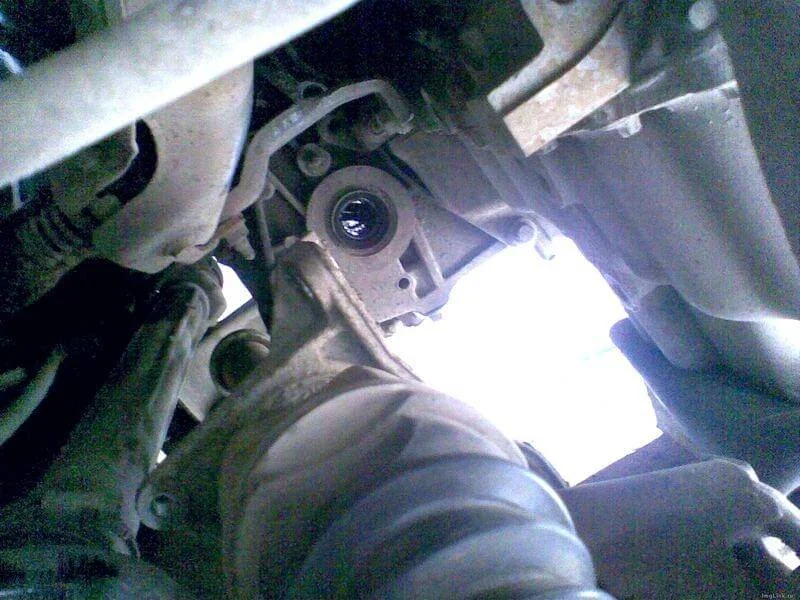
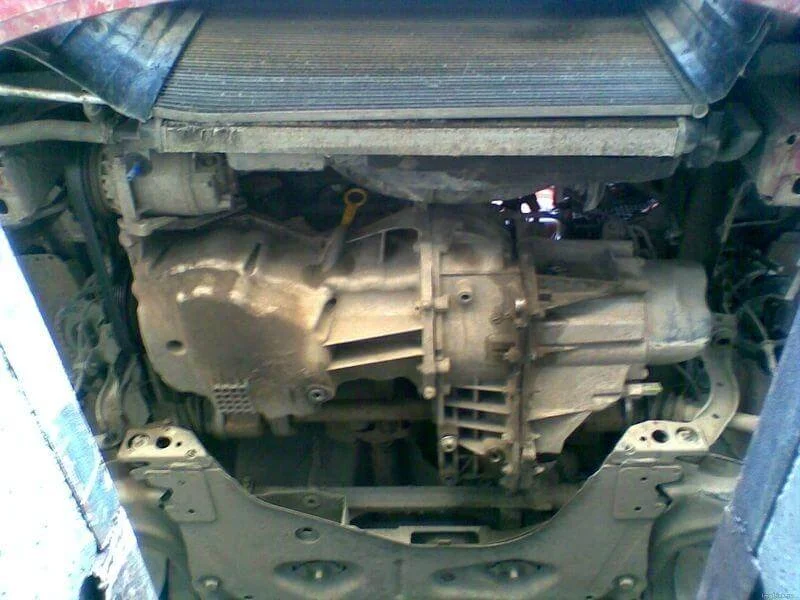
Remove the right driveshaft. To do this, the gearbox needs to be unbolted slightly and moved (create a gap of 10–15 mm), otherwise the mounting of the right driveshaft centre bearing will prevent its removal.
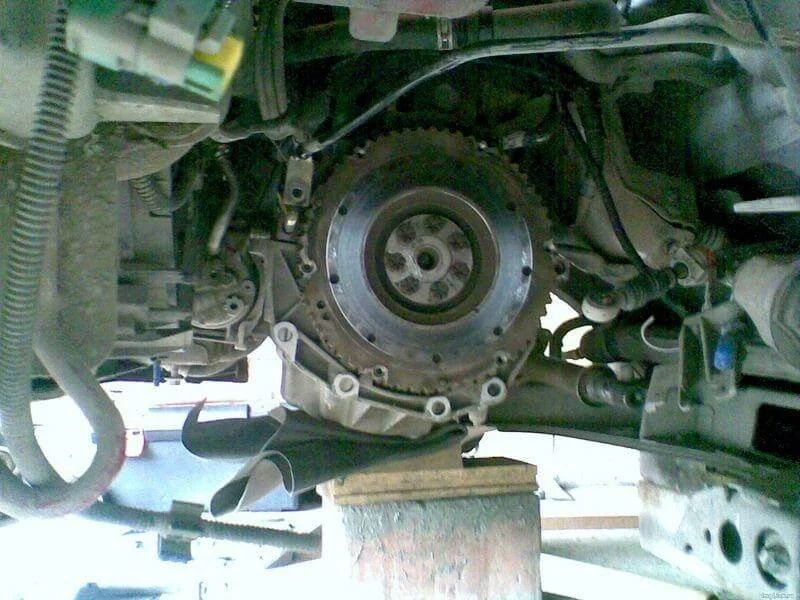
Finally unbolt the gearbox mounts and remove the gearbox. Access to the pressure plate and release bearing is now open for replacement.
Was this guide useful?
Your feedback helps us improve our content.
Related Materials


Discussion (0)
No comments yet!