Toyota Land Cruiser Prado 120 Rear Axle Shaft Bearing Replacement
To replace the rear axle hub bearing on a Toyota Land Cruiser Prado 120, you must have a vice, a small pipe of suitable diameter, a gas torch, a heavy hammer and a standard set of tools. Overall, the procedure for replacing the hub bearing on the Prado 120 rear axle shaft is not easy; it will require significant effort. To guide your actions, follow this illustrated photo report on replacing the bearing on a Toyota Prado 120.
You can also view the photo report for Toyota Prado 120 and Lexus LX 470 (UZJ) Front Hub Bearing Replacement.
Which rear axle shaft bearing to use on the Toyota Land Cruiser Prado 120, and when to replace it?
There is no original part number for the bearing alone; it comes as an assembly with the hub. The original part number for the right hub is 42450-60050, and for the left hub is 42460-60010.
Analogs:
- Koyo 2DACF044N-4 (right), 2DACF044N-4A (left)
- LYNXauto WB-1030 (right), WB-1029 (left)
Inspection interval — at every scheduled maintenance service; replacement is performed as necessary.
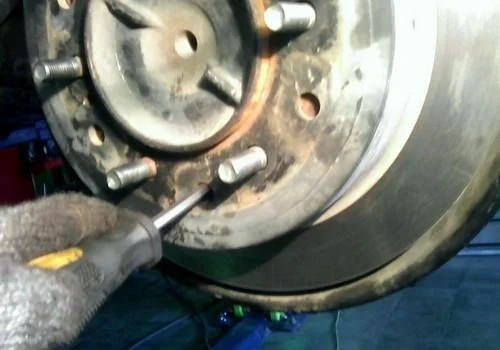
First, remove the wheel, then use a screwdriver to retract the parking brake shoes.
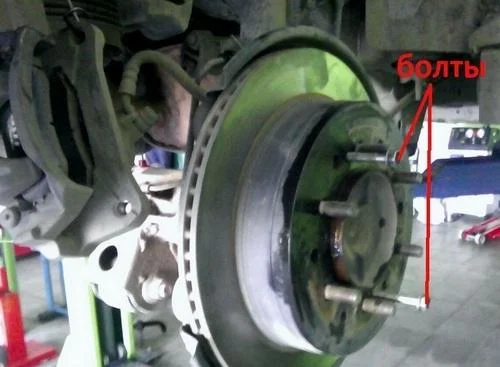
Unscrew the brake calliper and the ABS sensor. Screw two M8 bolts with a 1.25 thread pitch into the threaded holes of the disc (tighten them evenly and in turns until the brake disc comes off).
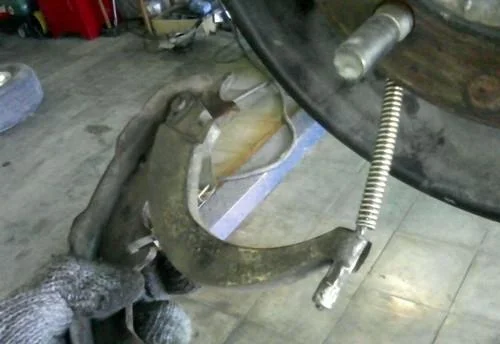
Remove and disassemble the brake shoes, then detach the handbrake cable.
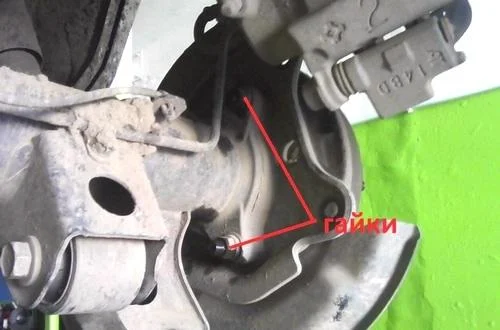
Unscrew the axle shaft fastening nuts and pull out the rear axle shaft.
Remove the snap ring and, for now, one stud.
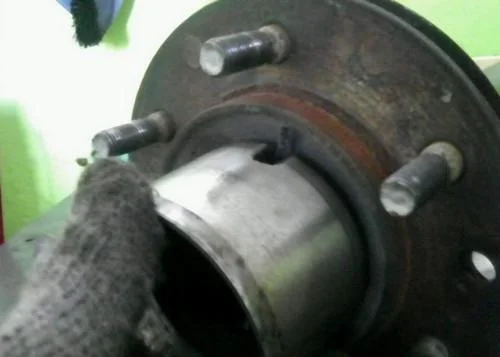
Cut the retaining collar along the axle shaft using an angle grinder (not all the way through, so as not to cut the washer, then remove part of the collar).

Remove the retaining collar.
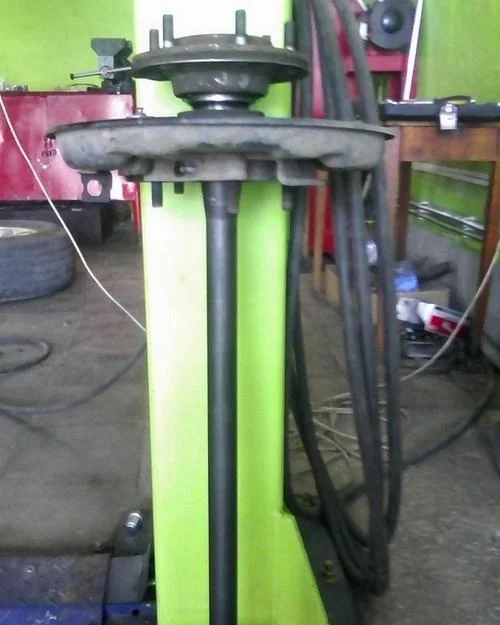
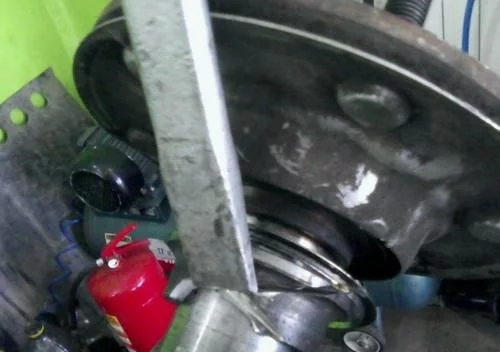
If you have a tall press, press it out. If not, hold the axle shaft vertically with the splines facing down and knock it off with a sharp downward impact (be sure to place dense wood, a piece of conveyor belt, or aluminium under the splines).
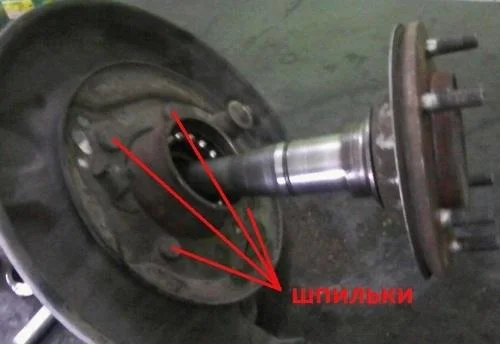
Remove the studs.
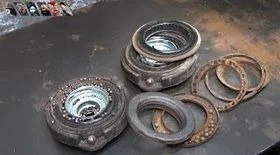
Cut and remove the remainder of the bearing.
You can use an old bearing as a stand, provided you make two cuts in it.
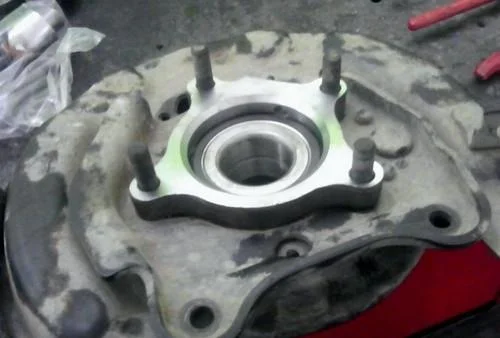
Install the new bearing into the housing and fit the studs.
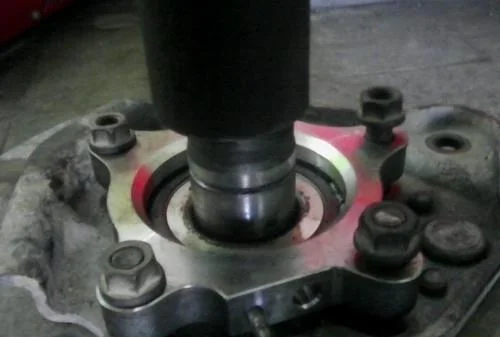
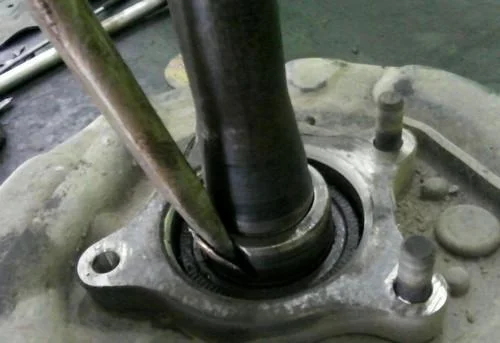
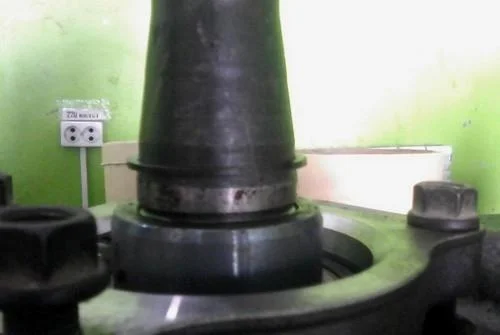
Seat it using a pipe of suitable diameter.

Place the spring washer...
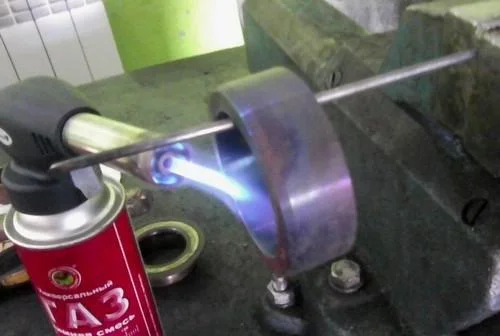
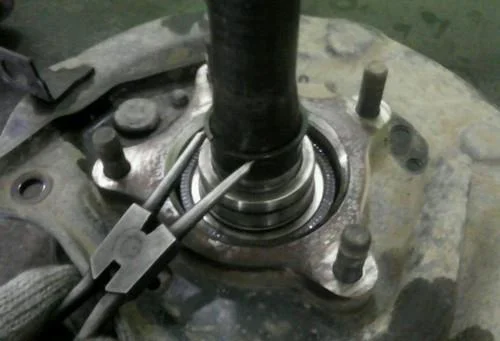
Heat the retaining collar until it reaches the colour shown in the photo and quickly install it with the chamfer facing up (it is important not to damage the outer surface of the collar, as the oil seal runs on it). Seat it until the groove for the snap ring is exposed.
Install the snap ring.
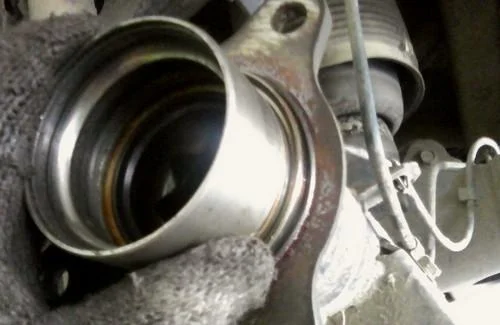
Install the oil seal.
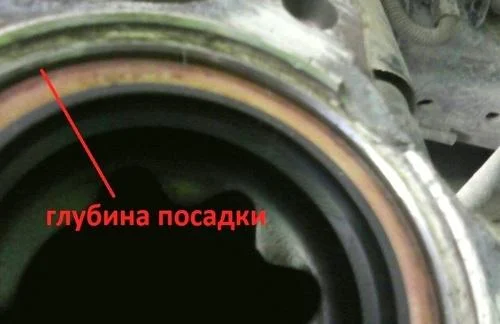
The seating depth should be the same as in the photo. Then reassemble everything in reverse order.
Was this guide useful?
Your feedback helps us improve our content.
Related Materials


Discussion (0)
No comments yet!