Cleaning the VW Passat B4 Fuel Pump
I want to share how I cleaned the fuel pump on a Volkswagen Passat B4. I decided to check the condition of the fuel pump because the car stalled the other day, and I only managed to start it after 20 minutes of fiddling around the vehicle. I unscrewed the spark plugs—they were dry—and checked for a spark.
So I concluded that either the pump is not pumping, or the injectors are not opening. I decided to start with the fuel pump... and it turned out my thoughts were in the right direction. The fuel pump strainer turned out to be heavily clogged, so I set about cleaning the Passat fuel pump strainer.
To remove the in-tank fuel pump assembly on a Passat B4, you need very little: a Phillips screwdriver and a pair of pliers, and some petrol for cleaning.
For a clearer view of how to remove the Volkswagen Passat B3/B4 fuel pump and clean the coarse fuel filter, see the photos and read the descriptions below.
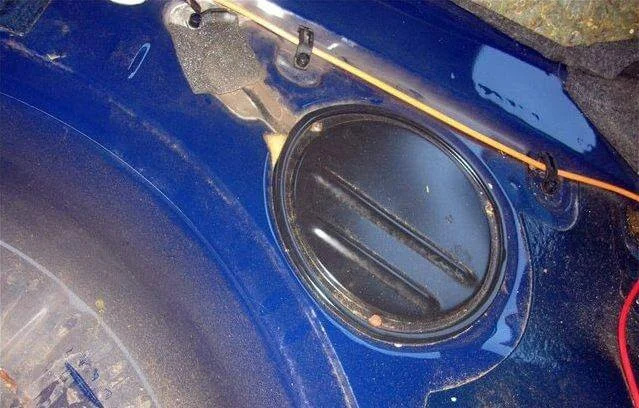
Unscrew the inspection hatch using a Phillips screwdriver.

Vacuum up all the dirt.

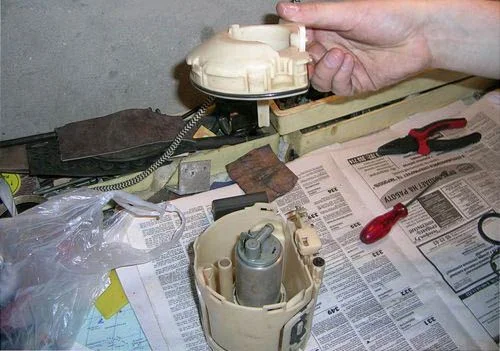
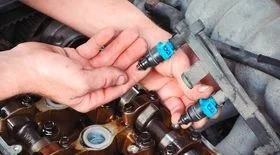
Unscrew the pump ring (you can use a wooden block and a hammer to tap it loose), and disconnect the hoses and the connector (using pliers).

Now carefully lift the cover—the one with the connector, fuel hose fittings, and the float attached underneath.
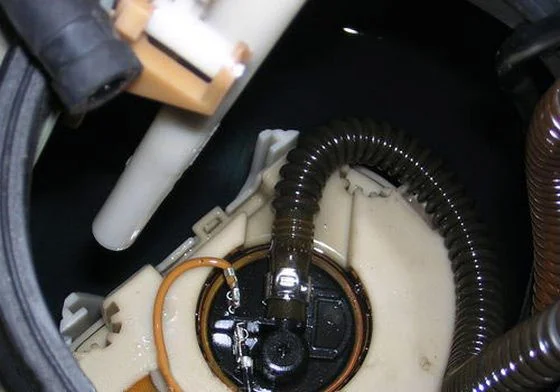
To remove the fuel pump assembly from the tank, you must act very carefully but confidently. Rotate it anti-clockwise by 30 degrees (pull it out gently so as not to knock the fuel gauge sensor). There is a special seating for it at the bottom of the tank, so it is not always obvious how the fuel pump is positioned. To reinstall it, you will need to press it down and turn it clockwise (the float should be pointing forward).
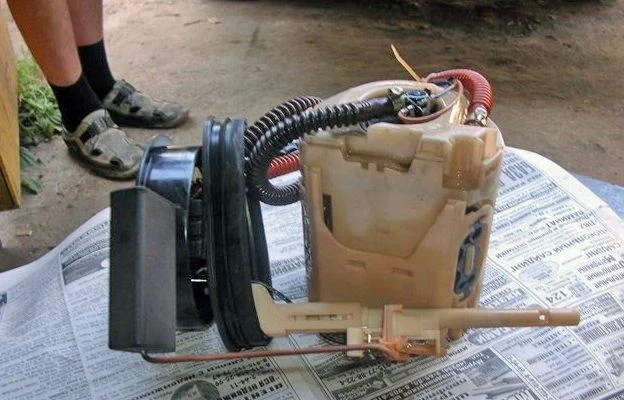
Remove the fuel level sensor, then, having turned the pump housing anti-clockwise by 30–40 degrees, take out the entire pump assembly.
The strainers themselves are located on the pump inside the housing, so to access them, you need to dismantle it and take out the fuel pump.

Remove the hoses, the clip, and the gasket (by the way, remember how the clip was positioned, as it needs to be installed correctly during reassembly, aligning it with the lug on the housing).
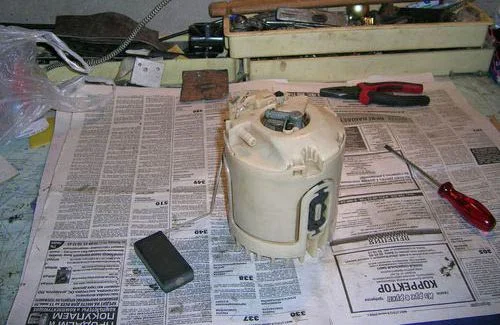
The fuel station cover is held in place by plastic latches; these are easily levered and unclipped with a flat-head screwdriver. Once removed, you can take out the pump with the strainer.
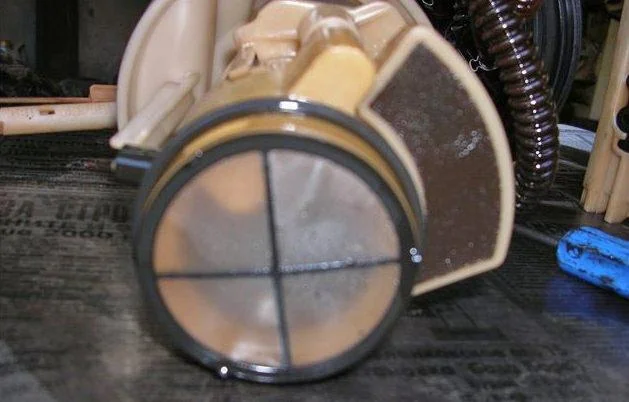
One mesh filter was completely blocked.
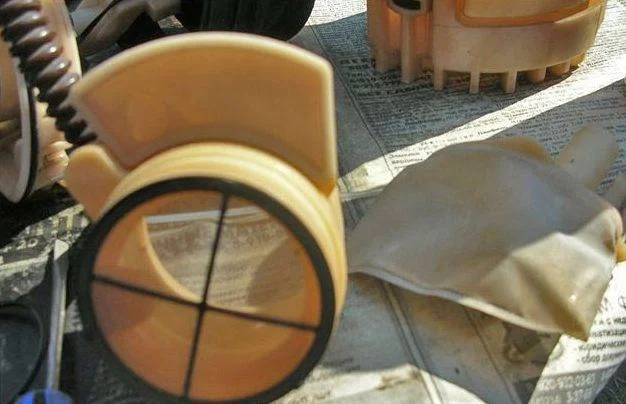
The others—not so badly. Disassemble the entire pump, wash and blow it out (do not overdo it with the air pressure).

Reassemble in the reverse order of disassembly.

Install it back into the tank and align the arrow marks opposite each other. Tighten the fuel pump ring, connect the hoses and connector, test it, and close the hatch.
Was this guide useful?
Your feedback helps us improve our content.


Discussion (0)
No comments yet!