Replacing the fuel filter on a Suzuki Grand Vitara
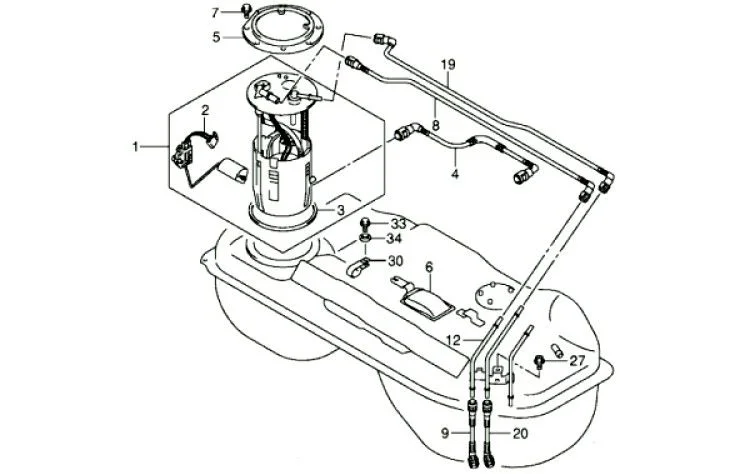
Replacing the fuel filter on a Suzuki Grand Vitara is a labour-intensive procedure because the filter is integrated into the fuel pump assembly located inside the tank. Accessing it requires removing the fuel tank. An inspection pit or a vehicle lift is essential.
You can purchase a genuine complete assembly (the expensive option) or replace just the fine filter and the mesh (the budget-friendly option). This guide covers the process of removing the tank and replacing the filter elements.
Completely remove the fuel tank. Before extracting the pump, thoroughly clean the top surface of the tank from dirt and dust to prevent debris from falling inside.
Be sure to clean or replace the coarse filter (mesh) before reassembly.
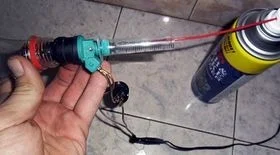
When installing a non-original filter, the corrugated tube may need replacing. Important: use only special petrol-resistant heat-shrink tubing. Use a heat gun or hot water to shrink it, ensuring leak-tight connections.
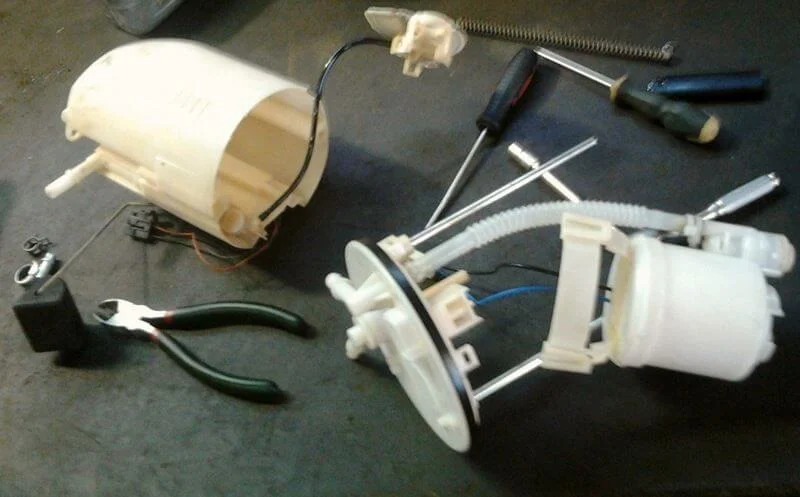
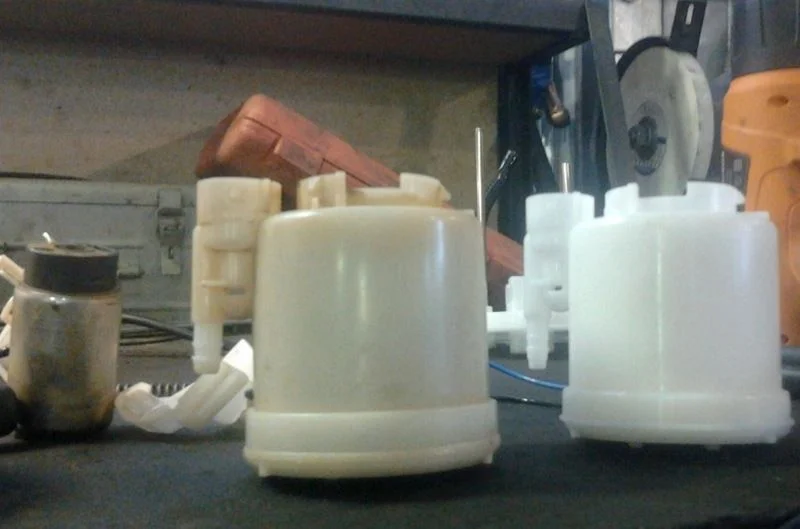
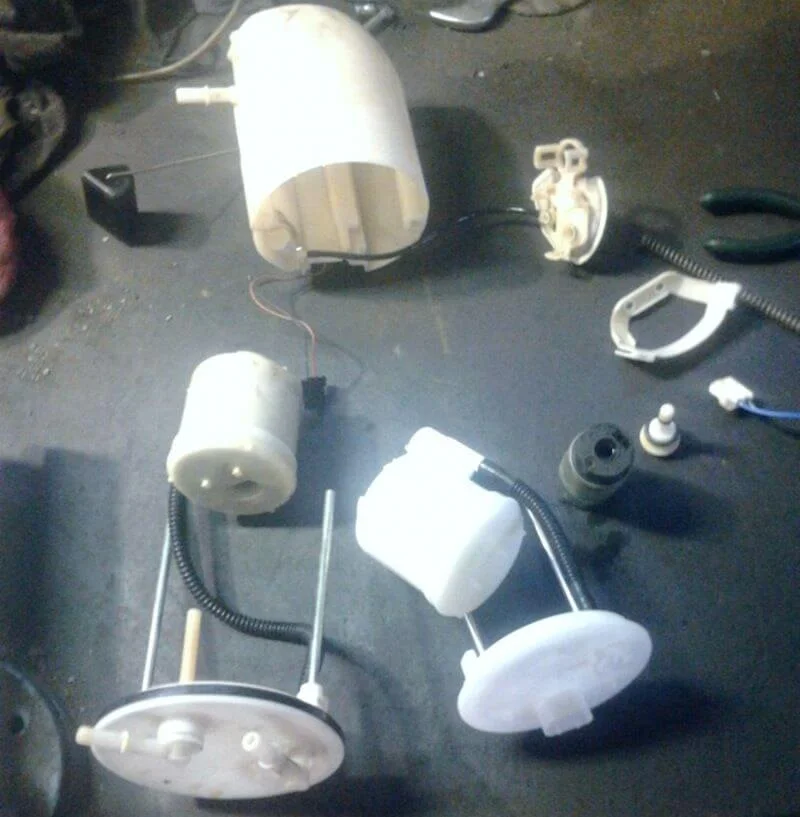
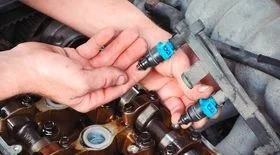
Disassemble the fuel pump housing to remove the old fine filter (canister) and replace it with a new one.
The mesh can be bought separately, but it is important to check the mounting compatibility, as they may differ depending on the pump manufacturer.
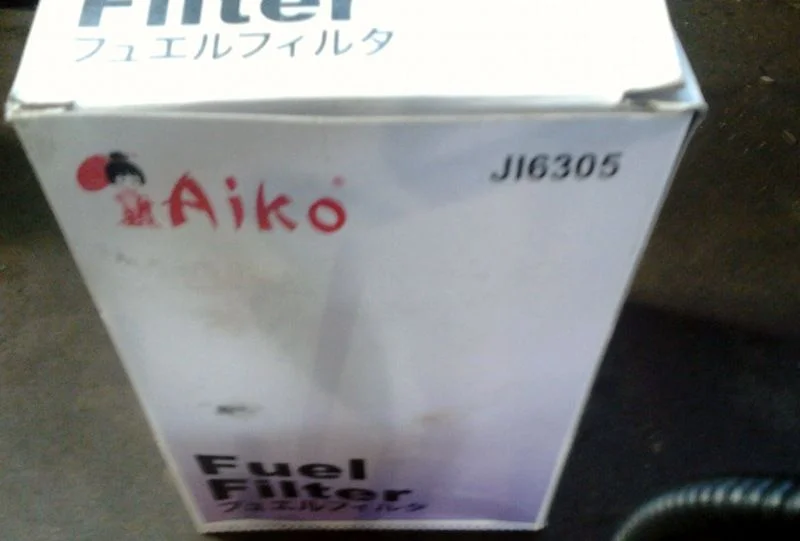
Compatible alternatives (e.g. from a Toyota Camry) are often used to replace the original filter, as they fit the dimensions and mounting points.
Reassemble the fuel pump unit and install it back into the tank in reverse order. While the tank is removed, it is recommended to wash the inside to remove sediment. Install the tank and ancillary equipment in the reverse order of removal.
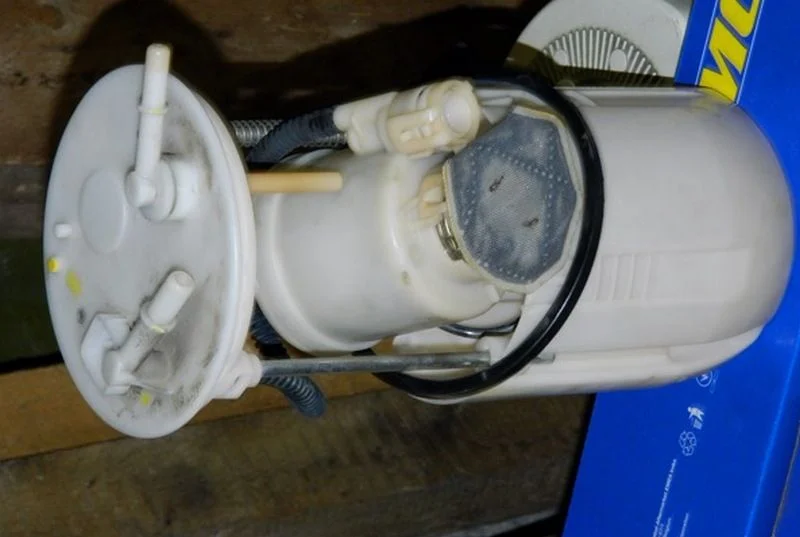
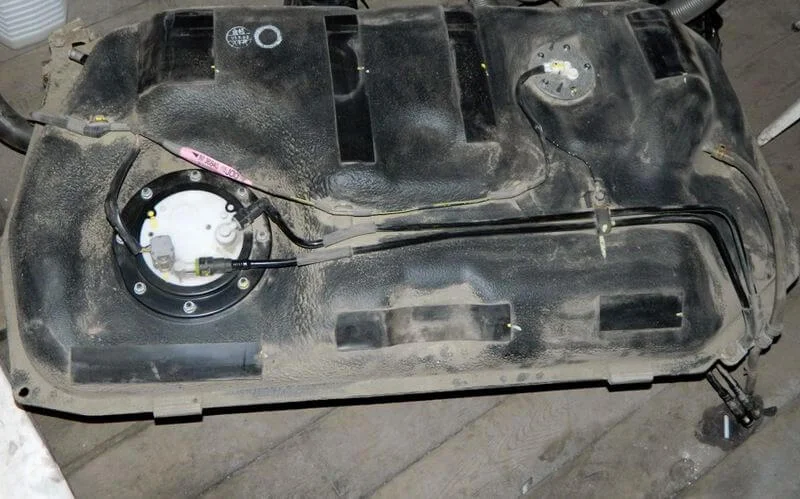
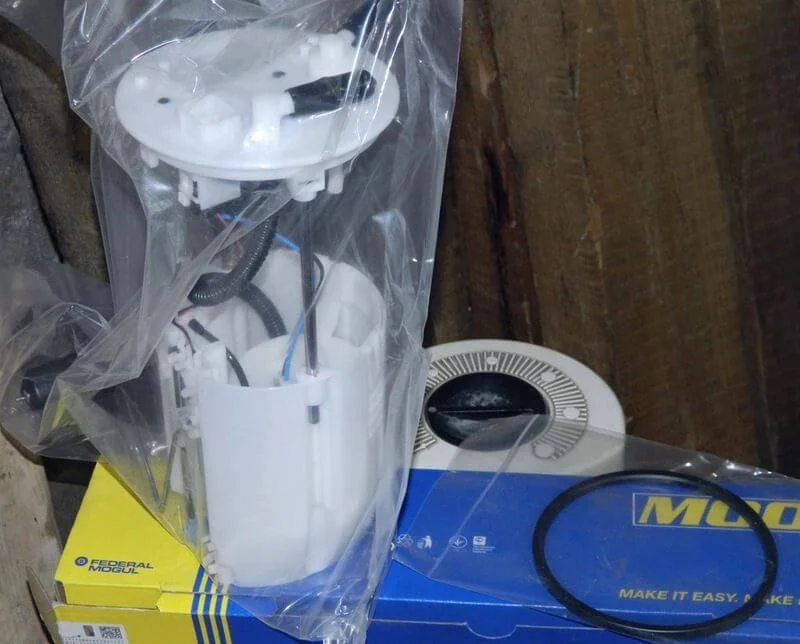
Carefully extract the fuel pump assembly (pump complete with filter and level sensor) from the tank. Try not to bend the float arm.
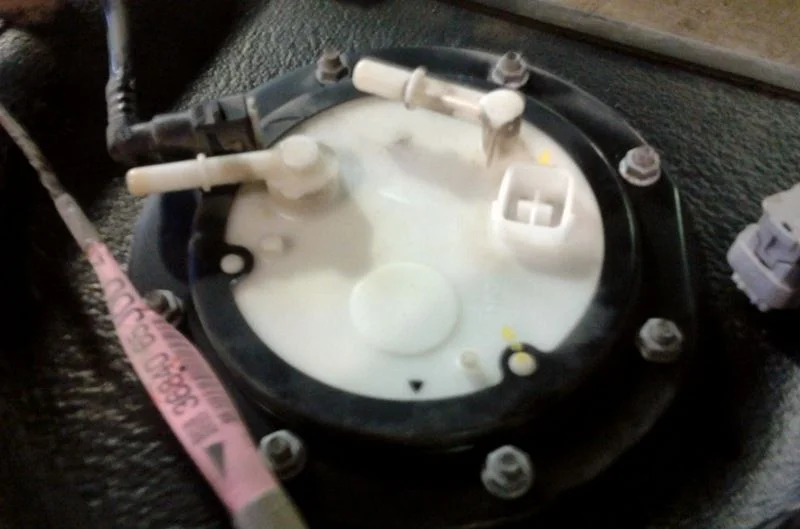
Disconnect the tubes on the module itself (the same clips are used) and the electrical connector.

Undo the eight nuts securing the fuel module pressure plate (10 mm socket).
The design is such that there is no access hatch to the fuel pump from the cabin. The tank must be removed. To do the work you will need:
- a set of sockets and spanners (10 mm and 17 mm);
- thread locker (for propshaft bolts);
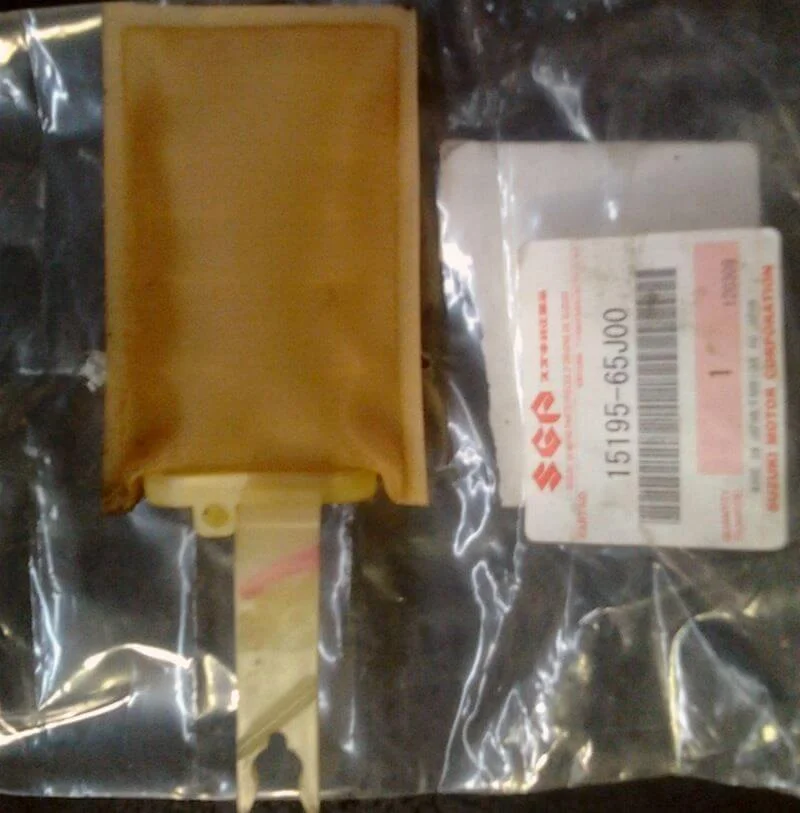
- a new fuel filter (original part number 15100-65842 or equivalent).
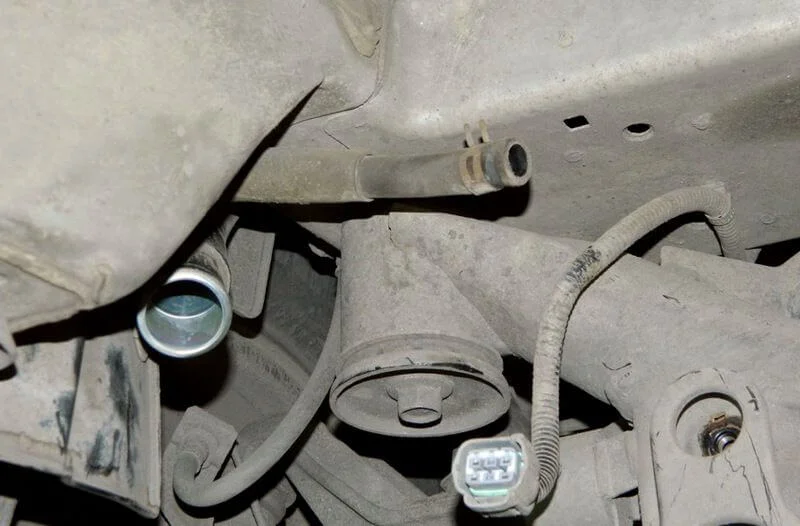
Gently lower the right edge of the tank. This will give access to the air bleed hose (located just above the wiring connector). Loosen the clip and remove this hose.
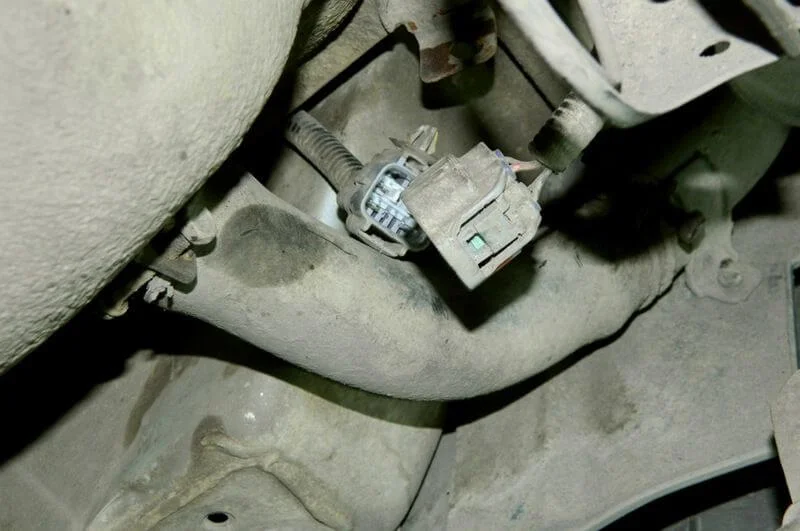
From the rear right side (near the bumper), disconnect the wiring connector and the filler neck hose (by loosening the clip). To remove the tank, place a jack or supports under it. Then unscrew the fuel tank securing straps.
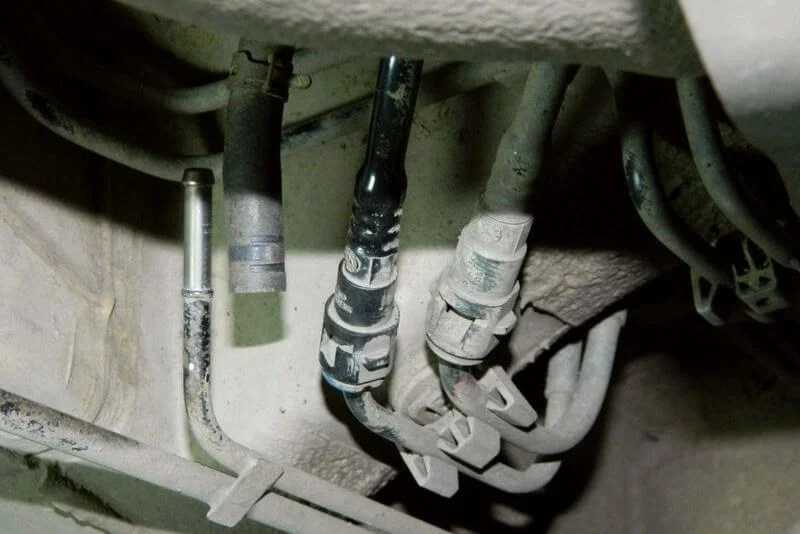
From the front left side of the tank (near the transfer box), disconnect the ventilation hose (on the clip) and the two pipes — fuel feed and return. To disconnect the fuel pipes, it is convenient to use two awls to press the clip retainers.
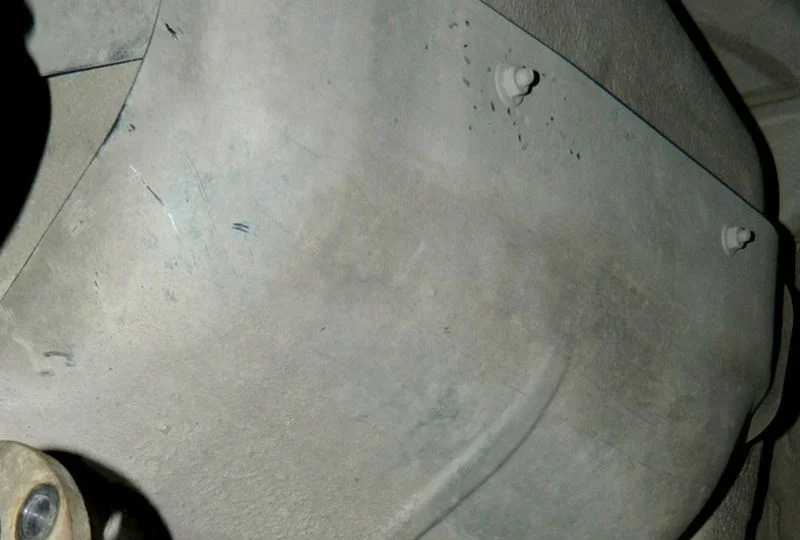
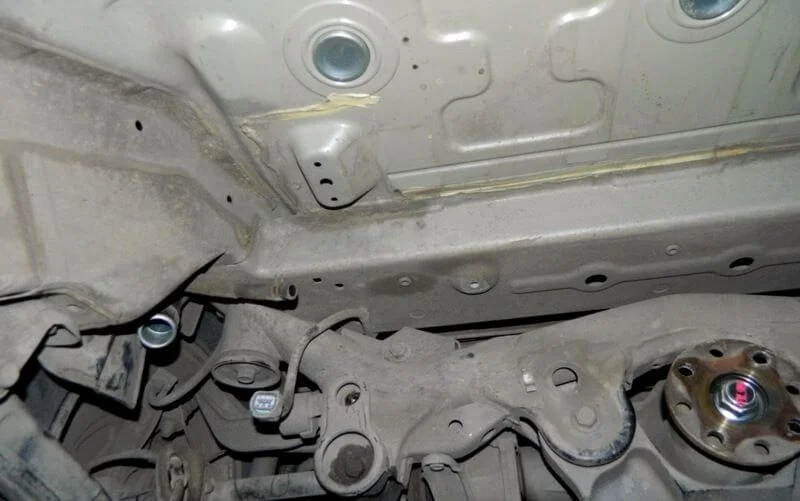
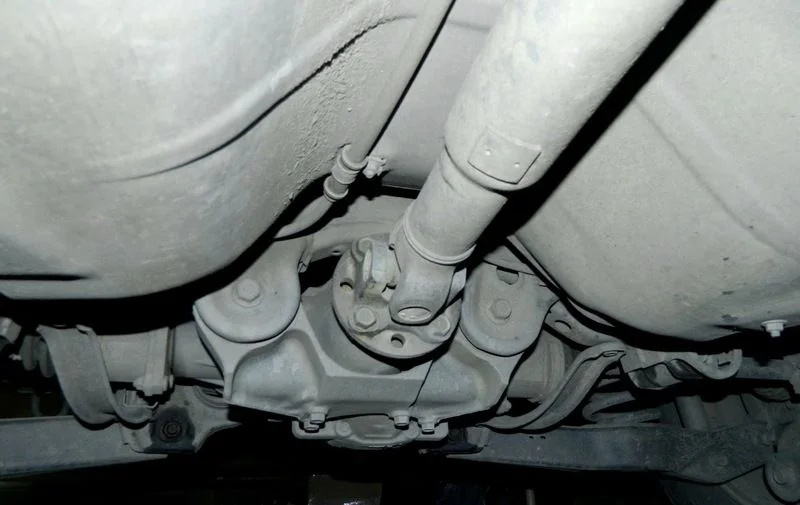
Unscrew and remove the metal fuel tank guard (4 nuts, 10 mm socket).
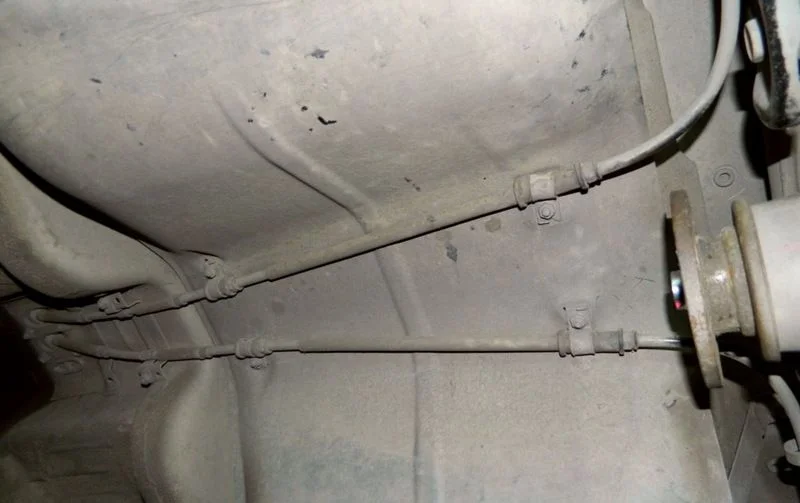
Unscrew the handbrake cable mountings (two bolts) on the rear differential side and move the cables aside so they do not interfere with tank removal.
Continue to clear the space: undo the nuts on the handbrake cable mountings (10 mm spanner).
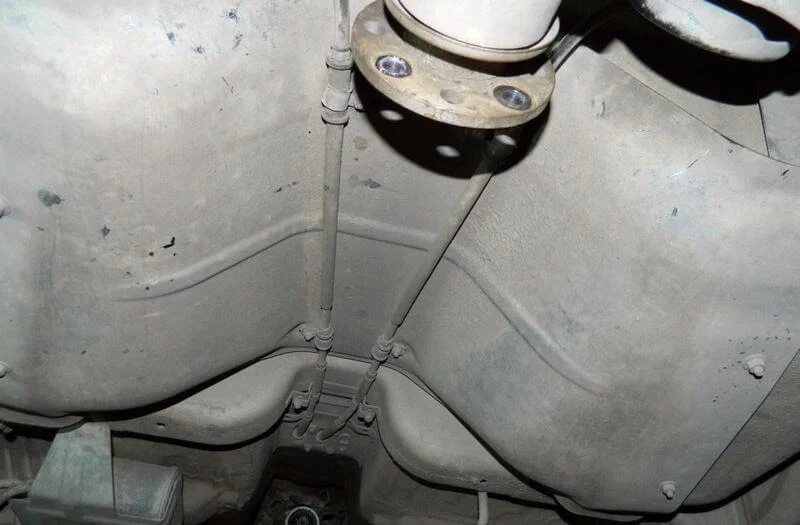
Remove the propshaft from the splined shaft on the transfer box side.

Start work from underneath the car. First, the exhaust silencer must be removed to clear access. Then unbolt the rear propshaft (4 bolts, 17 mm spanner).
Was this guide useful?
Your feedback helps us improve our content.


Discussion (0)
No comments yet!