Volkswagen Golf 4 Clutch Replacement
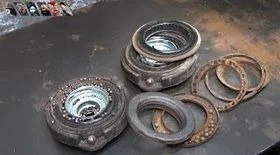
According to some maintenance sources for the Volkswagen Golf 4, clutch replacement is suggested at 150,000 km. However, experience with vehicles of this age suggests that the clutch should be replaced based on wear symptoms. In our case, the following signs were observed: strong vibration in the clutch pedal, stiff gear changes, and occasionally an inability to engage gears at all.
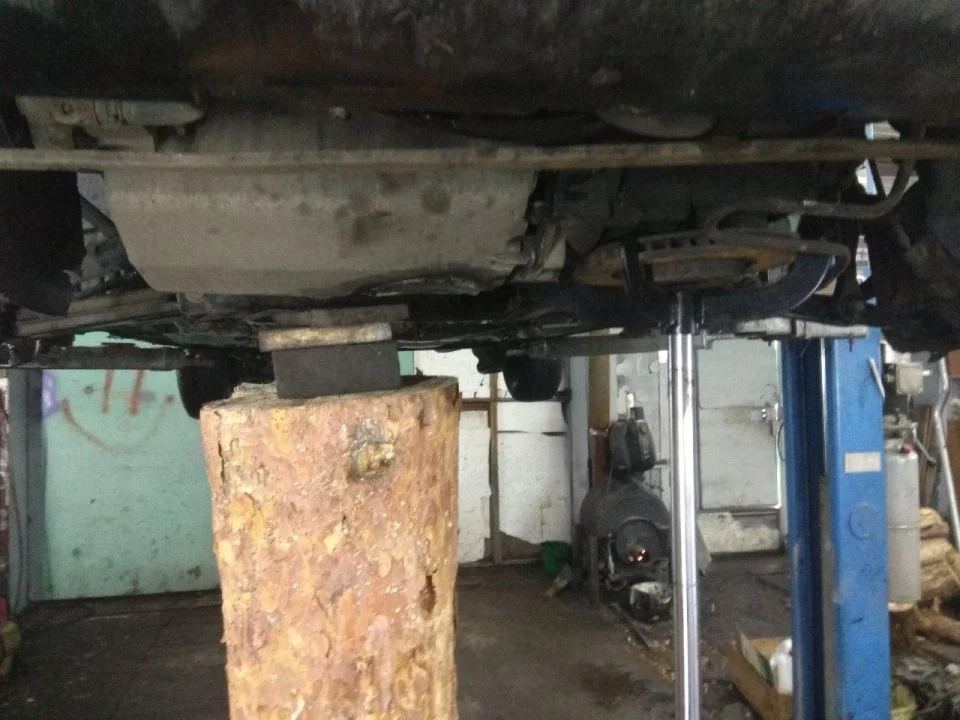
To replace the clutch kit on a 2000 Golf 4 1.9 TDI, you will need: a vehicle lift, a transmission jack, a set of spanners, and a set of screwdrivers. In our case, aside from the jack, we used makeshift tools. It is best to perform this work with an assistant.
Clutch kit part number (LuK): 622 2235 00.
Algorithm for replacing the kit (disc, pressure plate, release bearing):
- Remove the battery and battery tray.
- Disconnect connectors and cables from the gearbox.
- Remove the wheel, undo the hub nut and disconnect the driveshaft.
- Unbolt the starter and clutch slave cylinder.
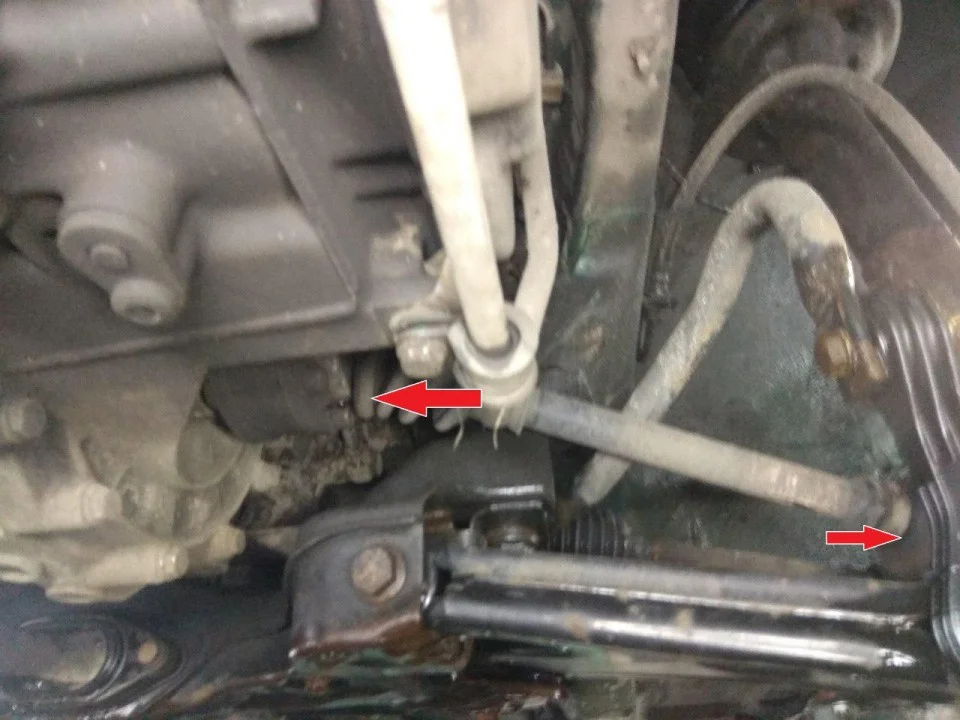
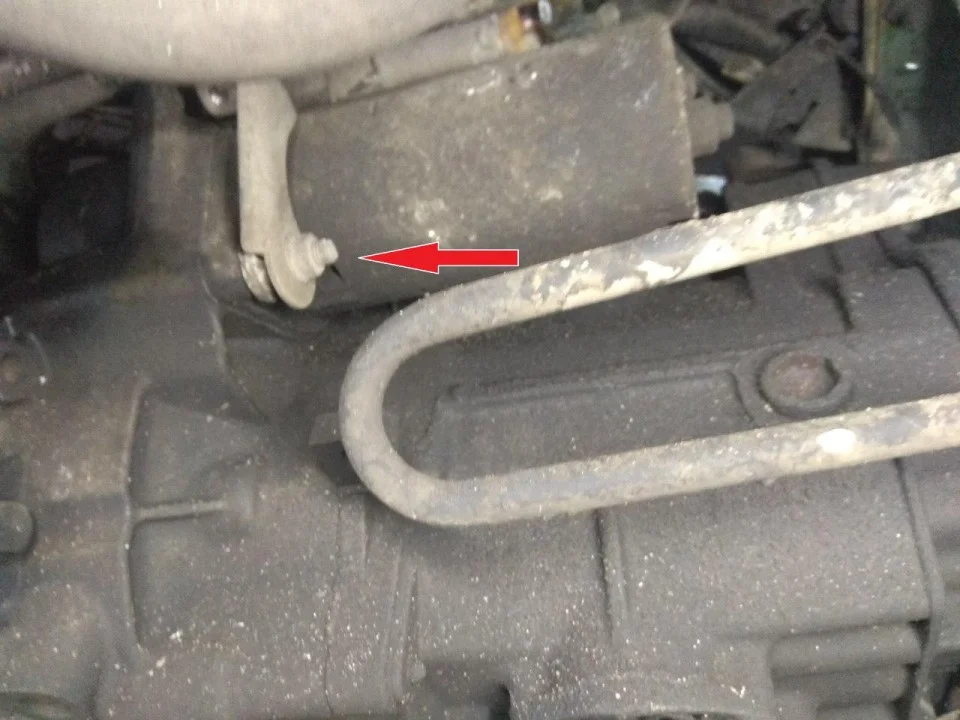
- Remove engine and gearbox mounts.
- Remove the gearbox.
- Replace the clutch kit using a centring tool.
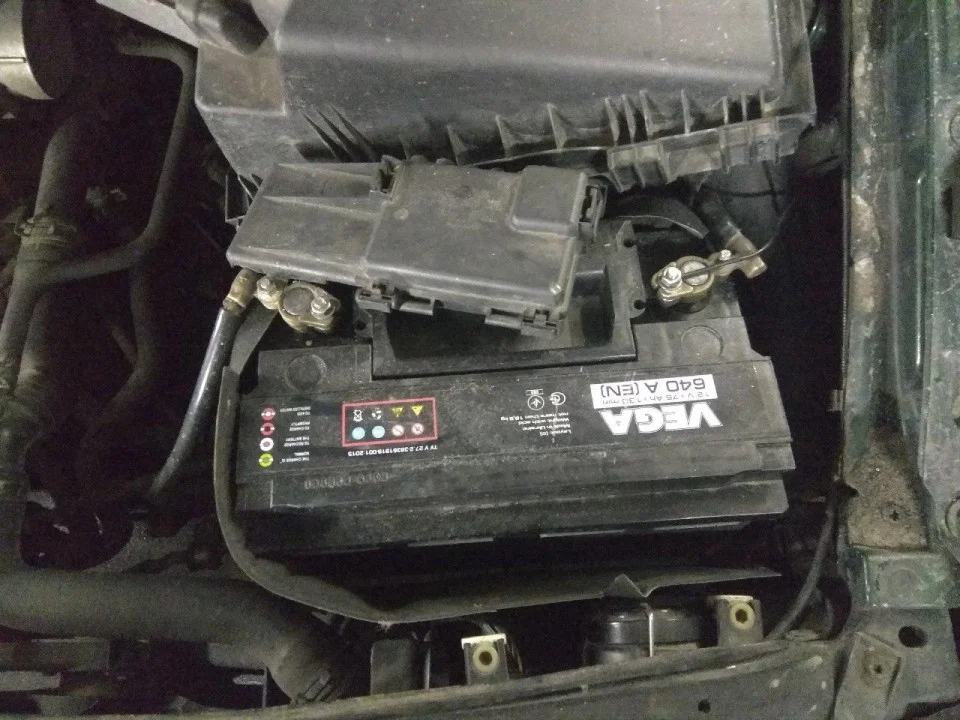
Remove the battery and the plastic tray beneath it to gain access to the gearbox mountings.
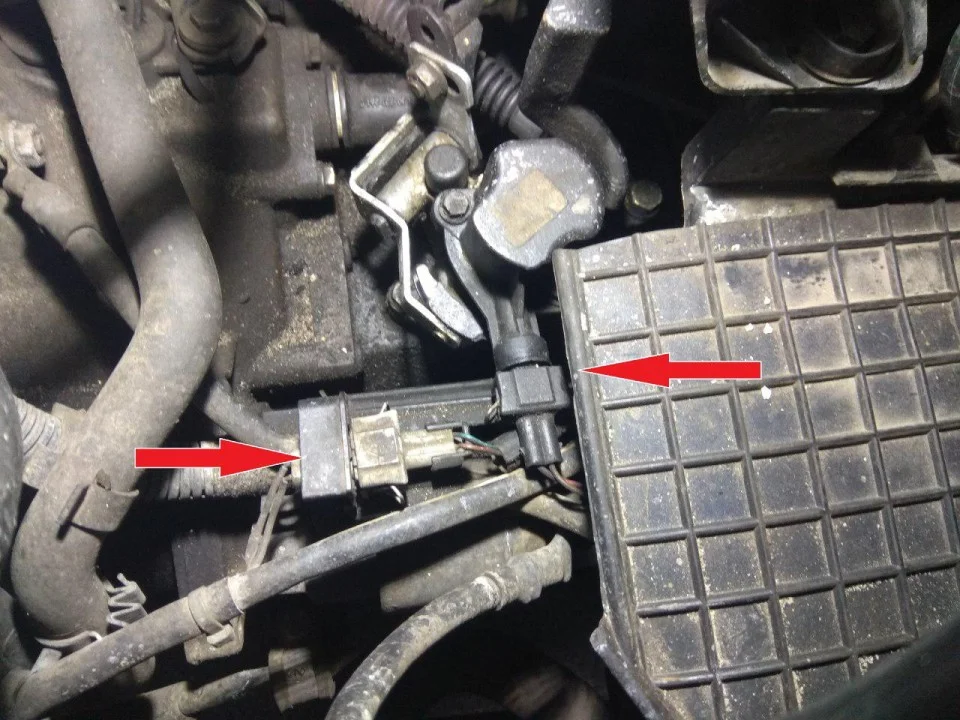
Disconnect the electrical connectors from the gearbox (speed sensor, reversing light switch).
Remove the gear selector cables from the shifting mechanism on the gearbox.
Unbolt the clutch slave cylinder (usually two 13mm bolts) and move it aside without disconnecting the hydraulic pipe. Important: do not press the clutch pedal while the cylinder is removed.

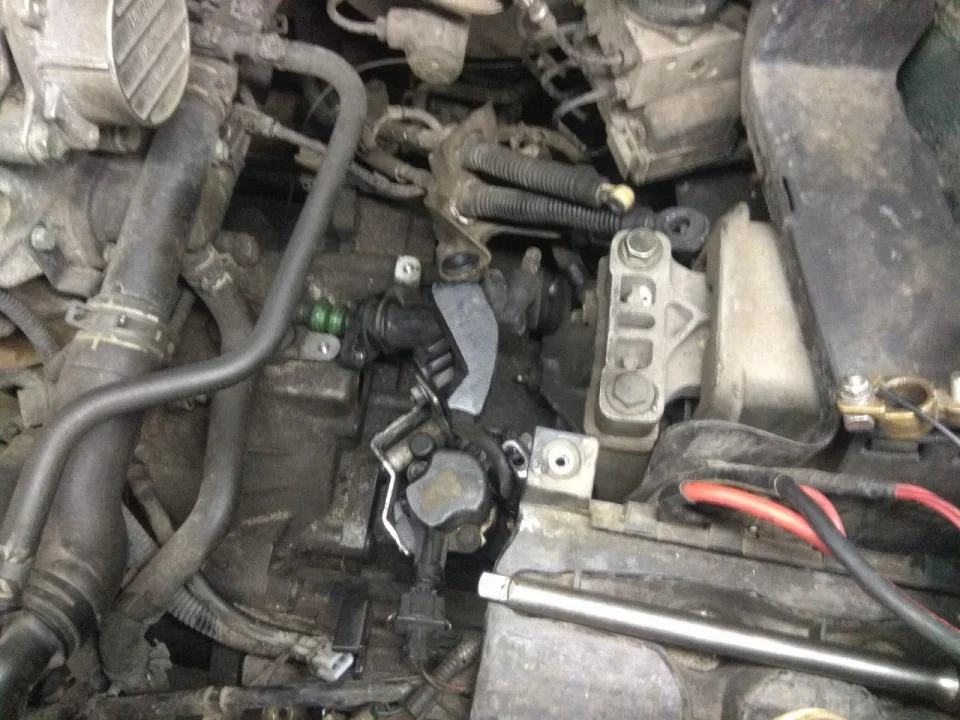
Remove the air filter housing, having first disconnected the Mass Air Flow (MAF) sensor connector and the hose.
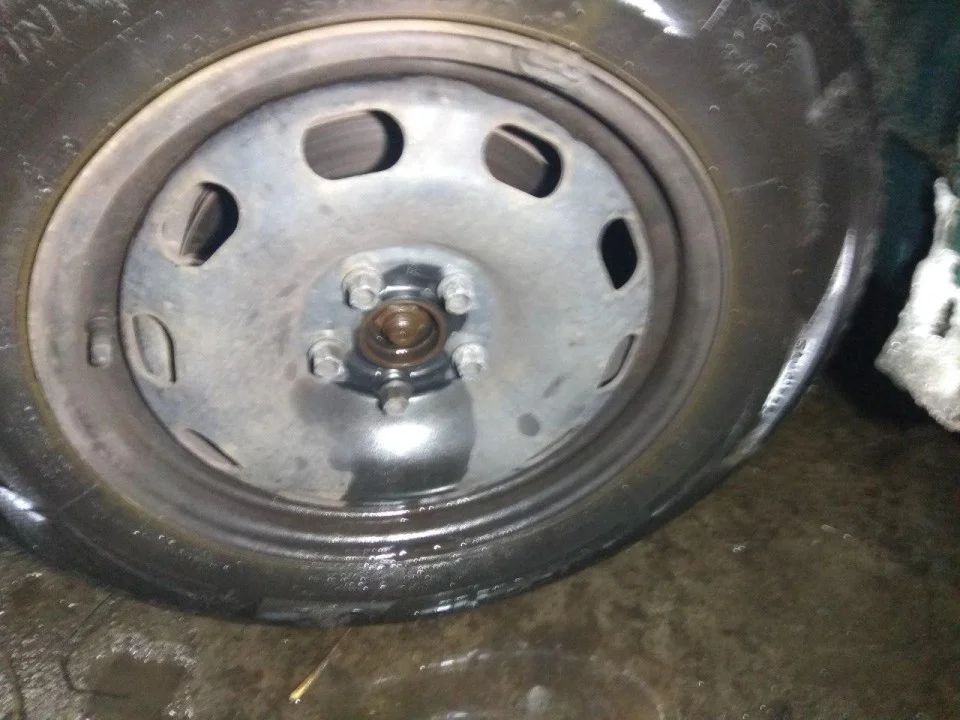
Remove the front left wheel and undo the hub nut (this requires a heavy-duty breaker bar and a suitable multi-point socket, often 30mm).
Undo the bolts securing the inner CV joint to the gearbox flange (a Spline M8 or M10 bit is usually required). Move the driveshaft aside.
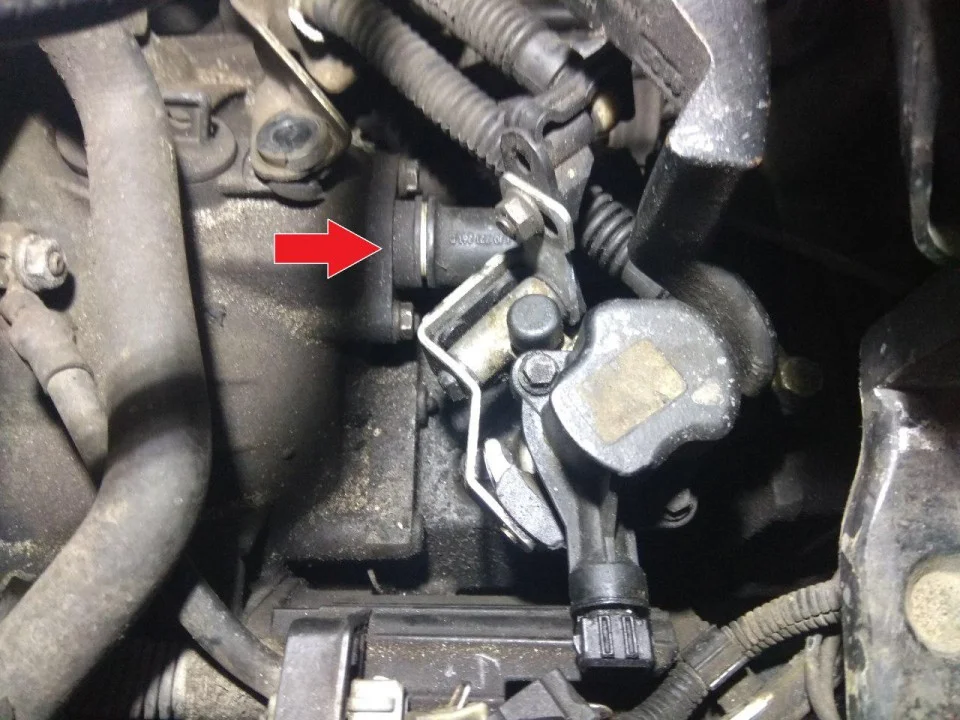
Undo the starter motor mounting bolts.
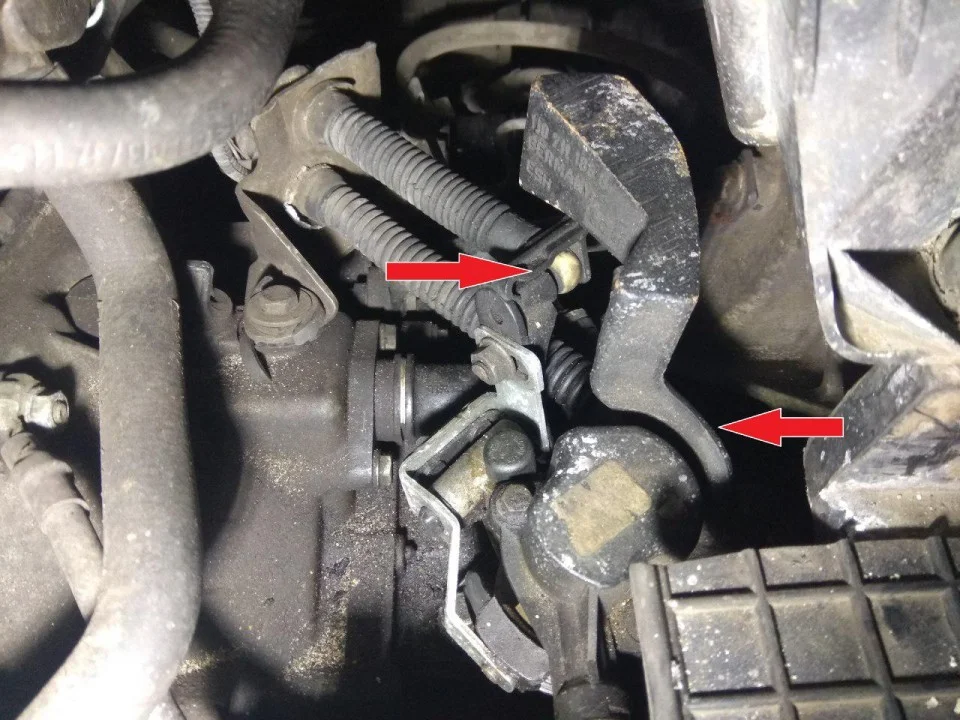
Remove the lower engine mount ('dogbone' mount), which connects the gearbox to the subframe.
Support the engine (using an engine support beam from above or a jack from below) and unbolt the left-hand gearbox mount.
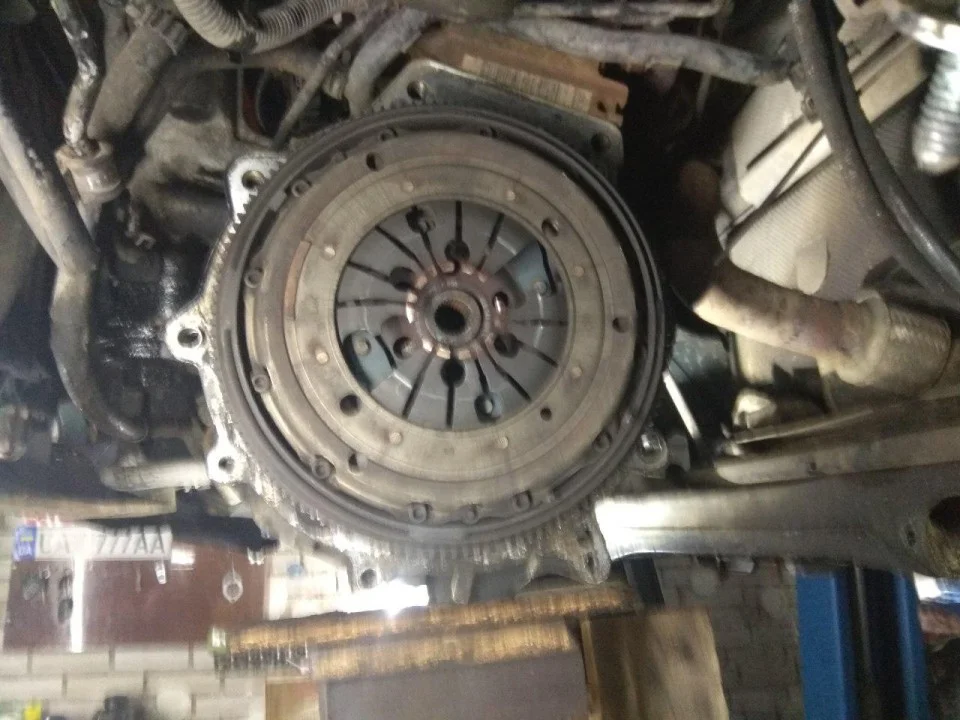
Undo the bolts securing the gearbox to the engine. Using a transmission jack, carefully separate the gearbox from the engine and lower it.
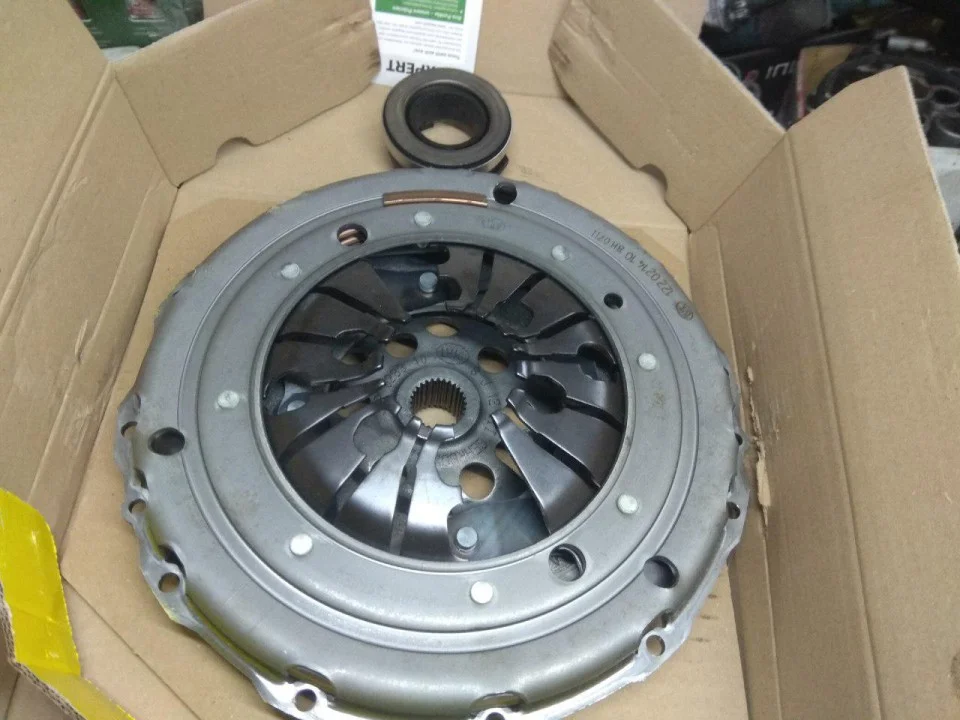
Unbolt the old pressure plate (6 bolts). Check the flywheel. Install the new disc and pressure plate. Critical: ensure the clutch disc is aligned using a special centring tool before final tightening of the pressure plate, otherwise you will not be able to refit the gearbox.
Was this guide useful?
Your feedback helps us improve our content.
Related Materials


Discussion (0)
No comments yet!