Replacing the Hall sender on a Volkswagen Golf Mk3
In this guide, we will replace the original Hall sender on a Golf Mk3 (1.6 ABU engine) with a Hall sender intended for a Lada Samara (VAZ 2108).
If you cannot install the genuine part (VAG part number 030905065B) due to the high cost, you can use this domestic alternative as a significantly cheaper option.
Resistance of a working Hall sender (author's reference data):
- Between (–) and (0) approx. 13.52 MΩ.
- Between (–) and (+) approx. 14.65 MΩ.
You will need the following tools:
- 5 mm Allen key.
- Hammer (approx. 200–500 g).
- Phillips screwdriver (PH2).
- Two medium flat-blade screwdrivers.
- Drift punch (3.9 mm diameter).
- Vice.
- Needle files (flat and half-round).
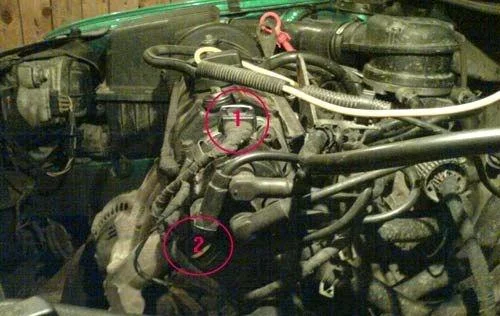
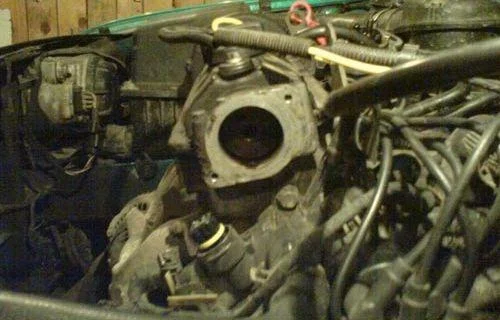
First, disconnect the plugs from:
- The Hall sender (on the distributor).
- The coolant temperature sensor (if it restricts access).
Move the cables aside so they do not obstruct your work. Remove the distributor cap (it is not necessary to disconnect the HT leads if there is enough slack).
Remove the rotor arm and the protective cover (shield).
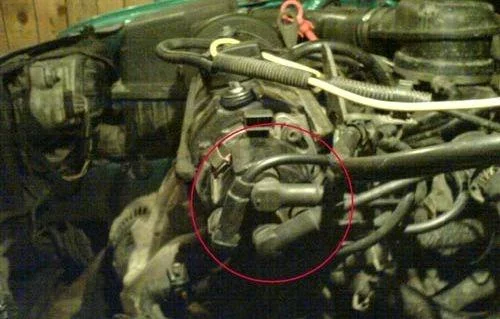
I recommend marking the position where the distributor mates with the engine block with 2–3 scribe marks to avoid upsetting the ignition timing during reassembly. However, it is still recommended to check the ignition timing with a strobe light after the procedure.
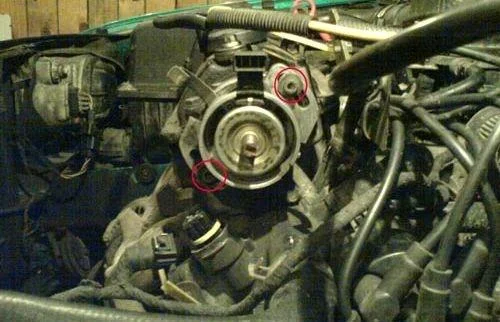
Unscrew the two distributor mounting bolts (usually requiring an Allen key).
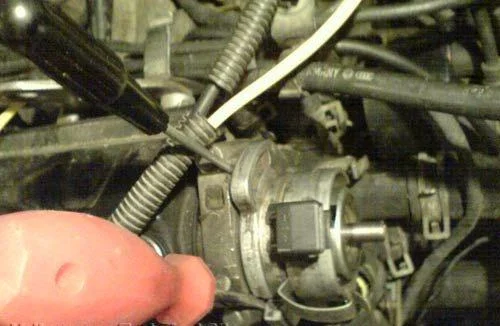
Gently try to rotate the distributor by hand to free it ('break' the seal). Then, use two flat-blade screwdrivers to lever the distributor housing out of its seating. Work with both screwdrivers simultaneously to prevent it from jamming.
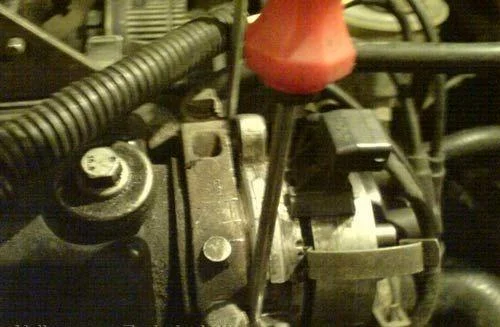
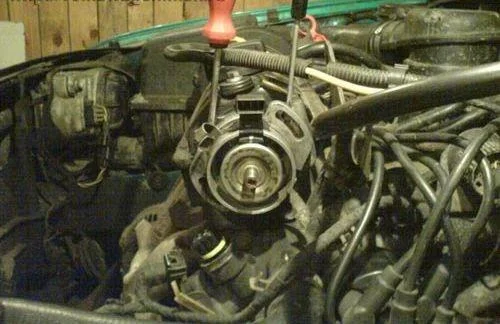
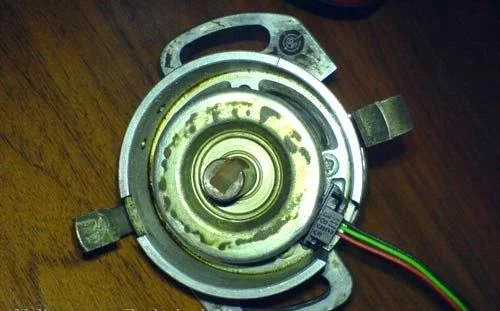
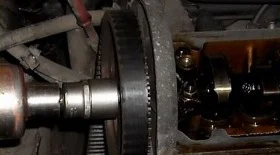
Remove the distributor from the engine.
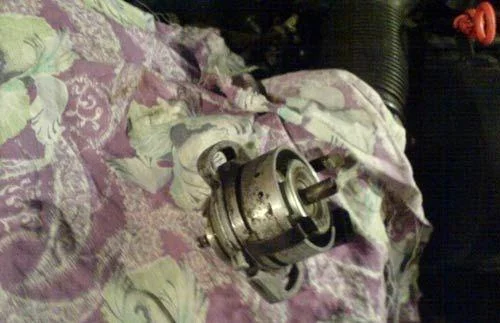
Clean any dirt from the housing and wipe away any oil.
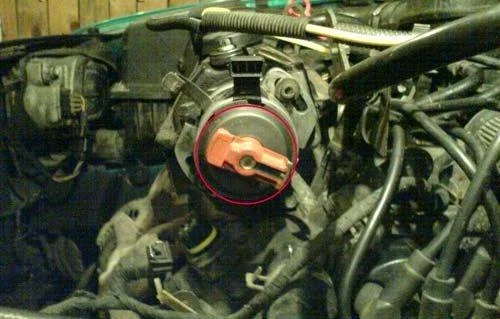
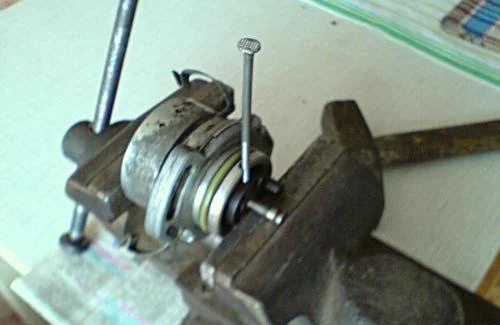
Carefully place the distributor shaft on the jaws of a vice. Do not clamp the shaft itself: leave a minimal gap between the vice jaws and the housing so that the component hangs by the coupling drive dog.
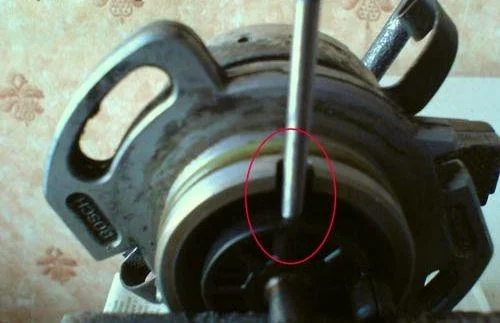
Hold the distributor axis by the housing ('cup') with one hand, and place the drift punch over the pin with the other. Ask an assistant to knock out the pin with a hammer (it may be very tight).
You do not need to knock the pin all the way out; just ensure it clears the shaft body and releases the coupling.
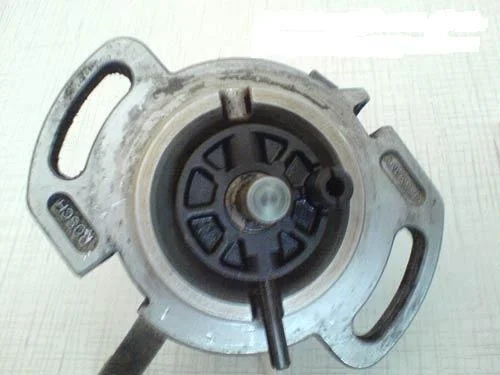
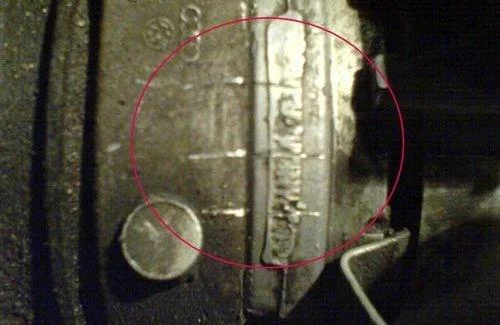
Note (or photograph) the orientation of the coupling and pin relative to the shaft so you can reinstall it in the exact same position. Otherwise, the rotor arm will be 180 degrees out, and the car will not start.
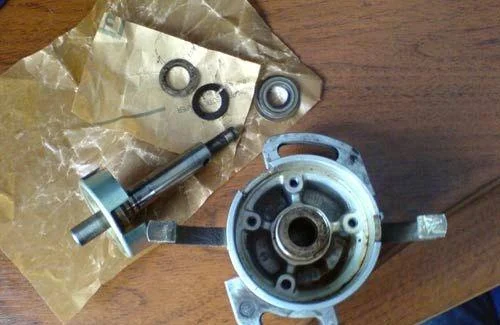
Remove the shaft and housing, noting the order of the shim washers on the shaft. Unscrew the mounting screws of the old Hall sender.
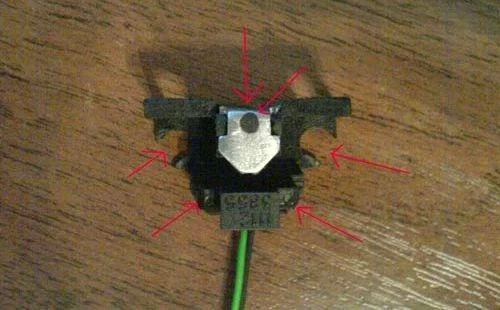
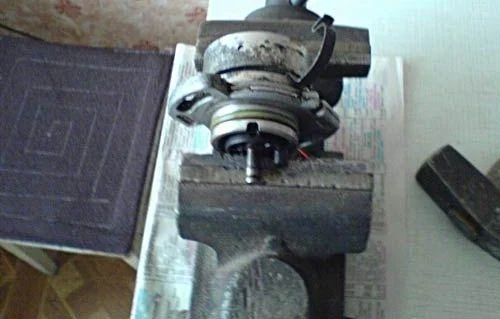
The new Lada sensor differs in shape from the VAG part. File down the Hall sender housing with needle files in the areas shown in the photo (if you have a bench grinder, the task is easier, but fine-tuning is best done with a file).
File the plastic very carefully to avoid damaging the wires or the sensitive element itself.

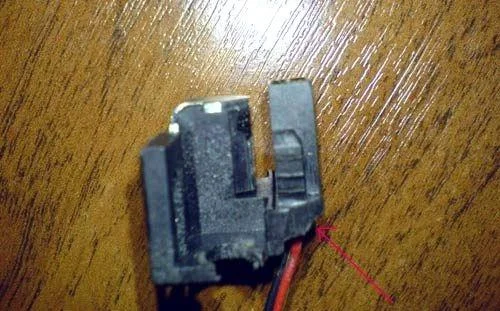
Adjust the shape until the sensor fits into the seating and the shutter ('cup') does not catch on it while rotating. Carefully remove the terminals from the replacement sensor's connector and install them into the original VAG connector.
Screw in the new Hall sender. It is advisable to place wide washers under the screws for extra security. Reassemble in reverse order.
Was this guide useful?
Your feedback helps us improve our content.
Related Materials


Discussion (0)
No comments yet!