Hyundai Creta Fuel Filter Replacement
Hyundai Creta fuel filter replacement, according to the owner's manual, should be performed every 60,000 km, but experience shows that due to poor fuel quality, the filter gets clogged after just 40,000 km. You can entrust the replacement to service centre specialists, but it is also quite feasible to do it yourself. A clear photo guide will help you complete the task quickly.
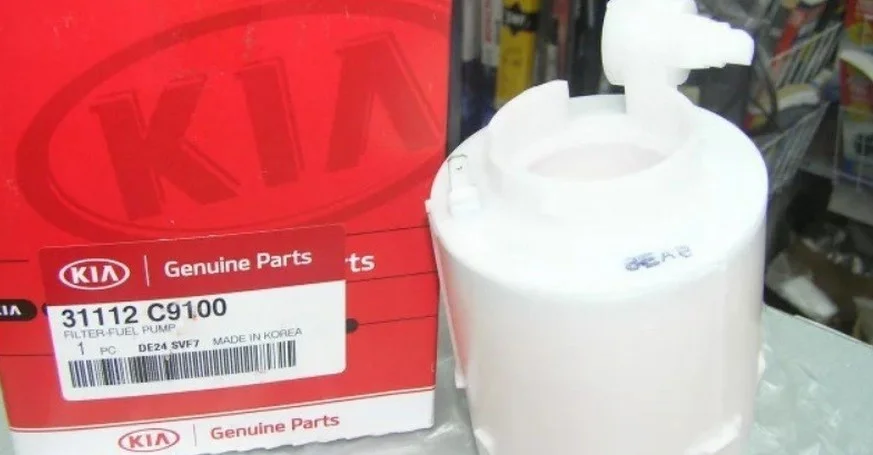
The cost of replacing the Creta fuel filter at a service centre will vary. The total price for replacing the submersible fuel filter at an official dealership will depend on current rates (excluding the cost of the part itself). The part number for the original fine fuel filter is 31112C9100. An analogue, such as Sat ST-31112-C9100, can also be purchased.
The manufacturer recommends changing the filter together with the fuel module assembly, which also includes the fuel pump, pressure regulator, fuel level sensor, and coarse filter mesh.
How to change the Creta fuel filter yourself
Procedure:
- Relieve pressure in the line.
- Remove the rear seat bench, unscrew fasteners on the protective cover.
- Disconnect power plugs, as well as supply and return pipes.
- Remove the retaining plate from the module cover and take out the module itself.
- Install the new module or disassemble it to change a specific element.
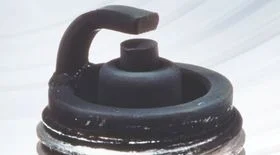
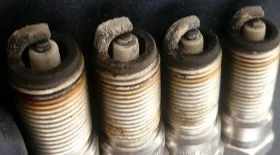
If you do not take action in time and continue to drive with a clogged filter, then:
- Pressure on the pump will increase.
- The engine will be difficult to start.
- Jerking will be observed when accelerating.
- Fuel consumption will increase.
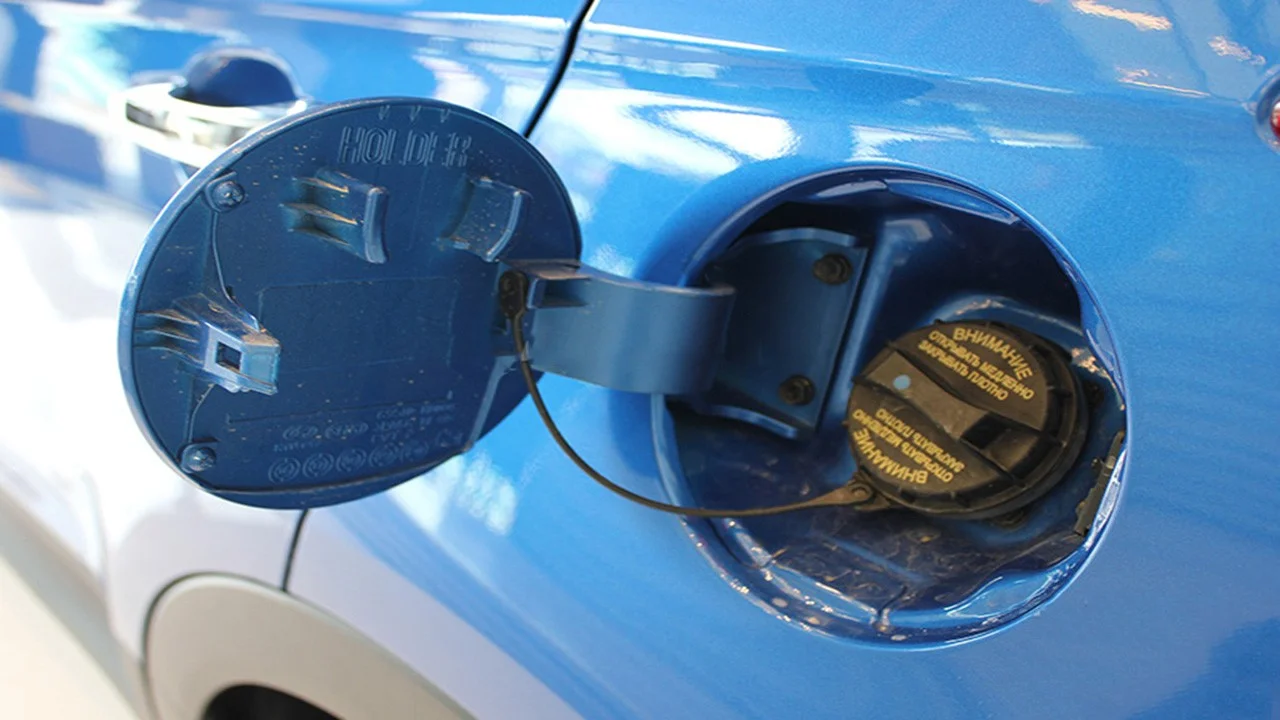
Replacing the fuel filter on a Hyundai Creta is almost identical to the procedure on the Solaris. Unscrew the fuel filler cap to relieve pressure in the tank.
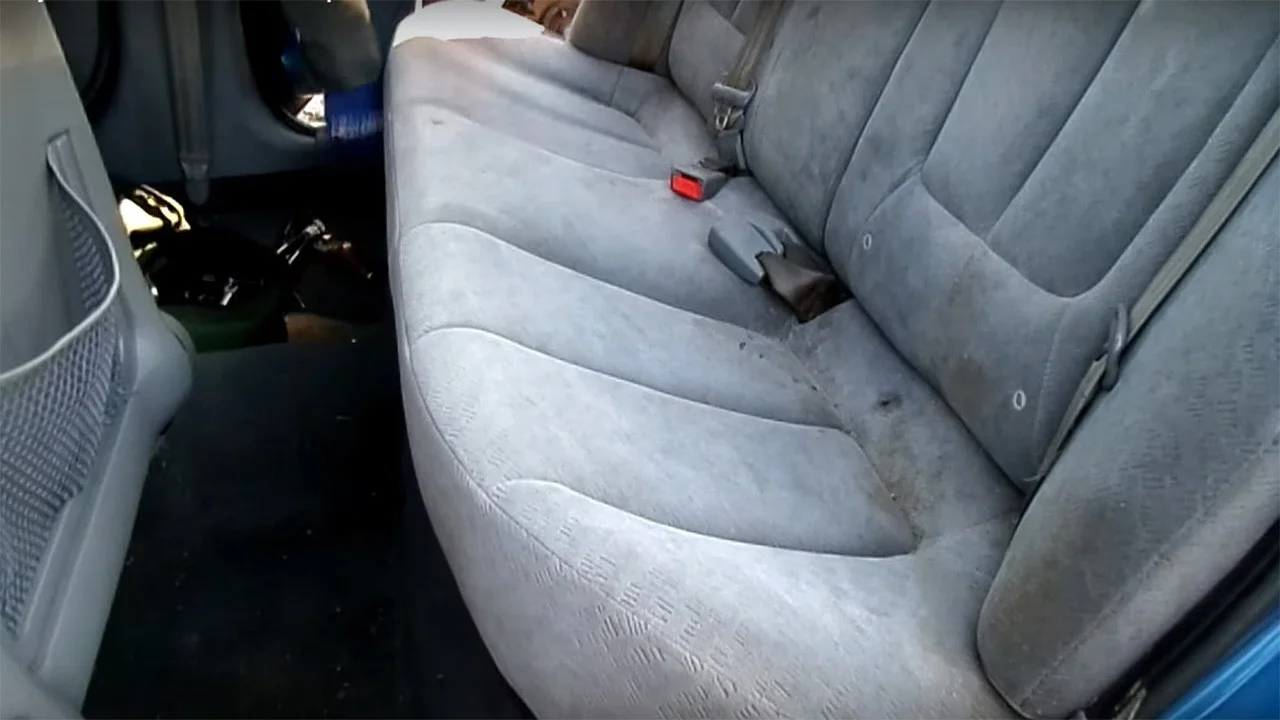
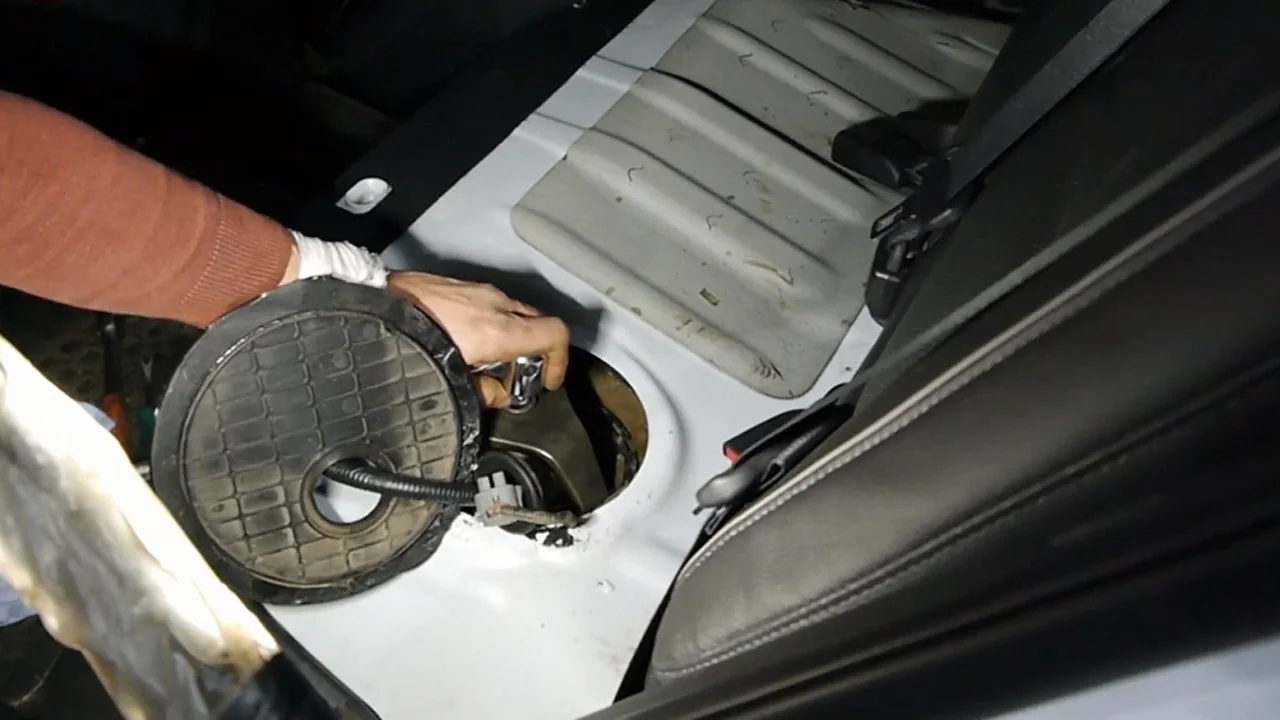
The fuel filter is located under the rear seat; remove the seat. There are two clips at the front and a loop secured by a bolt in the middle at the back.
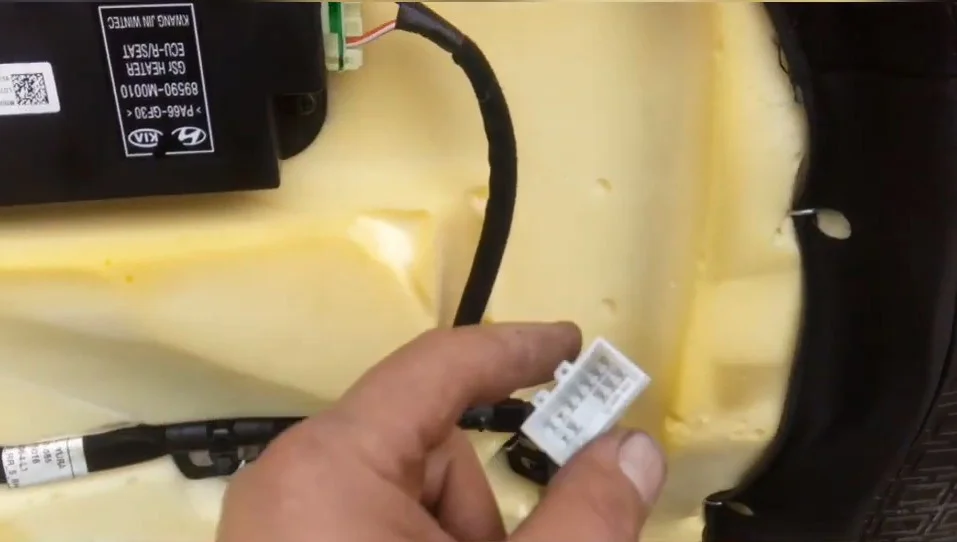
If the rear seat has heating, disconnect the power plug. It is located on the right-hand side.
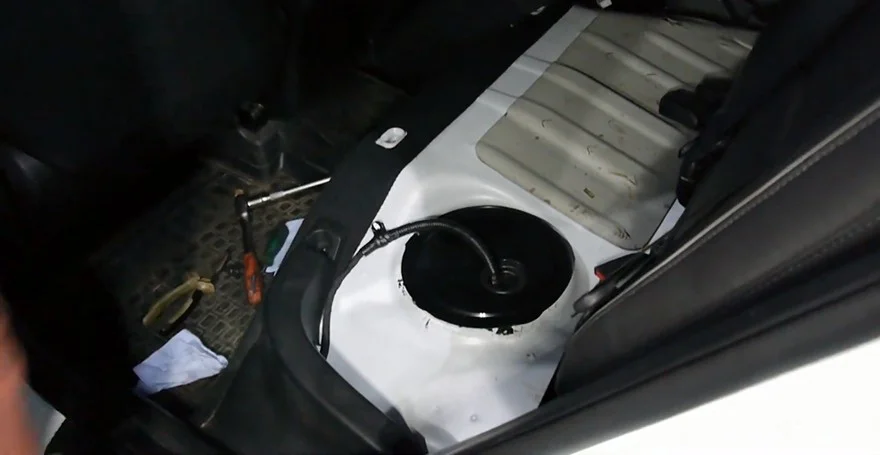
Proceed to dismantle the filter; it is located under the passenger seat on the left-hand side.
To soften the sealant, it is necessary to warm it with a hairdryer; otherwise, you might break it. Then pry up the plastic cover and remove it.
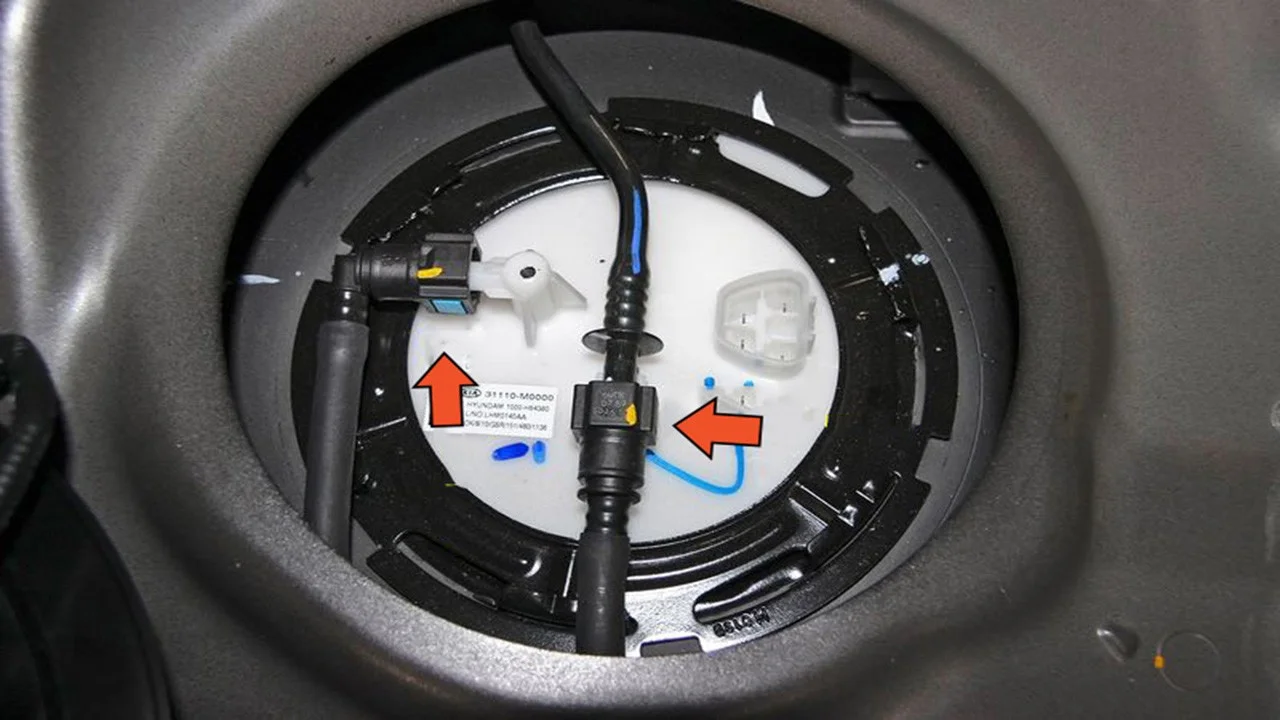
Press the locking tab and disconnect the pump power block. Next, press the clips and disconnect the quick-release connectors from the unions. When disconnecting the hose, a little petrol may spill out.
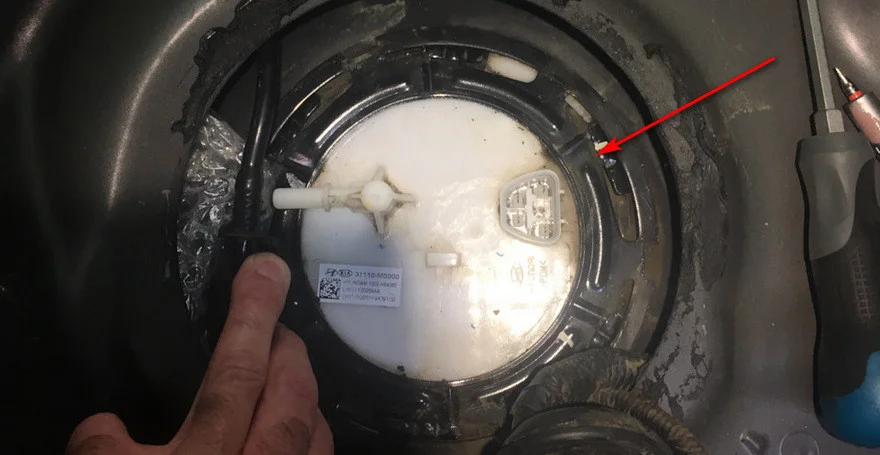
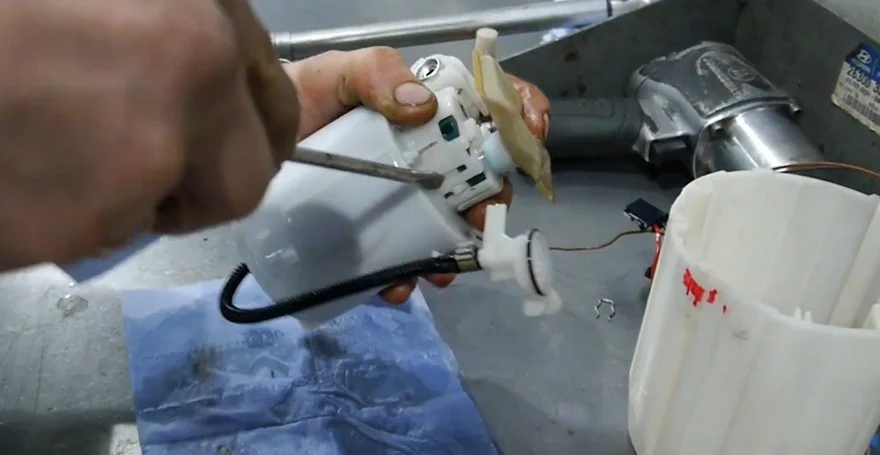
Now the metal retainer needs to be removed. The fuel pump assembly with the filter is secured by a metal lock ring; it can be removed not only with a special puller but also by yourself if desired.
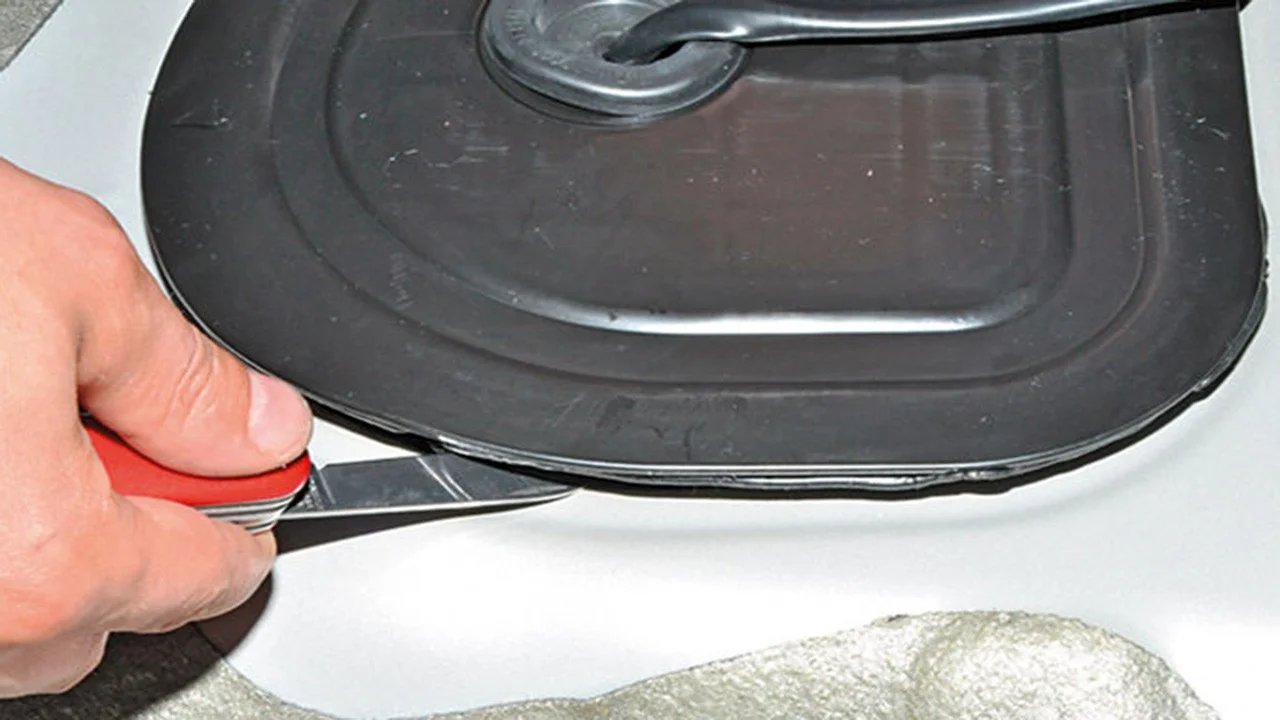
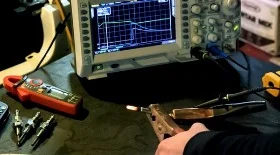
Using a special tool and a long lever, turn the latch counter-clockwise, literally by 10 degrees.
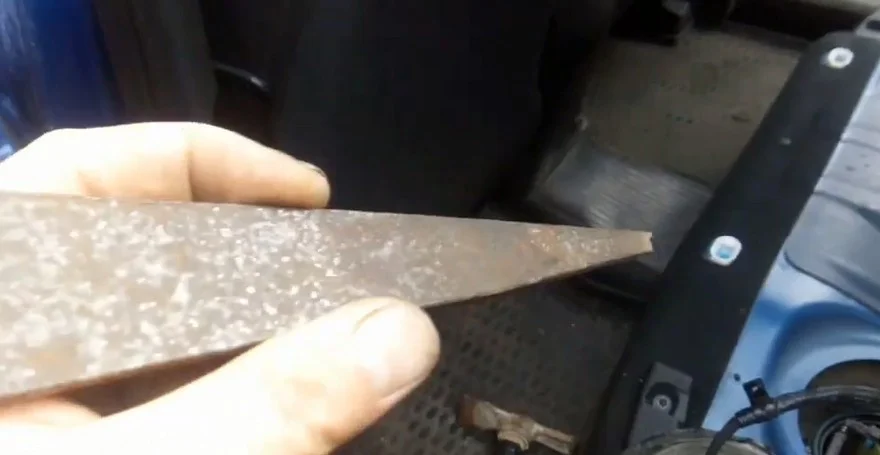
In the absence of a special puller, you can unscrew the retainer by tapping with a hammer on a makeshift tool in the form of a metal plate with a notch at the end.
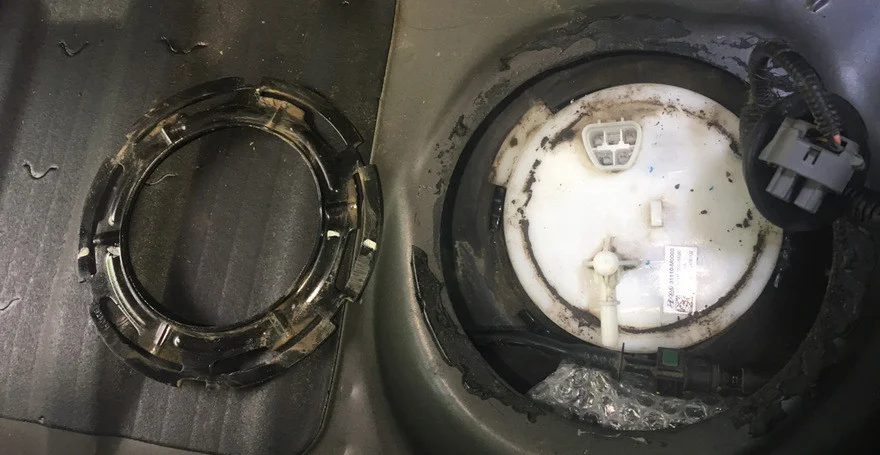
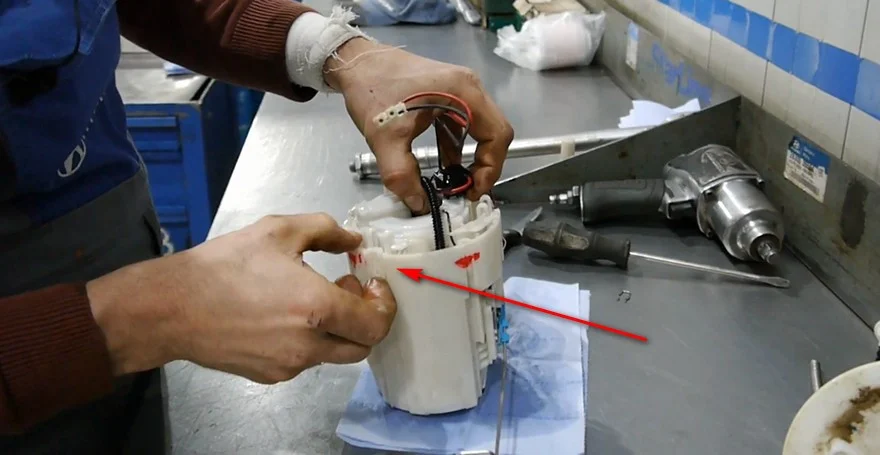
Move the retainer aside and pull the main fuel filter module out of the fuel tank opening.
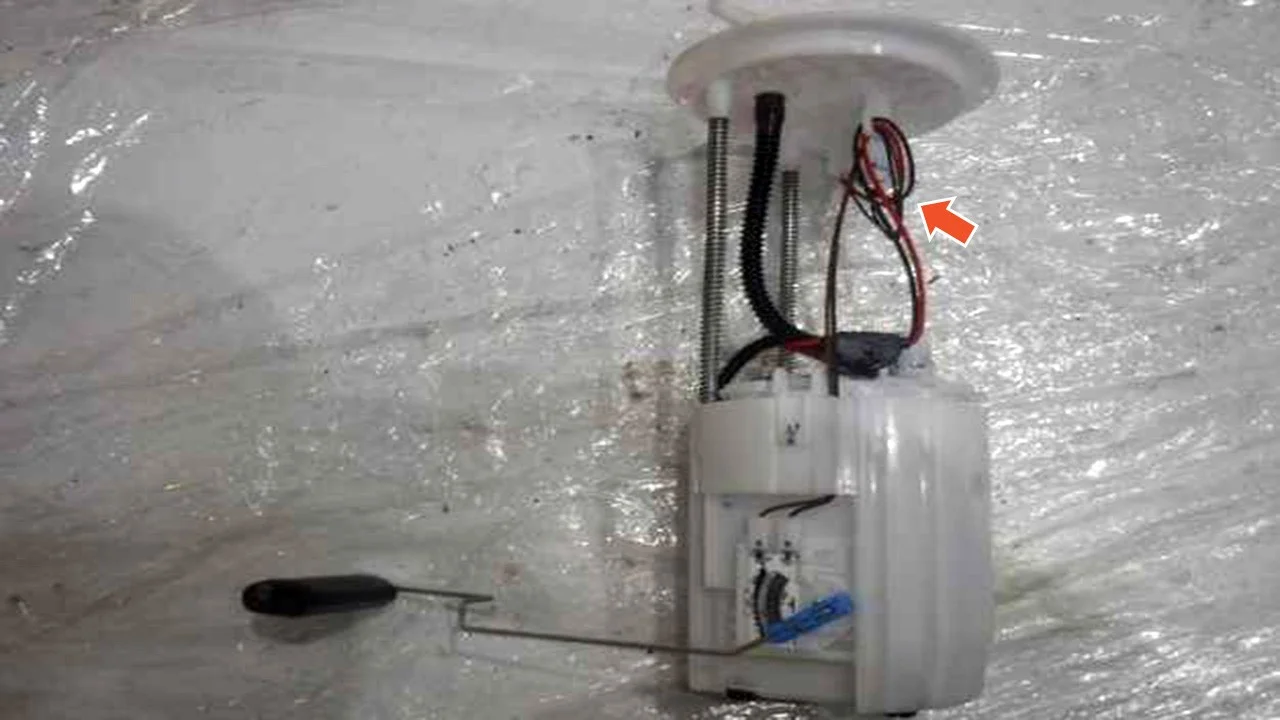
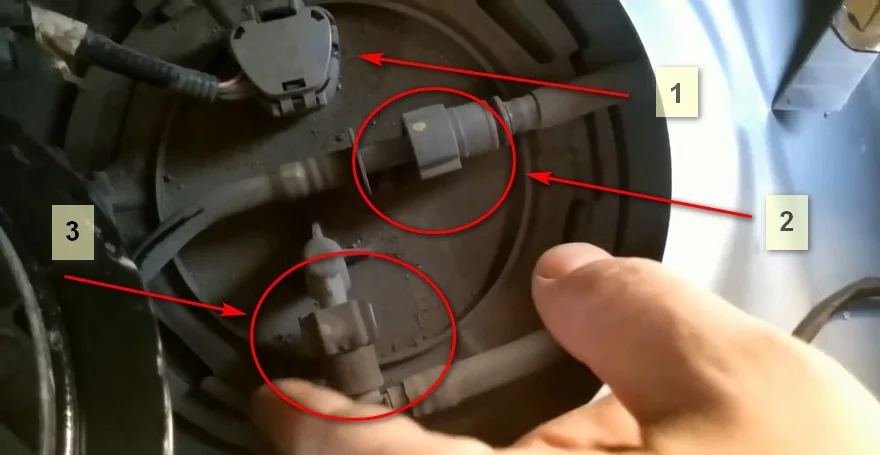
Having pulled out the fuel module, disconnect the electric pump wiring connector and the fuel sensor wiring connector.
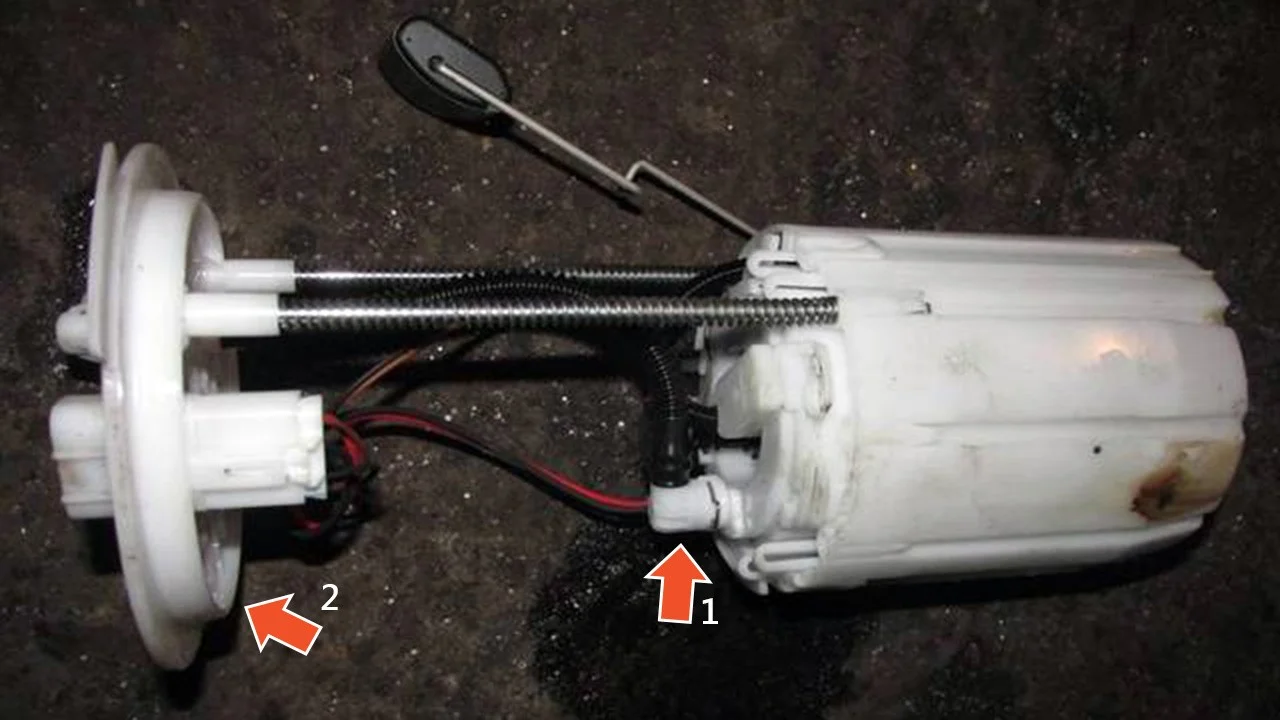
Disconnect the retaining clip 1, then remove the head unit 2.
Release the clips and remove the canister.
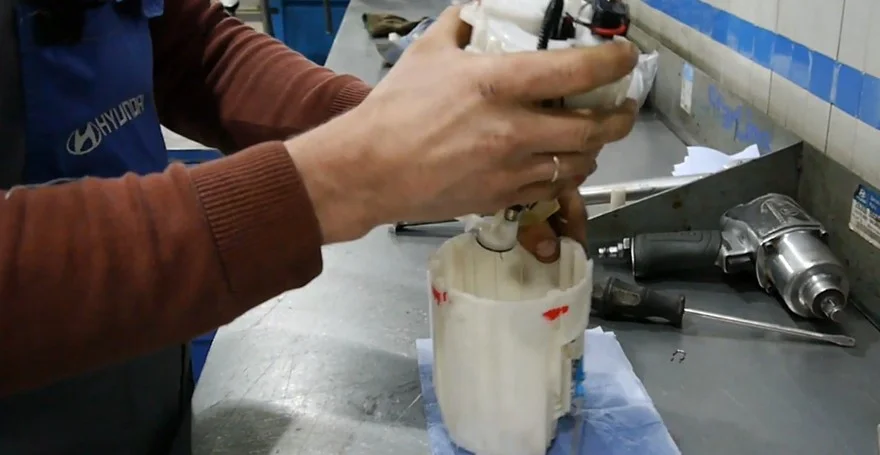
The module must be removed carefully so as not to bend the fuel level sensor float.
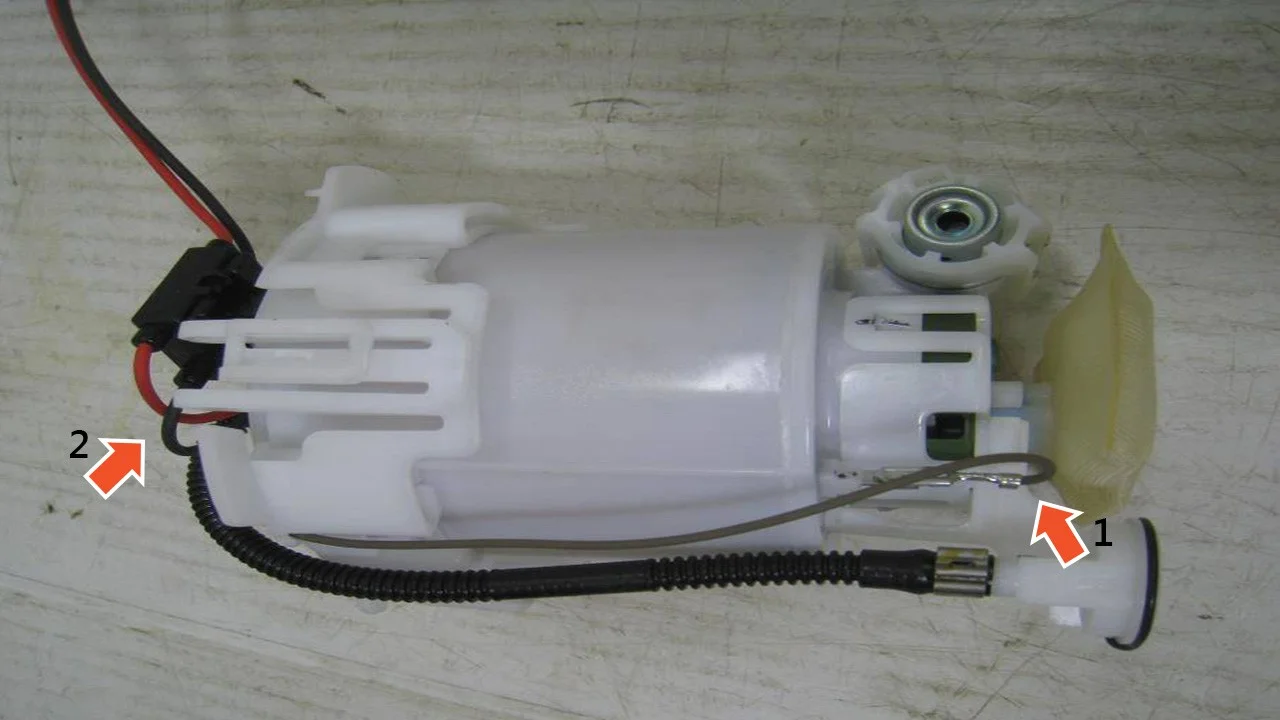
Disconnect the pump motor connector 2 and the earth cable 1.
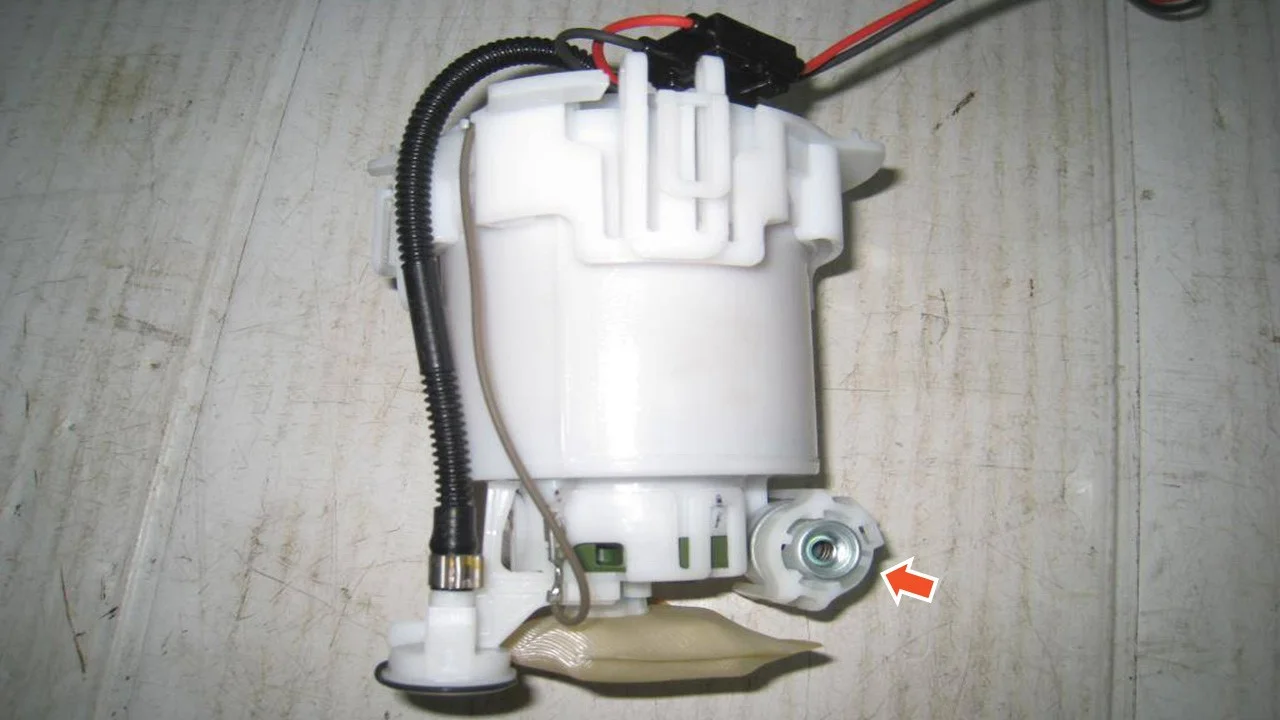
Remove the cover, then the fuel pressure regulator itself.
Pry with a screwdriver and remove the coarse filter mesh.
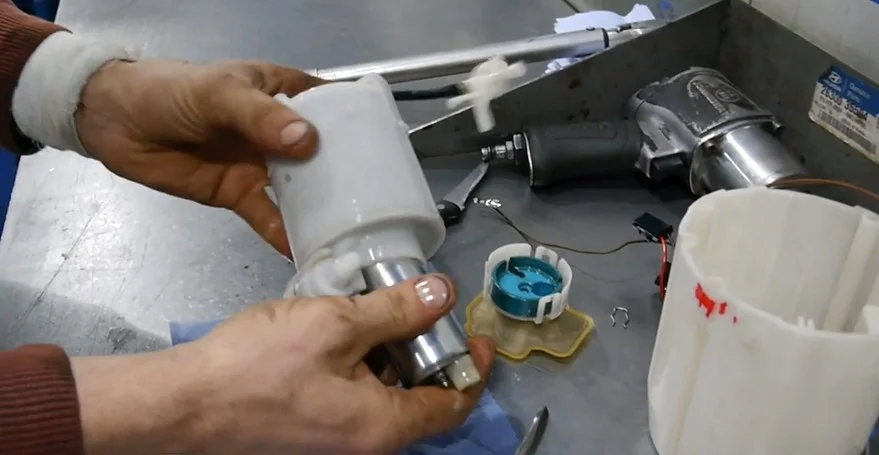
Remove the pump motor. Then disconnect the mounting clip and remove the auxiliary pump assembly.
Next, proceed with installing the new fuel filter.
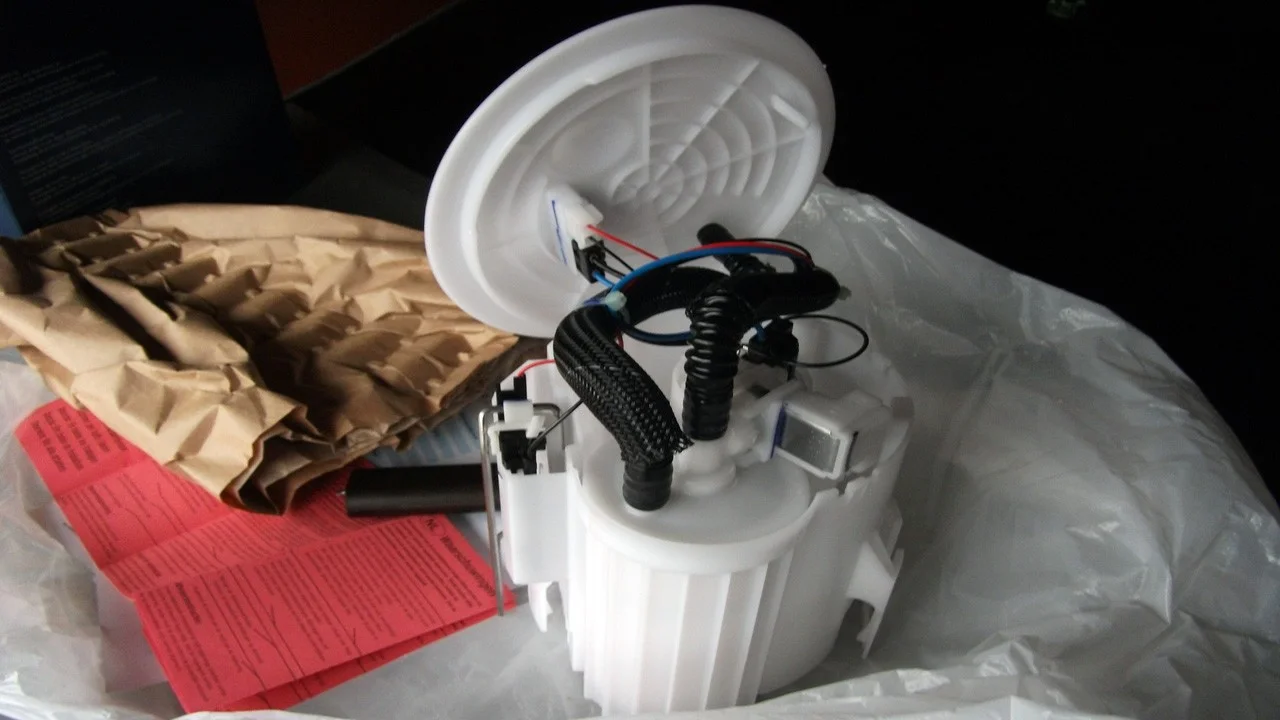
Install the new fuel filter into the module and reassemble everything in reverse order.
Install the fuel module back in place, connect all contacts and connectors. Close the cover and reinstall the seat.
Was this guide useful?
Your feedback helps us improve our content.


Discussion (0)
No comments yet!