Mitsubishi Lancer 1.6 (4G18) Timing Belt Replacement
Timely replacement of the timing belt on a Mitsubishi Lancer is vital because a snapped belt bends the valves. Therefore, do not delay, especially since you can change the timing belt on a Lancer 9 with a 1.6 engine yourself.
When to change and which timing belt is best for the Lancer 9
The replacement interval for the Mitsubishi Lancer 9 timing belt is 90,000 km. Additionally, the belt must be changed if you detect: cracks and delamination, scuffs and other signs of tooth wear, exposed threads, as well as traces of oil on the belt surface. Oil destroys rubber and can get onto the belt due to leaking oil seals (crankshaft or camshaft).
Often, when choosing which timing belt is best, the original (OEM) part is recommended. However, if the price is an issue, you can compromise slightly on quality and choose an aftermarket alternative.
Part numbers for Mitsubishi Lancer 9 timing belt (1.6 4G18 engine):
- Original Mitsubishi MD342154. Aftermarket alternatives: MITSUBISHI 1145A051, CONTITECH CT1008, GATES 5535XS, DAYCO 94904, INA 530051810, and others.
Part numbers for Mitsubishi Lancer 9 tensioner pulley:
- Original Mitsubishi MD356509. Aftermarket alternatives: SKF VKM75625, INA 531067220, SNR NEP57008A6, TSN 6147, and others.
Price of the Lancer 9 timing belt: Original parts are generally more expensive. Aftermarket alternatives will cost significantly less.
Replacing the timing belt at a garage will incur labour costs — the procedure takes about 2.5 standard hours, and hourly rates vary depending on the workshop.
How to change the timing belt on a Lancer 9
A step-by-step guide to replacing the timing belt is presented in the photos above. Below, the main points of the procedure are described in more detail.
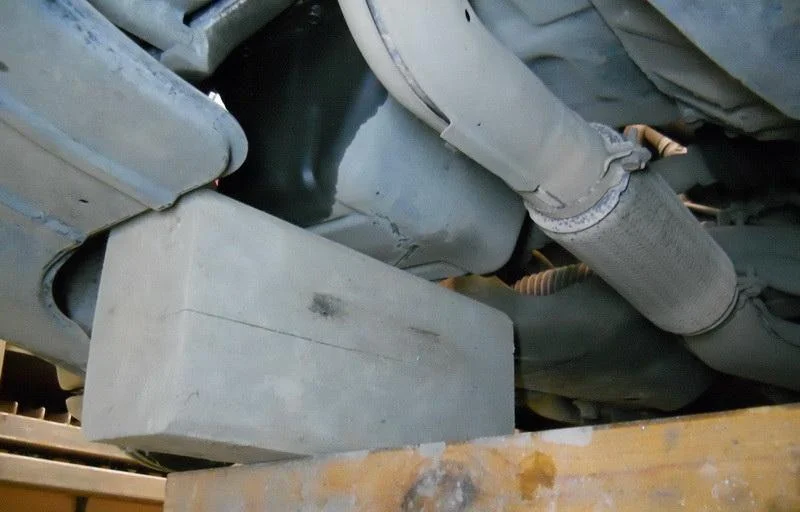
- You can change the timing belt without an inspection pit or a vehicle lift. It is possible to manage by jacking up the front section (using axle stands, of course) and removing the right wheel.
- Removing the crankshaft pulley can be difficult — the retaining bolt is often hard to undo. The most effective method is to undo it using the starter motor. To do this, disconnect the ignition coils (and the fuel injector power supply, just in case), place a socket on the bolt and brace the breaker bar against a suspension arm or the ground. Then, using short bursts (no more than 1 second), crank the starter — the bolt should loosen on the first try. You can attempt to undo the bolt another way if you have an assistant who can press the brake pedal while the car is in fifth gear.Some repair manuals suggest undoing the crankshaft pulley bolt using an old alternator belt. Many mechanics advise against this method.
- Lancer 9 timing marks (crankshaft and camshaft) are aligned after the crankshaft pulley, water pump pulley, and lower cover have been removed. To set the marks, shift into 5th gear, reinstall the wheel, and rotate it until the camshaft marks align with the engine block. Then check the crankshaft mark; if the marks on the camshaft and engine block align, the crankshaft mark should also match.
- When installing the tensioner pulley, the spring is not fitted immediately. After bolting on the pulley, you need to route the timing belt so that the side opposite the pulley is pulled tight. After this, the spring is installed, which automatically tensions the belt. Then the central bolt of the pulley is tightened.
Tightening torques for threaded fasteners when replacing the timing belt (for 4G18/13 engines):
- Crankshaft pulley bolt — 128 Nm;
- Water pump pulley bolt — 9 Nm;
- Water pump mounting bolt — 13 Nm;
- Belt tensioner bolt — 23 Nm.
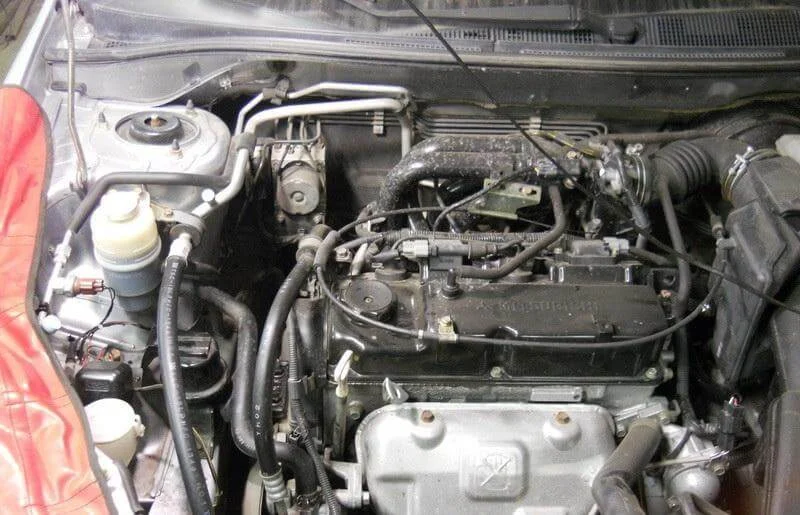
The 'patient' is the 1.6-litre 4G18 engine.
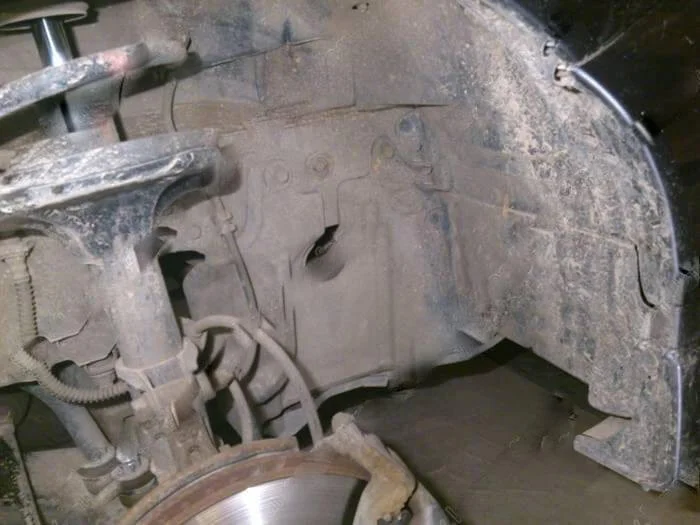
First, remove the front right wheel and unscrew the wheel arch liner.
This provides access to the crankshaft pulley. Undo the 3 bolts with a 10mm key and remove the upper timing belt cover.
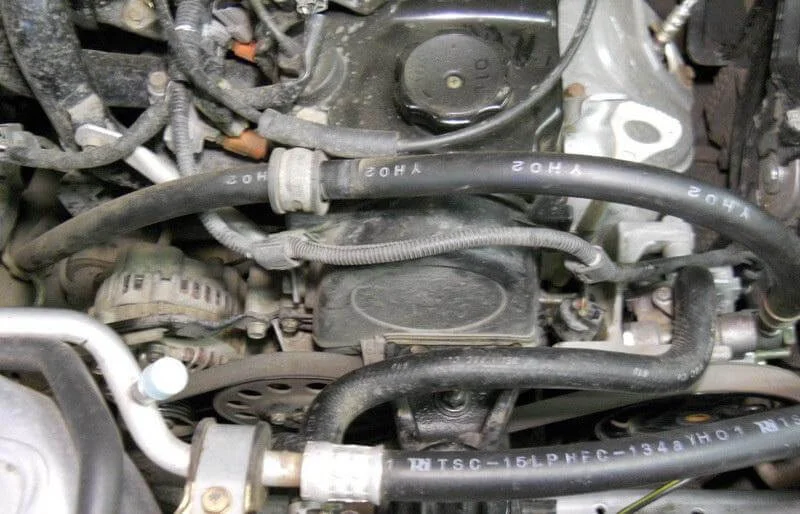
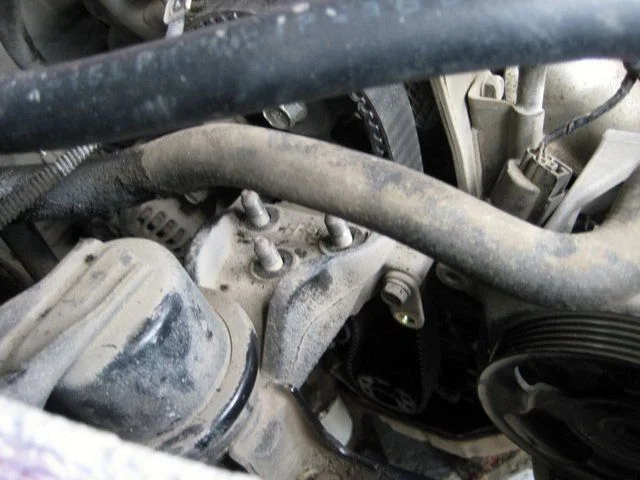
Loosen the tensioning bolts on the alternator and the power steering (PAS) pump.
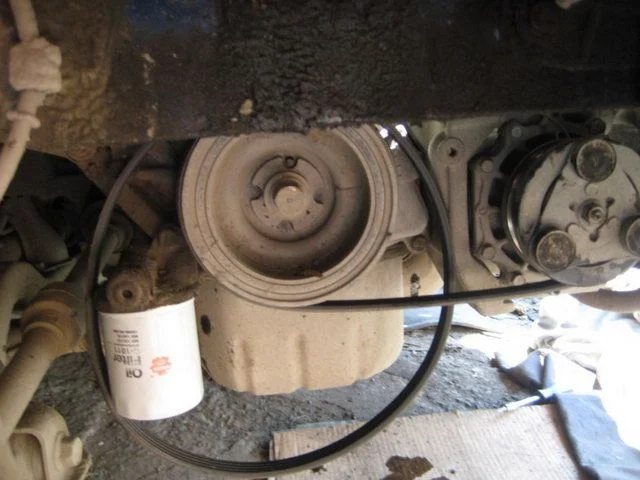
Remove the auxiliary drive belts.
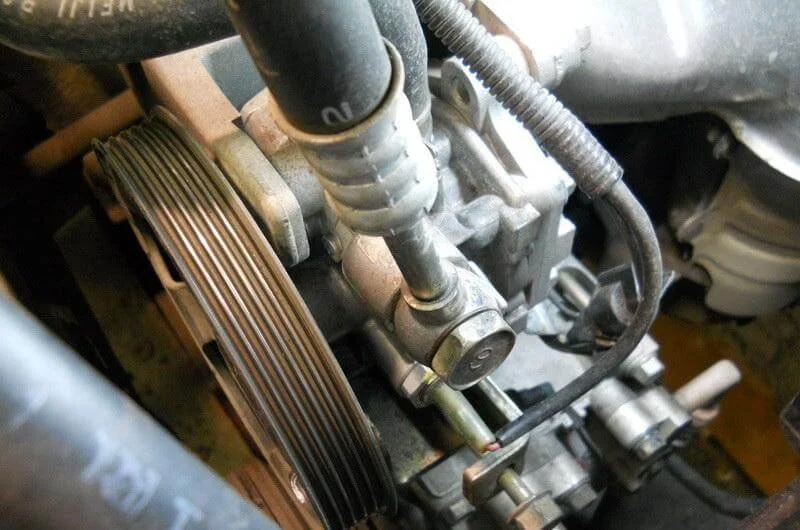
Pictured is the tensioning bolt for the power steering pump.

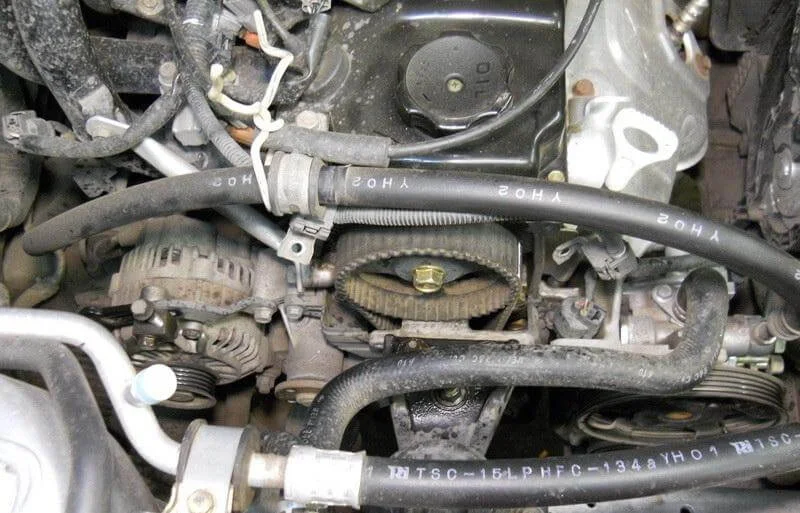
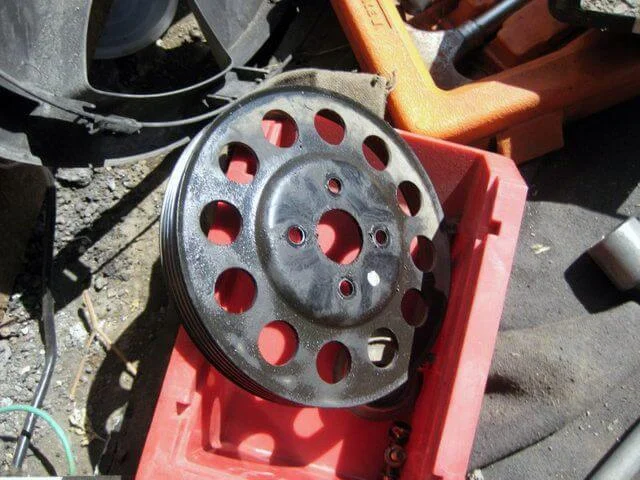
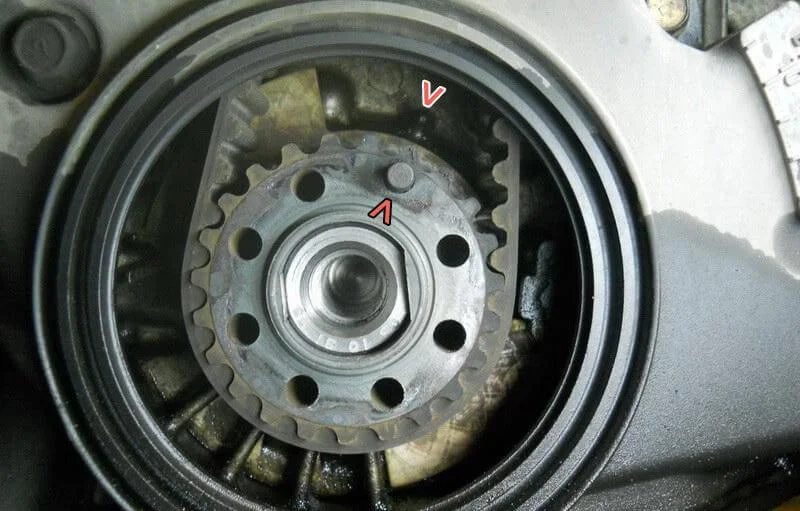
Next, remove the water pump pulley; to do this, lock it with a screwdriver and undo the 4 bolts.
Remove the pulley.

Next, undo the crankshaft bolt that secures the pulley. It is best to use an impact wrench, as the bolt is tightened with considerable torque, and seizing should also be taken into account.
If the crankshaft pulley bolt refuses to loosen, there are several ways to 'persuade' it. One of the best is using the starter motor, bracing the breaker bar with the socket against the ground or a suspension arm. This is described in detail below.
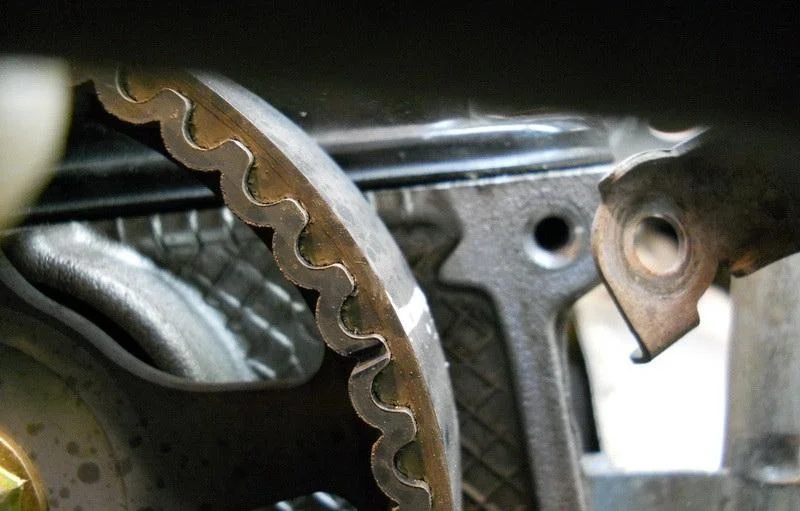
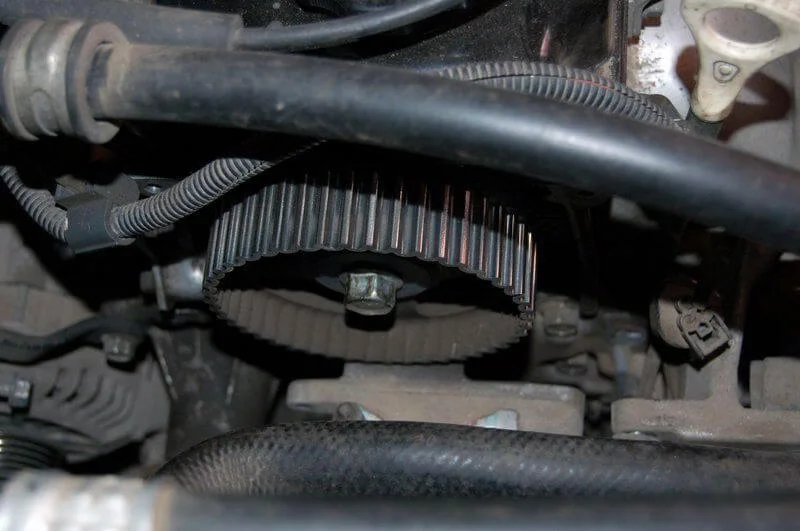
Align the crankshaft according to the mark. On the camshaft sprocket, the timing mark must align with the notch on the cylinder head.
If the marks on the camshaft and engine block have aligned, the crankshaft mark must also coincide.
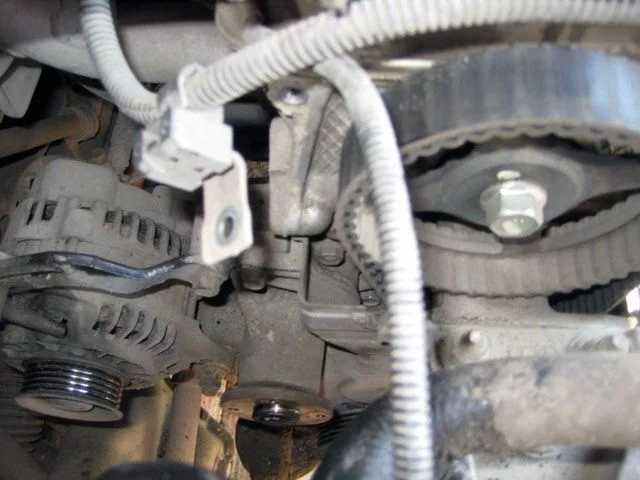
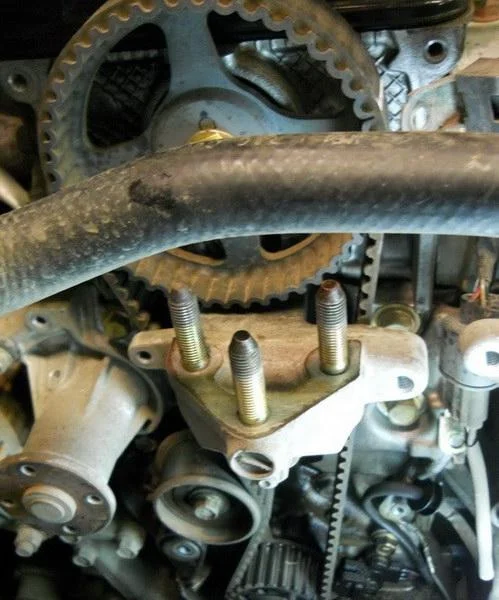
To remove or install the timing belt, it is necessary to remove the engine mount. The engine must be supported from above or a temporary support placed under the sump from below.
Undo the mount fastenings and the power steering compressor bracket.
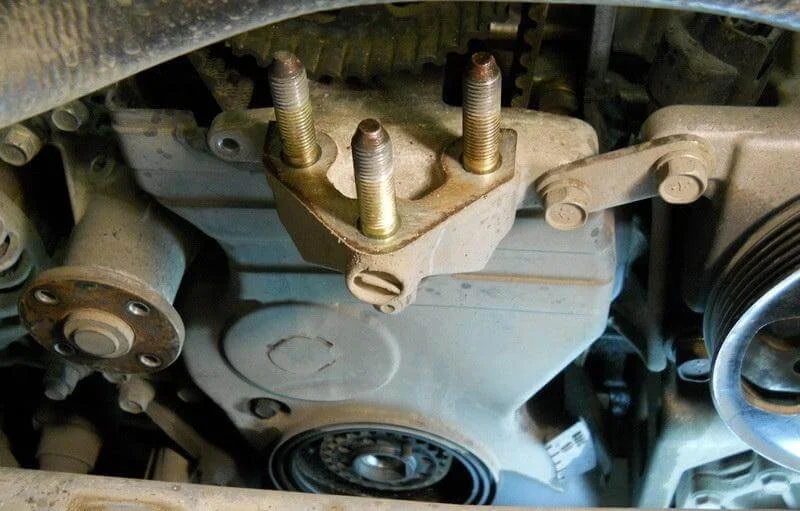
Engine mount removed.
Using a 10mm spanner, undo the bolts securing the lower timing belt cover and remove it.
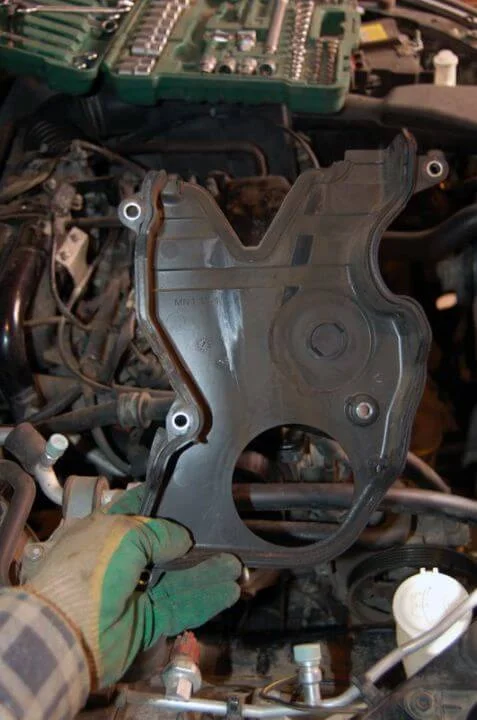
The lower cover.
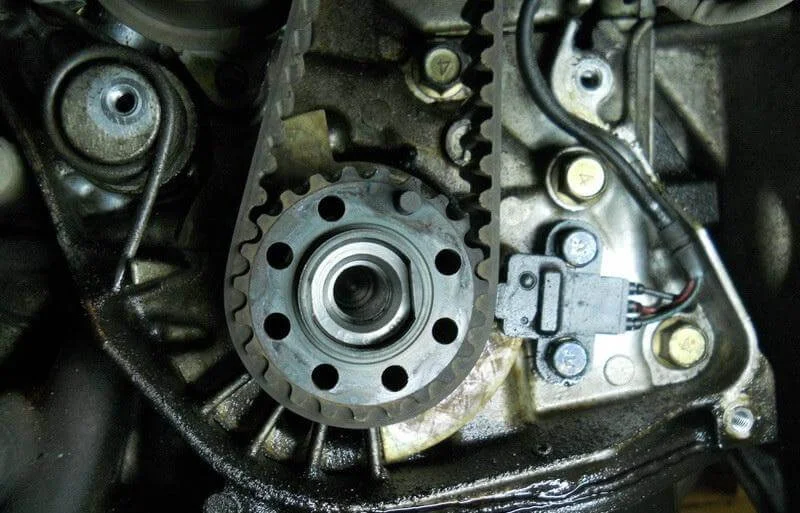
Pre-tensioning of the roller in the lower part of the engine is created by a spring.
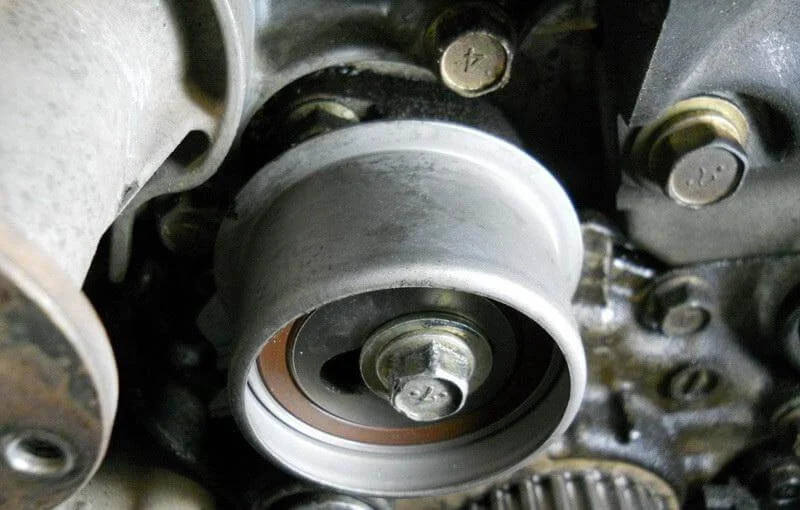
The tensioner pulley is attached to the cylinder block with a single bolt. You need to carefully unhook the spring and remove the pulley.
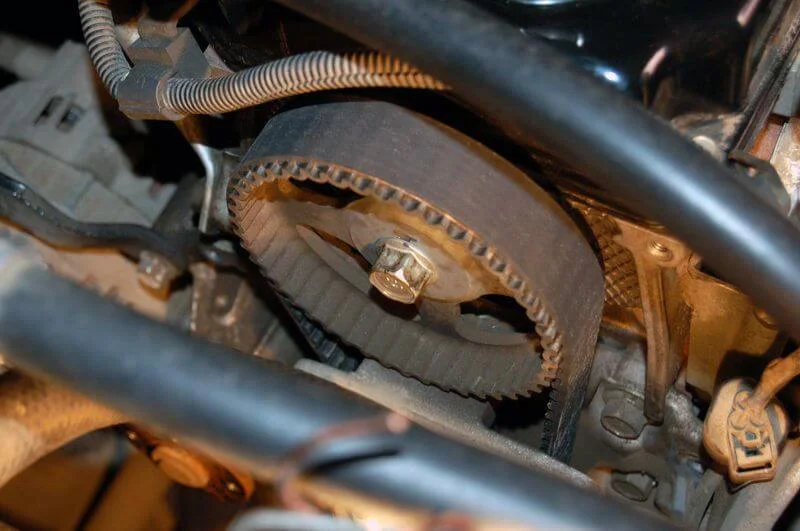
You can now remove the timing belt.
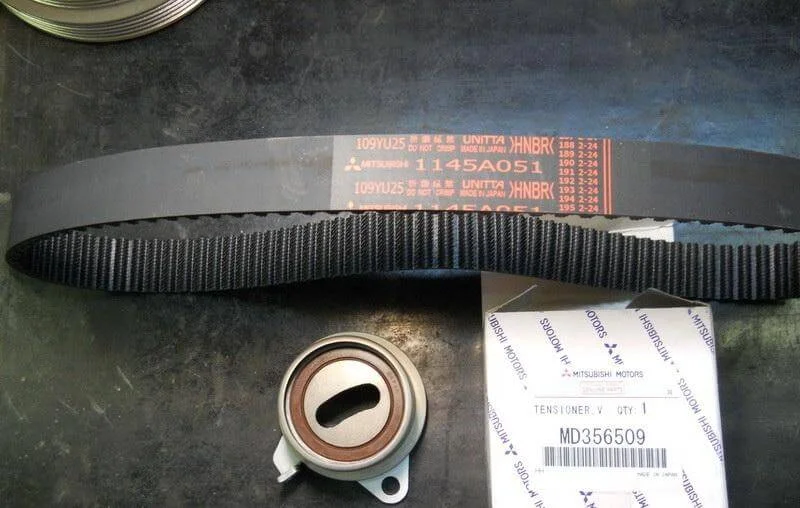
An original Mitsubishi belt and pulley kit was used.
The new belt is installed starting from the bottom. When installing the new belt, the tensioner pulley is first moved as far as possible to the side and clamped with the bolt. After fitting the new belt, loosen the pulley bolt and the spring will apply the correct tension to the belt automatically. Tighten the bolt to a torque of 20-26 Nm.
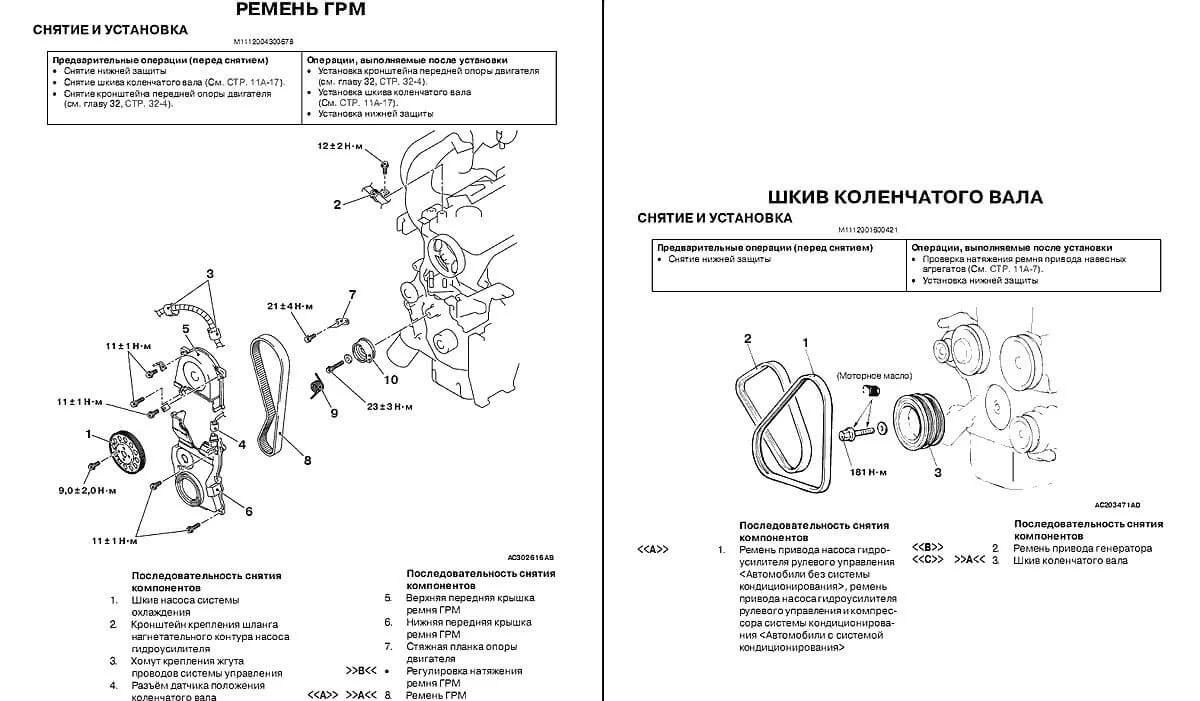
Schematic representation of the procedure and tightening torques for threaded connections.
Was this guide useful?
Your feedback helps us improve our content.


Discussion (0)
No comments yet!