Timing belt replacement on Chevrolet Lacetti 1.4 and 1.6
The photo report covers timing belt replacement for 1.4 and 1.6 litre engines, using the F14D3 engine for the Chevrolet Lacetti as an example. If you study the replacement details carefully, the procedure is accessible to anyone who periodically checks under the bonnet.
For the replacement, you will need a belt with rollers (idler + tensioner); you can choose SWAG 89 92 3457, Febi 23457, Gates K015419XS, Dayco KTB559, or Contitech CT 887 K1. If you have any further questions about which specific belt to install, we have an article about timing belts for the Chevrolet Lacetti 1.4, 1.6 and 1.8.
Standard tools for the job:
- set of spanners,
- set of sockets,
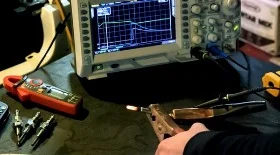
- special 41 mm spanner to tension the belt by turning the water pump.
Additional material on the topic:
- Replacing the water pump and timing belt on Chevrolet Lacetti
- Video instruction on timing belt replacement for Chevrolet Lacetti 1.4 16v
- Timing belt replacement order for Chevrolet Universal
- How many belts on the Lacetti?
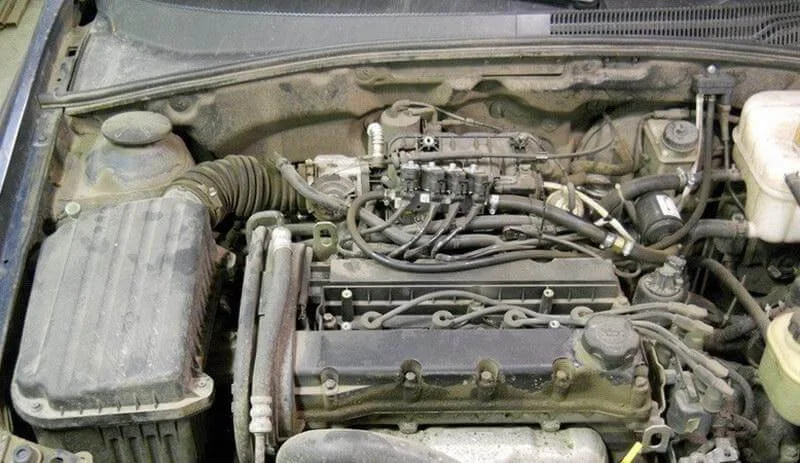
The engine in question is the F14D3. The first step is to remove the top plastic cover.

Jack up the car and remove the right front wheel, as well as the plastic guard covering the lower part of the engine.
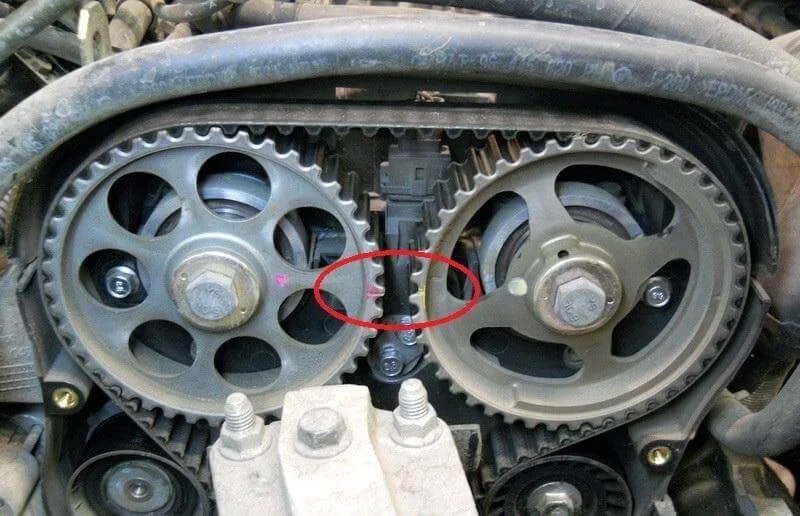
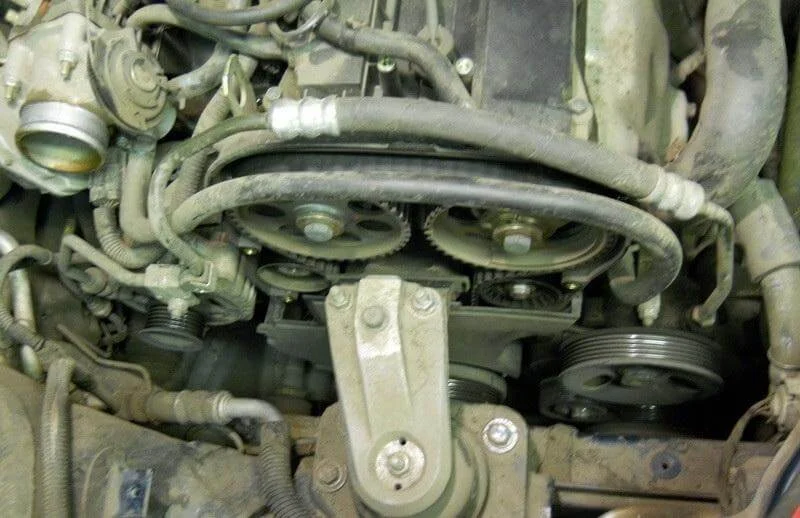
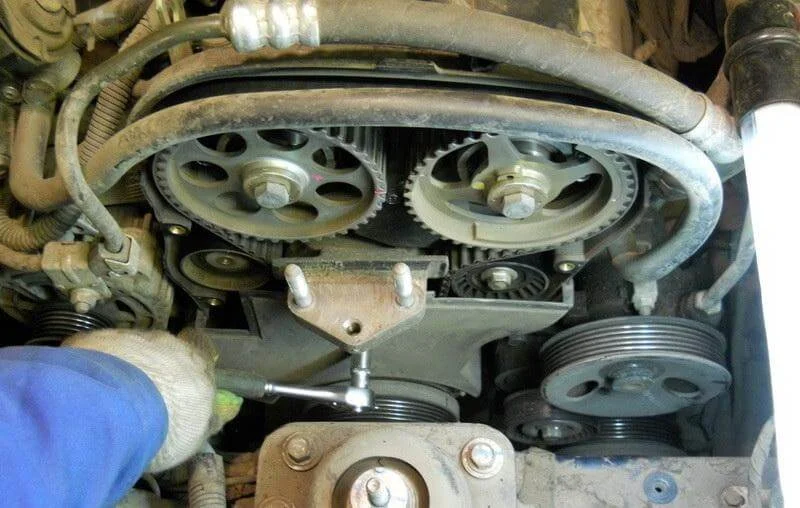
Using a 10 mm socket, unscrew the 3 bolts and remove the upper part of the cover protecting the timing drive, then align the camshaft gears according to the marks, as shown in the photo.
Remove the alternator, power steering and air conditioning drive belt. To loosen the tension, turn the tensioner pulley bolt head clockwise with a spanner.
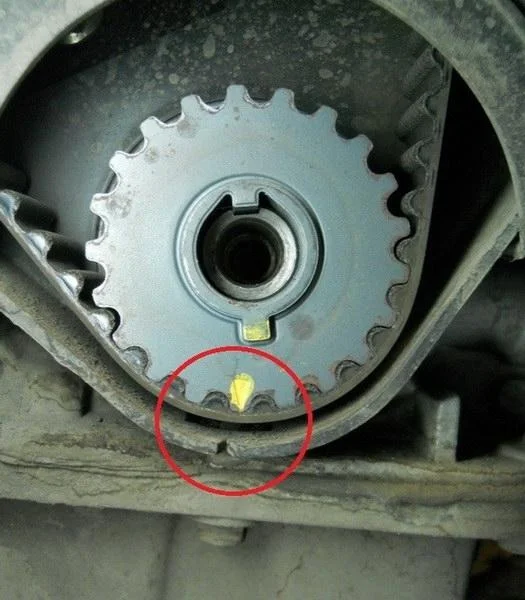
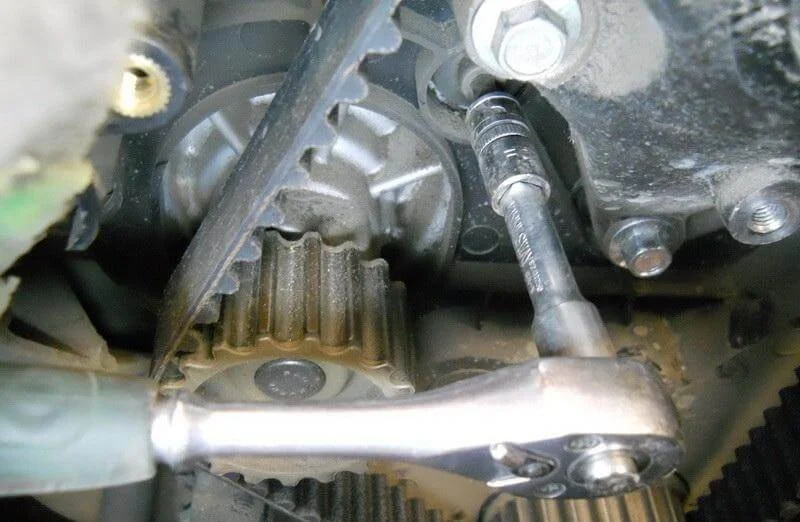
Unscrew the bottom crankshaft pulley; if possible, do this with an impact wrench. Pay attention to the position of the lower timing gear mark at the top dead centre of the first cylinder.
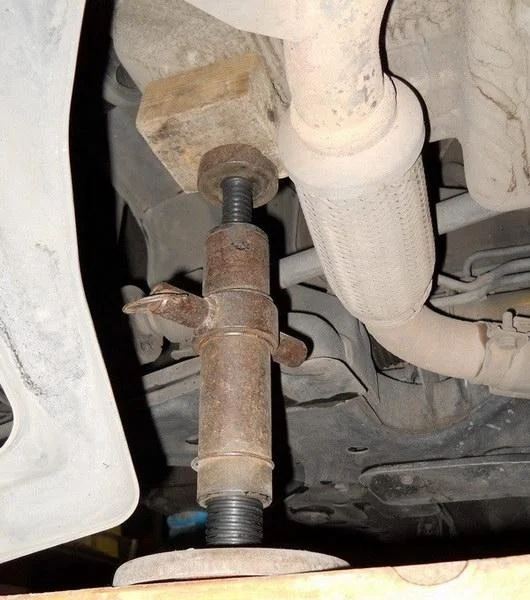
To replace the belt, the right engine mount must be removed. To do this, the engine is either suspended on a support beam or supported from below with a jack.
Remove the lower part of the timing belt cover.
The lower part of the cover is removed.
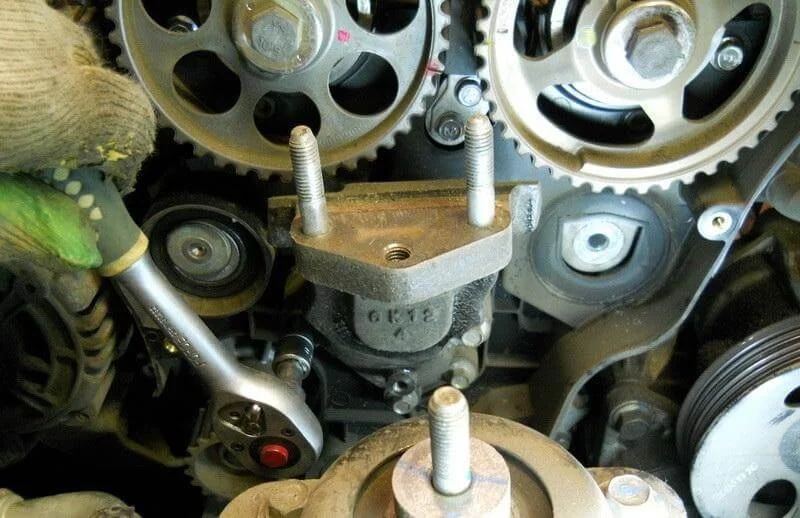
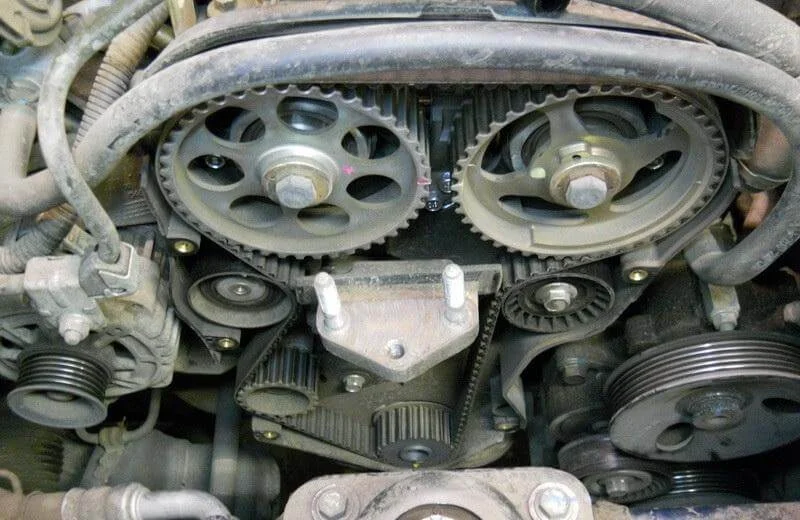
Remove the engine mount bracket to gain access to the tensioner pulley.
Then unscrew the pulleys and remove the timing belt. If replacing the water pump, the coolant is drained beforehand, the inner part of the cover is removed, and the 3 bolts securing the pump itself are unscrewed.
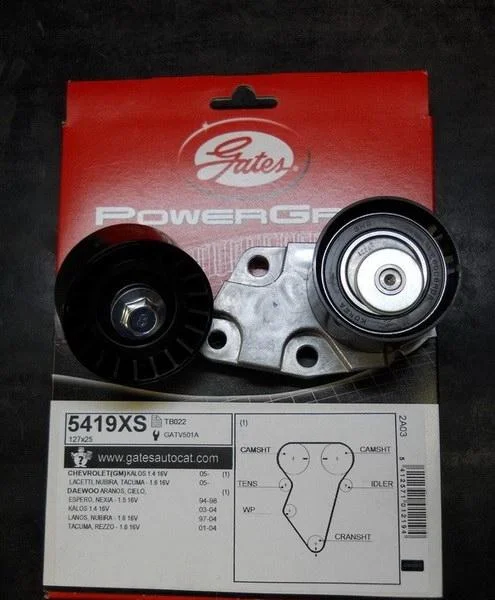
Kit for replacing the timing belt and pulleys.
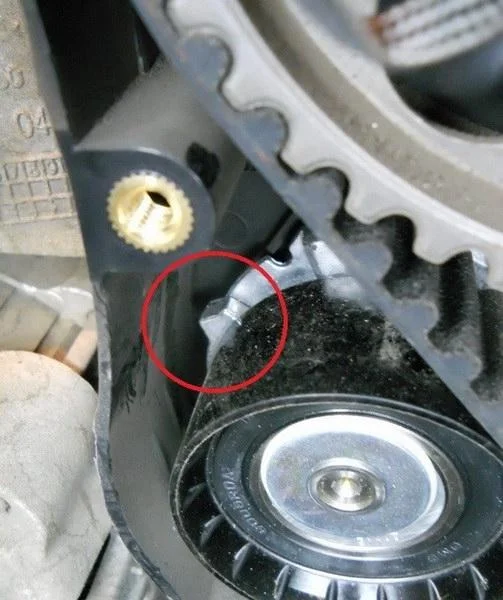
Install the new belt, monitoring the position of the marks. Tension the belt by turning the water pump so that the protrusion on the moving part of the tensioner pulley aligns with the corresponding notch on the fixed part.
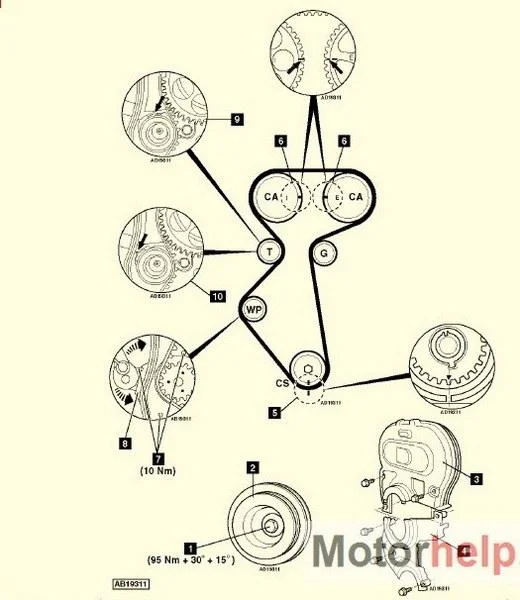
To verify correct installation, turn the crankshaft two full rotations and check the alignment of the marks again.
Was this guide useful?
Your feedback helps us improve our content.


Discussion (0)
No comments yet!