Timing Belt Replacement on Ford Focus Mk2 (1.6 Duratec)
According to the manufacturer's schedule, the timing belt on a Ford Focus Mk2 should be replaced every 160,000 km (or 8 years). However, practical experience suggests this procedure may be required much sooner — often between 100,000 and 120,000 km. It depends directly on operating conditions.
Signs That Urgent Timing Belt Replacement is Needed on FF2
- appearance of oily traces on the belt surface;
- cracks, cuts, or separation of the fabric from the rubber;
- appearance of creases, depressions, or bulges on the outer surface;
- wear on the edge of the belt;
- noise from the tensioner pulley.
Particular attention must be paid to the timing alignment procedure when changing the belt.
A mandatory requirement for a successful procedure is a set of locking tools (for camshafts and crankshaft) and a torque wrench.
Which Original Timing Belt and Aftermarket Options to Use for Ford Focus Mk2?
The timing belt for the Ford Focus Mk2 with the 1.6 Duratec engine has an original replacement kit with part number Ford 1 672 144. This kit includes:
- timing belt;
- tensioner pulley;
- mounting bolts (crankshaft bolt and camshaft bolts).
You can also purchase kits from other manufacturers (Contitech, Dayco, INA, Gates).

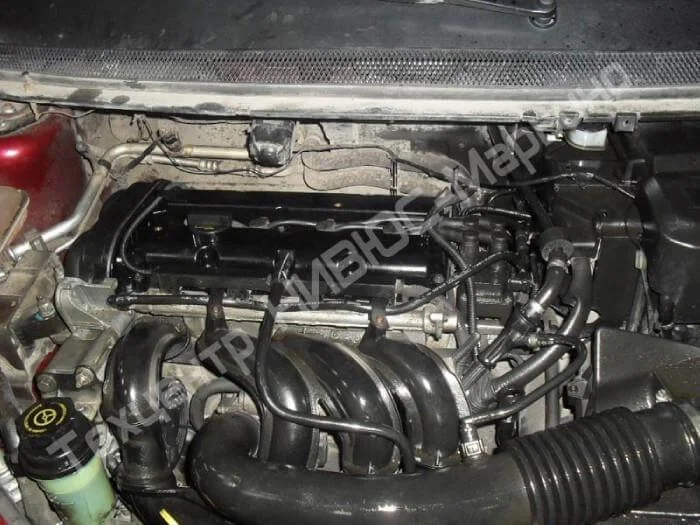
The vehicle is placed on a two-post lift (or an inspection pit).
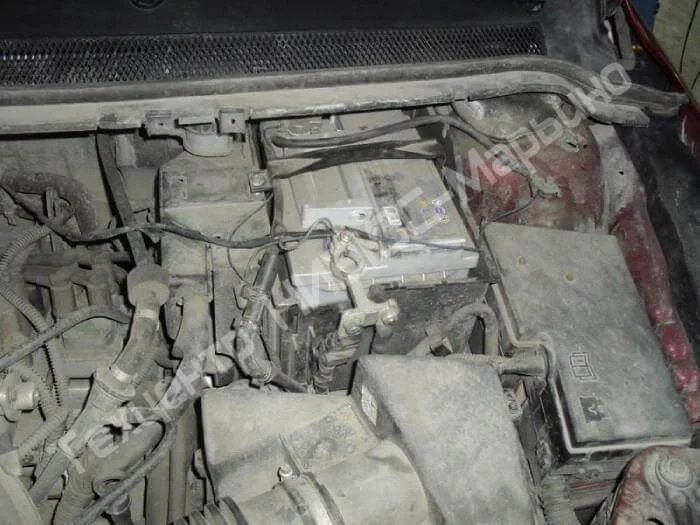
The negative terminal is disconnected from the battery.
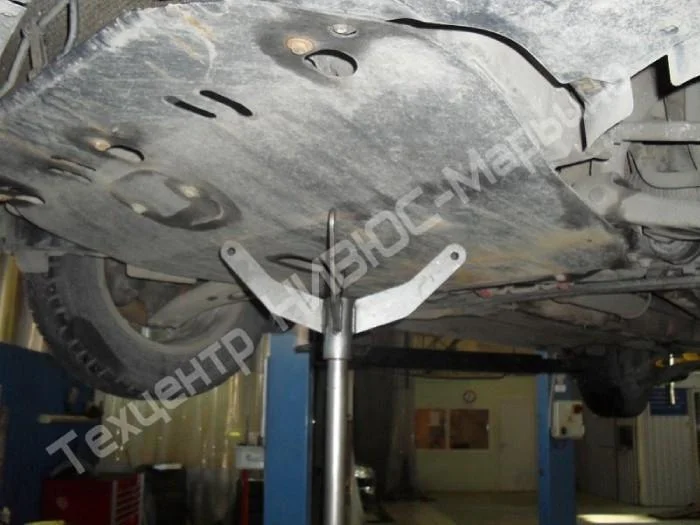
The metal engine sump guard (undertray) is removed.
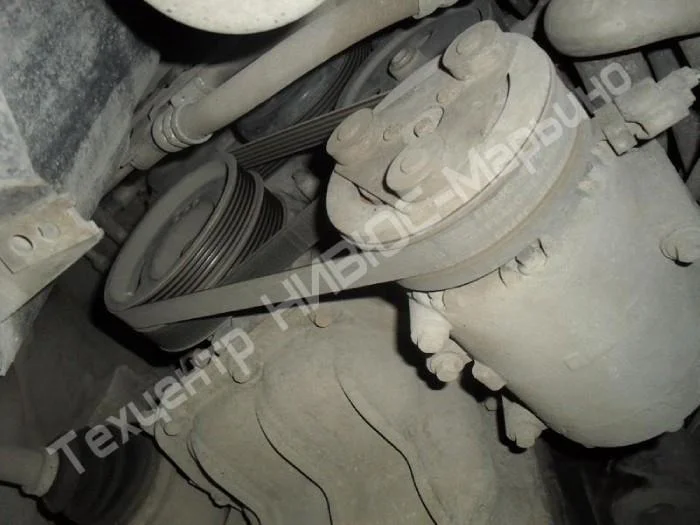
On this vehicle, the auxiliary drive belts (air conditioning and alternator) are of the elastic 'stretch' type, with no tensioners. According to regulations, they are single-use items.
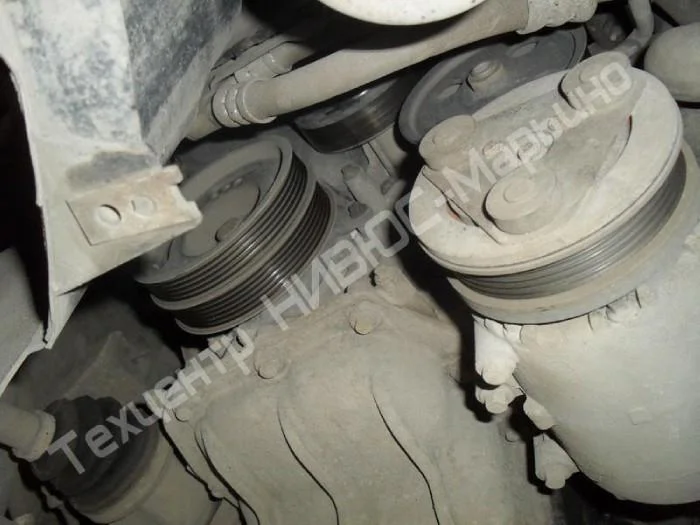
The old auxiliary belts are cut with a knife (if they are to be replaced).
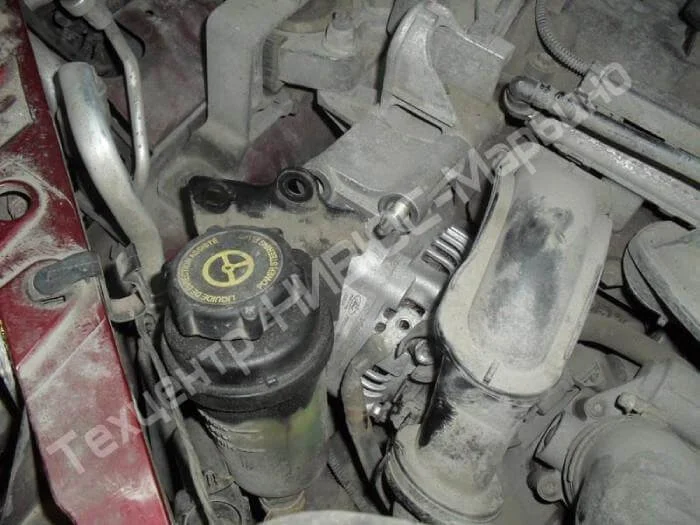
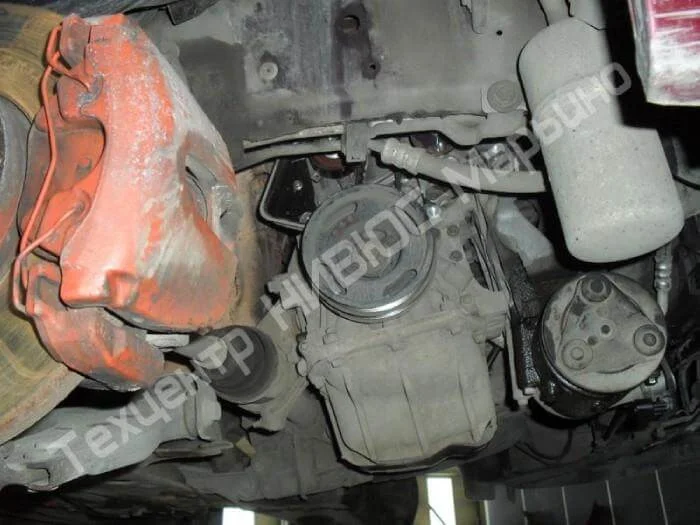
Unscrew the two bolts and one nut securing the alternator, and disconnect the electrical connector.
Unscrew the stud and move the alternator aside or remove it completely.
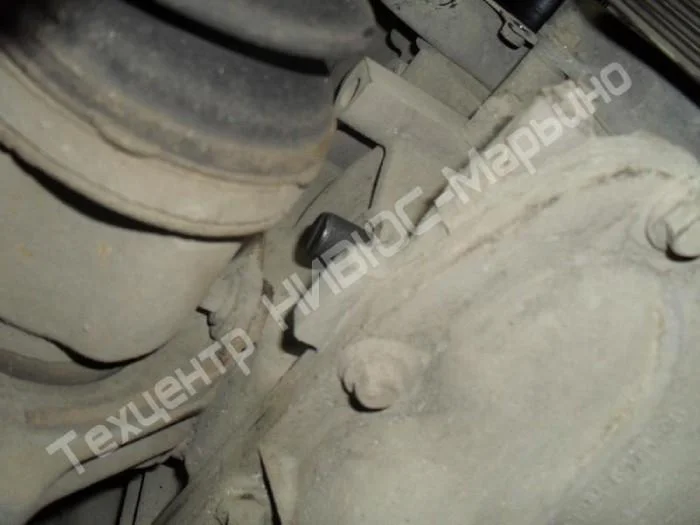
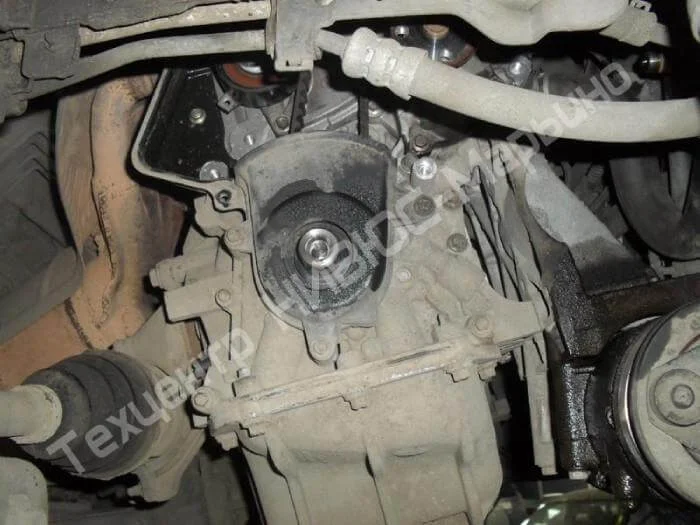
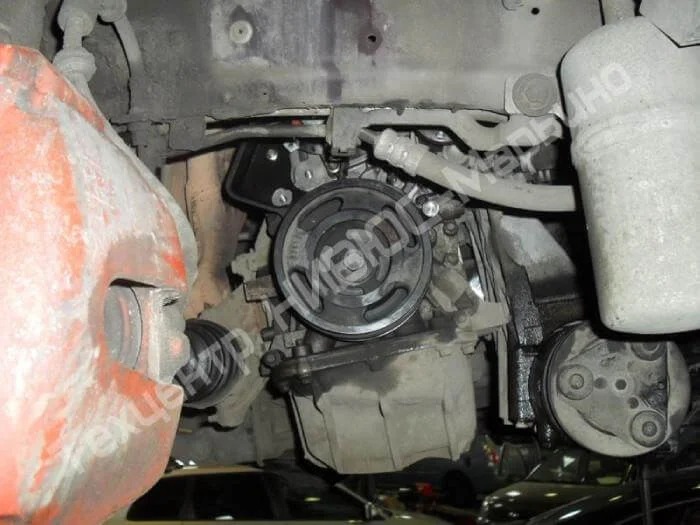
Place a support under the engine sump (a jack with a wooden block). Unscrew the bolts securing the right-hand engine mount.
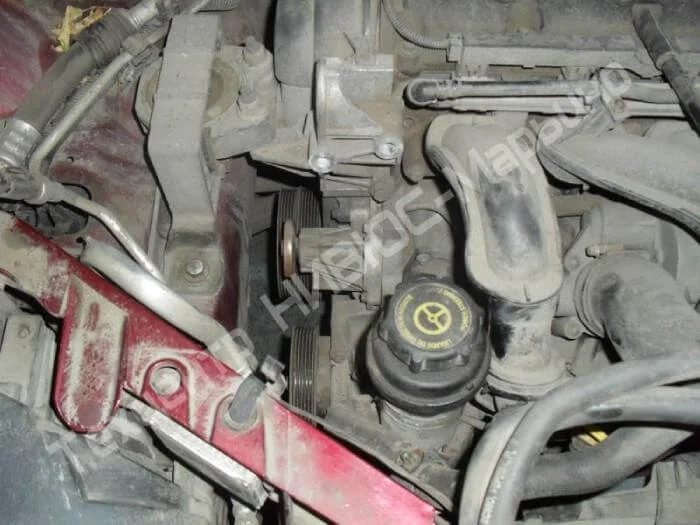
Remove the upper engine mount.
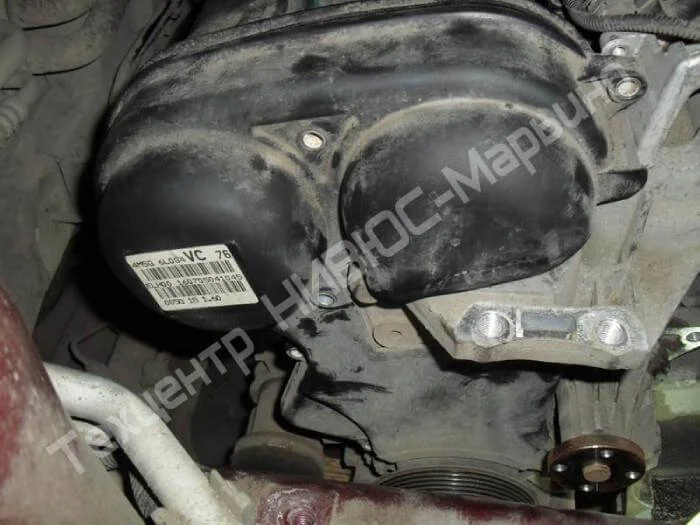
Unscrew the fasteners for the upper timing belt cover.
Remove the timing cover and the engine mount bracket.
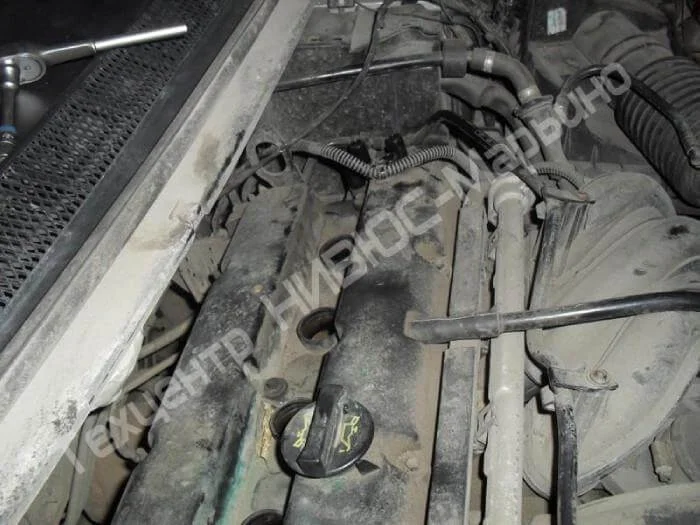
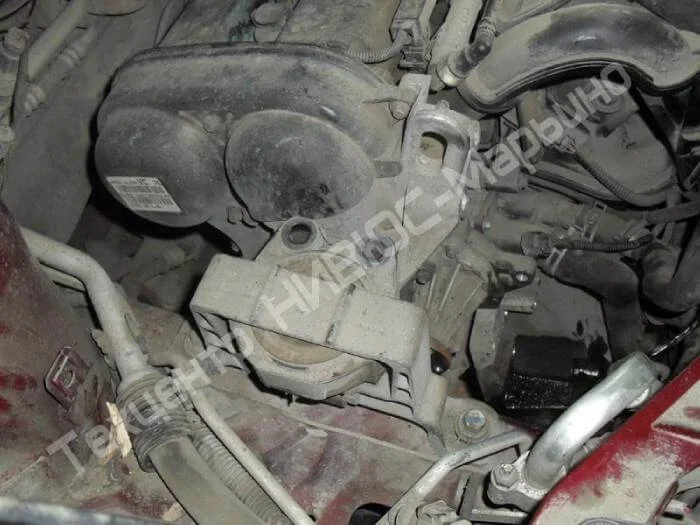
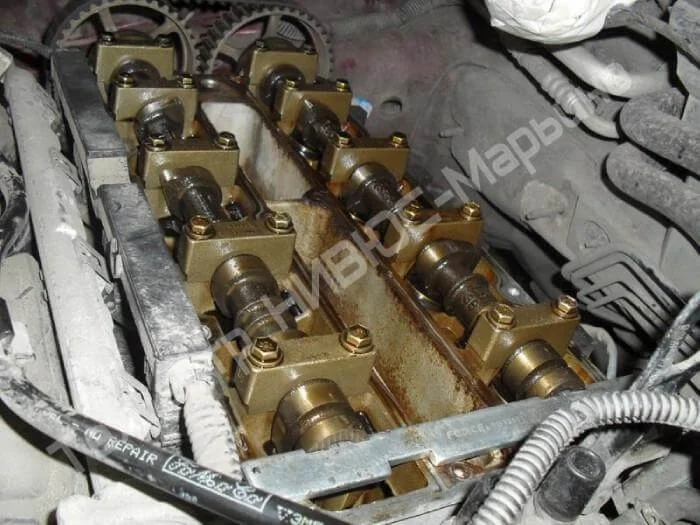
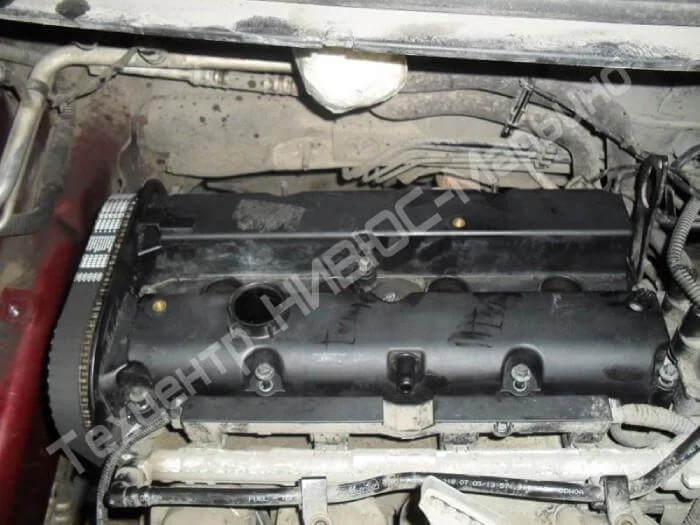
Remove the HT leads (ignition leads) and unscrew the valve cover bolts.
Remove the valve cover.
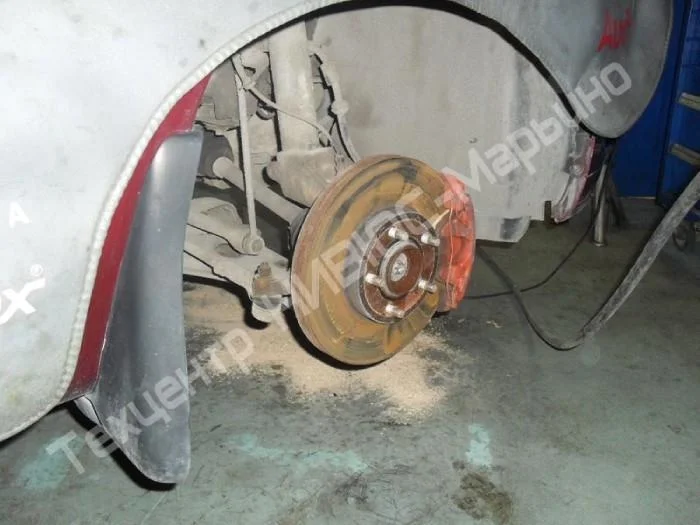
Remove the front right wheel.
Remove the right-hand wheel arch liner (splash shield) to gain access to the pulley.
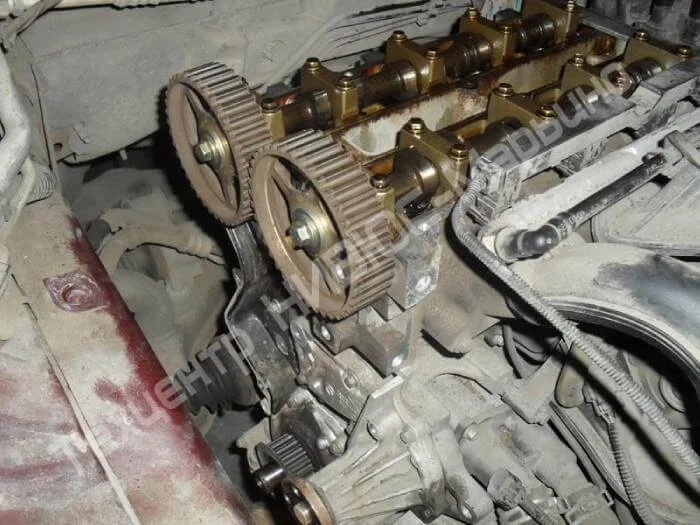
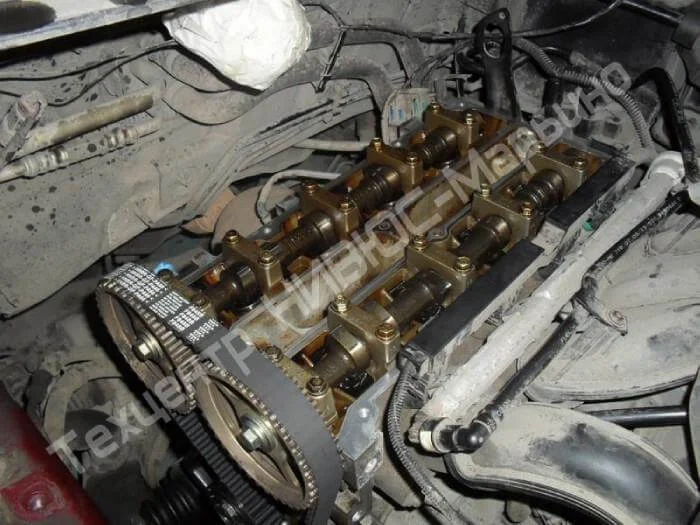
Rotate the crankshaft clockwise until the pistons of the 1st and 4th cylinders approach Top Dead Centre (TDC). Screw the special locking pin (crankshaft locking tool) into the cylinder block (near the crankshaft sensor or blanking plug) and turn the shaft until it rests against it.
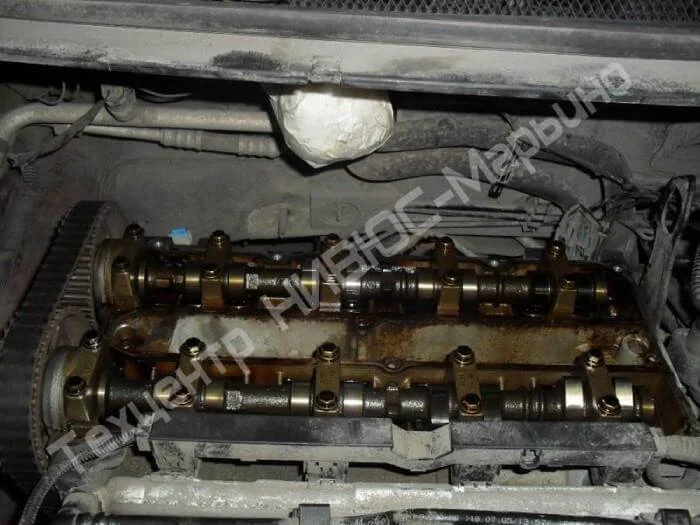
Install the locking bar (alignment plate) into the slots on the ends of the camshafts. It must sit flat, parallel to the cylinder head plane.

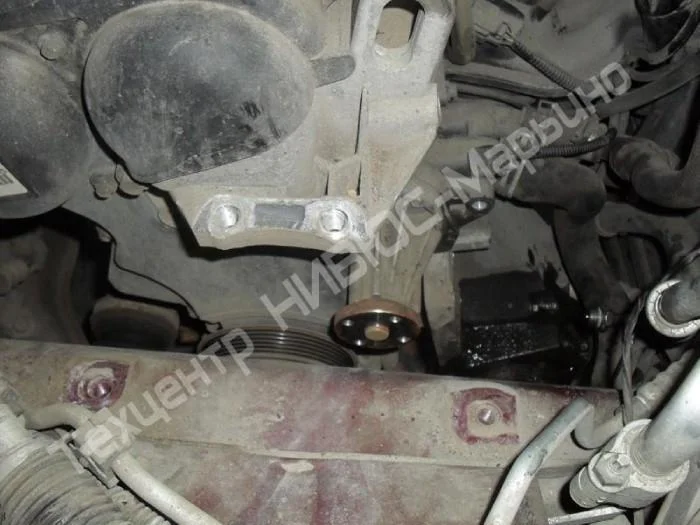
Lock the flywheel with a stopper tool or use an impact wrench to undo the crankshaft pulley bolt.
Remove the crankshaft pulley. If it is seized, use a puller.
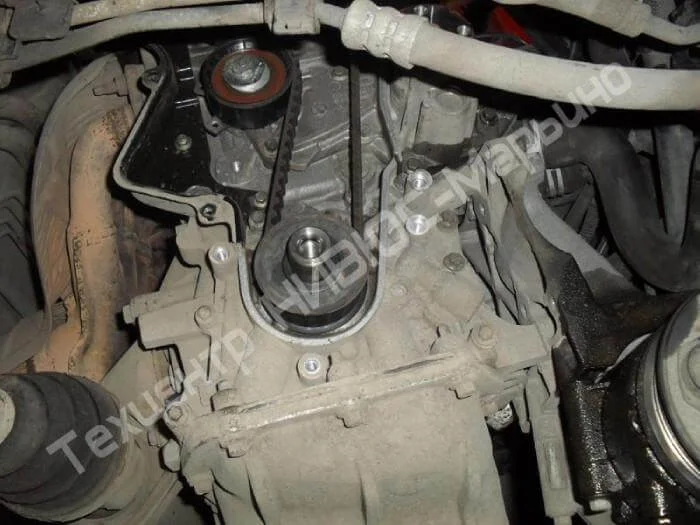
Unscrew and remove the lower timing belt cover.
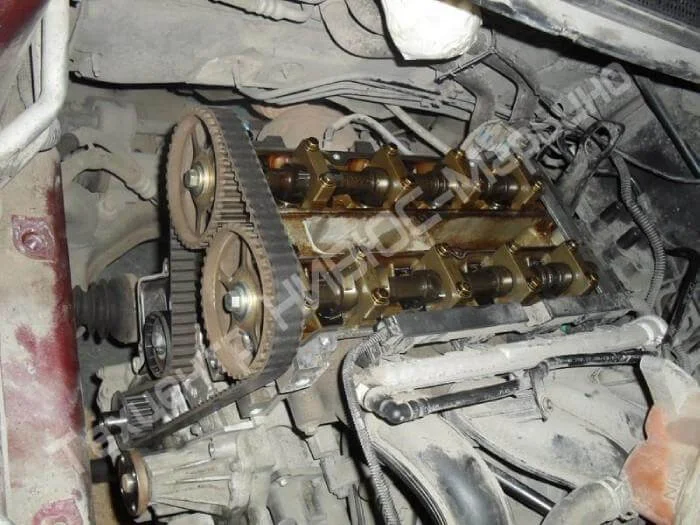
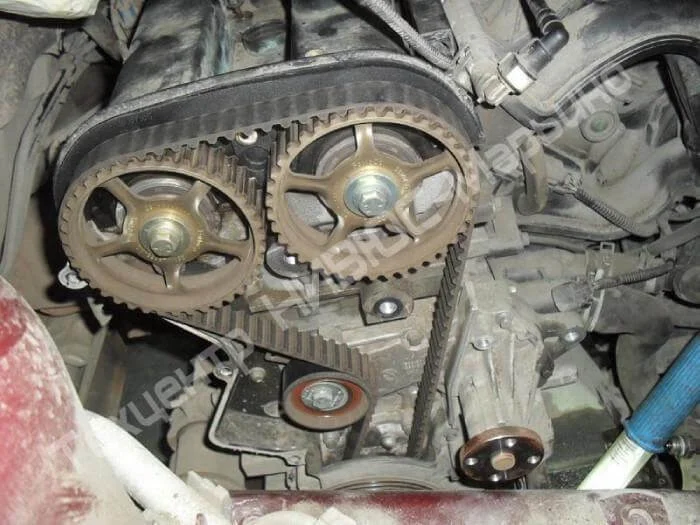
General view of the timing mechanism. Check that the locking tools are securely installed.
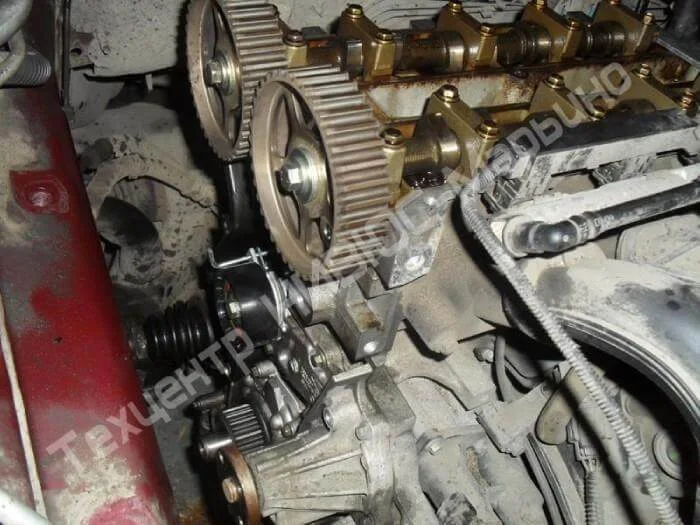
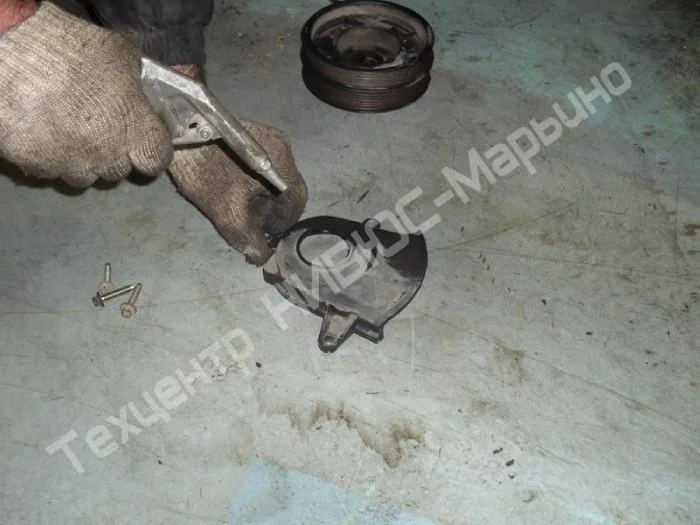
Loosen and remove the tensioner pulley.
Remove the old timing belt.
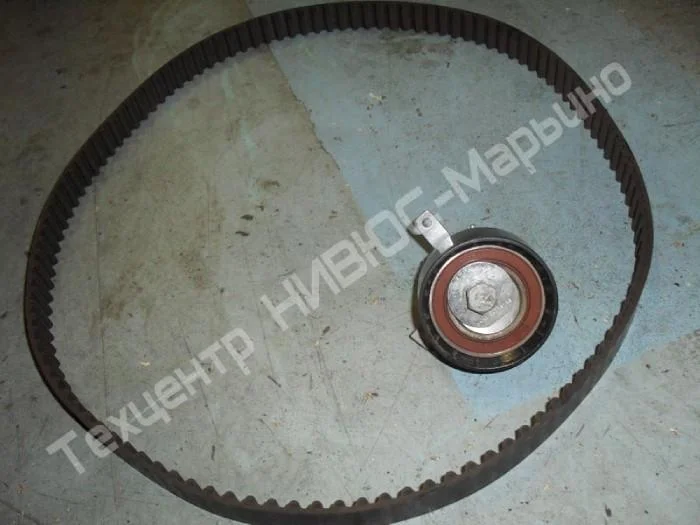
Removed parts. It is recommended to replace them as a kit: belt, pulley, and bolts.

Clean dust and oil deposits from the timing belt area.
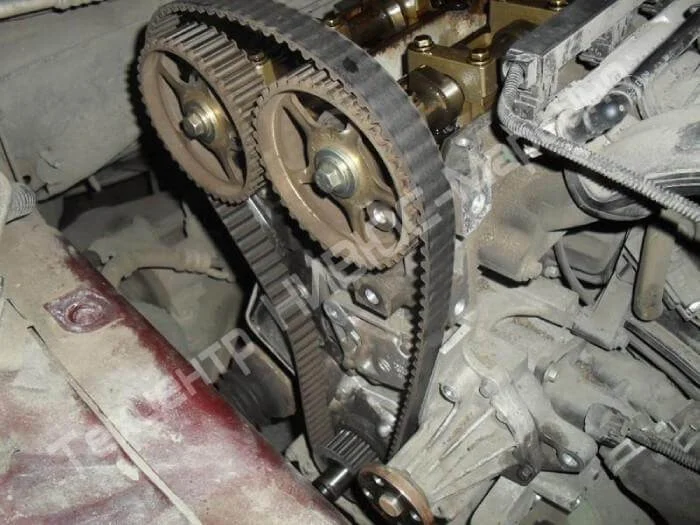
Install the new tensioner pulley. Important: the lug on the back of the pulley must fit into the corresponding slot on the cylinder block.
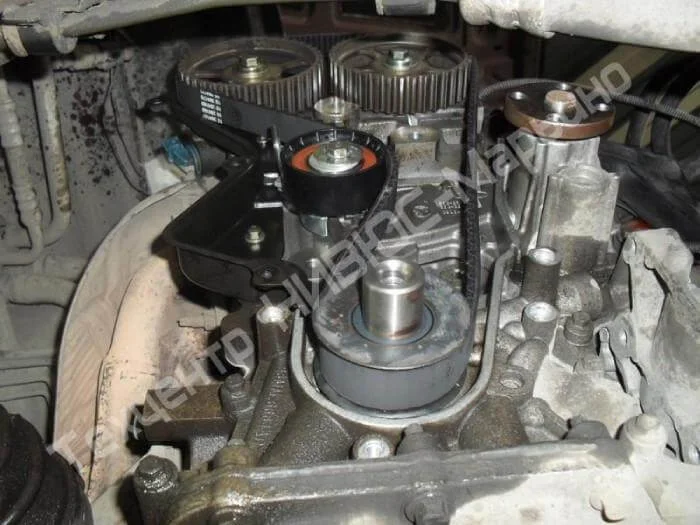
Fit the new timing belt. Use an Allen key (hex key) to set the tensioner: align the movable pointer with the V-notch on the pulley backplate. Tighten the pulley bolt in this position.
Install the lower belt cover and the cleaned crankshaft pulley.
Install a new crankshaft pulley bolt. Tightening must be done strictly according to the torque settings. First, tighten with a torque wrench to 45 Nm, then apply an additional turn of 90 degrees. Without observing correct torque, the timing will slip upon the first start.

Wash the valve cover.
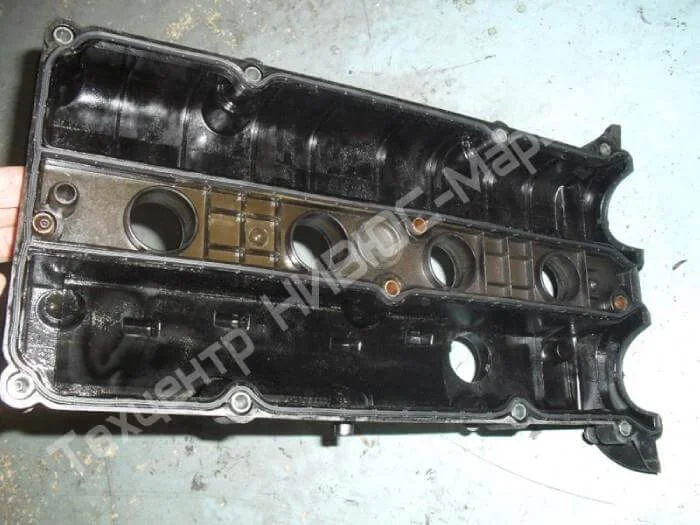
Install the cover with a new gasket. Do not reuse the old gasket — oil may leak into the spark plug wells.
Remove all locking tools (the bar from the camshafts and the crankshaft locking pin). Check the tightness of all components.
Bolt the valve cover back in place. Tighten the bolts carefully, working from the centre outwards (approx. 10 Nm).
Before starting the engine, manually rotate the crankshaft 2 full turns to ensure the marks align and the valves do not make contact with the pistons. Then reassemble the remaining parts in reverse order.
Was this guide useful?
Your feedback helps us improve our content.
Related Materials


Discussion (0)
No comments yet!