Audi 80 B3 Heater Matrix Replacement
The heater on my Audi 80 started leaking, so something had to be done… But first, it had to be removed. It is not an easy task; the procedure took the whole day.
The following tools were useful:
- pliers;
- insulating tape;
- 24mm socket, large ratchet handle;
- 8mm and 10mm sockets, small ratchet, extension bar of at least 10 cm;
- Phillips screwdriver;
- 8mm and 10mm spanners.
Of course, a new heater matrix is also required. The original VAG radiator 8D1 819 030 B is expensive. Alternatives: Meyle 100 819 0002, AVA AI 6097, Behr-Hella 8FH 351 311-421, Nissens 70224, Termal 110224BA and others. These are significantly more affordable than the original part.
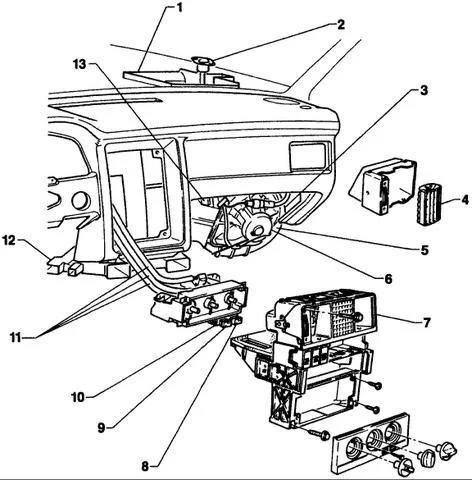
Here is everything that needs to be dismantled to get to the heater matrix. But first, as with almost any repair, disconnect the negative battery terminal to protect the vehicle's electrical system.
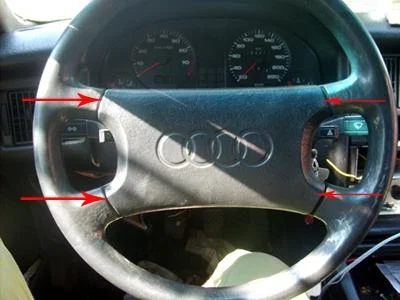
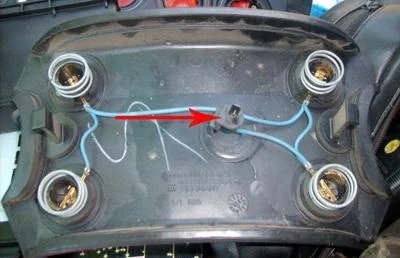
Start by removing the steering wheel. To do this, carefully but firmly pull each corner of the horn pad towards you.
Then disconnect the wire leading to the steering wheel.

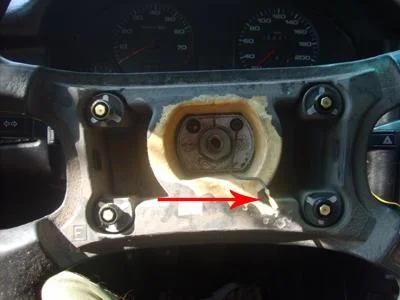
Unscrew the nut (usually 24mm) and remove the steering wheel itself, having previously marked its position on the shaft with a marker so that the wheel sits straight upon reassembly.
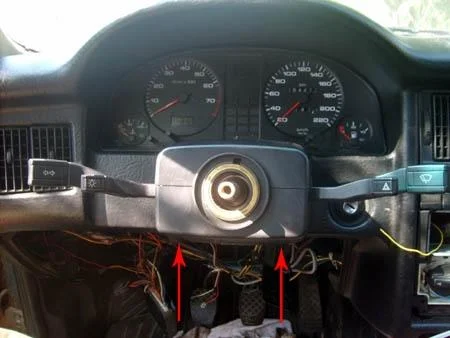
Remove the top cover of the steering column switch assembly by unscrewing the two screws.
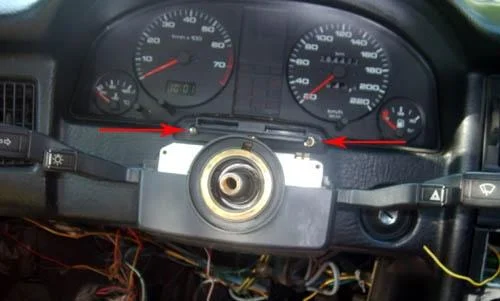
Next, unscrew the two screws securing the instrument cluster. Carefully extract it, disconnecting the two connectors on the back (usually yellow and blue).
Then slightly loosen the clamp bolt (accessible through the oval hole at the bottom of the lower steering column cover).
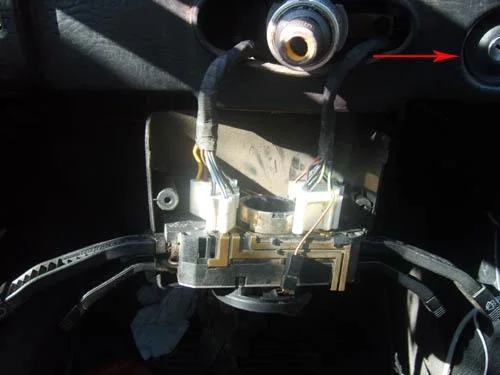
Pull the stalk switch assembly towards you and disconnect the two connectors. At the same time, remove the rubber surround from the ignition lock.
Start removing the centre console.
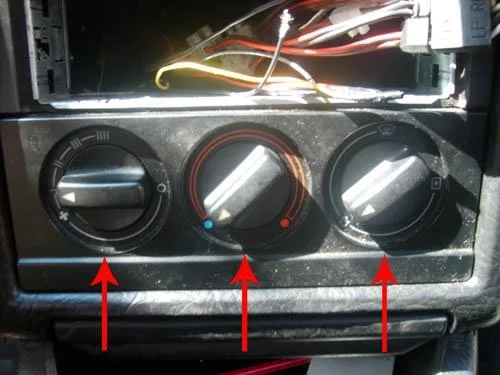
First, remove the radio. Carefully pull off the heater control knobs: simply pull them towards you (use a cloth to avoid scratching them). Under the far left and right knobs, unscrew the screws and remove the decorative trim.
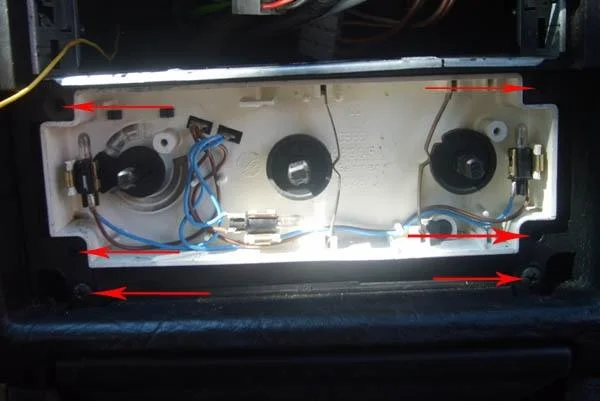
Next, unscrew the 4 screws securing the heater control unit to the centre console. Also, unscrew the 2 screws holding the ashtray.
Proceed to remove the shelf in the driver's footwell. Remove the choke knob (if equipped): press the clip from below with a thin screwdriver and pull the choke handle towards you.
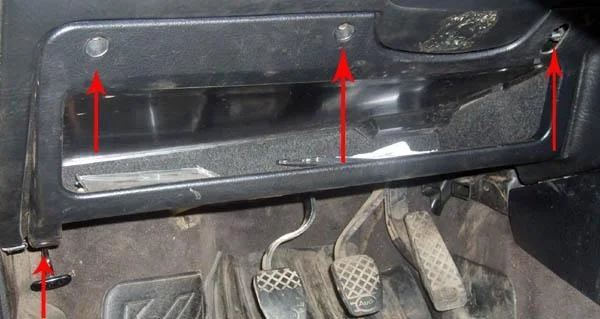
Then remove the shelf itself. It is simple: unscrew all visible bolts and remove the part.
It is advisable to remove the glovebox, but you can manage without doing so. Then carefully move aside the plastic trim at the bottom of the central tunnel (under the ashtray) and unscrew the two bolts on each side.

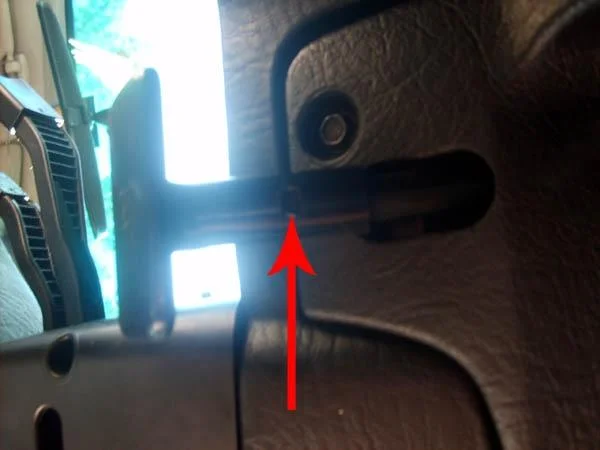
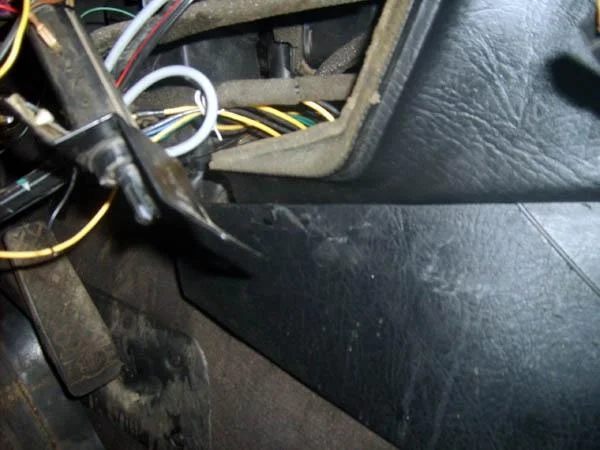
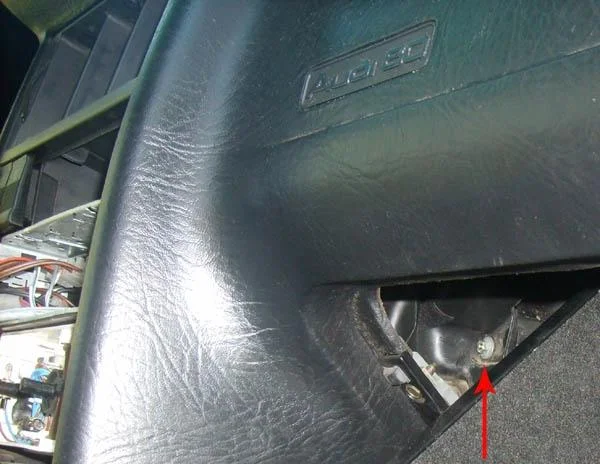
Next, carefully pry off the 2 caps on the sides of the dashboard (on the ends visible when the doors are open) and unscrew the bolts beneath them.
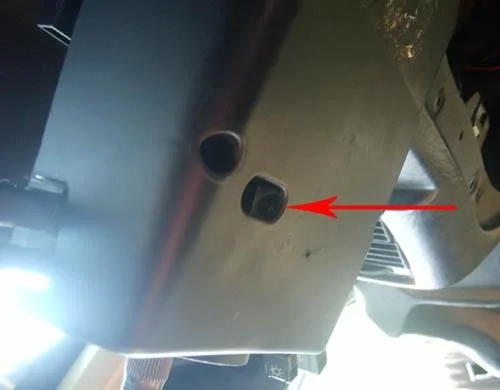
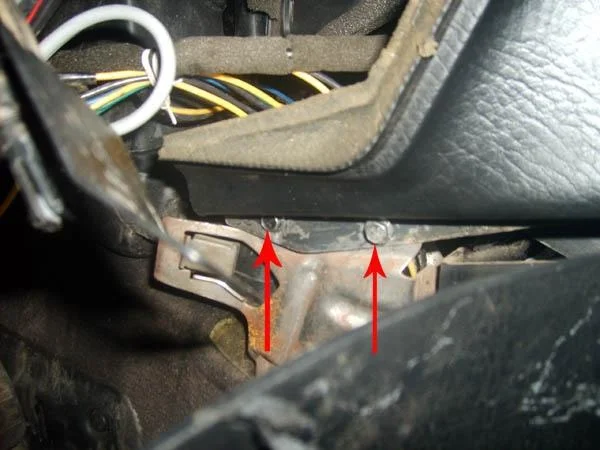
Then unscrew the two nuts securing the heater box to the dashboard. One nut is on the glovebox side, the second on the driver's side (access may be difficult).
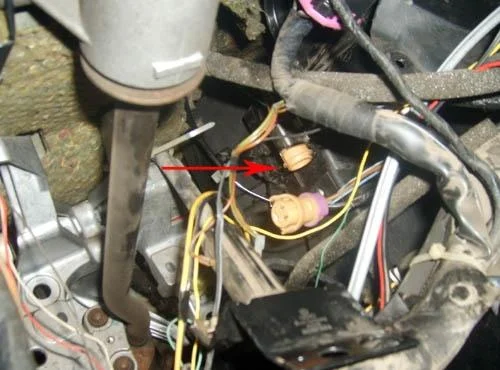
Disconnect the electrical connector on the driver's side.
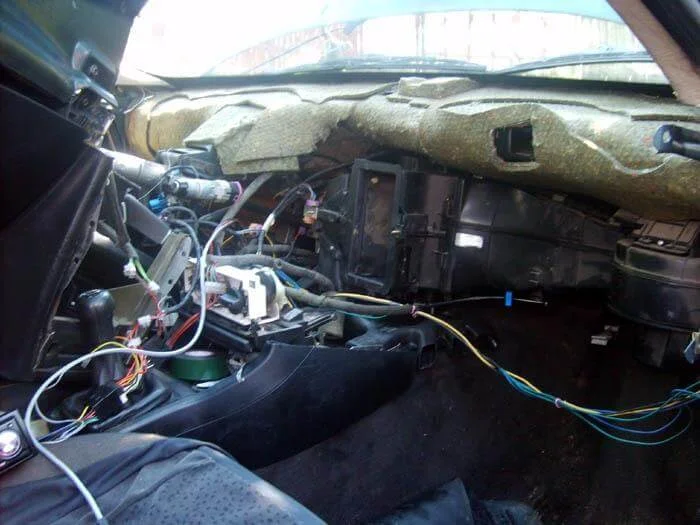
Then carefully pull the dashboard towards you, lifting it slightly upwards. Disconnect any remaining connectors that might get in the way as you go.
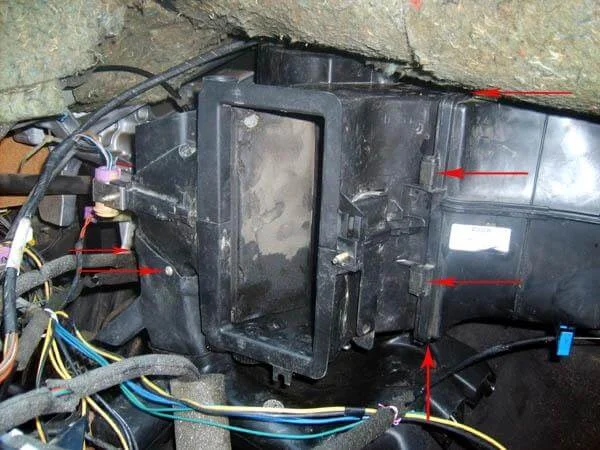
Next, undo the six clips on the air duct housing and unscrew the two screws on the lower air duct.
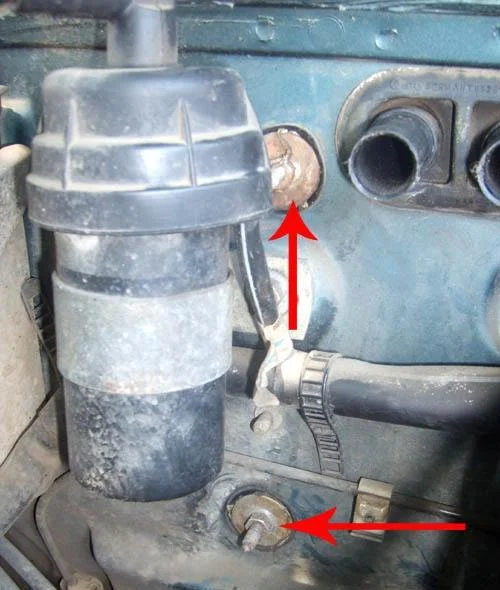
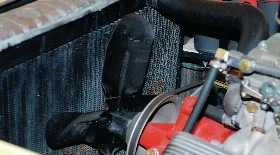
Move to the engine bay. Unscrew the two nuts securing the heater unit (on the bulkhead). Do not forget to disconnect the hoses from the heater matrix.
Back in the cabin, carefully pull the heater housing towards you. Then unscrew the two screws and, after releasing the clips, pull the heater matrix upwards.
Before pulling out the heater matrix, you may need to remove the scuttle panel from the bonnet side and unscrew the protective mesh of the air intake.
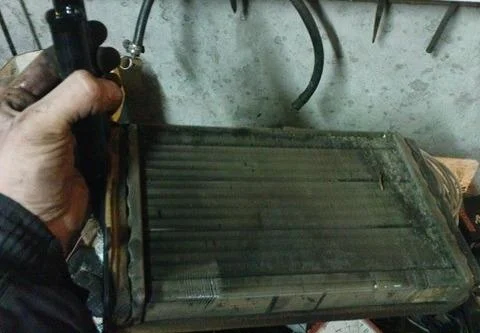
The photo shows the removed matrix. Assembly is performed in reverse order.
Was this guide useful?
Your feedback helps us improve our content.
Related Materials


Discussion (0)
No comments yet!