Opel Astra Z18XE Timing Belt Replacement
One of the standard procedures for scheduled maintenance of the Opel Astra is replacing the timing belt on the Z18XE engine.
In this photo guide, the water pump is also replaced, using an SKF VKPC 85624 with a plastic impeller.
Tools required:
- set of spanners;
- socket set (must include Torx E sockets / «star» sockets, as standard hex sockets can round off the Opel bolt heads);
- screwdrivers;
- camshaft locking tool (for convenience, though it is possible to manage without it).
The preparatory procedures are standard — remove the undertray (engine guard), the front right wheel (crankshaft pulley side), and securely fix the car on an axle stand.
Which Timing Belt to Install on the Opel Astra Z18XE?
Original timing belt repair kit (belt and 3 rollers) for Z18XE — 16 06 306.
Aftermarket alternatives:
- Contitech CT 975 K3;
- Gates K015499XS;
- SKF VKMA 05152.
When replacing the pump and belt, it is important to observe the torque settings to avoid damaging the thread in the aluminium block.
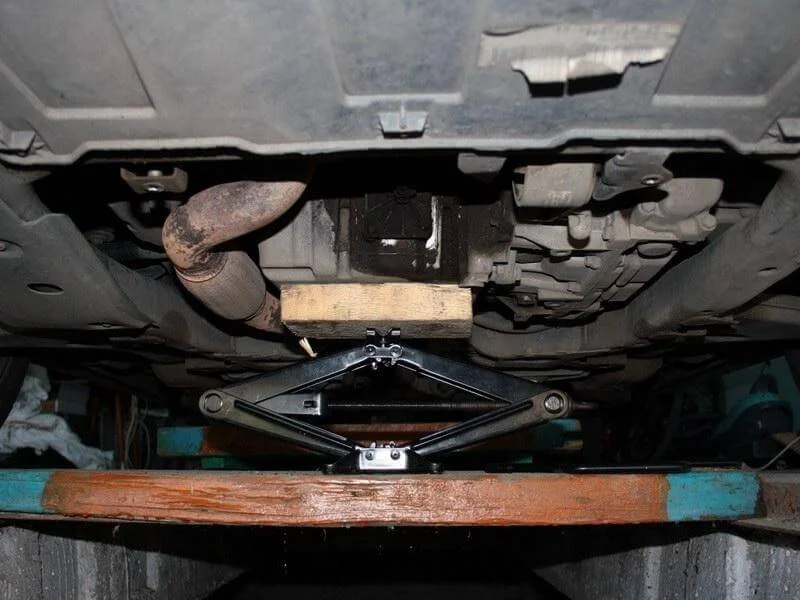
Carry out the preparatory procedures. Remove the undertray and the front right wheel, and securely place the car on an axle stand (a jack is unreliable for heavy-duty work).
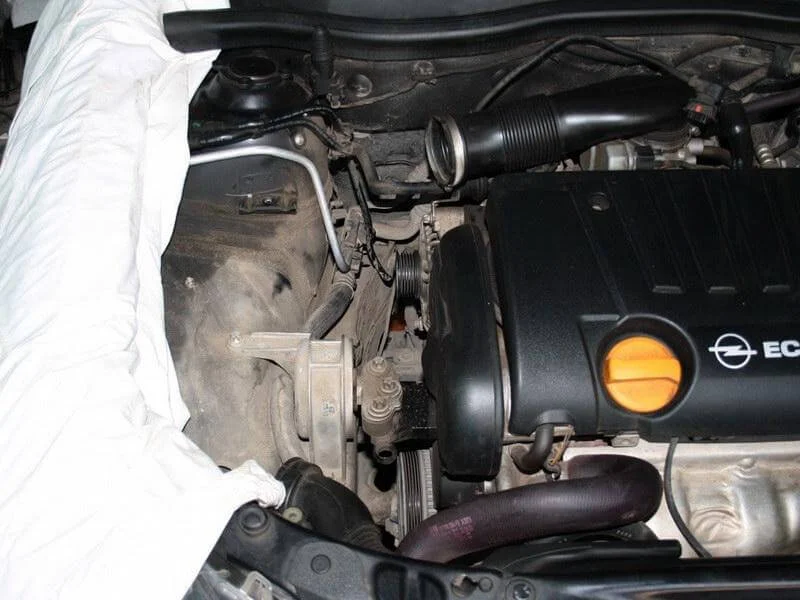
Remove the air filter housing to access the engine mount.
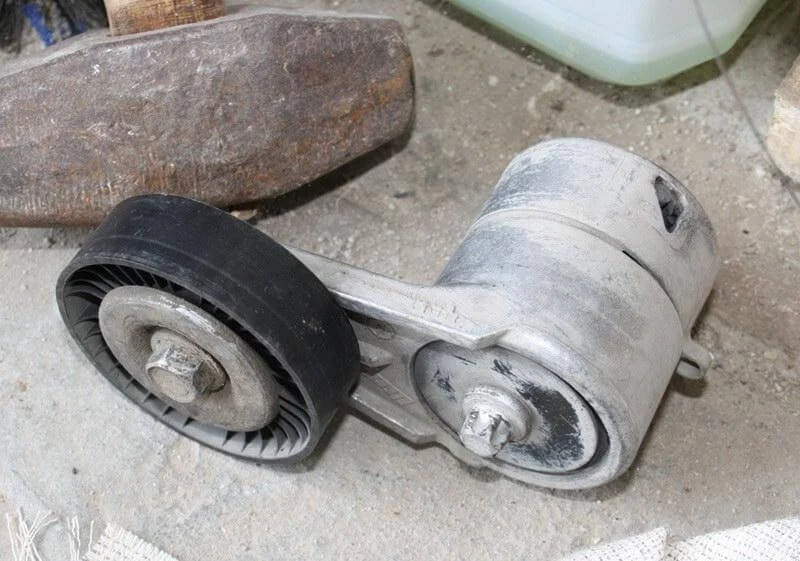
To remove the auxiliary drive belt, loosen the tensioner pulley with a spanner (turn clockwise) and slip the belt off. If necessary, remove the tensioner itself.
Remove the upper plastic part of the timing belt cover.
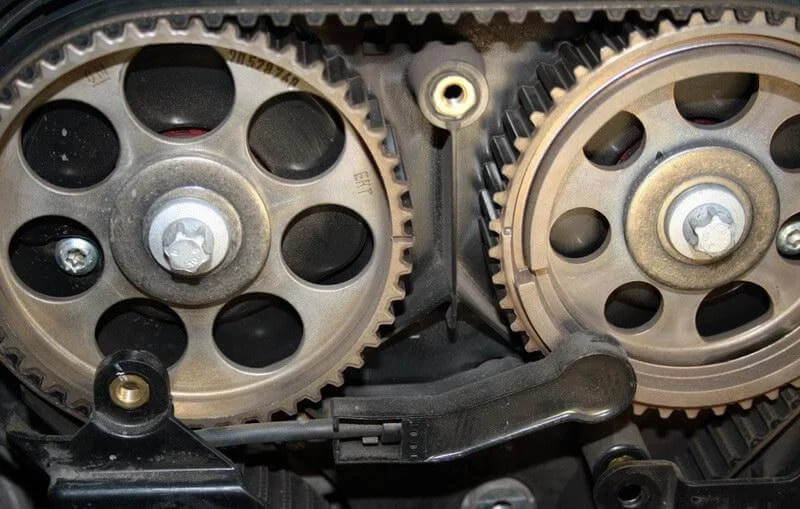
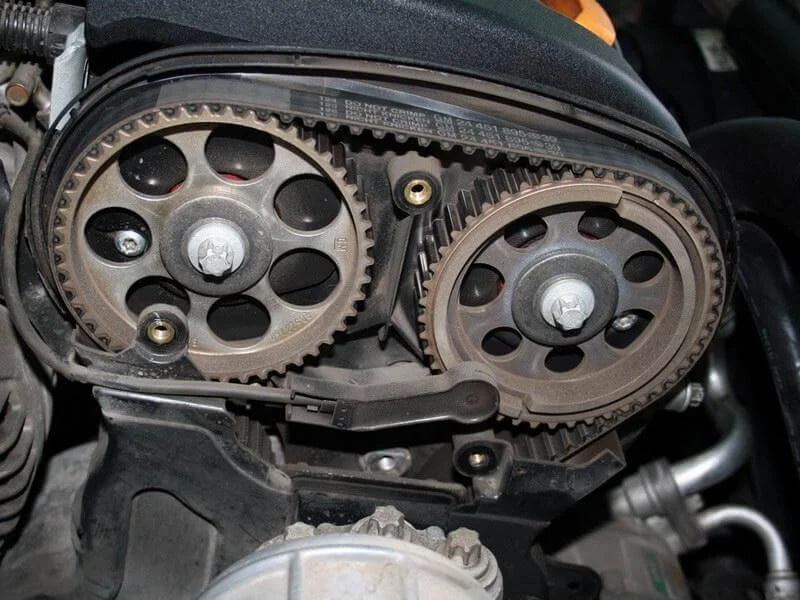
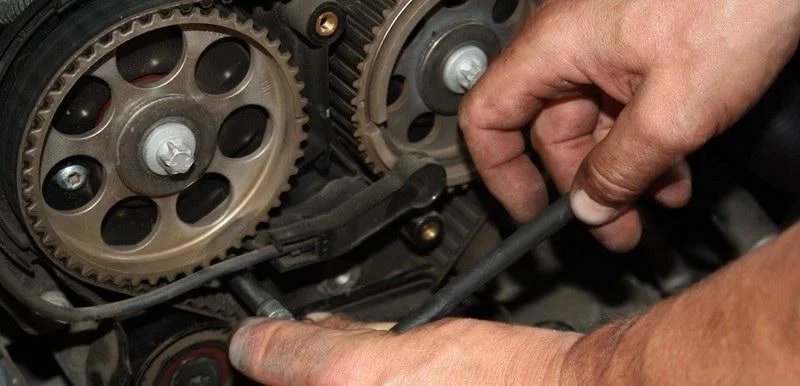
Align the timing marks on the camshafts. The marks on the sprockets must align precisely and «face» each other.
To align them, rotate the crankshaft clockwise using the pulley bolt.
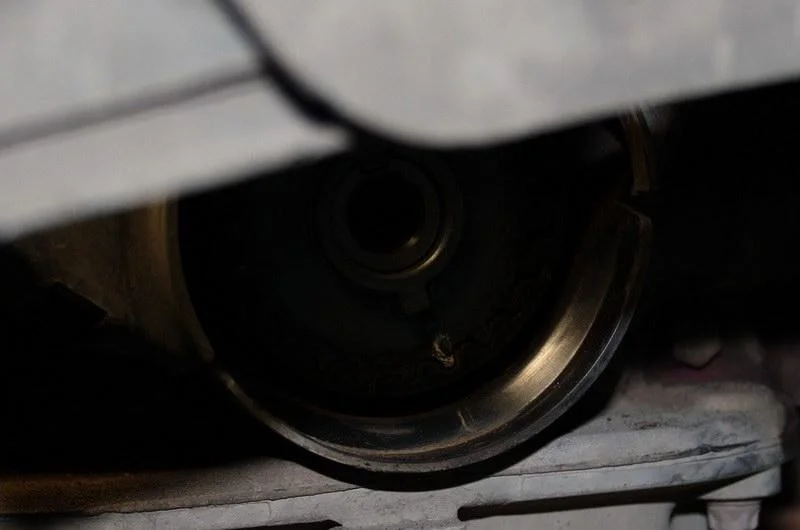
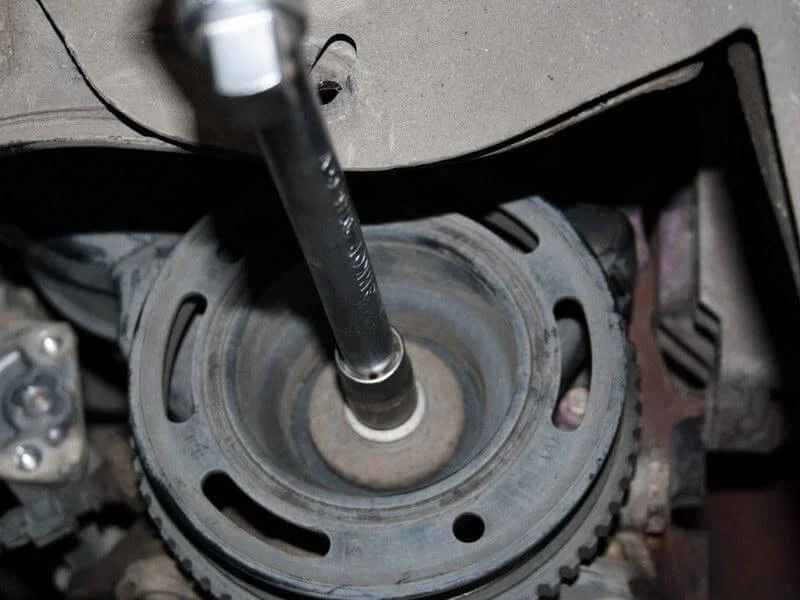
Remove the crankshaft pulley (not the flywheel!) and the lower timing belt cover. The mark on the toothed crankshaft sprocket must align strictly with the mark (notch) on the housing.
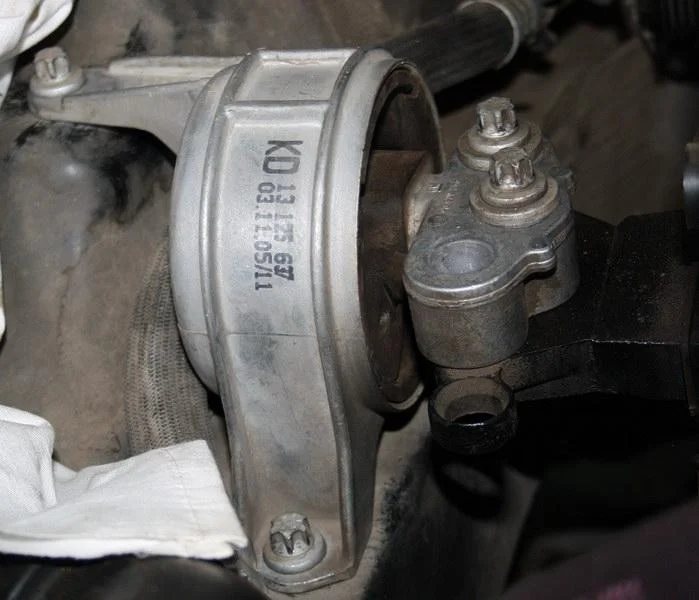
Once satisfied that all timing marks are in place, proceed to remove the belt. It is necessary to remove the right-hand engine mount beforehand.
If necessary, unscrew the camshaft position sensor.
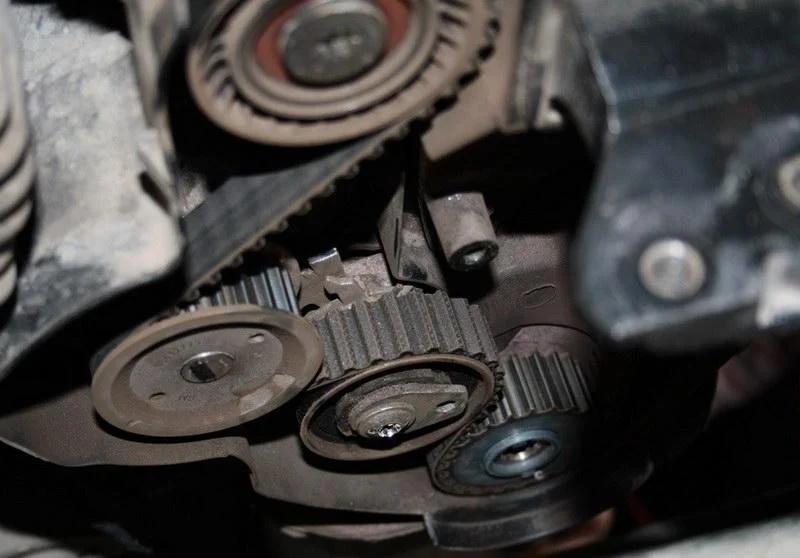
Removing the timing belt tensioner pulley on the first attempt may fail: the bolt often seizes, and the splines (Torx) can strip when unscrewing.
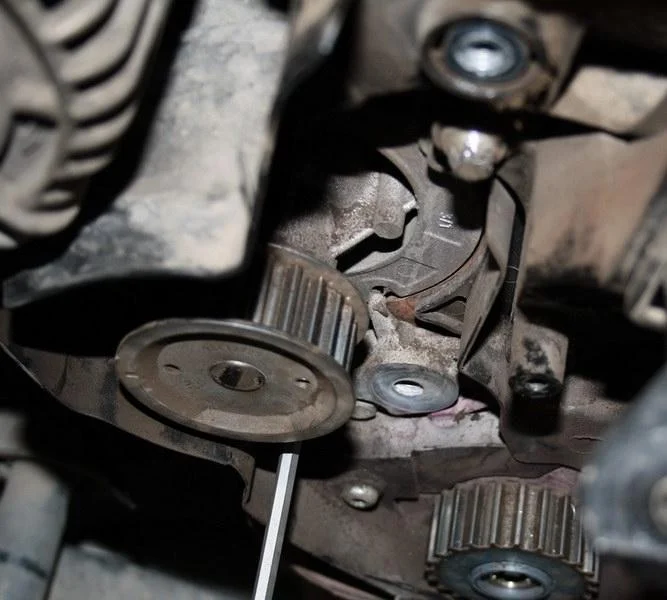
Therefore, remove the idler pulleys first and pull off the belt. If the tensioner bolt is damaged, it can be carefully shifted with a cold chisel. Then remove the water pump.
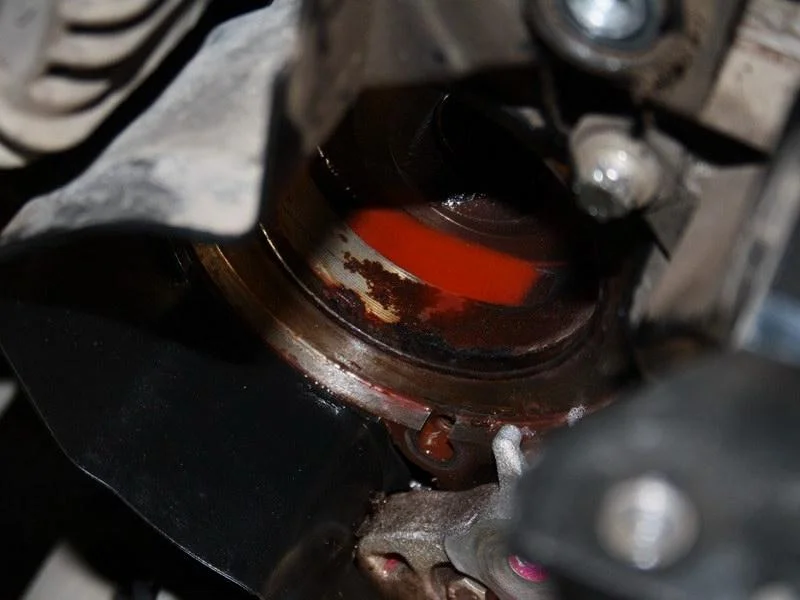
The pump is held by three bolts. Place a container underneath to catch the draining coolant before removal.
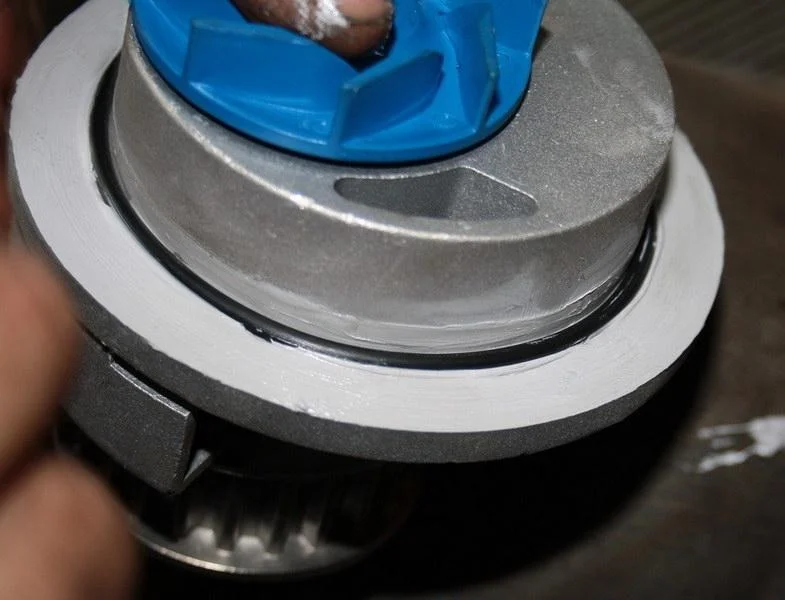
Install the new water pump (bolt tightening torque 8 Nm). The pump can be seated on a thin layer of sealant if there is doubt about the O-ring. Replace the drained coolant (about 4 litres) with new fluid or pour it back in through a filter.
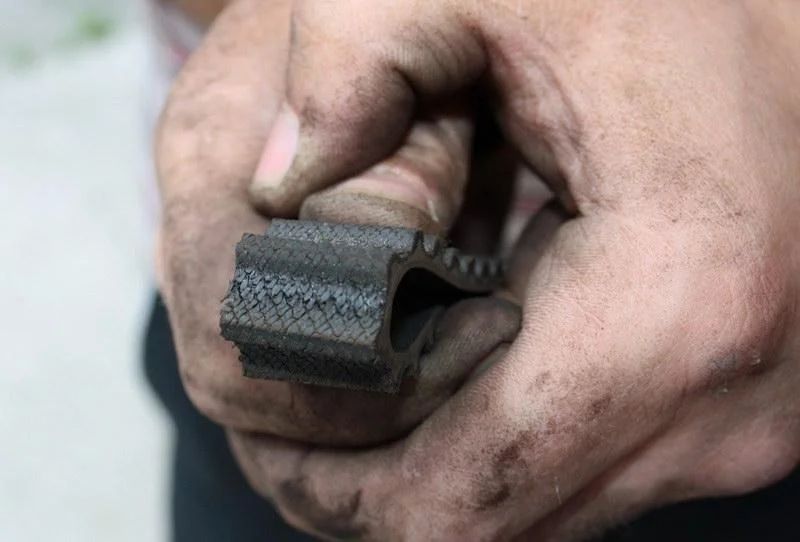
Install the rollers and the new belt. Important: when tensioning the belt, align the pointer on the tensioner pulley with the notch on the backing plate (for a new belt — the «New» mark). Tensioner tightening torque — 20 Nm, idler pulleys — 25 Nm. After installation, rotate the engine manually for 2 revolutions and check the timing marks again.
Was this guide useful?
Your feedback helps us improve our content.


Discussion (0)
No comments yet!