Subaru Forester (DOHC) Timing Belt and Water Pump Replacement
Detailed photo report on replacing the timing belt and water pump on a Subaru Forester. The replacement interval is 100,000 km.
The following parts are used in this report:
- Subaru 80673-3030 Front crankshaft oil seal — 1 pc;
- GMB GT90020 Timing belt idler pulley — 2 pcs;
- GMB GT90130 Timing belt idler pulley — 1 pc;
- Ina 531 0655 20 Timing belt tensioner pulley — 1 pc;
- Subaru 13073-AA230 Timing belt idler pulley — 1 pc;
- Subaru 21116-AA010 Water pump gasket — 1 pc;
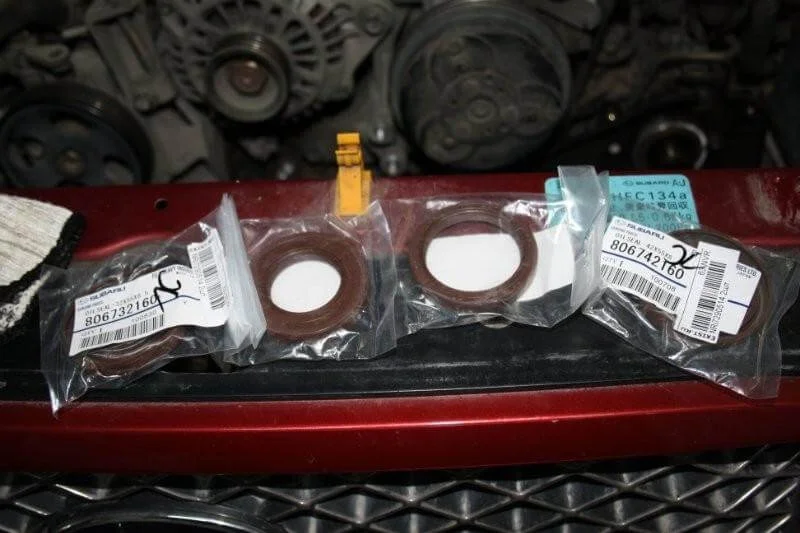
- Subaru 80673-2160 Camshaft oil seal — 2 pcs;
- Subaru 80674-2160 Camshaft oil seal — 2 pcs;
- Subaru 15010-AA310 Oil pump assembly — 1 pc;
- GDB STI Water pump — 1 pc;
- Gates T328RB Timing belt — 1 pc.
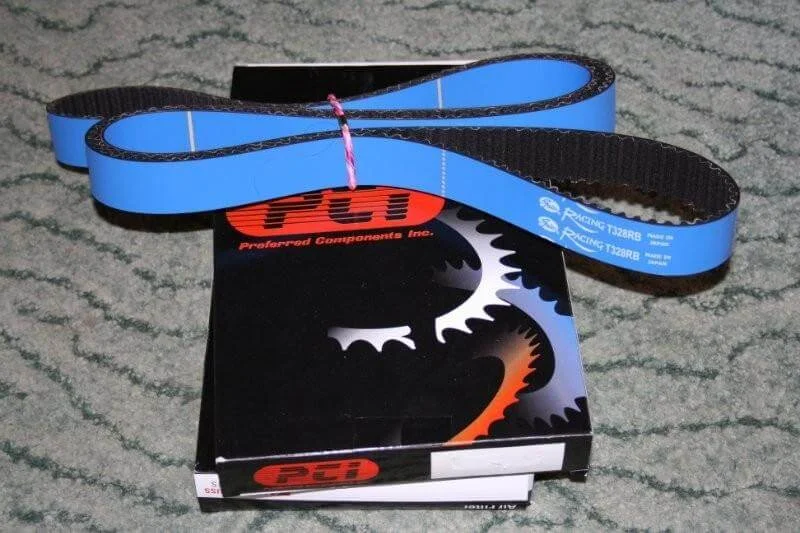
Overview of components. Gates Racing timing belt.
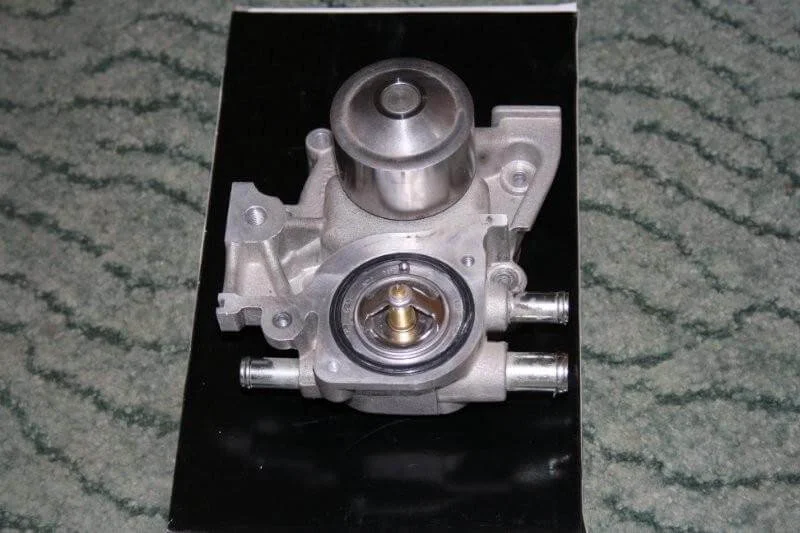
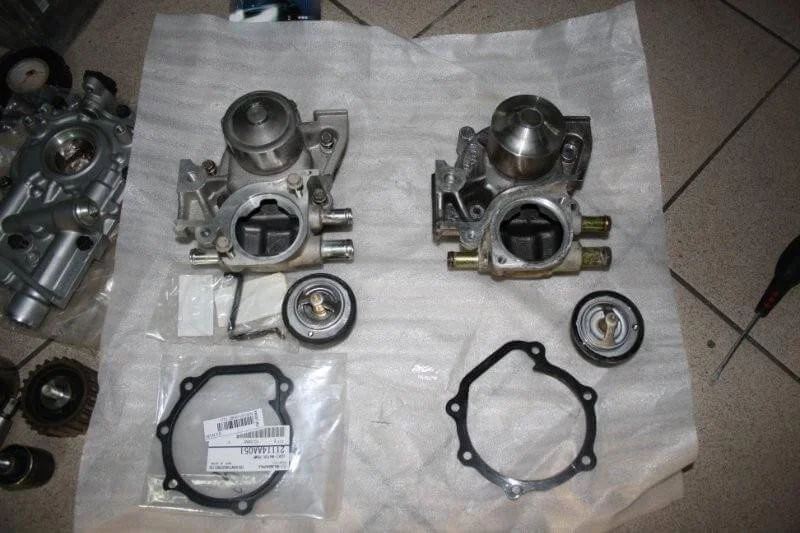
GDB STI water pump.
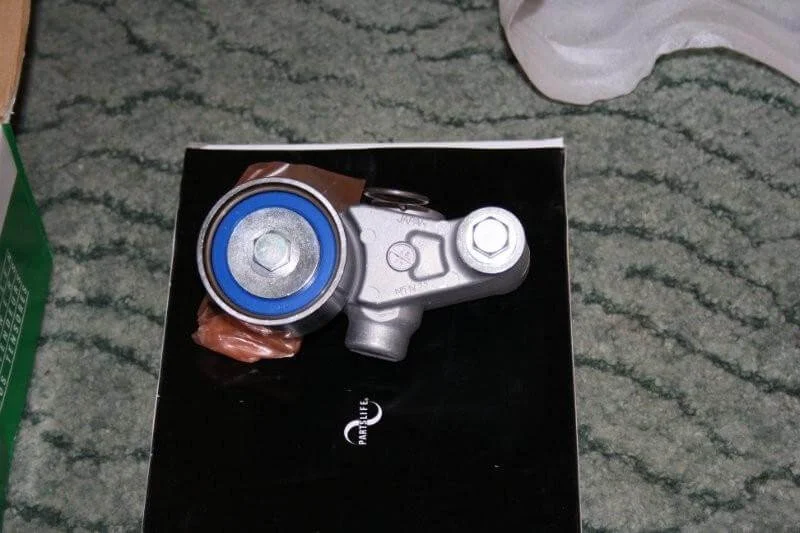
INA belt tensioner (original part inside the packaging).
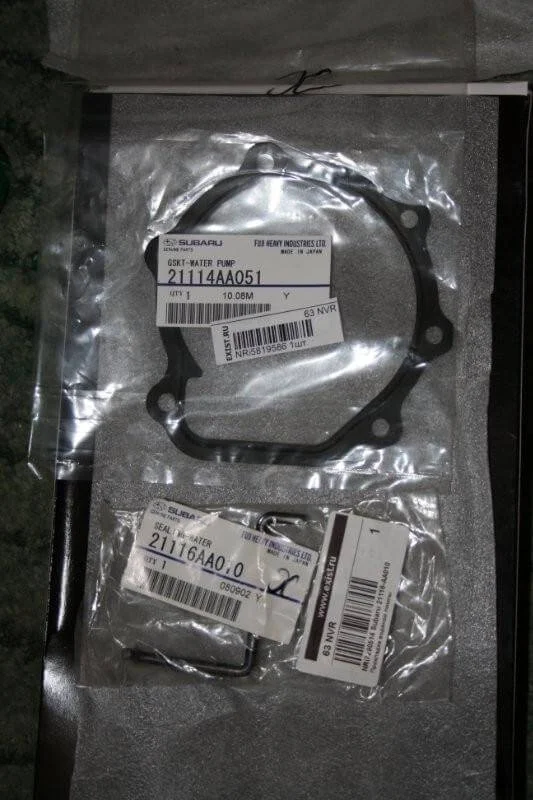
Water pump gaskets.
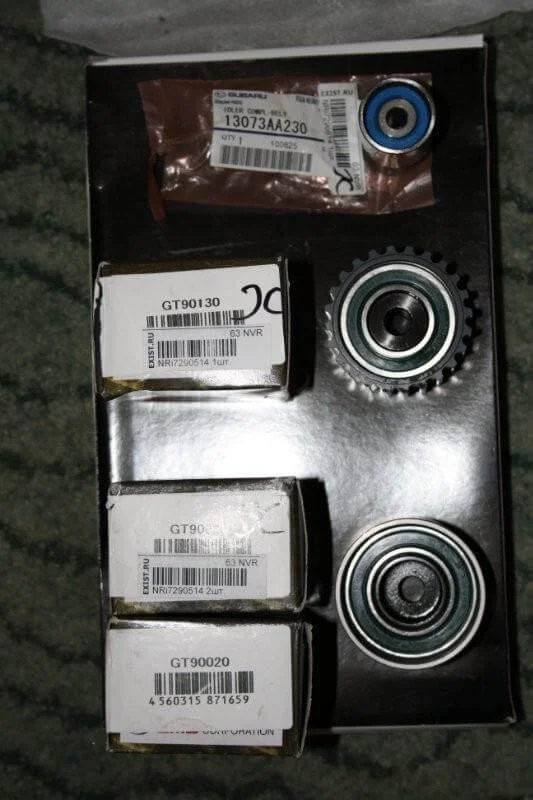
Original timing belt pulleys.
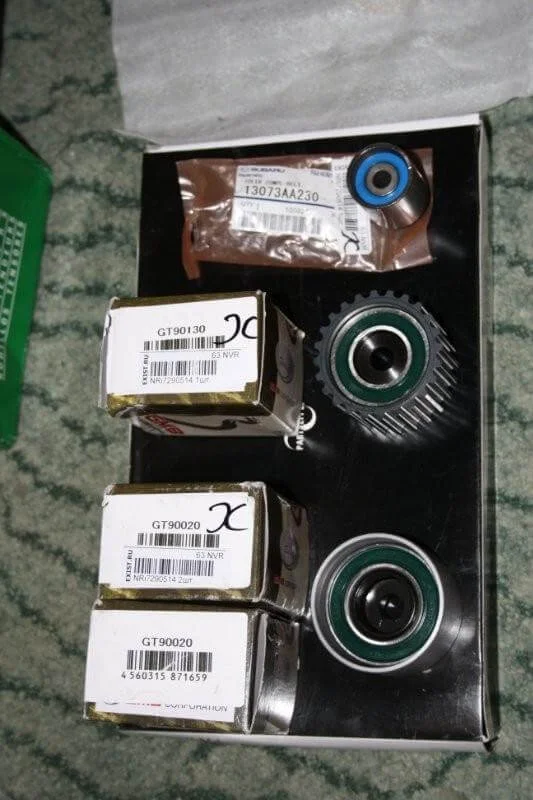
GMB timing belt pulleys.
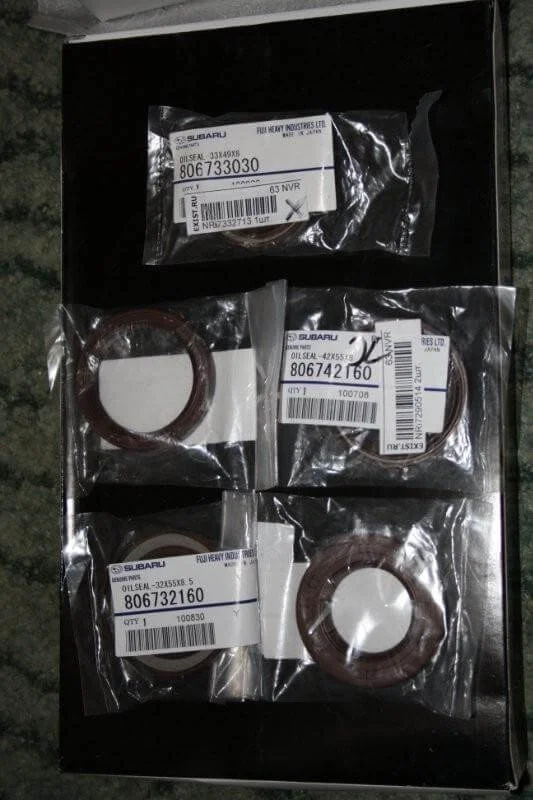
Shaft oil seals.
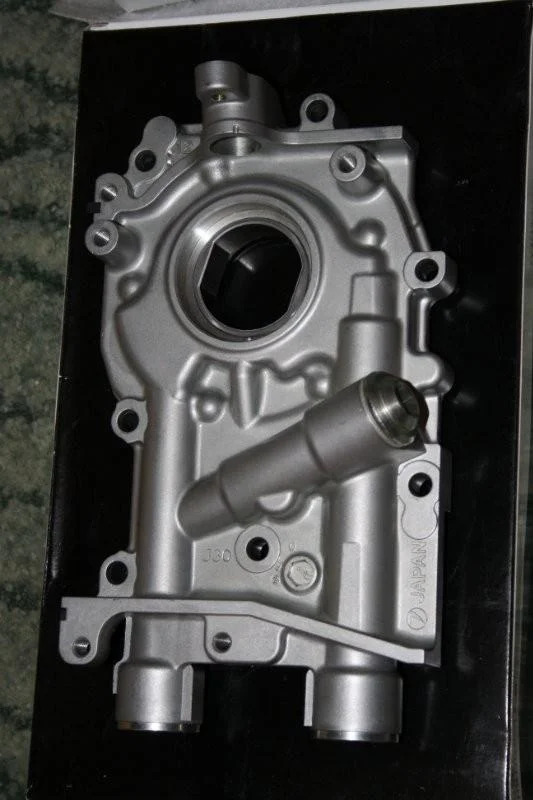
Oil pump (12 mm).
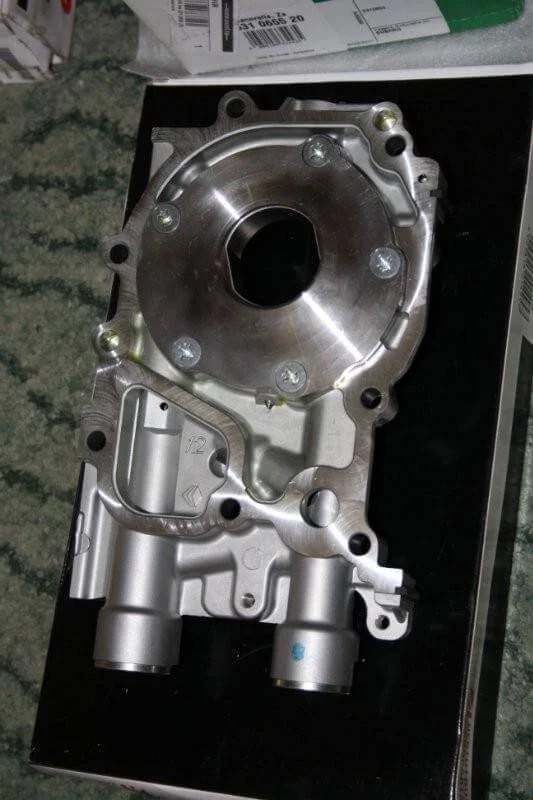
Rear view of the pump.
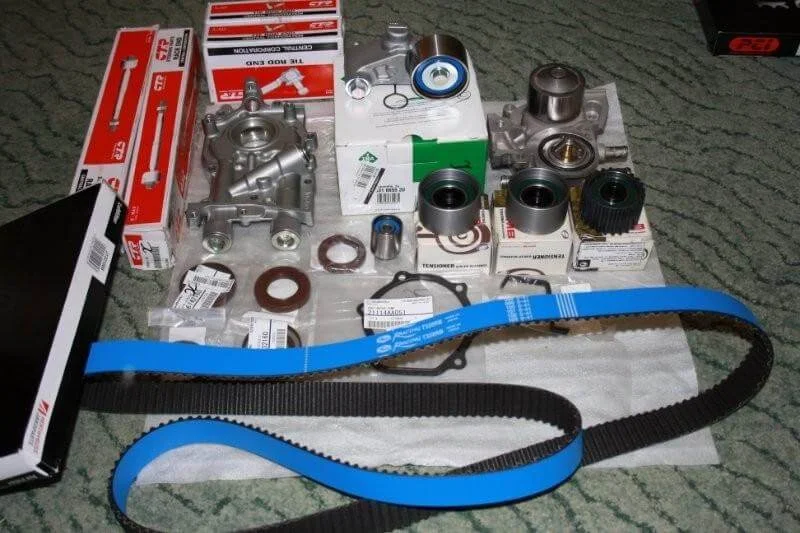
Full set of parts for timing drive maintenance.
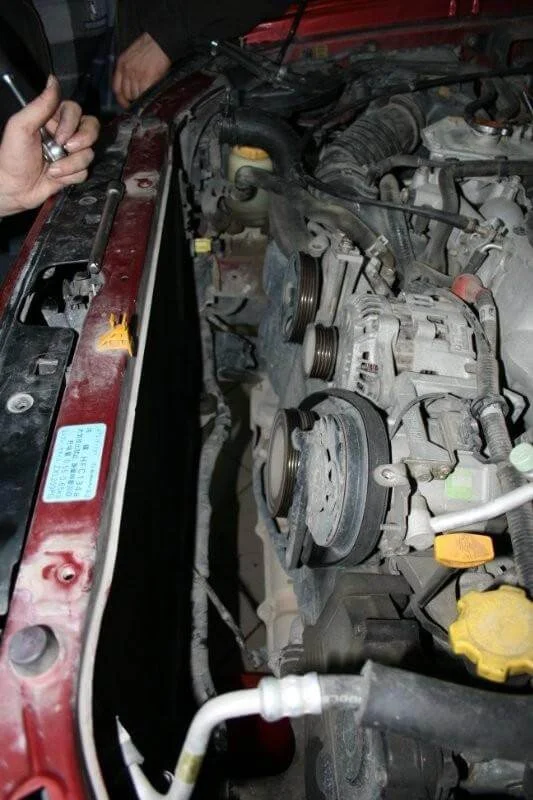
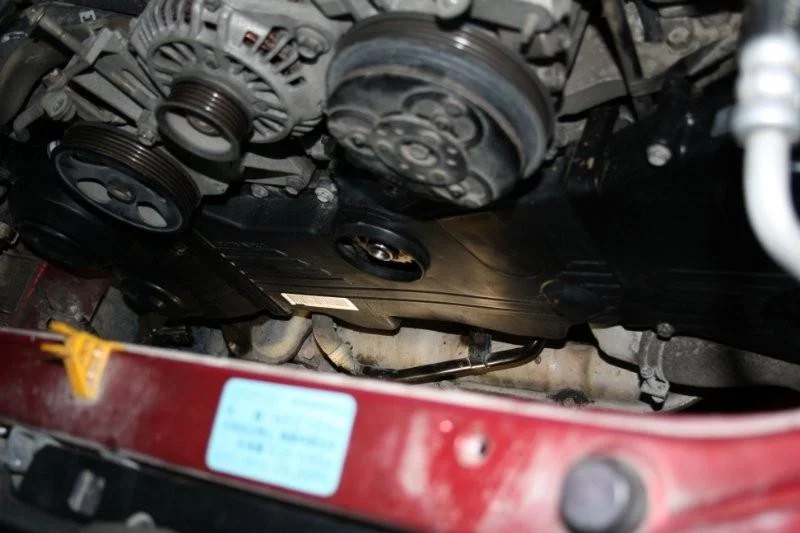
Begin the process. Drain the coolant: unscrew the bottom tap or remove the hose clamp, and remove the expansion tank cap. To remove the radiator, disconnect the two fan connectors from below, loosen the hose clamps (upper and lower). Unscrew the upper radiator mounts and pull it upwards.
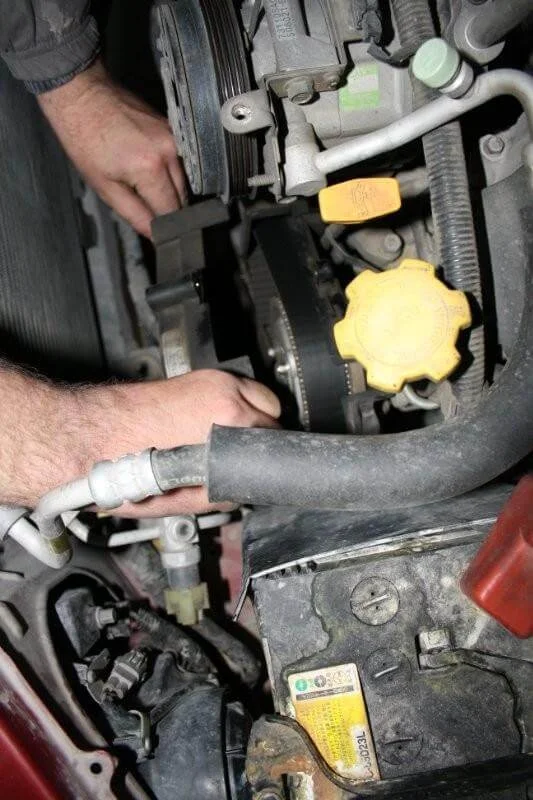
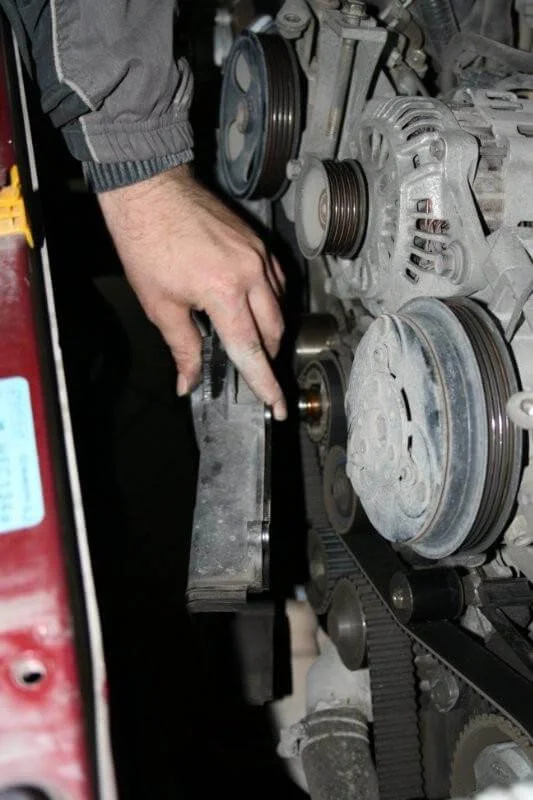
Remove the accessory belts. Loosen the tensioner pulley, unscrew the tensioner — the alternator will lower, releasing the belt. Do the same with the air conditioning compressor pulley (it is better to remove the tensioner bracket entirely so it does not get in the way).
Unscrew the crankshaft pulley. For manual transmission: have an assistant engage 5th gear and press the brake pedal to lock the crankshaft while you unscrew the nut. Remove the pulley.
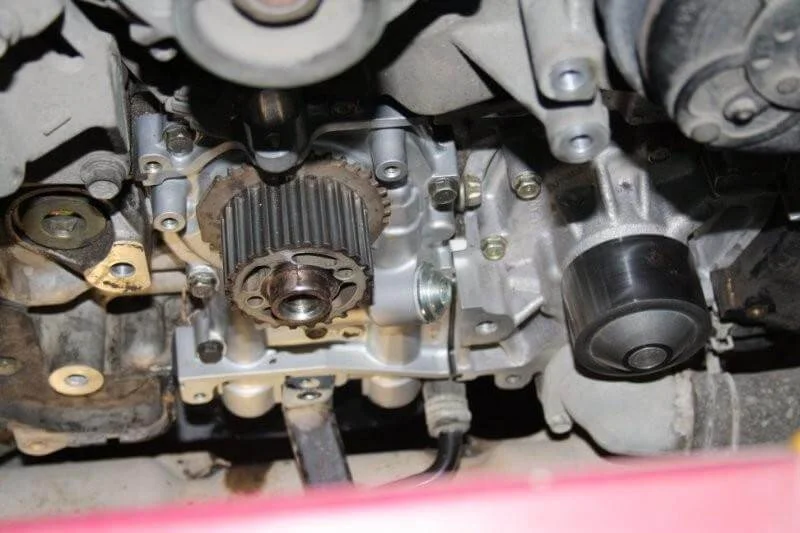
Remove the three timing belt covers (10 mm and 12 mm sockets). Further actions depend on the scope of work. If you are only changing the belt and pulleys: remove the tensioner, pulleys, and belt. If the water pump and oil pump are being replaced — remove them after dismantling the timing drive.
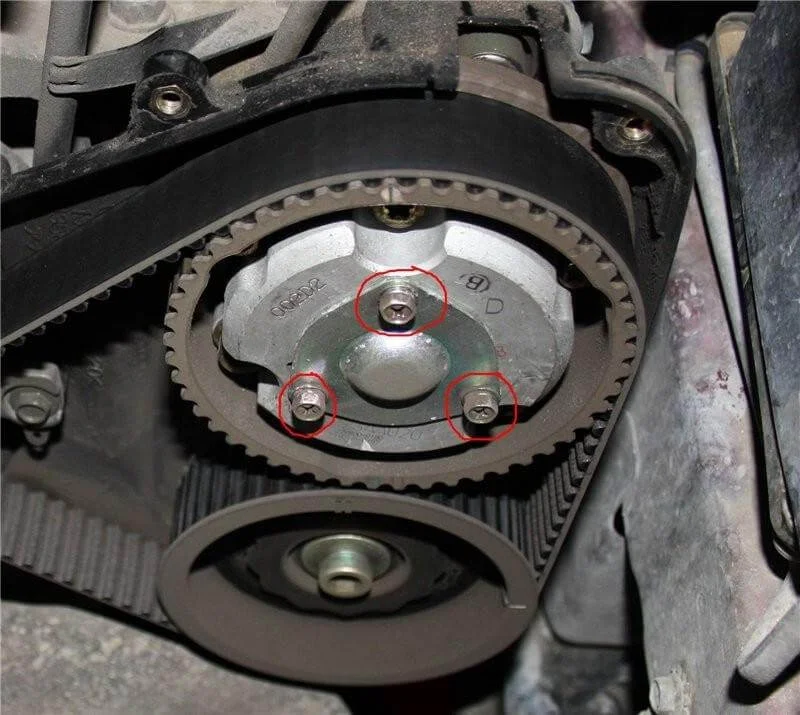
For a full replacement (including oil seals and water pump), 4 camshaft sprockets must be removed. On the intake shafts, first unscrew the small covers (held by three bolts) to access the sprocket bolts (Allen key).
Important: It is better to loosen the sprocket bolts before removing the old timing belt, by locking the crankshaft (5th gear + brake). The load on the belt will be high, but this facilitates unscrewing. It is extremely difficult to hold the shafts without the belt.
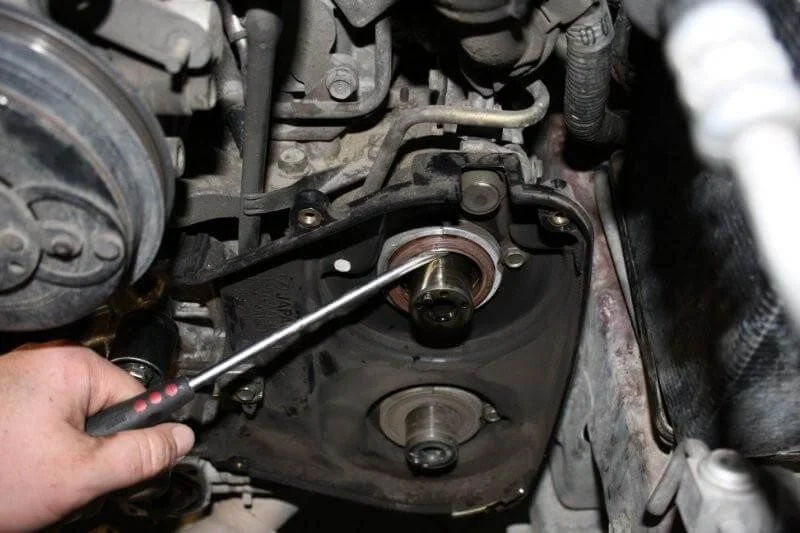
Oil seal replacement. Carefully extract the old seals using a screwdriver, taking care not to damage the shaft surface.
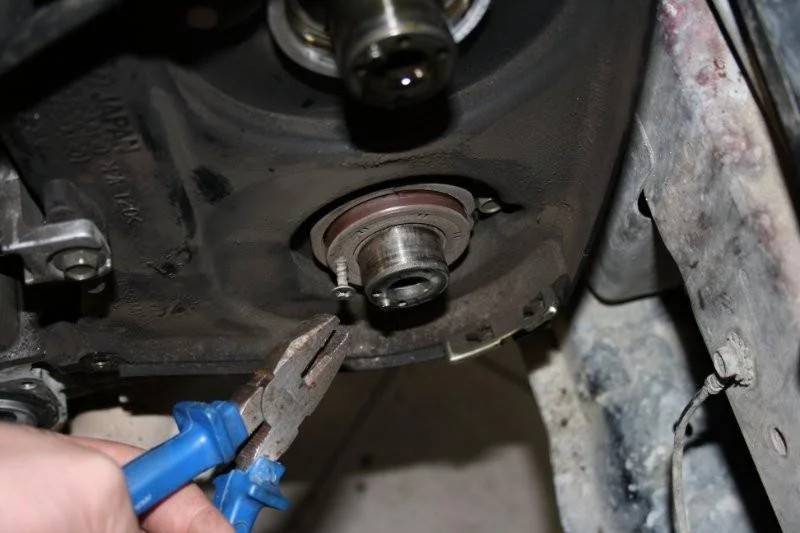
Extract the lower seal by screwing a self-tapping screw into it and pulling with pliers.
Press in the new seals (you can use a suitable drift or a 36 mm socket). Reinstall the sprockets.
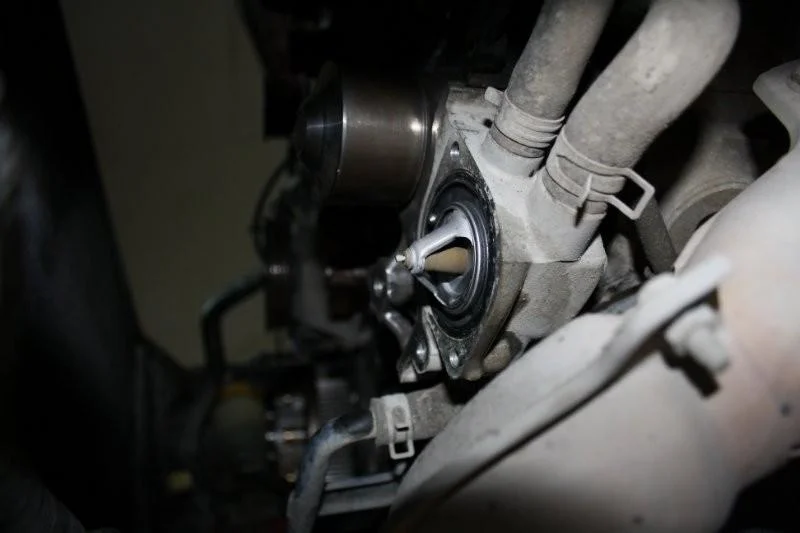
Water pump replacement. Remove the hoses from it, take out the thermostat (remaining coolant will drain out). Unscrew the mounting bolts (10 mm) and remove the pump.
Clean the mating surface, install a new gasket and the pump. Attention: observe the tightening torque; it is easy to strip the thread in the aluminium block (standard is about 12 Nm, check the manual). If you are replacing the oil pump, do not install the water pump yet.

Proceed to replacing the oil pump.
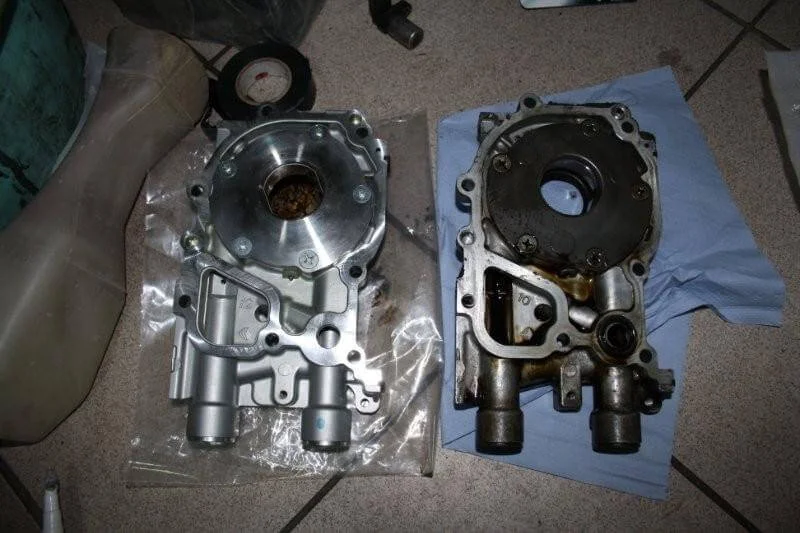
Unscrew the oil pump bolts. Gently pry it off (some oil will spill). Clean the block surface of old sealant and degrease it. Apply new sealant to the pump and install a new crankshaft oil seal.
Finally mount the water pump and install the thermostat (preferably with a new gasket).
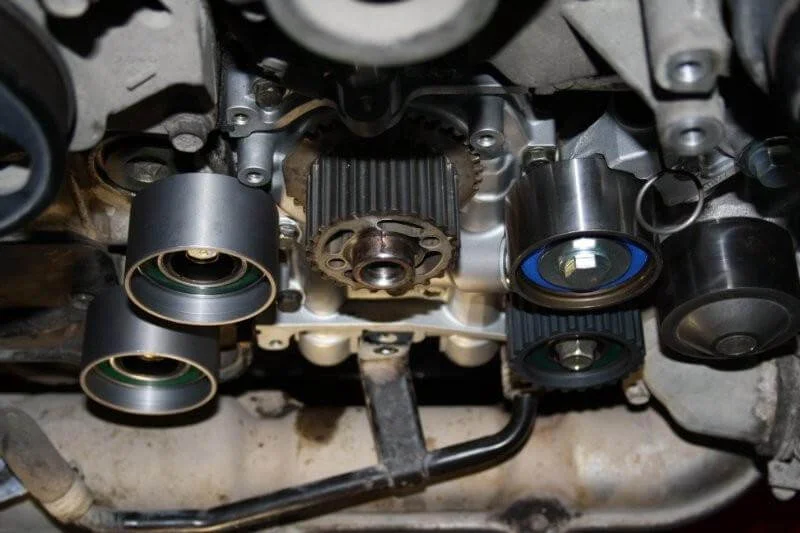
Install the tensioner and pulleys (except for the smallest one; install that last).
Timing belt installation. Align the timing marks. Begin routing from the crankshaft and the left side (in the direction of travel).
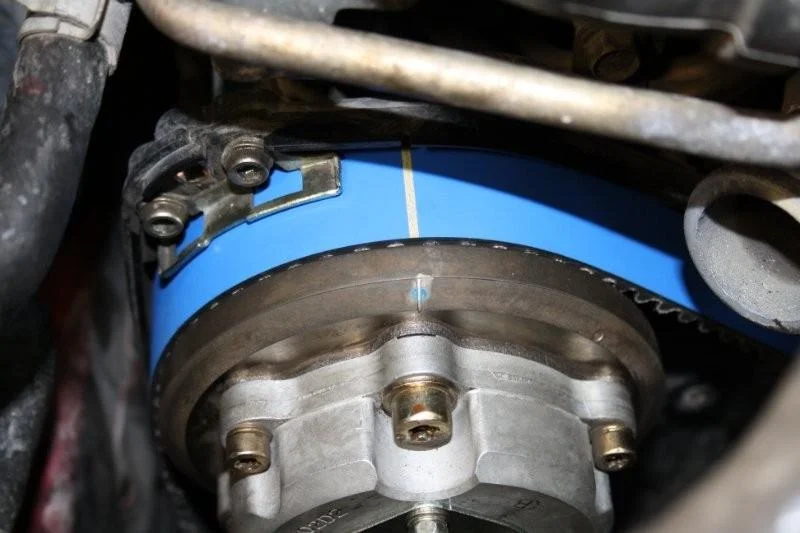
Route the belt through the pulleys and the left sprockets. Strictly ensure the alignment of the marks on the pulleys and the lines on the belt (if present).
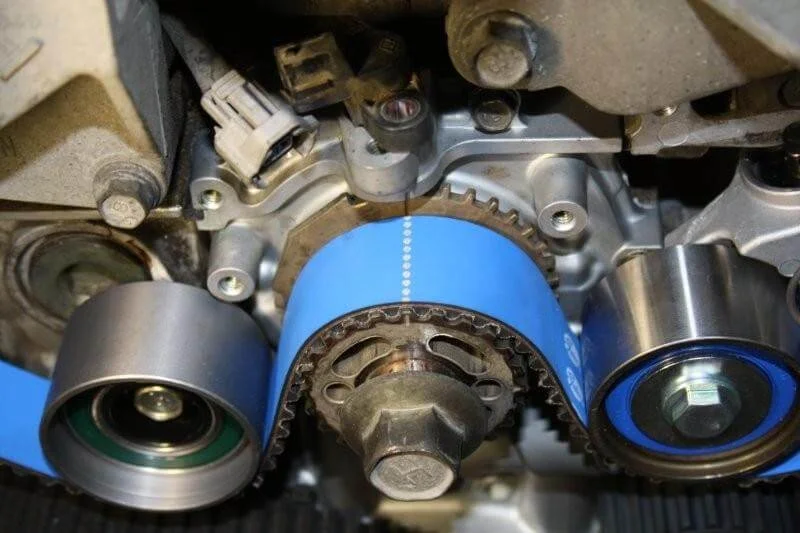
Check the position of the mark on the crankshaft sprocket.

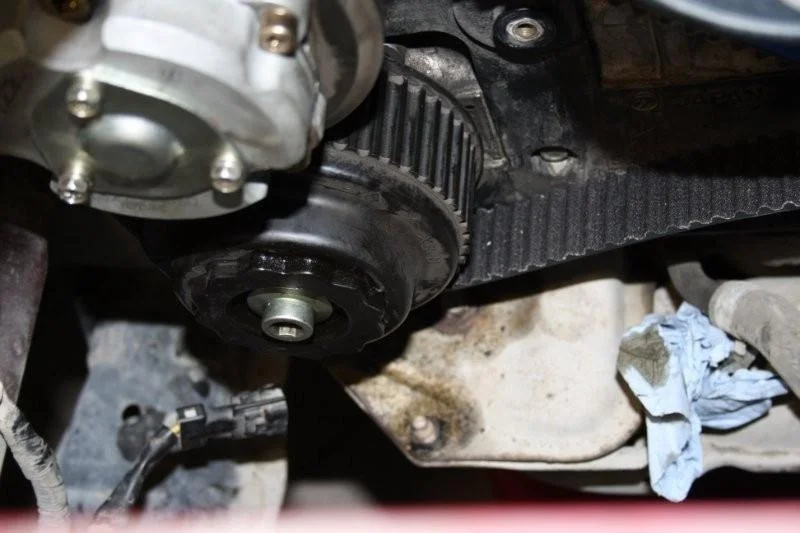
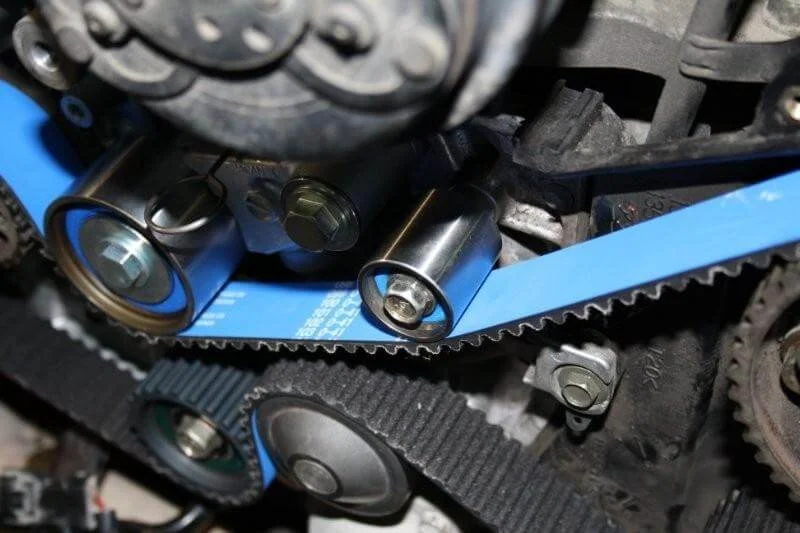
The most difficult stage on DOHC engines: align the two right sprockets (they are under spring tension from the valves) and slip on the belt. It is more convenient to do this with an assistant and two spanners.

Check all marks. If everything aligns, install the final (small) idler pulley. Slowly rotate the crankshaft two full turns by hand. The marks on the pulleys must align again (the marks on the belt itself will no longer align after rotation — this is normal).
Bolt on the small idler pulley (if you have not done so earlier).
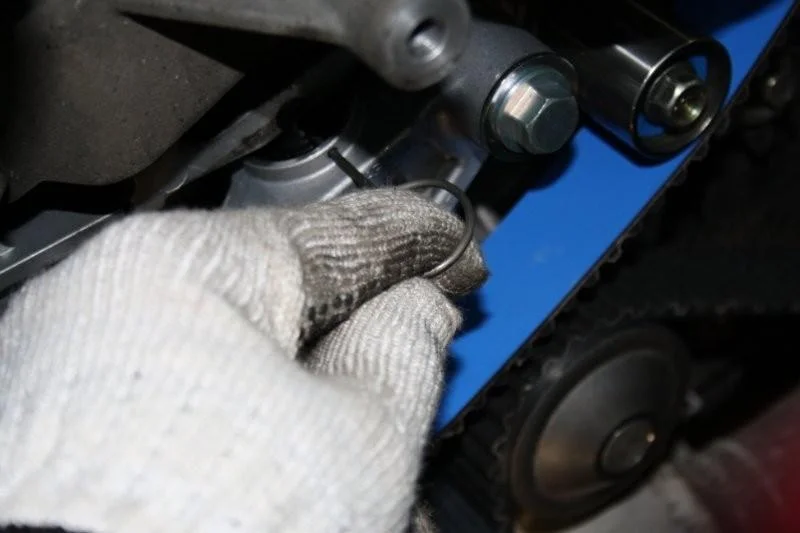
Pull the tensioner pin. The belt will tension.
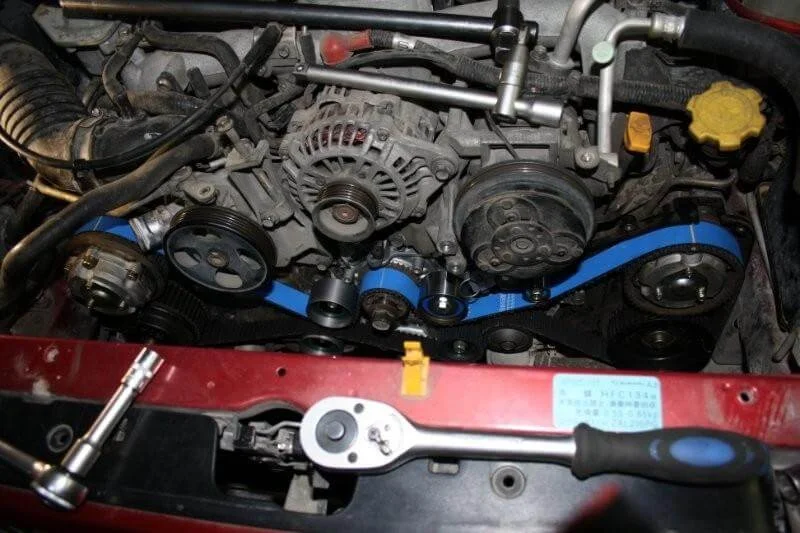
Rotate the crankshaft again and check the marks. Check the tightening of all pulleys with a torque wrench (tightening torques: pulleys ~39 Nm, tensioner ~39 Nm, small bolts ~25 Nm — consult the manual).
Install the timing covers, crankshaft pulley (tighten to the required torque!), accessory belts, and radiator.
Fill with coolant. Important: bleed air locks from the cooling system (warm up with the cap open, rev the engine), otherwise overheating is possible.
Was this guide useful?
Your feedback helps us improve our content.


Discussion (0)
No comments yet!