Valeo 90A Alternator Repair
Work carried out on the Valeo 90A alternator:
- replacing brushes;
- replacing bearings;
- replacing slip rings.
Tools required:
- hammer;
- large bearing puller;
- small bearing puller;
- 75 W soldering iron;
- file.
Spare parts: FAG 6202.2RSR and FAG 6303.2RSR bearings.
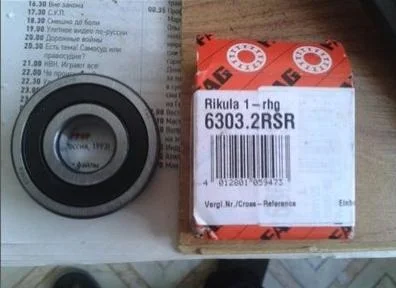
Bearing.
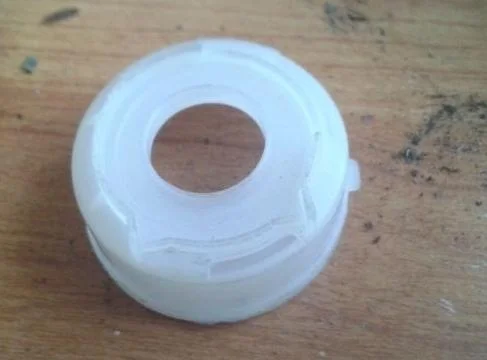
Alternator bearing spacer CARGO 135508.
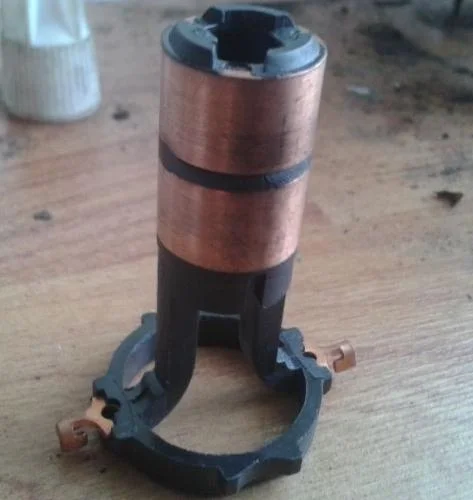
Slip rings CARGO 230090.
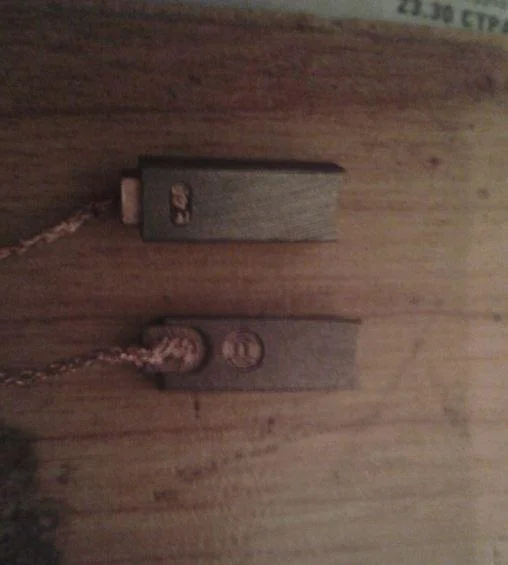
Alternator brushes BOSCH 1 127 014 022.
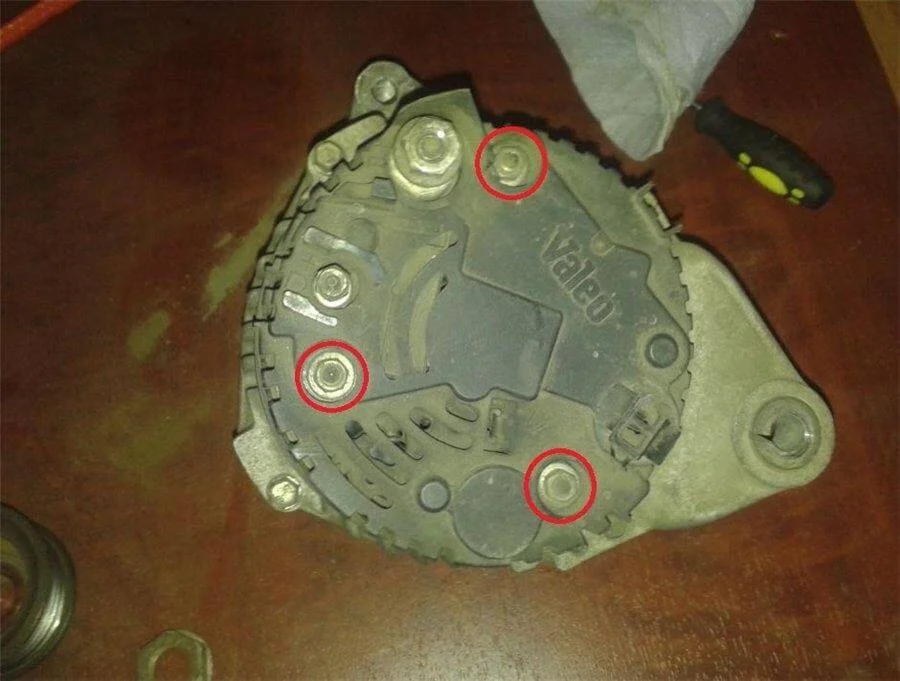
Remove the alternator cover by unscrewing the three nuts using an 8 mm spanner.

Remove the voltage regulator by unscrewing two nuts using an 8 mm spanner and one bolt using a 7 mm spanner.
Remove the cover protecting the brush assembly and inspect the condition of the brushes.

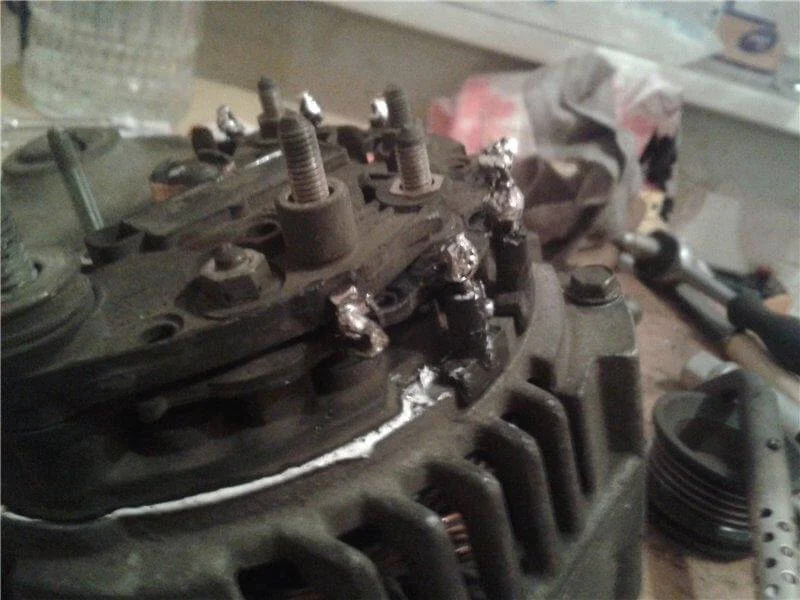
The next task is to remove the diode bridge (rectifier). On this type of alternator, it is soldered to the stator winding terminals, so you will need sharp side cutters to separate the winding terminals from the diode bridge (6 pieces).
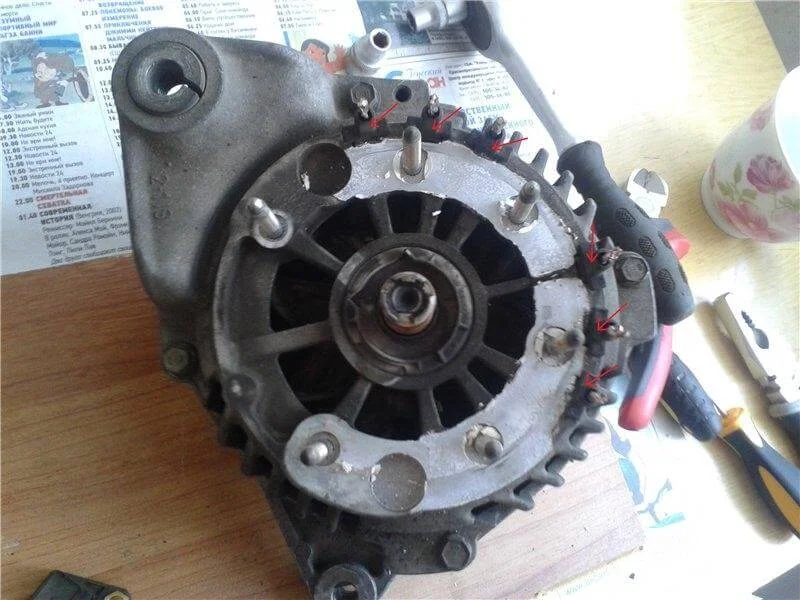
Remove the diode bridge by unscrewing four nuts using an 8 mm spanner. Then pull out the six plastic insulators from the stator terminals.
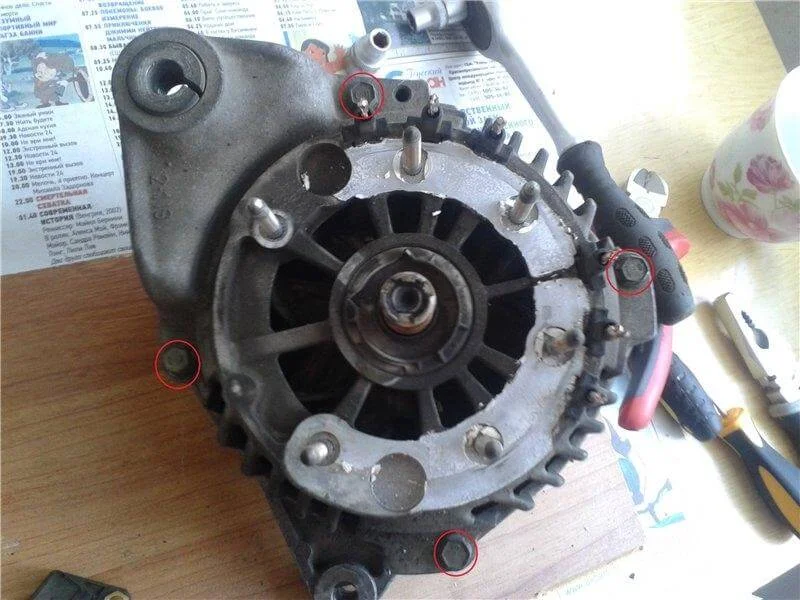
Unscrew the four bolts using an 8 mm spanner.
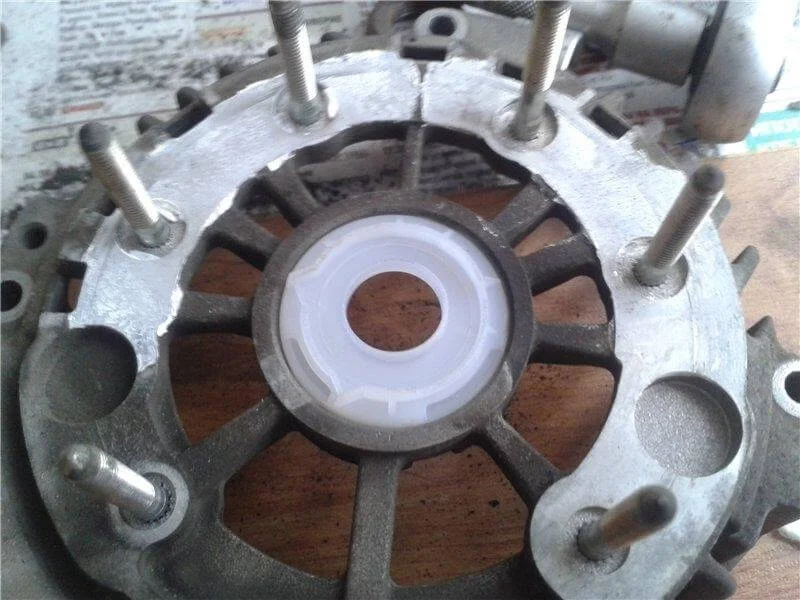
Remove the top part of the alternator, clean it and replace the bearing spacer with a new one.
Press the rotor out of the alternator housing using a bearing puller. Unscrew the four bearing cover bolts with an 8 mm spanner and replace the bearing with a new one (I used threadlocker when tightening the bearing cover).
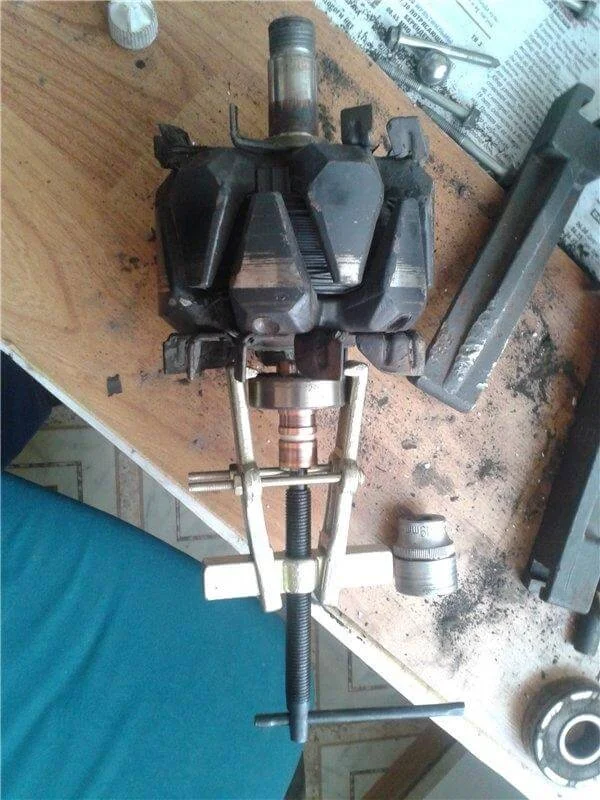
Remove the second bearing using the small puller.
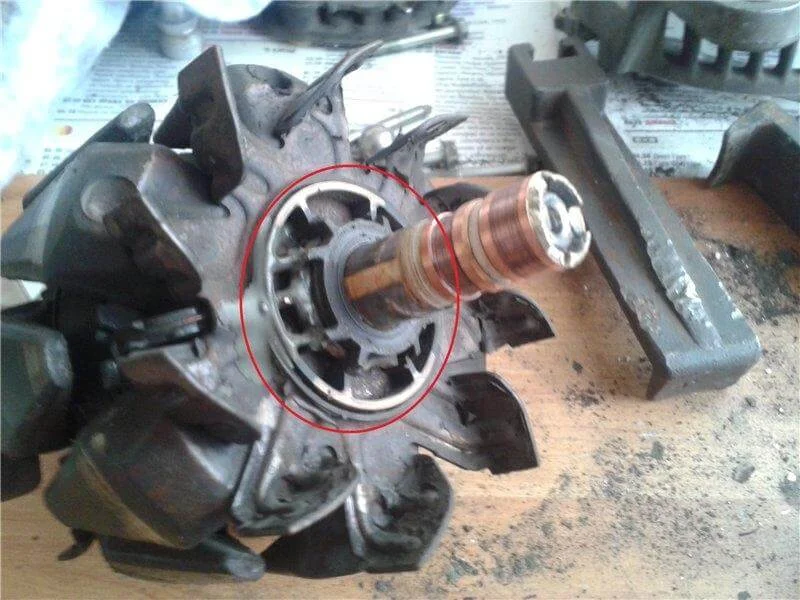
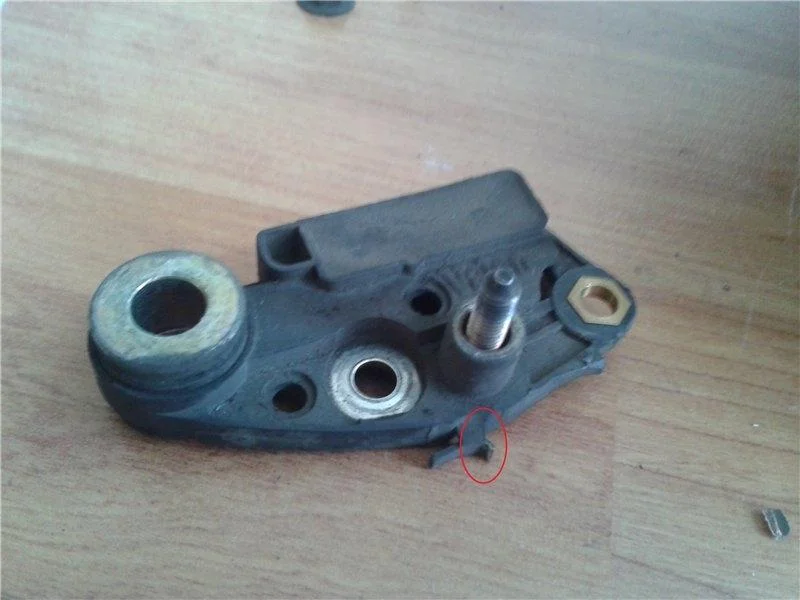
Carefully remove the resin and take off the plastic insert.
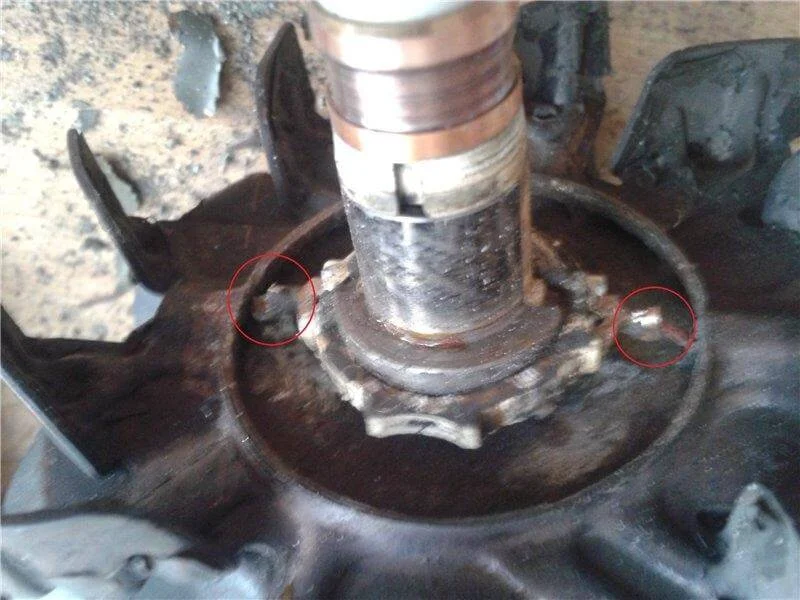
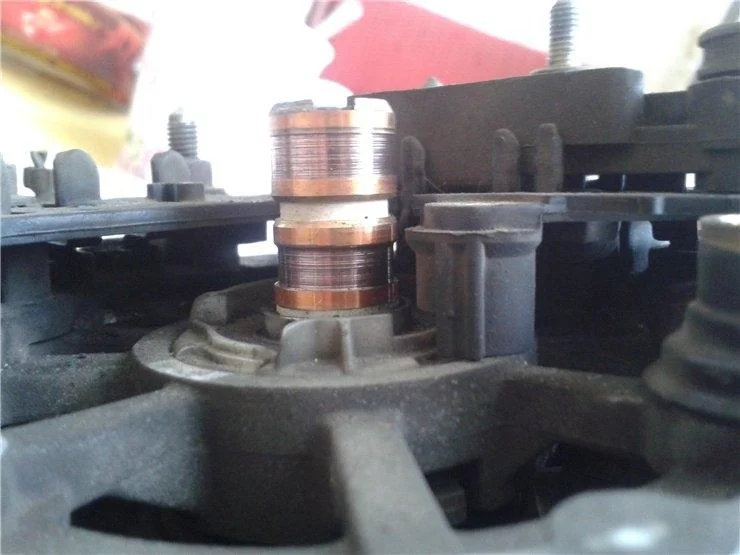
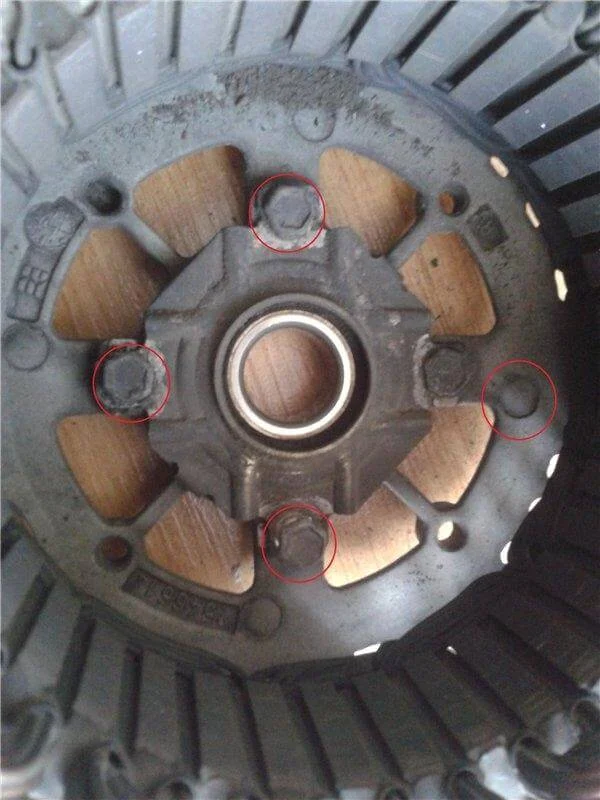
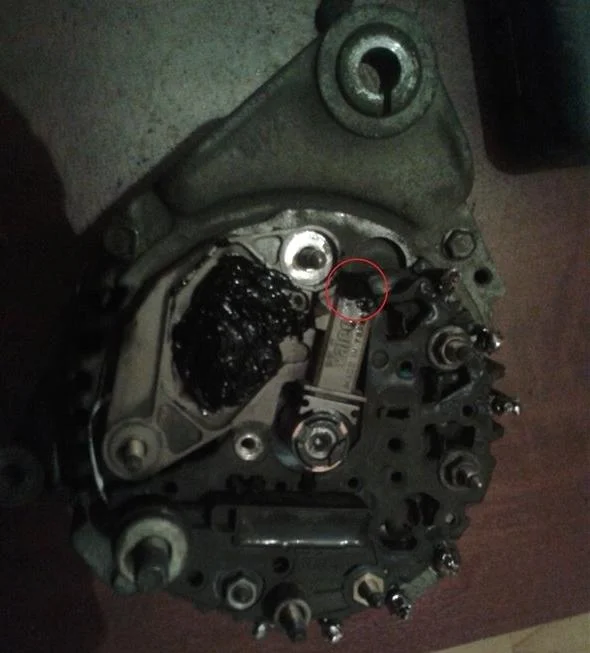
Completely remove the epoxy resin without damaging the connection points (marked in red) between the slip rings and the rotor winding.
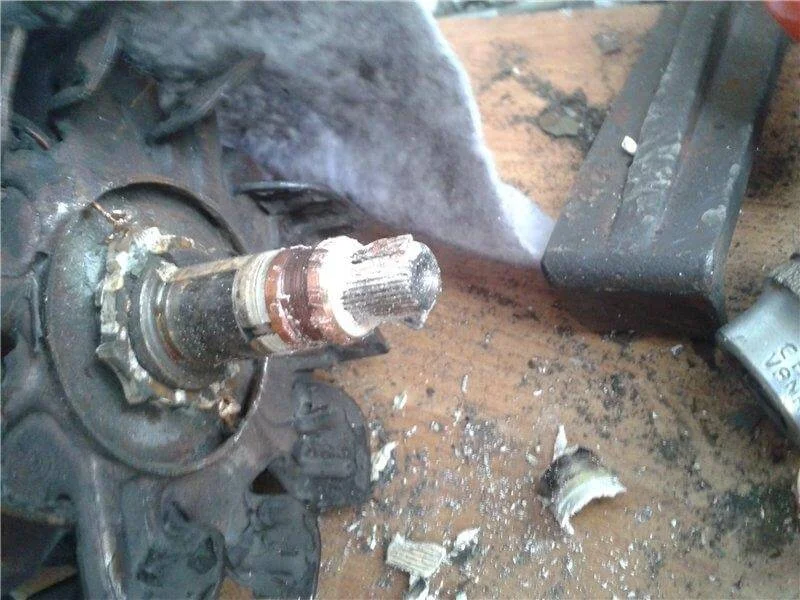
Pry open the connections between the rotor winding and the slip rings using a sharp knife and destroy the collector (I used a hacksaw).

Press on the new collector assembly, connect and solder the contacts of the slip rings and rotor winding. Seal the contacts with Poxipol (clear epoxy) and install the insert. Use Poxipol again to fill the contact cavities flush with the surface.
Press the second new bearing onto the rotor and reassemble the alternator. I used KPT-8 thermal paste when installing the diode bridge. Solder the diode bridge terminals and stator windings (using copper wire).
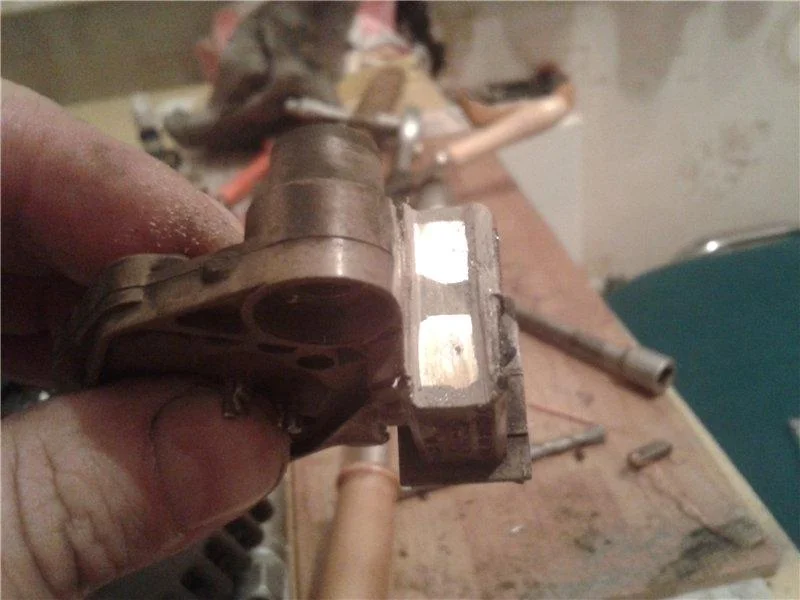
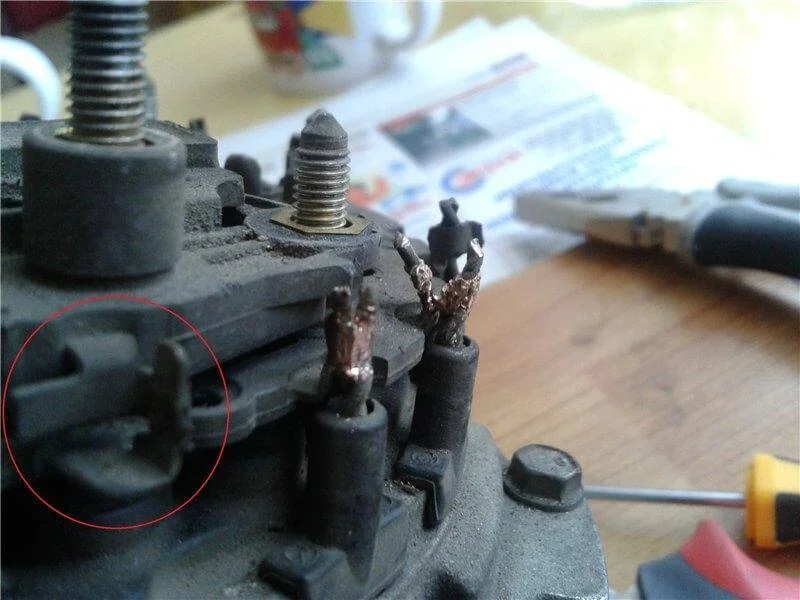
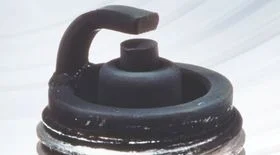
Replace the brushes.
Solder the brushes in and apply sealant to the contact points (marked in red). I also sealed the contacts on the voltage regulator.
Was this guide useful?
Your feedback helps us improve our content.


Discussion (0)
No comments yet!